Hello crafty friends, I’m back with another “Scrappy Tails – video post“. This time I’m featuring the new A7 Storefront Pop-Up Die Set and some accessory die-sets that also stand alone.
If you love the spinners and the pop-up baskets I made a couple of months ago using Scrappy Tails dies, I believe you are going to love this die set too!
The A7 Storefront Pop-Up Die Set will make a truly fun card. So different!
Watch a 5-minutes tutorial
To make these cards you will need:
- A7 Storefront Pop-Up Die Set ( house)
- Storefront Mechanism for Pop-Up.
- Garden Stand Animals die set ( Dogs and Rabbits)
- Garden Stand Flowers (Flowers, Grass and Leaves)
- Leaves and small butterfly body from the Spellbinders Butterfly Card Creator.
- Die-cutting machine.
- Liquid glue.
Recommended Paper
- 3 – 1/4″ elastic bands ( they could be slightly larger but not shorter)
- 300 grams white cardstock or any of the Spellbinders Essential Coloured Cardstock (300 grams)
- Heavyweight coloured cardstock.
- 250 grams cardstock or scrapbook paper reinforced with another layer of cardstock.
I also used stamps from the Just Miss You and the Bunny Blessings stamp sets by Simon Says Stamps.
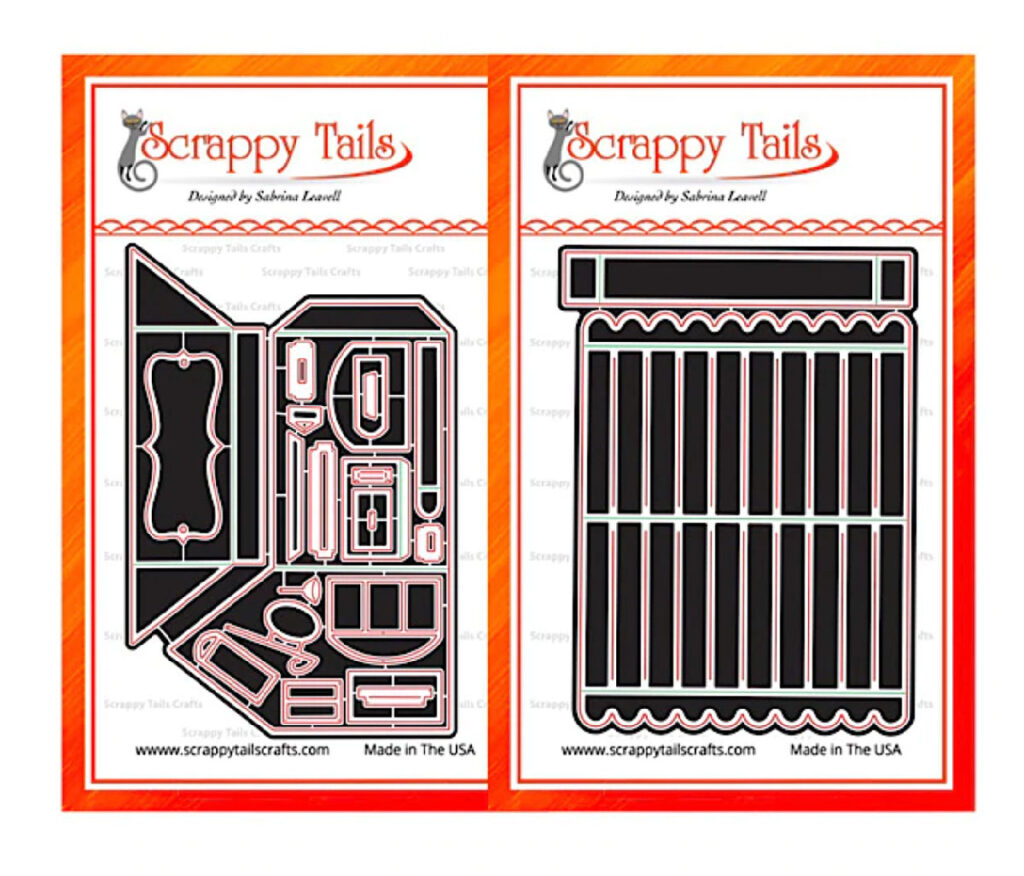
A7 Storefront Pop-Up Die Set

- A7 Storefront Pop-Up Die Set includes 24 dies ( The 2 sets in the picture above)
- 4 main dies ( Walls, roof, a bridge)
- 20 decorative cutting dies including windows, doors, planters, and a label.
- It will make a 5 x 7 inches shaped card that can be turned into a pop-up by using the Storefront Pop-Up Mechanism die set.
- The walls of the store/house can be used with inner bridges ( no roof) on which you can adhere different elements to make a different type of pop-up (taller).
Bundle and Save

- Scrappy Tails is offering the StoreFront Bundle with a small discount but well worth it!
- This bundle contains the 2 main die sets I used in the video (A7 Storefront Pop-Up Die Set + Storefront Mechanism for Pop-Up)
- + 2 large decorative die sets (stand-alone)
- + 1 stamp set + its coordinating die set (stand-alone)
The decorative die sets are insane. They have so many different shapes. You can get really busy with so many options!
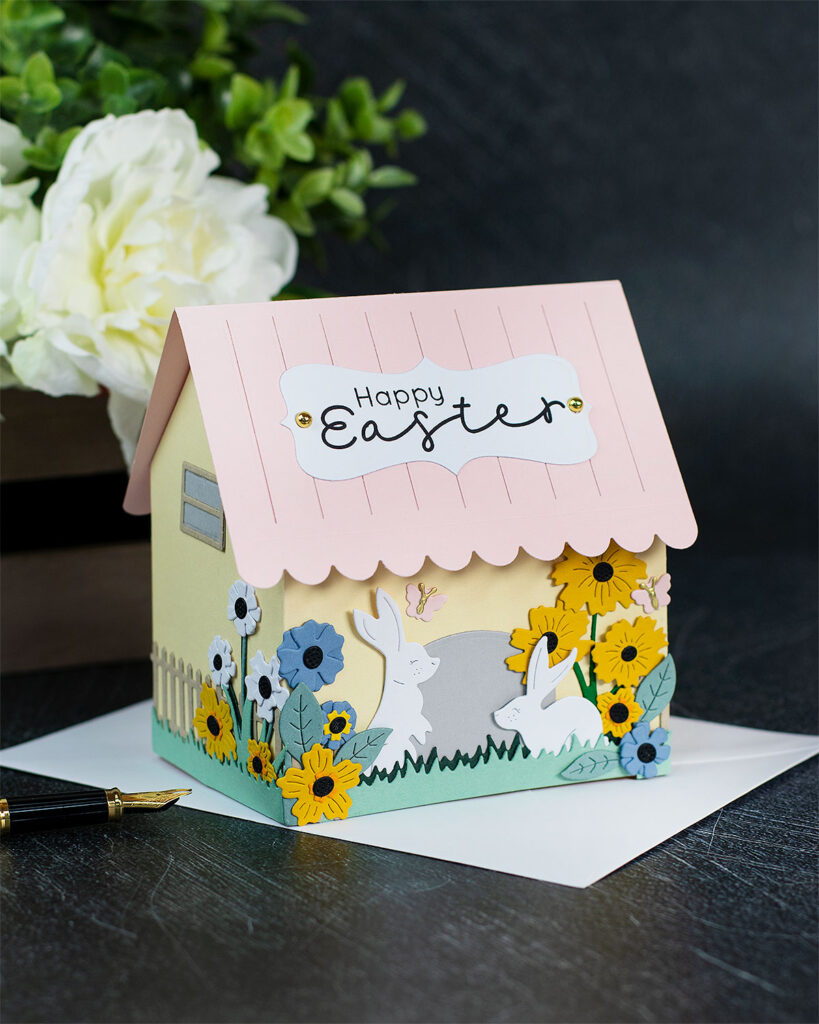
House-Shaped Pop-Up Cards

It is very important to use the right cardstock for these projects. I strongly advise using 300 grams cardstock to make the card base (walls).
Anything else can be die-cut out of 240 grams cardstock.
If you want to use 240 grams cardstock for this project, you can add another layer of cardstock behind the front and back panel of the case base (walls) to give it sturdiness.

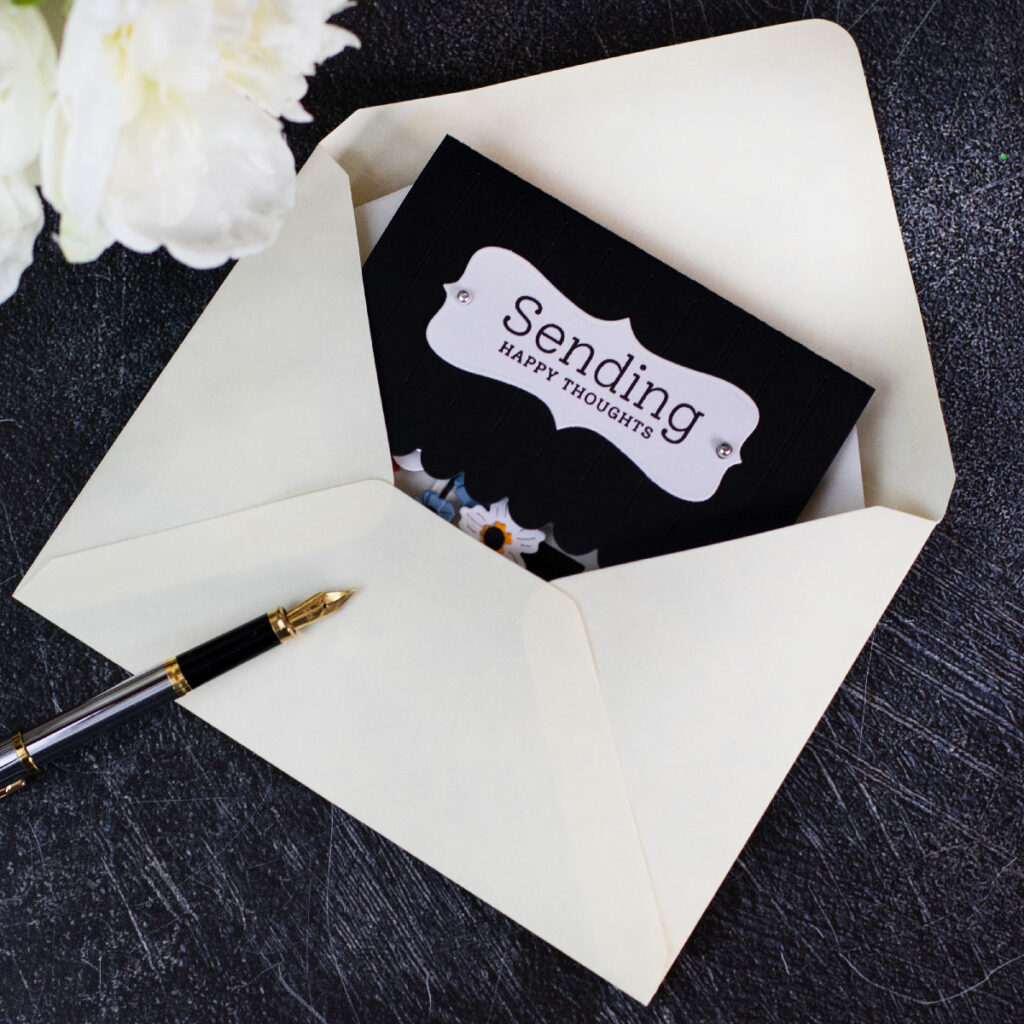
These cards measure 5″ x 7″ inches and they fold flat to fit in an envelope.
As I explained in the video, depending on how you glue the pop-up mechanism your card will pop up (from left to right or vice versa)

To make this card, I glued one of the pop-up mechanism parts behind the front left corner of the card base and the other one to the back right corner.
So this card pops to the left.

You can customize these projects to any occasion.
Use any decorative dies and stamps you might have in your stash to decorate.

Add a small gift card inside the card or a mini-card with a message as I show in the video (minute 10:17).

Your projects will look completely different depending on the cardstock colours and components you use. The sky’s the limit!

I asked some members of my family to take the cards out of the envelope just to see how they perform. These are defo made to steal smiles!
They loved them!

That’s all for today.
I hope you enjoyed this post.
X
Bibi
Thirsty for more?
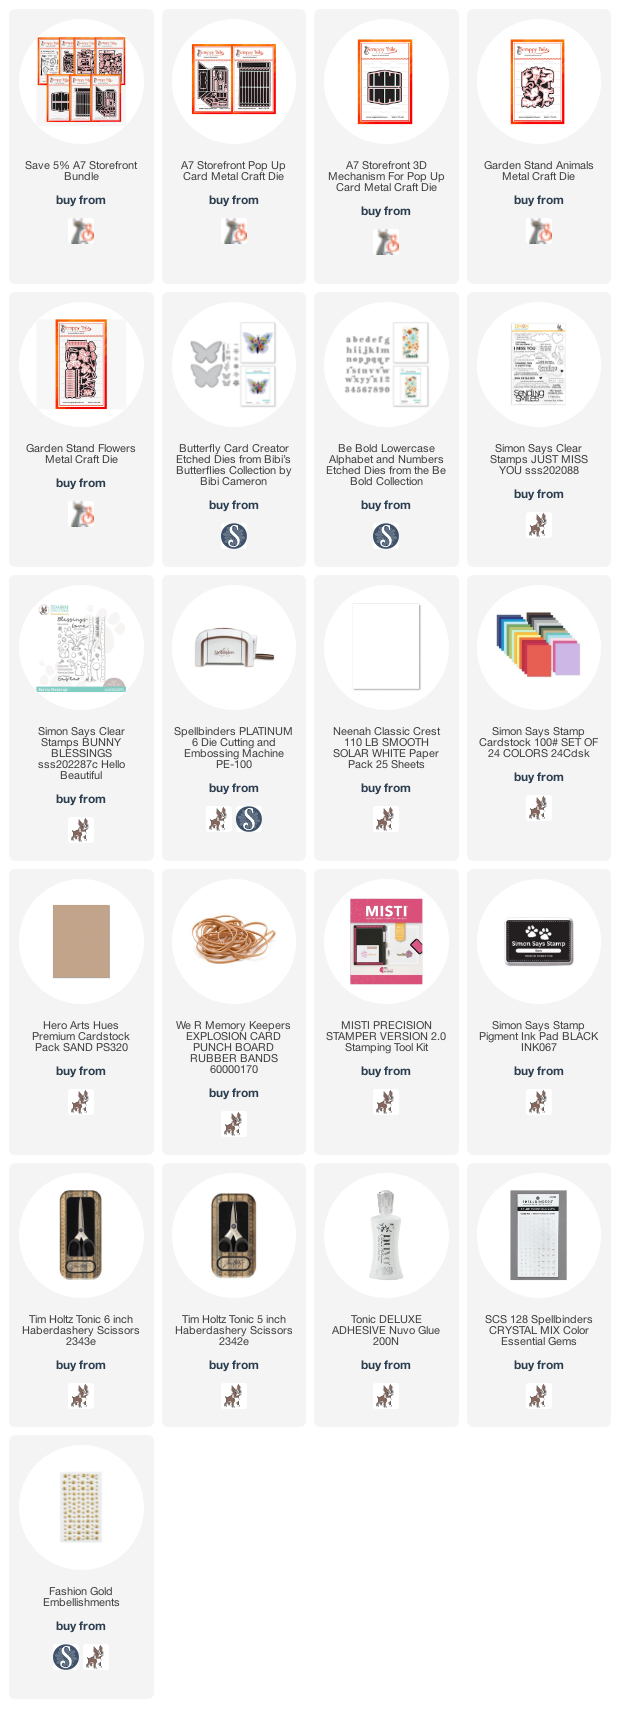
Supplies
Affiliate links apply at no extra cost to you. Thanks for your support.


WOW! That pop-up is so fun! Thanks for introducing me to this creative company