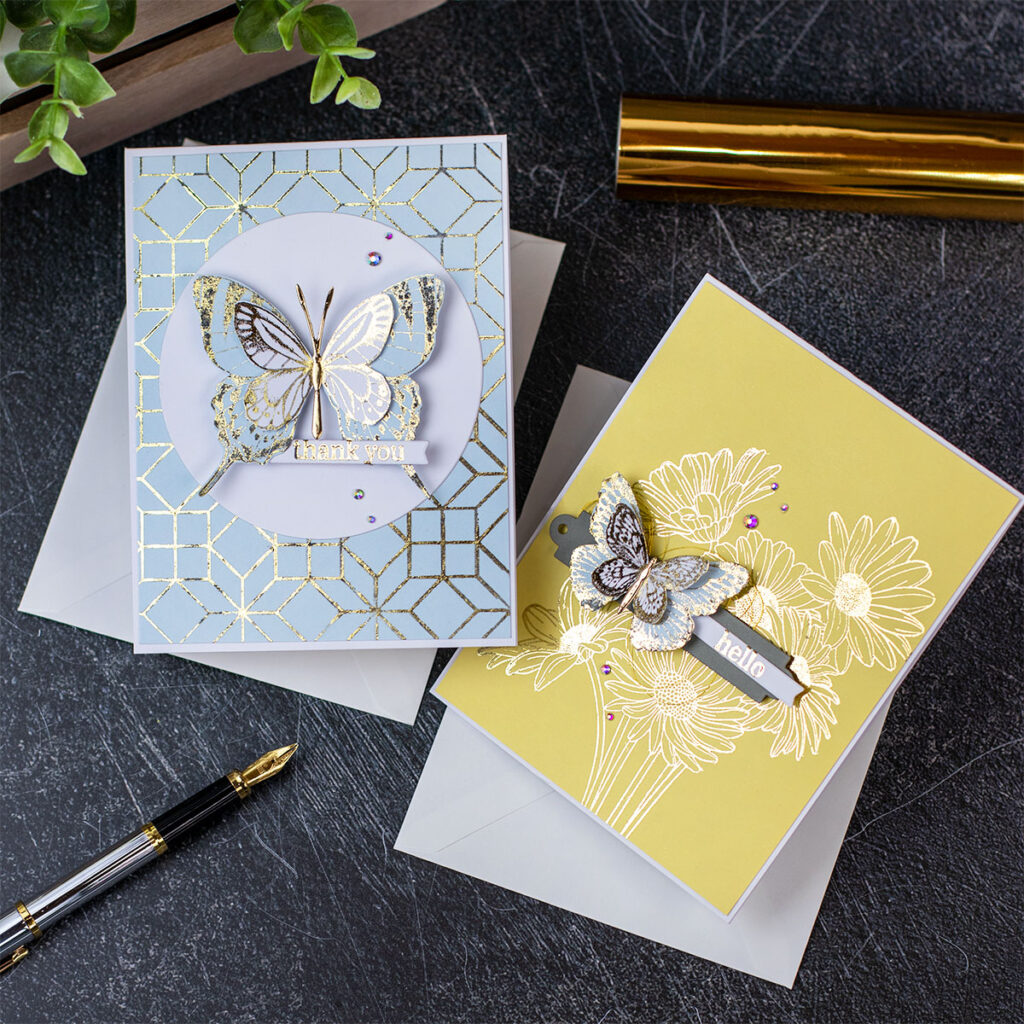
Hello crafty friends, today I’m sharing tips to add foil to your projects using stamps, a Minc foil machine, and the Minc toner stamper kit.
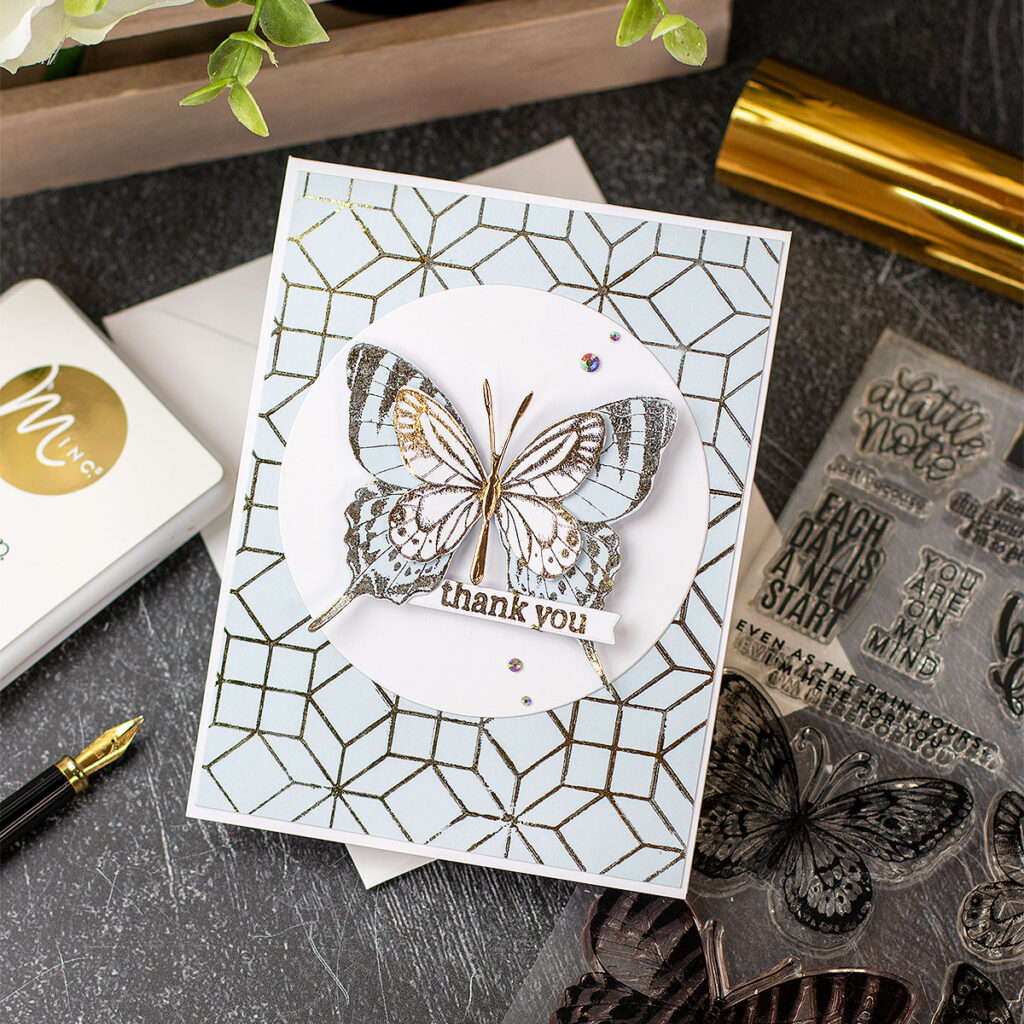
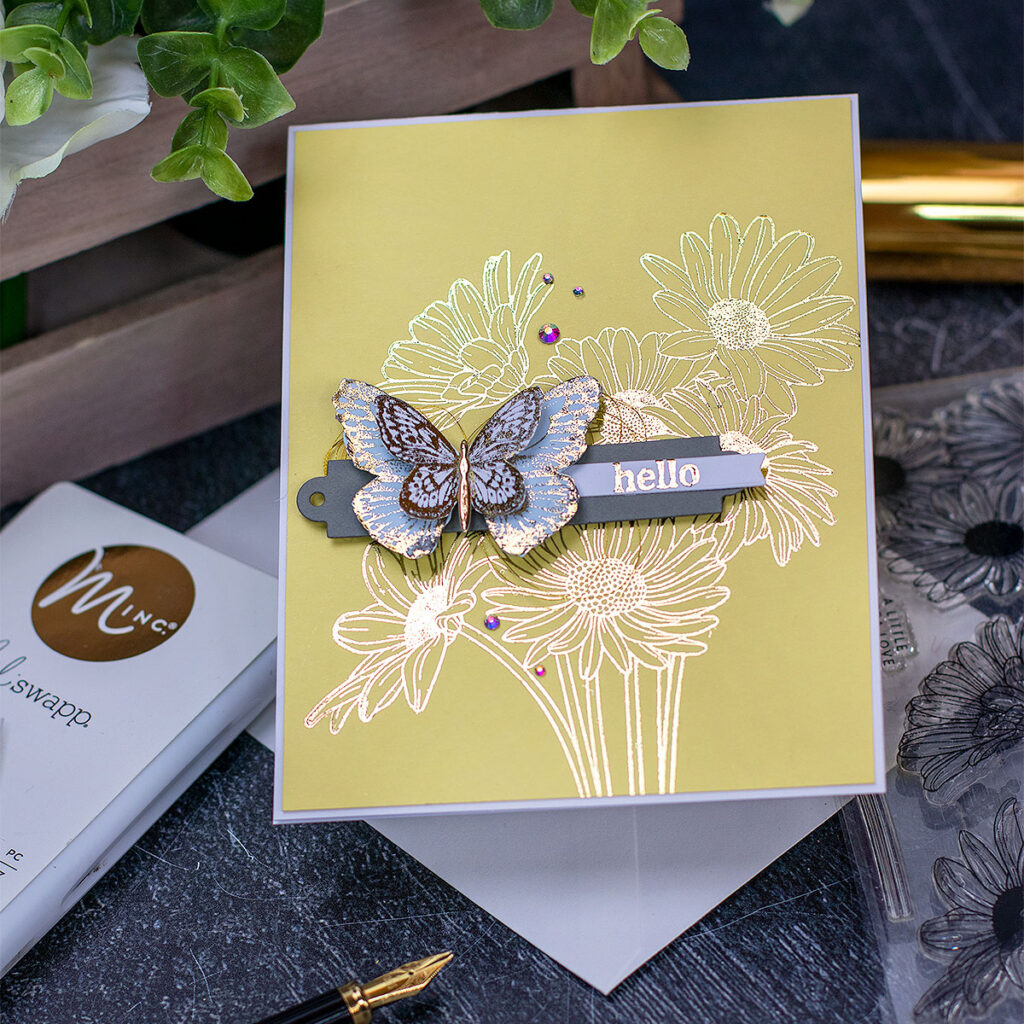
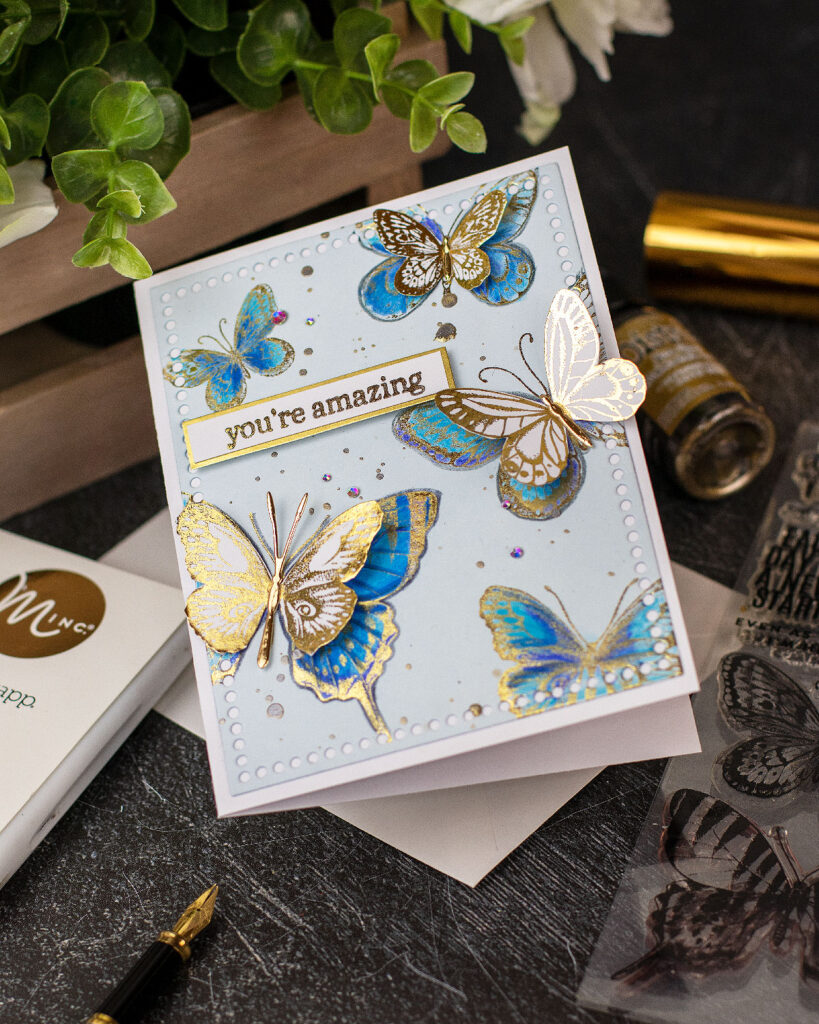
I made 3 cards only using foiled images, sentiments and backgrounds.. nothing else.
The foil shines when the light hits on it… The results using the Minc toner stamper kit are pretty good… beautiful and easy!
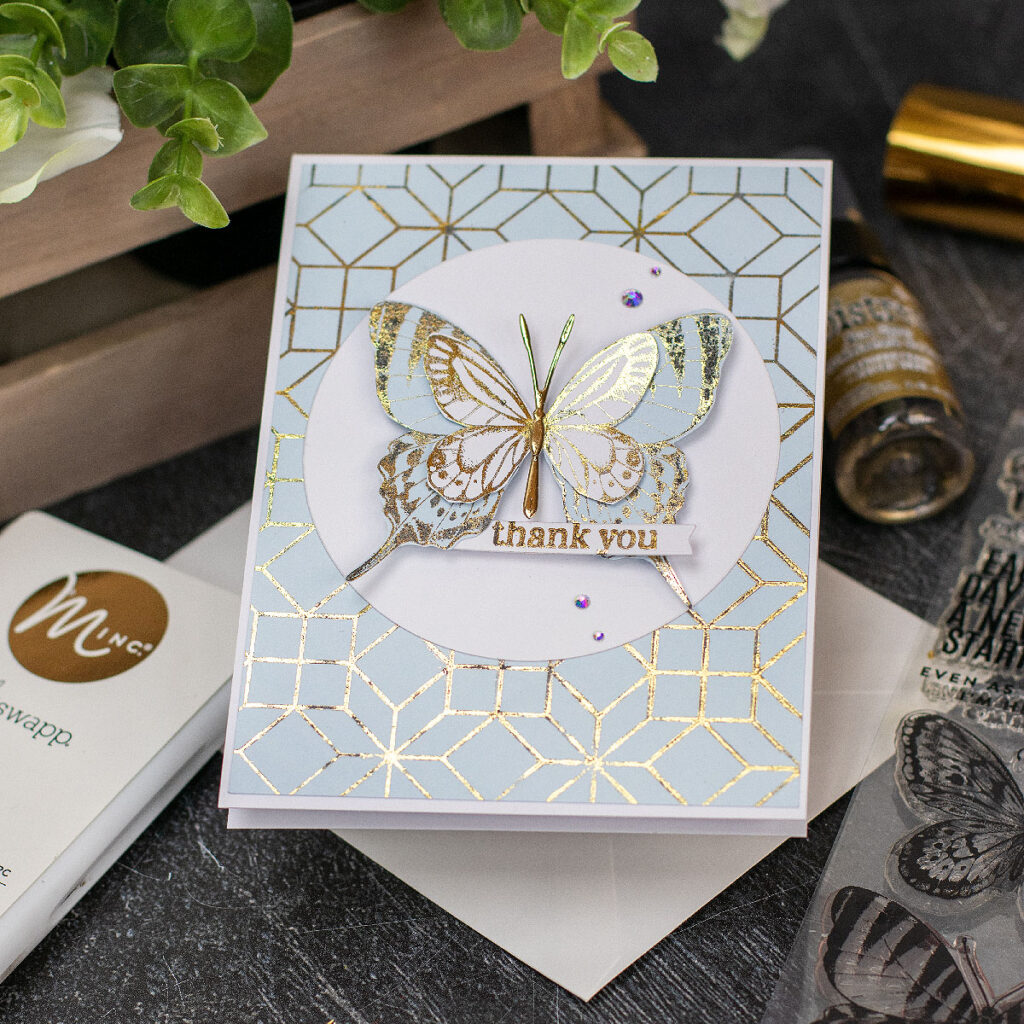
Main Supplies used today
Stamping:
- Misti Precision Stamping Tool
- Beautiful Butterflies stamp set
- Daisy Bouquet Stamp Set
- Dimensional Quilt Background Stamp
- Missing You stamp set ( sentiments)
Dies to add accents:
- Detailed Meadow Butterfly wafer dies ( butterfly large body)
- Stitching Butterflies wafer dies (Butterflies’ small bodies)
- Sentiment Labels die set ( label behind the sentiment in the yellow card)
FoiL Transfer:
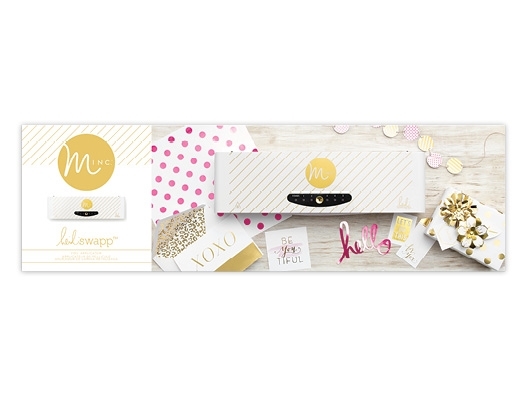
Minc Foil Applicator Machine Starter Kit
The Minc Foil Applicator Machine Starter Kit includes 12 inch Foil Applicator Machine, Transfer Folder, 6×12 inch Piece of Gold Foil, 3 Tags.
Heidi Swapp Minc Toner Stamping Kit
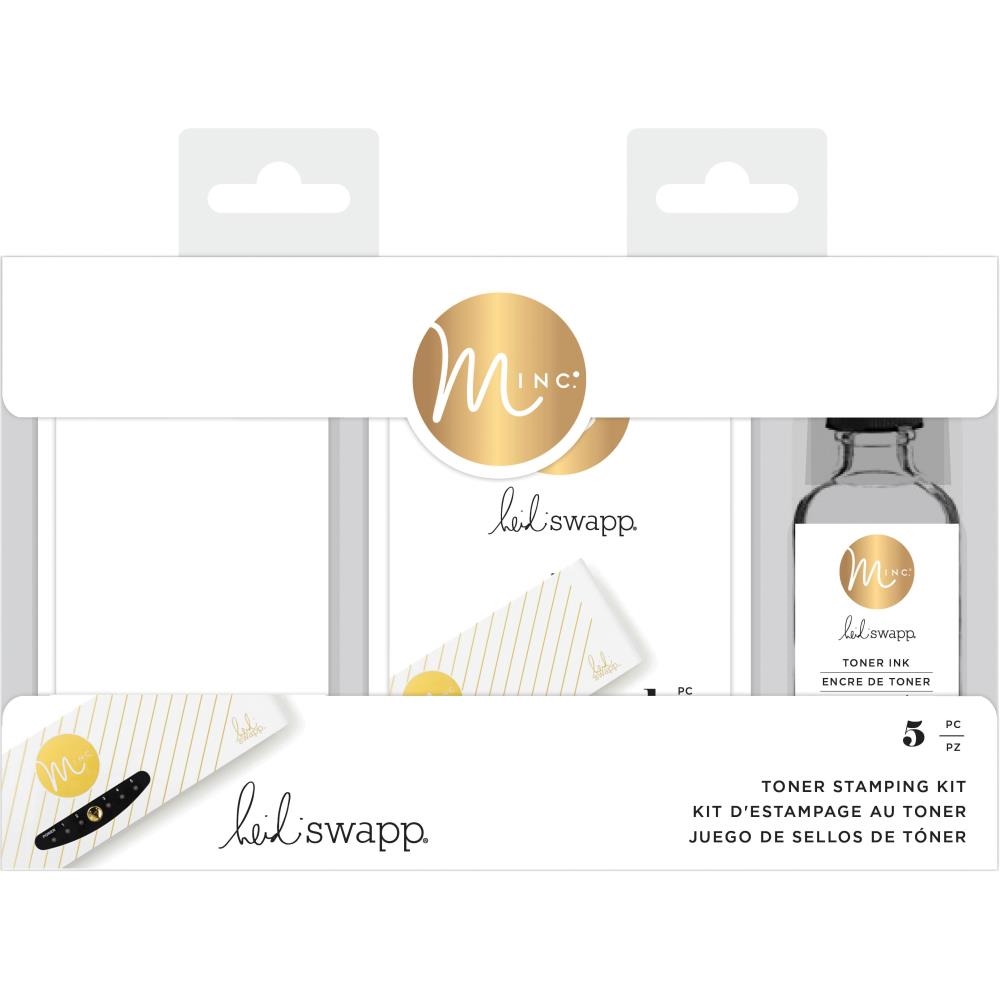
Heidi Swapp Minc Toner Stamping Kit comes with one bottle of toner-reactive ink, two refill stamp pads, and a stamp pad holder to make your Minc project picture perfect!
Watch a 1 – minute reel to see how I do it
If the video is not working click here to be redirected to the Instagram reel.
10 Tips To Foil Stamped Images
Bear in mind that toner ink is sticky and it dries very fast ( Incredible fast) . So we have to work accordingly.
- Set your Minc Machine in 5 ( Maximum temperature)
The machine heats up quickly so you can do all the stamping first. - Use Minc toner ink. Bear in mind this ink is sticky and it dries very fast ( no tacky).
- Allow the toner ink to settle in the new ink pad for a least 20 minutes. This is KEY!!!
-If the ink is too juicy or liquid it can adhere the stamp to the cardstock.
-Try to foil many pieces to do the best of your ink pad as the ink pad foam seems to be discardable (short life). - Use the Misti- stamping platform to achieve well defined stamped images.
-You can stamp an image multiple times but do it quickly.
– The stamp can get stuck to the paper if you apply too much pressure over the platform lid or if the ink dries while you are stamping. - Apply Dot runner tape on the platform pad to hold the cardstock in place while doing the stamping.
- Use double-sided tape to stick the ink pad foam part to a sturdy clear block. To “quickly and easily ” apply the ink to the stamps ( mess-free hands).
- “Be very quick” while applying the ink to the stamp and stamping. This is KEY.
- Use smooth, heavyweight, coated cardstock, acetate, mirror, and pearlescent cardstock. All these should work just fine.
- Do not allow the ink to dry on the stamp to do further stamping. Clean the stamp every time when stamping a new piece of cardstock.
- Clean the stamp using clear water or soapy water. You can also use Surgical Spirit (rubbing alcohol), or stamp cleaner.
What paper should I use?
I tried various cardstock qualities and I found that the technique works fine with 100 lb – 110 lb smooth heavyweight coated cardstock ( or also called super smooth)
It also works with heat resistant acetate, mirror cardstock or any coated coloured cardstock like Simon Says Stamp or Lawn Fawn.
My findings
- To foil stamped images, I found essential the use of the Misti- stamping platform. This allowed me to quickly held the paper and stamp various times the images in the same spot.
- After adding the toner ink to the stamping pad, it is important to allow the ink to get tacky and to settle for at least 20 minutes.
- I have been told each ink pad is discardable – only works 1 time so you can plan and do foiling like crazy to then use the images for different projects ( That’s what I did)
- When the ink is fresh, It is very liquid and sticky. If the ink is too juicy, the stamps could stick to the cardstock and tear it up.
- The Minc Toner ink pad has been designed to take the stamp to it but as I prefer using the Misti- stamping platform, so I had to find a way to take the ink pad to the stamp.
- I removed the foam from the ink pad case and using double-sided tape I stuck it to a clear block.
- I did this to be able to avoid messy fingers and to easily grab the ink pad while applying the ink “quickly and evenly” to the image.
- For best foiling results, I would advise to starts by using images with thin lines such as flowers, butterflies, animals etc.
- Bold images or sentiments aren’t great to apply this technique but you can always give it a try.
- Clean the stamps with a damp towel (water – soapy water) or stamping cleaner.
- To clean the surfaces, I also used Surgical Spirit ( rubbing alcohol).
Last but not least, remember that experimentation is key. One thing that works for someone might not work for another and this is basically due to the materials (cardstock used), could be also a matter of timing.
This technique requires speed during the stamping proess just because the ink dries fast and it is sticky while wet.
That’s all for today.
X
Bibi

Thirsty for more?
Supplies
Affiliate links apply at no extra cost to you. Thanks for your support.



These cards are absolutely stunning. Thank you so very much for sharing these techniques so that we can extend and improve our crafting skills. Love your work ❤️