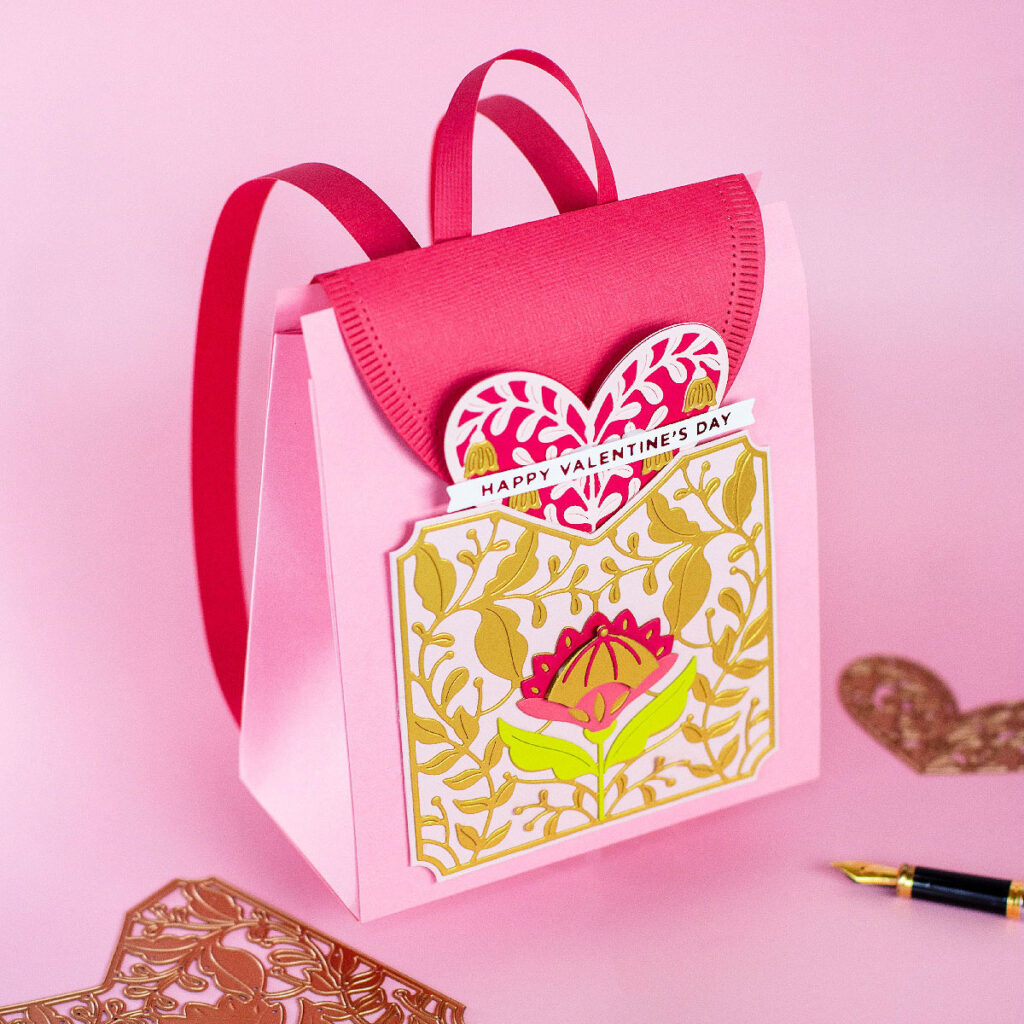
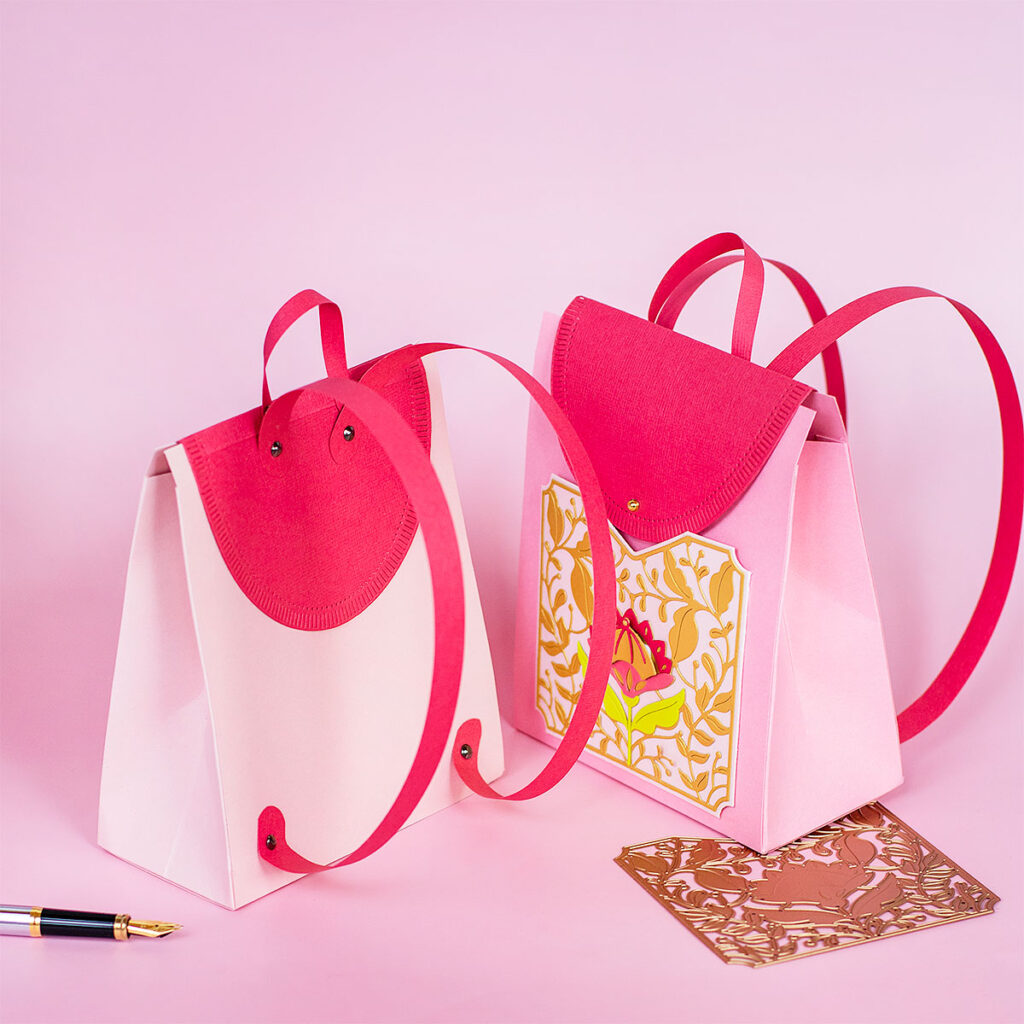
Hi crafty friends, since I saw the Spellbinders Large Die of this month, I dreamed about making a paper backpack.
To make the backpack you don’t need dies only smooth and textured cardstock ( no thicker than 240 grams).
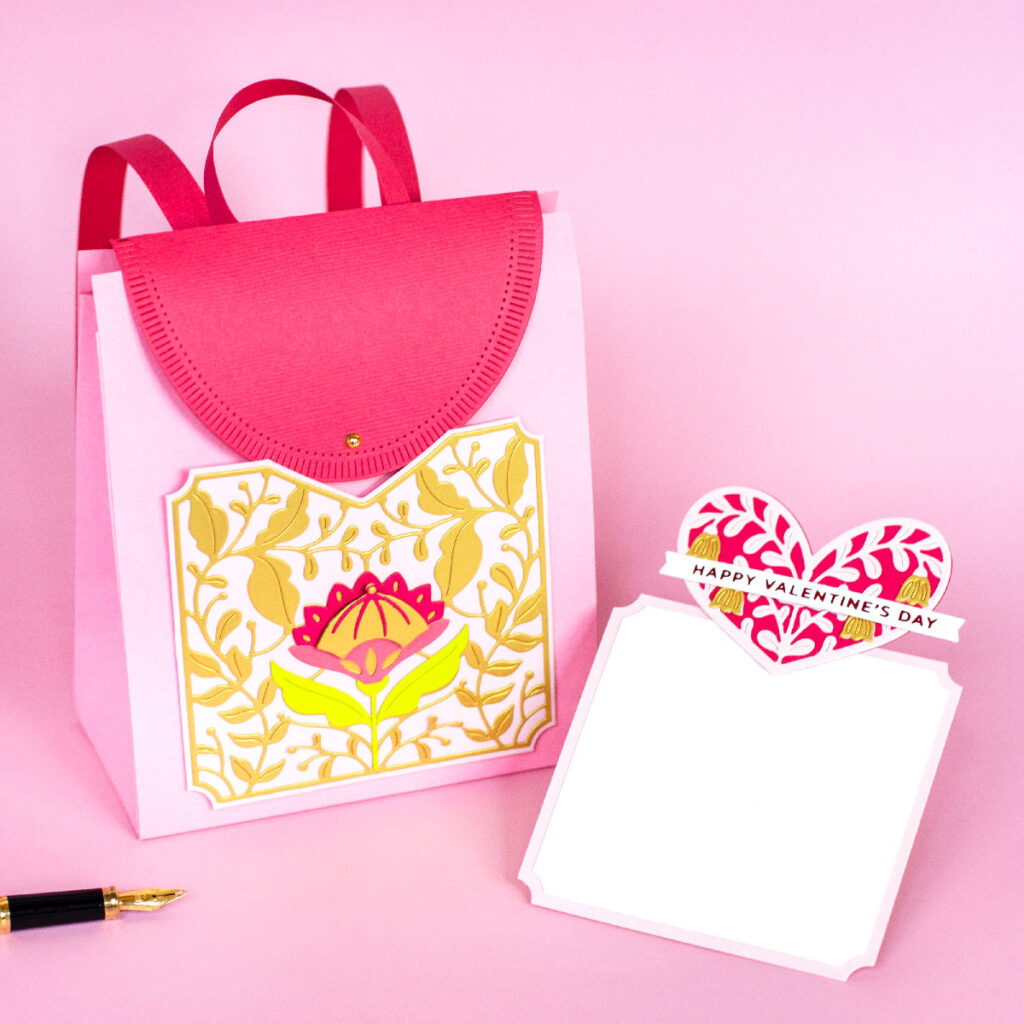
The Large Die of this month is called “A Pocket Full of Love” and it will create a gorgeous shaped pocket and a pull-up notecard/ insert.
You can adhere the die-cut pocket to the front of the backpack.
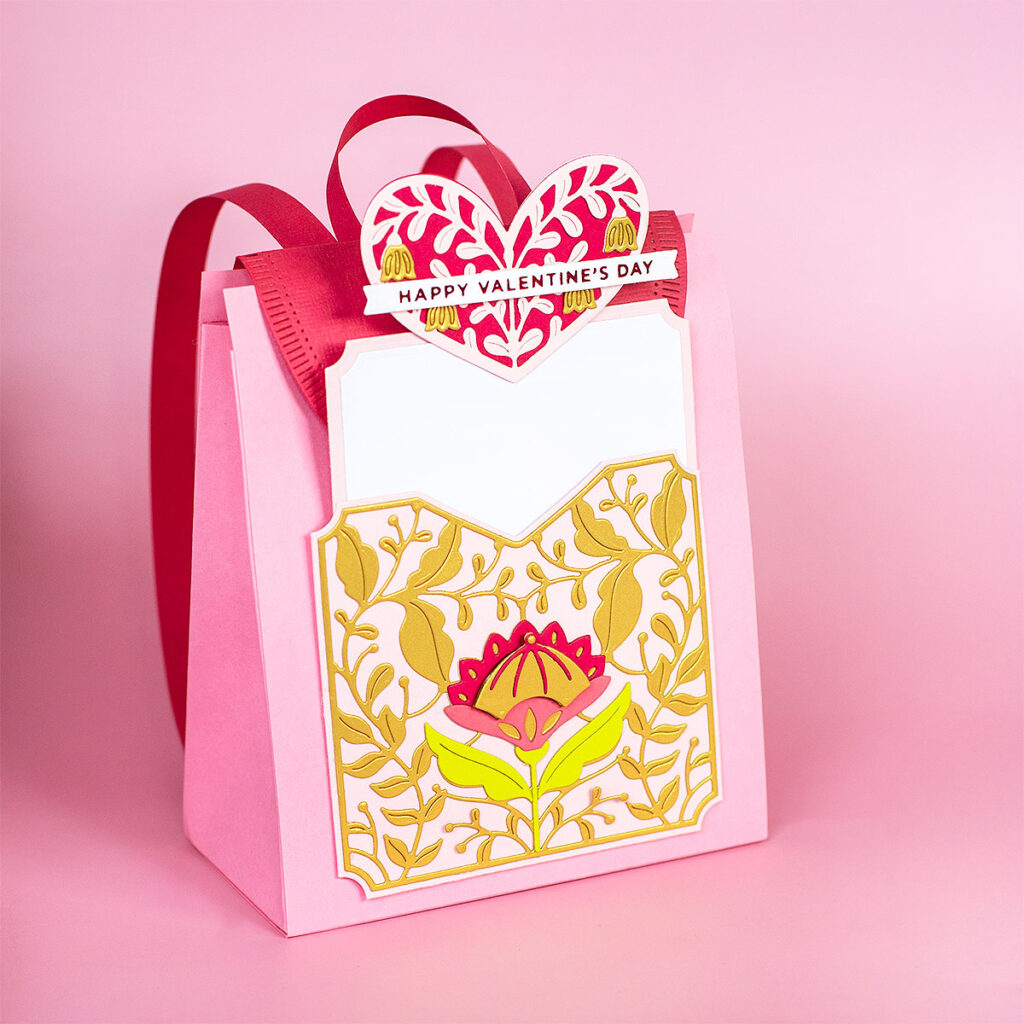
I decided to use San Valentine’s Day Colours BUT this goodie bag is an original packaging solution for many different occasions:
- To share at school with friends or at school events.
- Use different cardstock colors and distress inks to make a more realistic backpack that you can give to a person that is traveling.
- Customize it as a nappy bag to celebrate a new baby or to give as a favour during a baby shower.
Oh well!!! The sky’s the limit.
The pocket measures 4″ x 3-3/4″ inches ( 10x 9.5 cm)and it could be a great addition for invitations, memory albums, journals etc.
Paper Backpack Tutorial
The Spellbinders Kits of this Month ( January 2022) are all San Valentine’s Day themed.
Spellbinders MOntly Kits Subcriptions
- Large Die
- Small Die
- Glimmer Hot Foil
- Card Kit
- Amazing Paper Grace
- The Stamp of the Month – ( January 2022 Sold Out)
- Stamp of the month + Coordinating Die – ( January 2022 Sold Out)
- New Embossing Folder of the month – ( January 2022 Sold Out)
Spellbinders Value Kits
- Die Hard – Small Die + Large Die of the Month
- Die & Stamp Addict – Small Die + Large Die + Clear Stamp of the Month
- Glimmer’n Cut – Small Die + Large Die + Glimmer of the Month
- Total Package Club – All the clubs for $100 ( January 2022 Sould Out)
*** Any of the kits can be bought on a one-off purchase or a subscription that you can cancel anytime.
Spellbinders Club Kits are now available in the UK with a local delivery service!!!
- This means that the cost for joining any of the Spellbinders Club Kits in the UK has gone significantly down.
- Crafters in the UK can get the kits without having to pay international shipping costs!!
- UK delivery services from $3USD / £2.20.
Paper Backpack
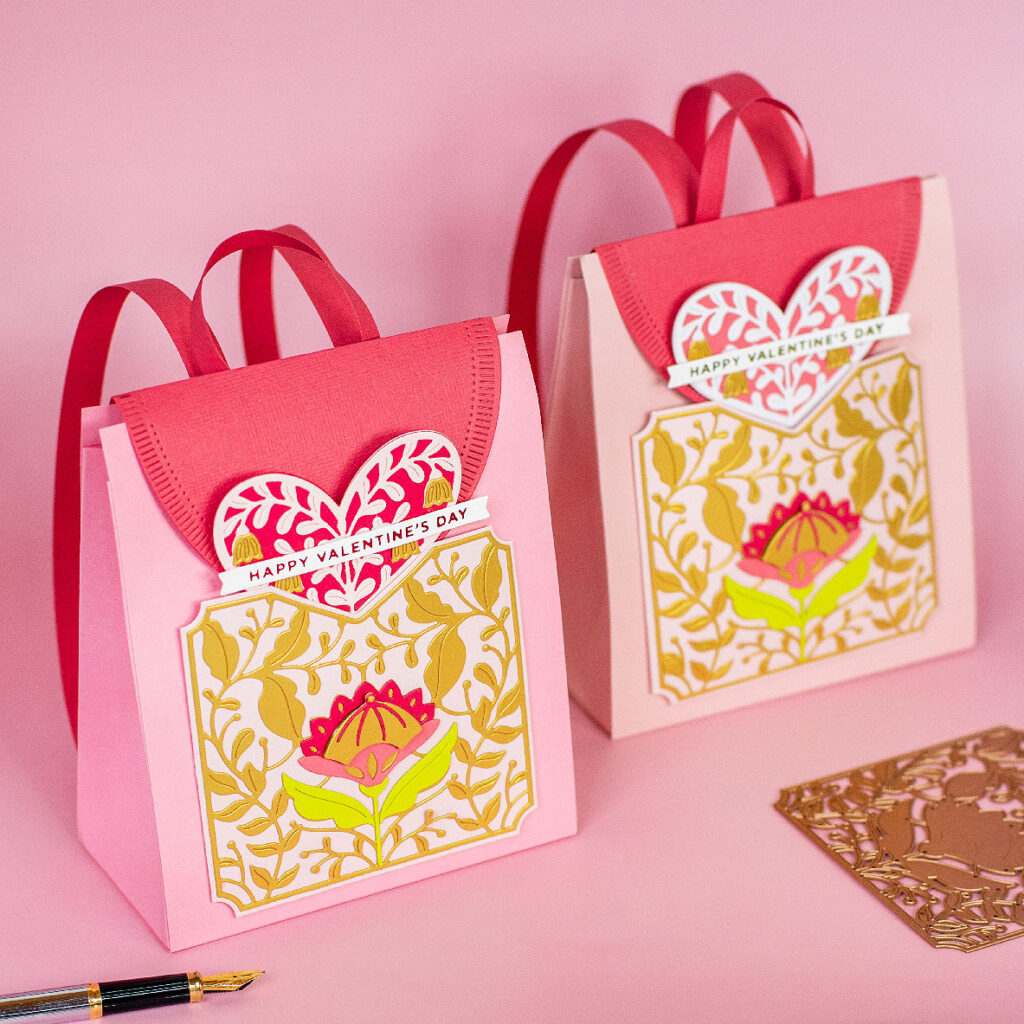
I love making 3D projects and this one includes a very basic bag/ box, an oval lid, and some stripes of paper to make handles.
The difference is made by the Spellbinder’s large die – “A Pocket Full of Love” … the decorative pocket is stunning!!!
There is no need to add magnets to keep the backpack closed.
I made a super simple but effective lid that will keep the bag closed and the sliding note card acts as an extra lock.
So cute…
These paper backpacks measure 6″ x 5″ x 2-1/2″ inches.
To make them you will need:
- A main panel that measures 15″ x 5″ inches .
- However no many people have paper in that lenght so you can trim 2 pieces of cardstock . One should measure 5″ x 9″ inches and the other 5″ x 6″ inches
- Grab the 5″ x 9″ inches piece and score it at 6″ inches , then a 8- 1/2″ inches.
- Then fold over the scoring lines.
- Next, glue the 5″x 6′ inches piece to end of the piece to create a 15″ x 5″ inches piece ( already scored at 6 and 8-1/2″ inches).
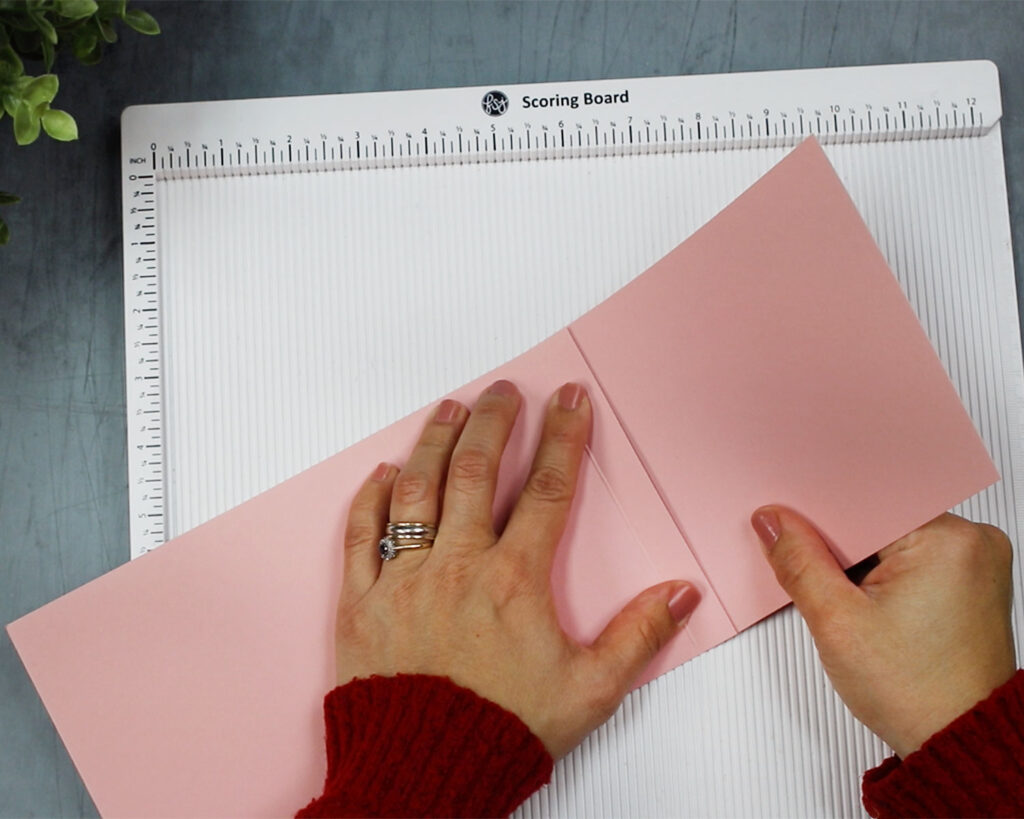
- For the side panels you will need 2 pieces of cardstock that measures 3-1/2″ inches wide x 6″ inches long.
- Score a vertical line along along the middle of the piece ( 1-3/4″ inches) and o create flaps score at 1/2″ inch from both sides and the bottom of the piece ( as shown in the picture below)
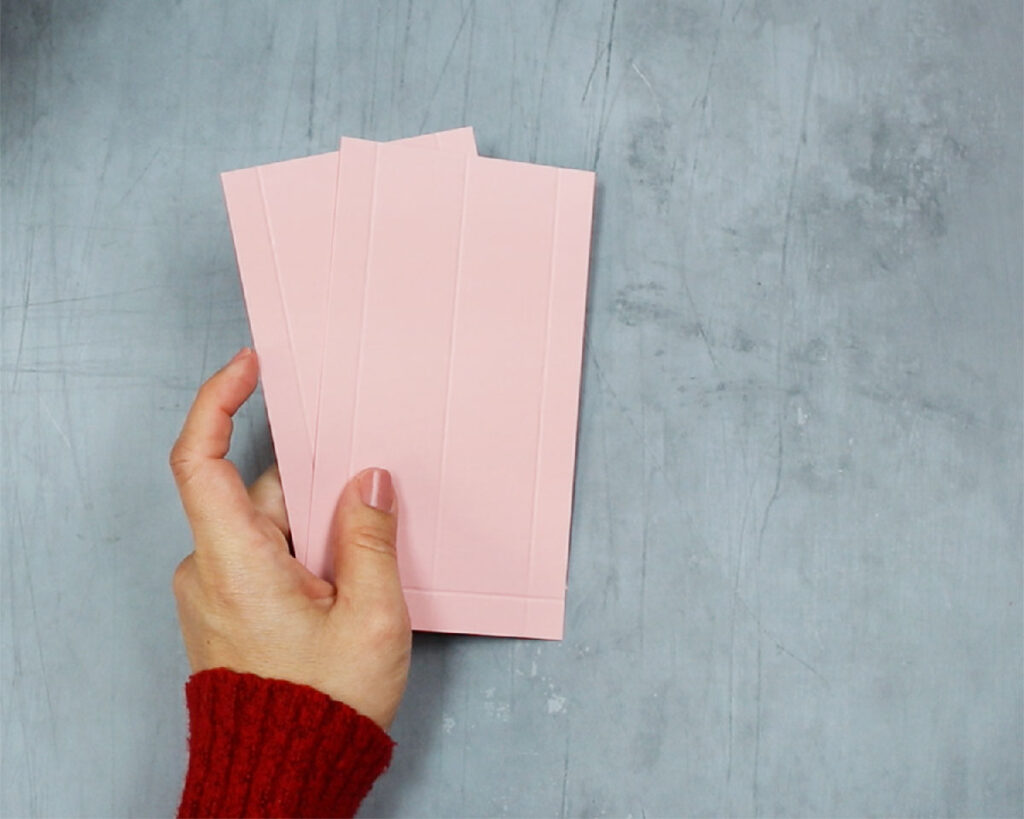
Trim the corners of the side panels to shape the flaps and apply double-sided tape over the side and bottom flaps.
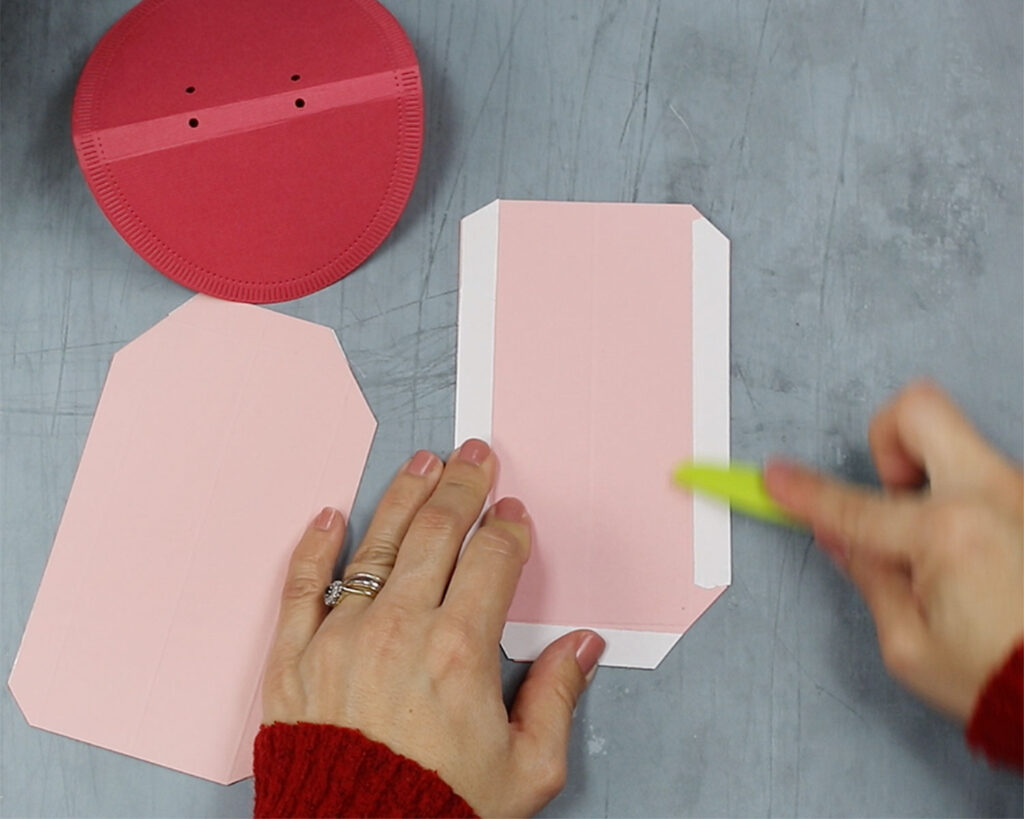
Then adhere the side panels to the main piece and shape the box as shown in the video here.
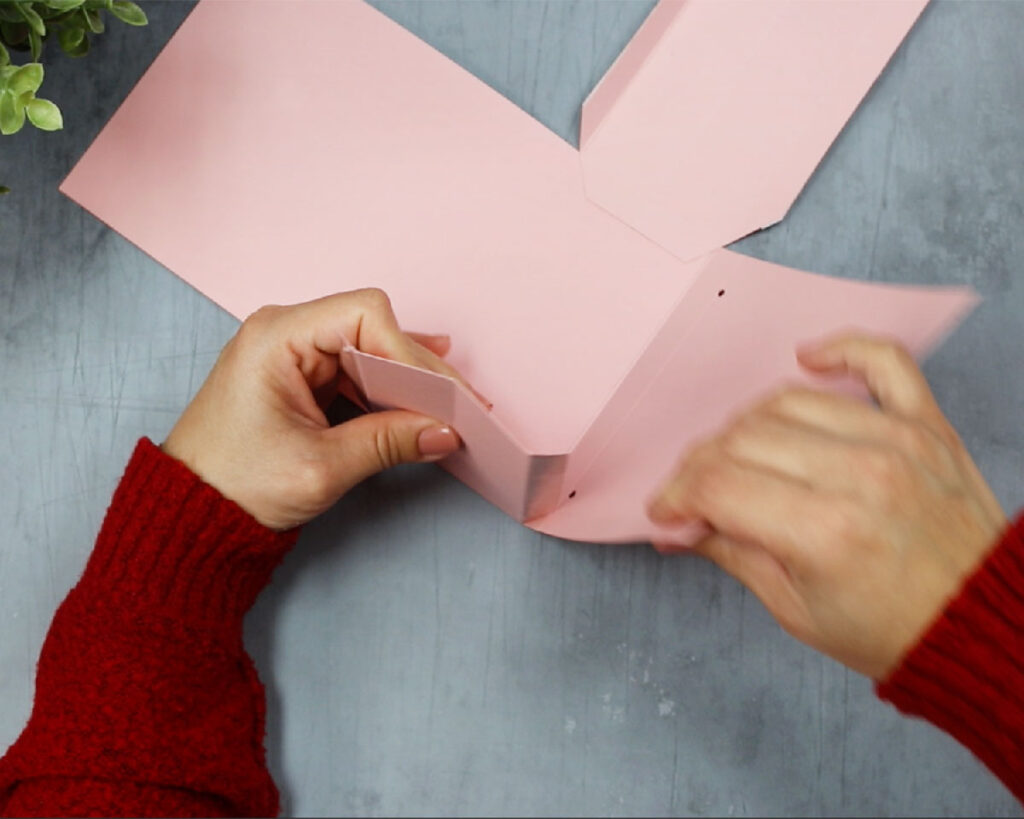
The top part of the backpack
- You will also need an oval piece that measures 5-1/2″ x 4-1/2″ inches.
- I used the largest die from Fluted Classic Ovals to die cut this piece.
- Then, I scored a line across the half of the oval and I scorde another line at 1/4″ inches from that centerline.
- Next, I punched 4 holes about 1 -1/4″ inches from the oval edge.
- Two holes should be punched in the middle of the two scoring lines.
- The oher two holes should be pounched about 1/4″ of an inch, just next to the other ones but in the larger side of the folded piece.
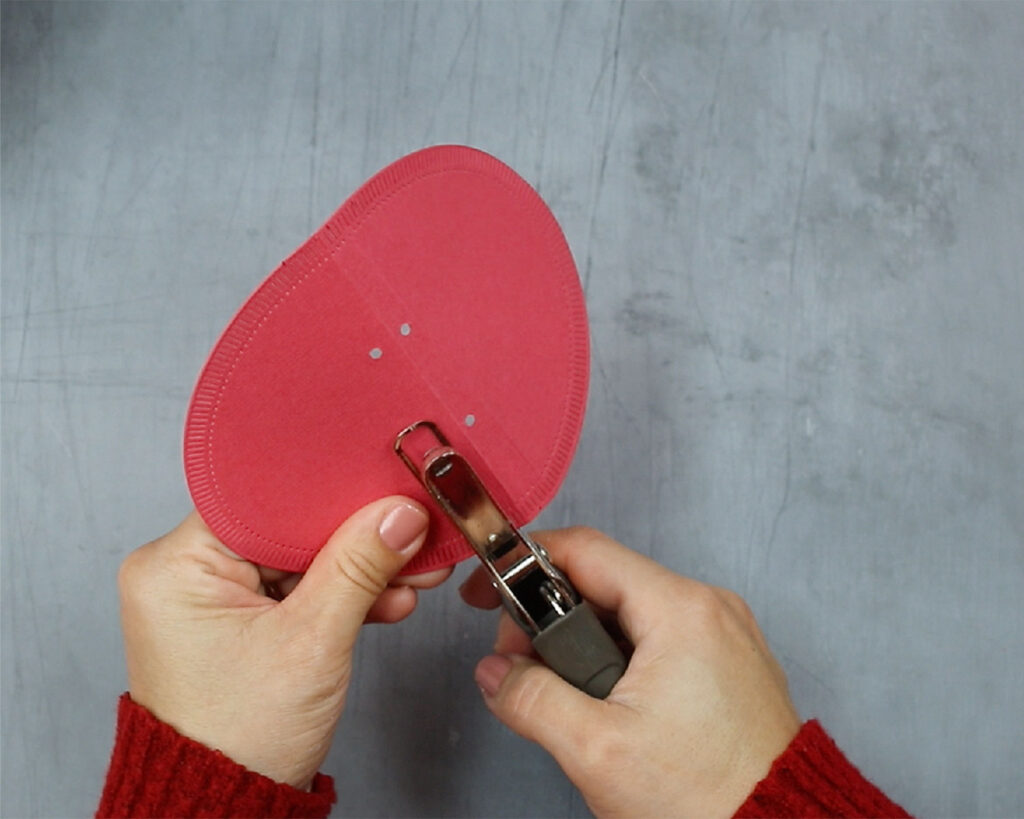
The line scored at 1/4″ inches from the centerline is the one that should go alined with the top of the backpack ( the larger part of the folded oval should be placed at the back of the backpack)
The Straps
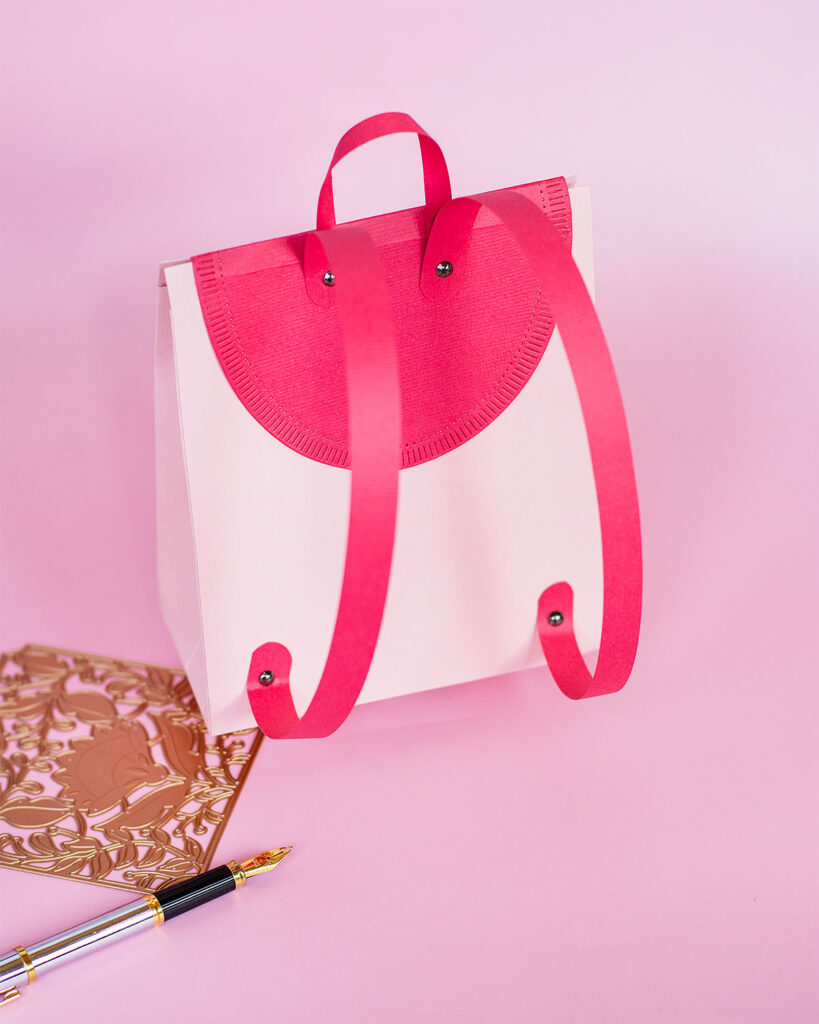
The mall top strap measure about 4″ x 1/4″ inches and the two straps at the back measure 1/2″ inch x 12 inches.
To make straps or bag handles, I like to use Craft Perfect Classic Card by Tonic Studios (This is 216 grams flexible, sturdy, textured cardstock)
For today, I used Fuchsia Pink Weave Textured [ Available at Tonic Studios UK here or Tonic Studios USA here ]
To affixed the straps, I used brads as shown in the video here.
Hot Foiled Banners
The sentiments and banners on the notecards were hot foiled using the Glimmer Hot Foil of this month called “Love Enclosed”.
I also used red hot foil and Polished Brass hot foil and I tried the Spellbinders Specialty Glimmer Cardstock. I highly recommend it… It is amazing!!
To die-cut the banners, I used a die included in Mini Everyday Sentiments Glimmer Hot Foil Plate & Die Set.
I also used a combination of Spellbinders cardstock colors but the star today and the one that makes all the difference is defo brushed gold cardstock.
The pictures could never catch the beauty of brushed gold cardstock as it tends to look green but is an absolutely gorgeous pearlescent and shiny gold color.
** Find all supplies used to make this project listed below with links to shop.
THIRSTY FOR MORE ?
Have a look at other projects made using the Spellbinders Kits of this month.
SPellbinders Small Die January 2022
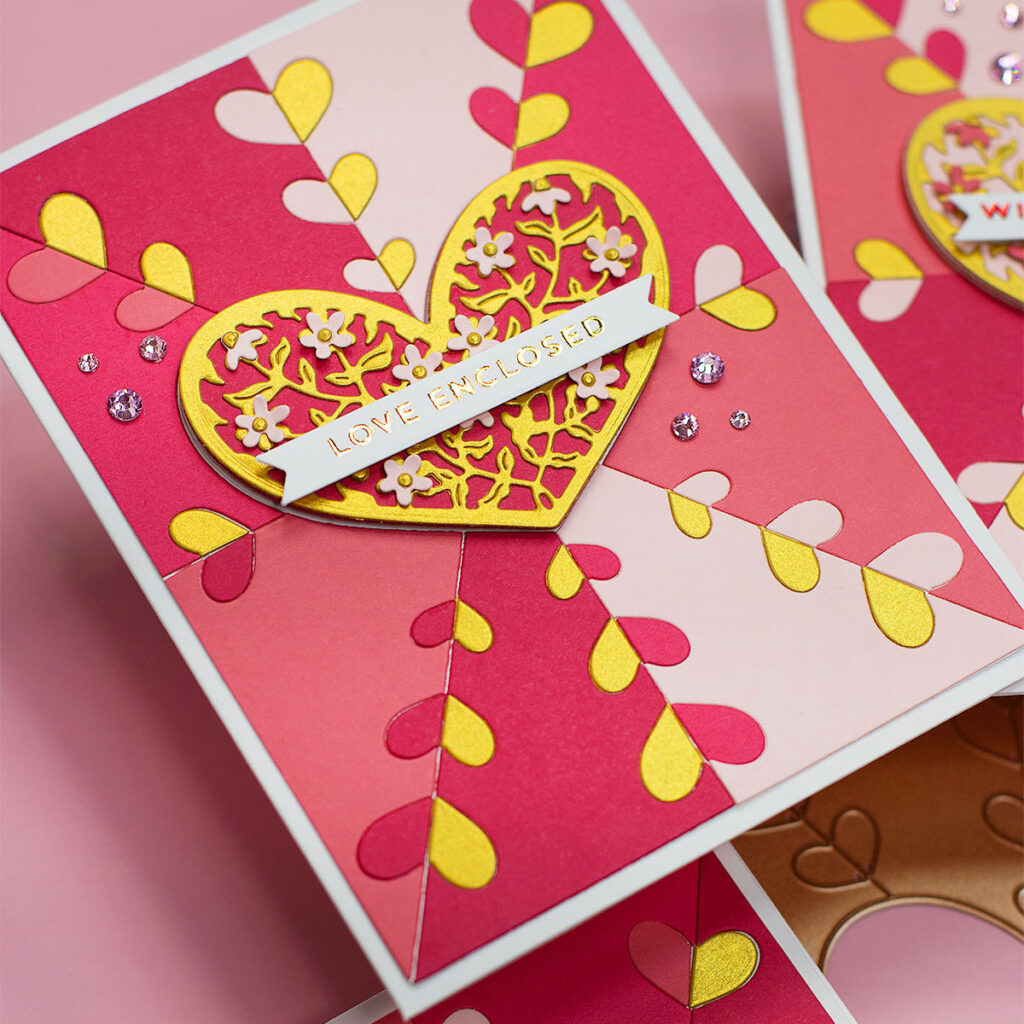
APG KIT OF THE MONTH – January 2022

Check More kits inspiration

That’s all for today.
I hope you enjoyed my Spellbinders monthly inspiration.
Happy Crafting.
X Bibi
SUPPLIES LIST
Affiliate links apply at no extra cost to you. Thanks for your support.


Leave a Reply