
Hello there, I have to admit that I wasn’t a gnome lover until I discovered Simon Says Stamp Scandinavian gnome-themed dies and stamp sets.
I have various of them and I feel that I haven’t shared enough ideas with you, so I took the Spring Gnomes stamp set and die set out of the package to make a couple of projects.
Spring Gnomes

- Spring Gnomes stamp set includes 3 gnome designs, a little heart, and 5 different sentiments.
- This is a 6×4 inches stamp set.
- The coordinating die set ( Spring Gnomes Wafer dies) includes 4 dies to cut all the images in the stamp set.

Although I made spring-themed projects you can use the gnome image to create cards for any occasion.
Coloring
I had all the intention to add the rainbow colours to the images using Karin Markers as my set of 12 is perfect for that porpoise.
However, when I sat down to colour the images I grabbed my Zigs!! I ended up using earth tones… Sometimes my brain doesn’t coordinate.
Here are the Zig colours I used for my projects today:
- Gnome Clothes: Ochre, Blue-Gray, Light Gray, Gray-Brown, and a hint of Brown.
- Skink: Flesh color, Pale Pink and Pink.
- Flowers: Wine Red, Geranium red.
- Shadows: Dark brown, grey-brown, and navy blue.
Adding colour to this images was easy, perhaps the only part I should explain is how I added colour to the clothes?
- So for the clothes, I applied a stroke of different ink colours directly from the markers to the paper and I blend using a water brush slightly wet.
- Rather than mixing all together, I just pull the different colors into each other. I cleaned the brush very often to avoid getting a single brown color all over.
- I repeat the process 2- 3 times dropping also a hint of brown here and there. This colour adds a beautiful reddish shade.
- The last step was adding shadows.
- When all was dry I added little lines or circles on different areas of the clothes using a Light Gray Zig.
Gnome Card

- First, I stamped the images on Strathmore watercolour paper using Versafine Black Onix ink.
- Then, I die-cut them.
- For the front panel of the card, I die cut a piece of Sand cardstock using SSS Rainbow Heart die.
- After this, I embossed the panel using the Heart and Soul embossing folder by Spellbinders.
- Then, I glued it on the card base, and using used adhesive foam pads I stuck the different elements.
- I also added a heat embossed banner made using Wow opaque super fine white embossing powder.
- To embellish, I used Nuvo Aztec Gold Glitter Accents and Nuvo Crystal Glaze

Gnome Tag
- To make the tag, I used Nested Tags die set and I stamped the sentiment directly on the panel using Versafine Black Onix ink.
- I also stamped the gnome on the tag and I adhere the die-cut coloured image over it (slightly offset) using adhesive foam pads.
Enjoy 15% off on the Simons Says Stamp Shop! this weekend….


That’s all for today.
I hope you enjoy this post.
Happy crafting.
X
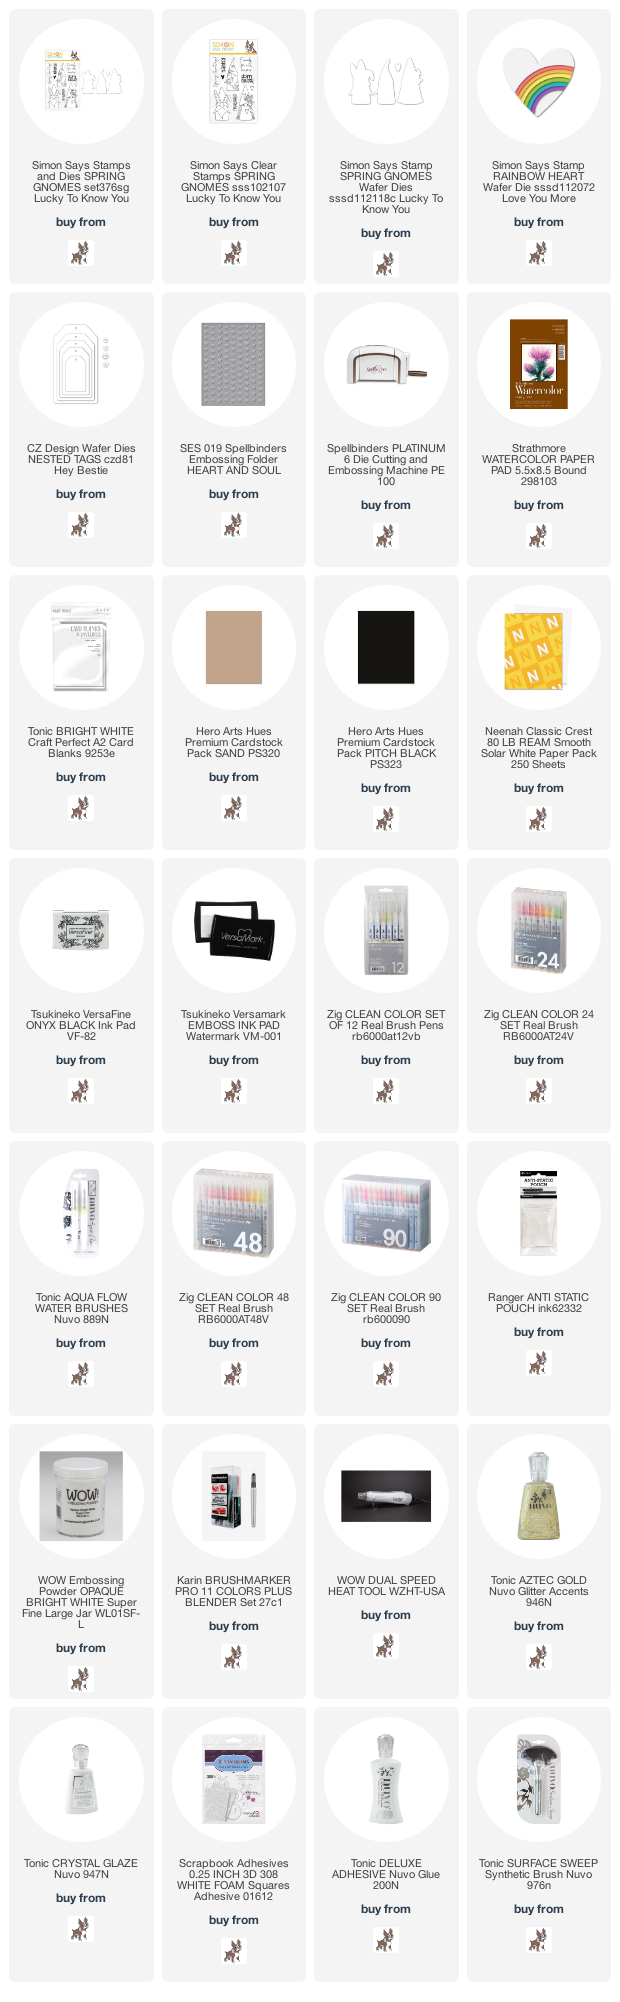
Supplies List
Affiliate links applies at no extra cost to you. Thanks for your support.


Leave a Reply