Hi there, for today I have a couple of ideas and a fun technique to share with you using Spring Bloom Corner Die by Simon Says Stamps and Wow embossing powders.
Heat Embossing Through Die Cuts
As shown in the video, the first idea is to do heat embossing through die cuts !
This does not require ink but instead, a heat-proof double-sided adhesive sheet adhered behind a previously die-cut panel.
Then you can sprinkle different embossing powders colours, shake the excess and heat set. That’s all!
Spring Bloom Corner Die is particularly beautiful to apply this technique.
This die was sold out after its release and that’s the reason because I have been holding this blog post but it will be back in stock in a couple of days! Yay!
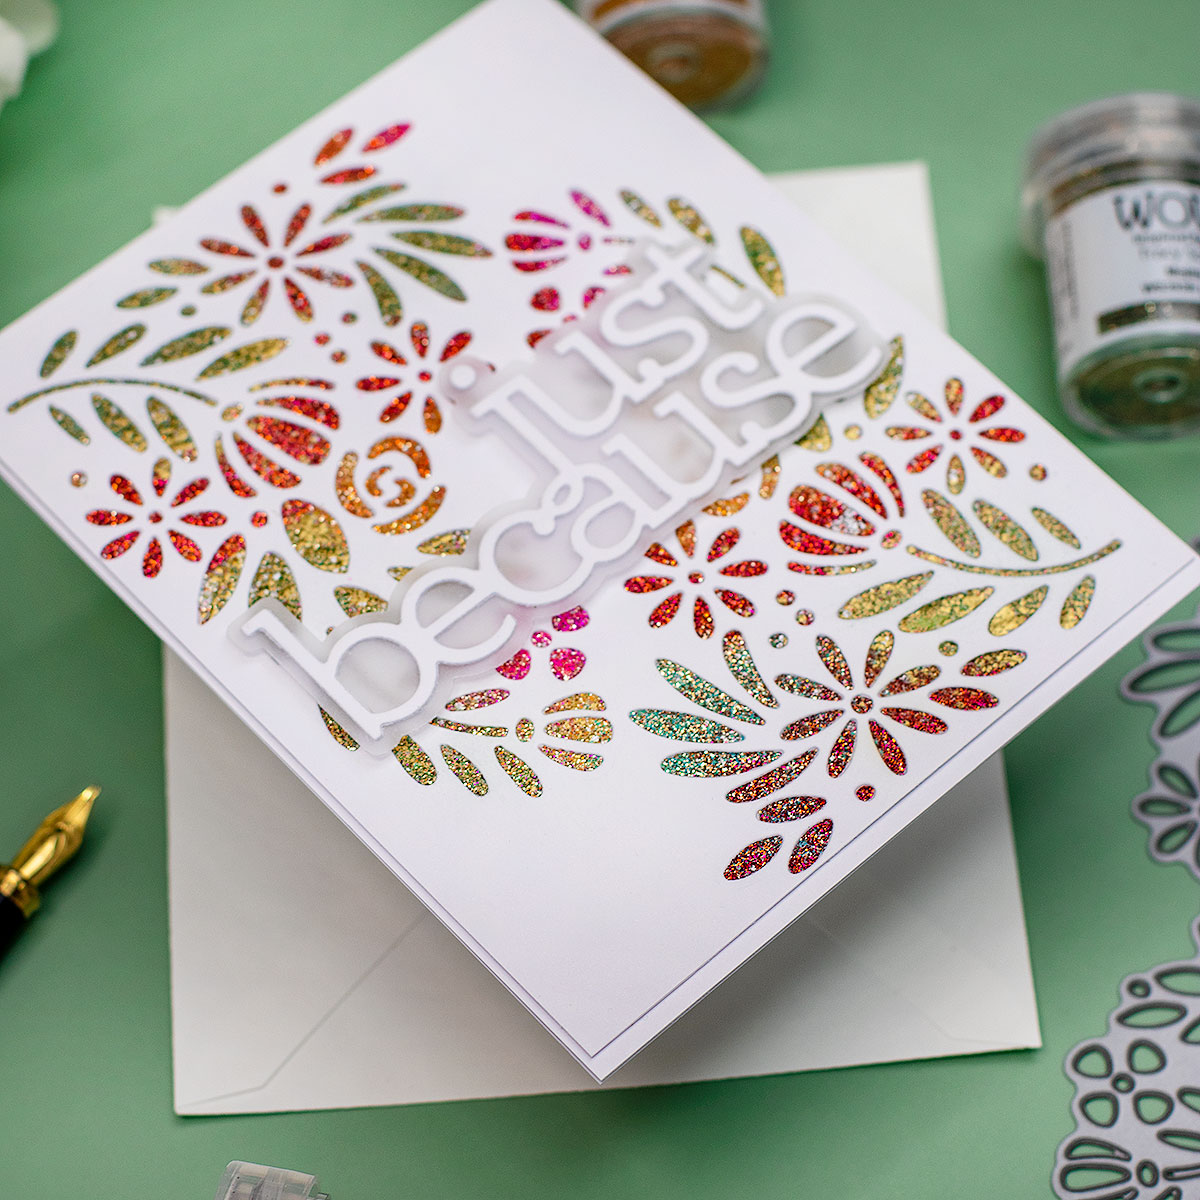
HEAT EMBOSSED THROUGH DIE-CUTS CARD BACKGROUND

- To make this card I die-cut twice a C6 white panel using Spring Bloom Corner Die.
- After die-cutting, I adhere a double-sided adhesive sheet at the back of the panel and I sprinkled different embossing powders colors one at a time.
- Then, I heat set and I removed the paper behind the adhesive sheet to adhere this onto a C6 card base.
- To make the sentiment, I used CZ Design Just Because die set to cut a piece of white cardstock and vellum for the backing piece.
I used the fallowing Wow embossed powders :

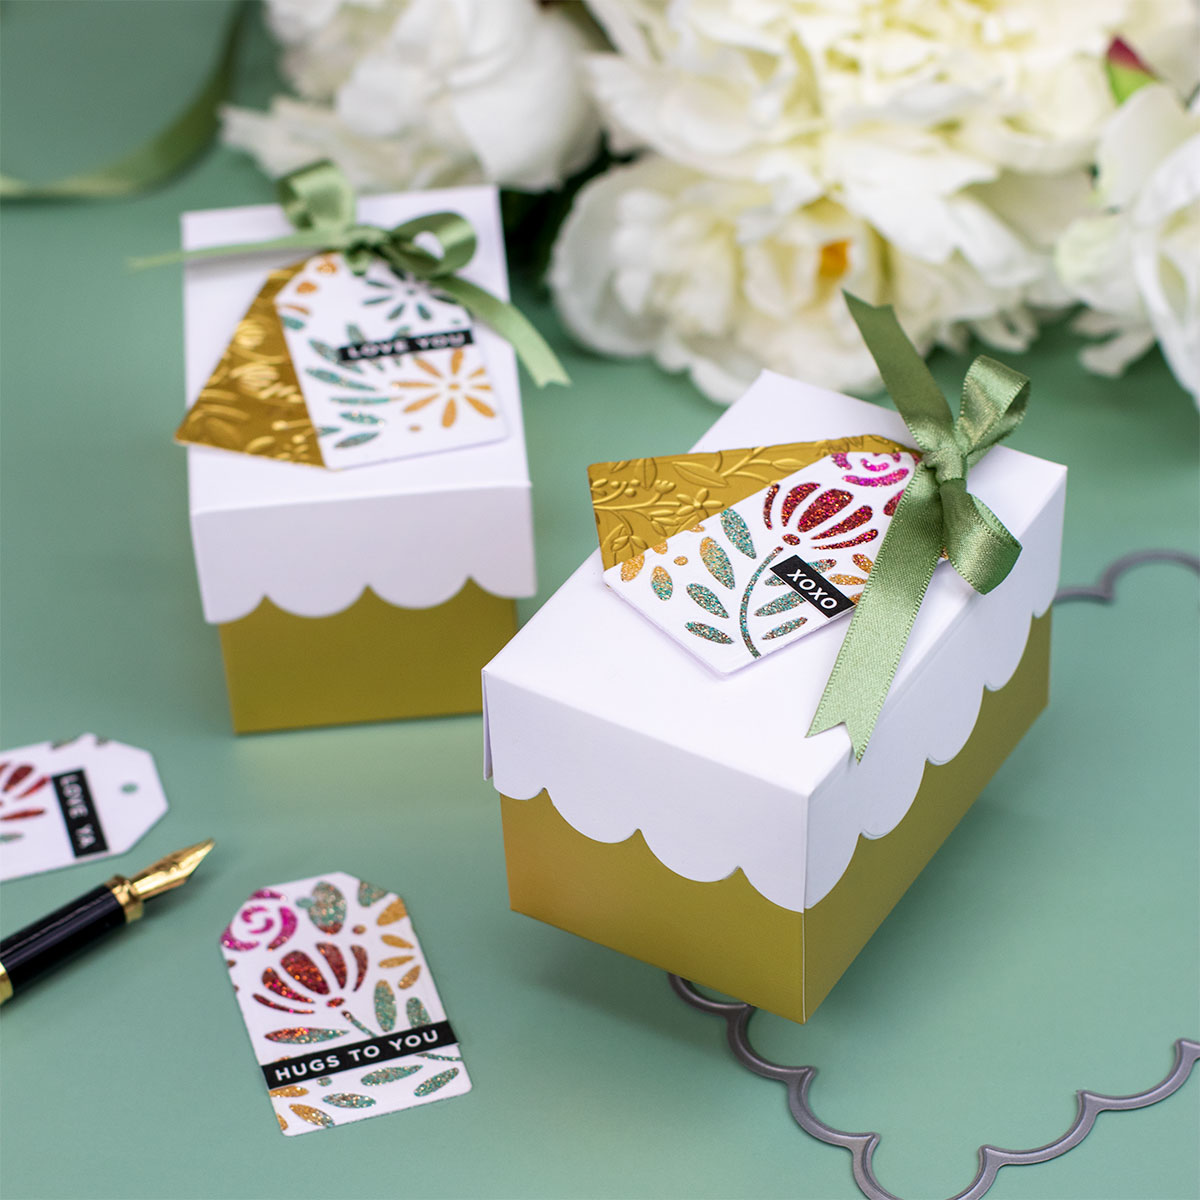
HEAT EMBOSSED THROUGH DIE-CUTS Mini Tags

The second idea is to create small tags using a heat embossed panel instead of making a card as the one above.
Using the smaller die from Nested Tags die set you can get up to 5 tags from a panel.
You will barely know that you have used Spring Bloom Corner Die to create the mini tags background.
I also used Splendid Leaves 3D embossing Folder to add a textured tag behind the heat embossed little tags and I used pre-printed sentiments included in Sentiments Strips Reverse Love.
BOX MAKING IDEA

I had to make a box to display my mini tags lol.
So here is the third idea for you today and it is to use creatively Chunky Scalloped Rectangles!
You can make the lid or the base of a small box with it ( as shown in the second part of the video in this post.) using the larger die in the set!
The box measures 2-1/4″ x 3-1/2″ and they are 2 ” tall.
- I simply used the large scalloped rectangle die to cut a piece of white cardstock.
- Then I scored at 1″ inches all around the edges.
- Next, I trimmed the corners and glued them in place.
- For the box base, I used a 7- 7/8″ x 6-1/8″ inches piece of gold cardstock and I scored at 2″ inches.
- Then, I trimmed the corners and glued them in place.
LOOKING FOR MORE HEAT EMBOSSING TECHNIQUES ?
Check out my blog post here!
That’s all for today
I hope you enjoy this post.
Happy crafting
Don’t miss out on a new Simon Stamp release at midnight tonight!!

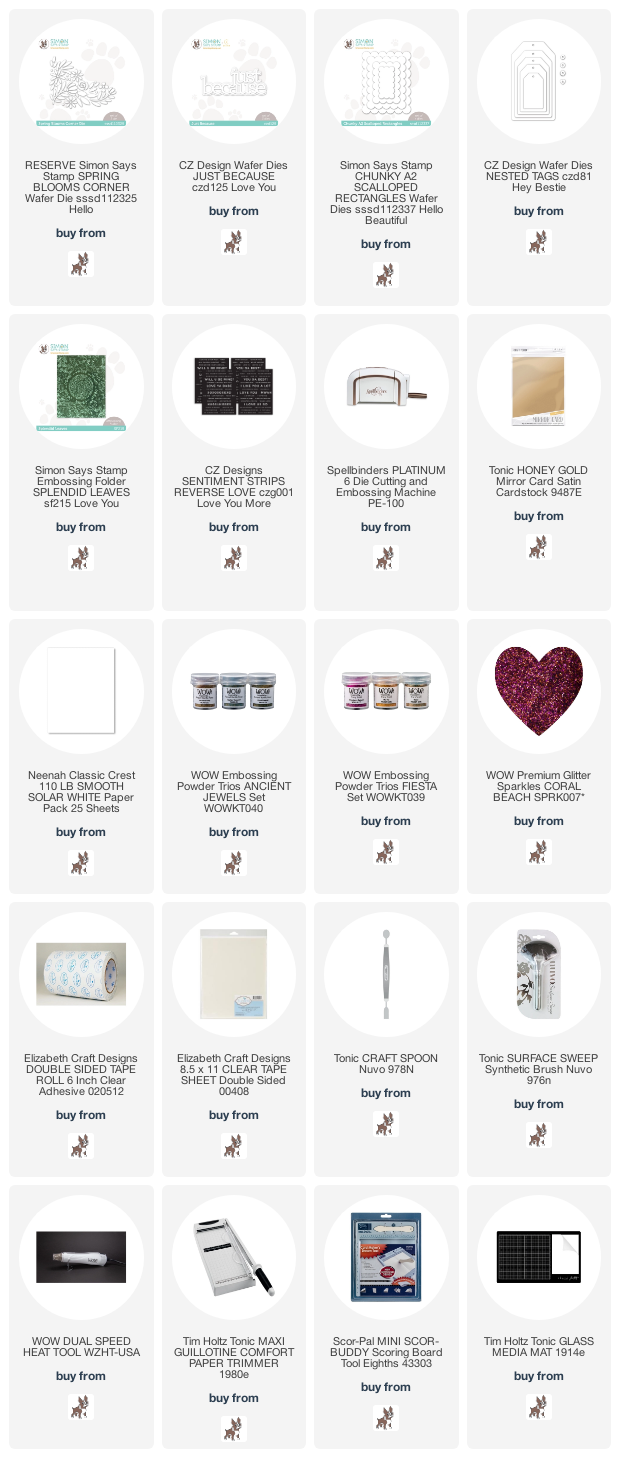
Supplies List
Affiliate Links Applies at no extra cost to you. Thanks for your support.


Leave a Reply