
Let’s make thank you cards for doctors, nurses, or anyone working in the health sector using “Work of Art stamp set” by Simon Says Stamp.
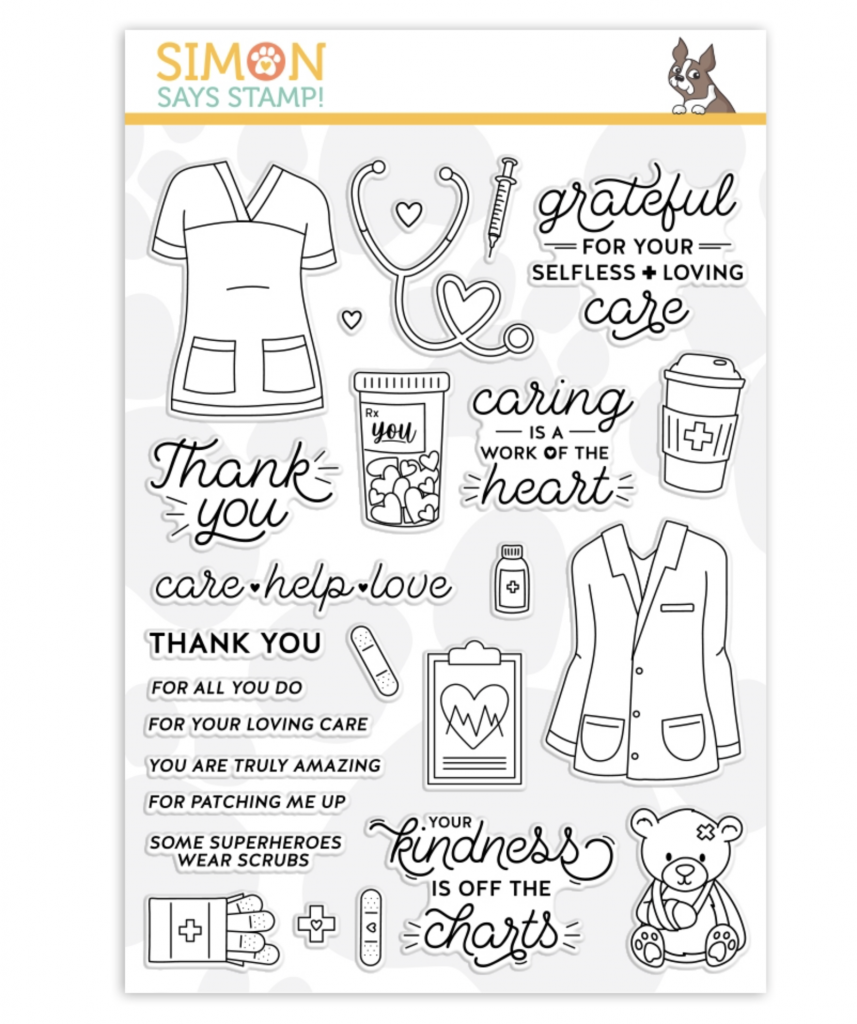
This massive 6×8 inches stamp set includes 15 images and 10 sentiments that can be combined to create different card designs in any size.
The set was launched last year but it is never too late to get it !! It is an ideal addition to our crafty stash.
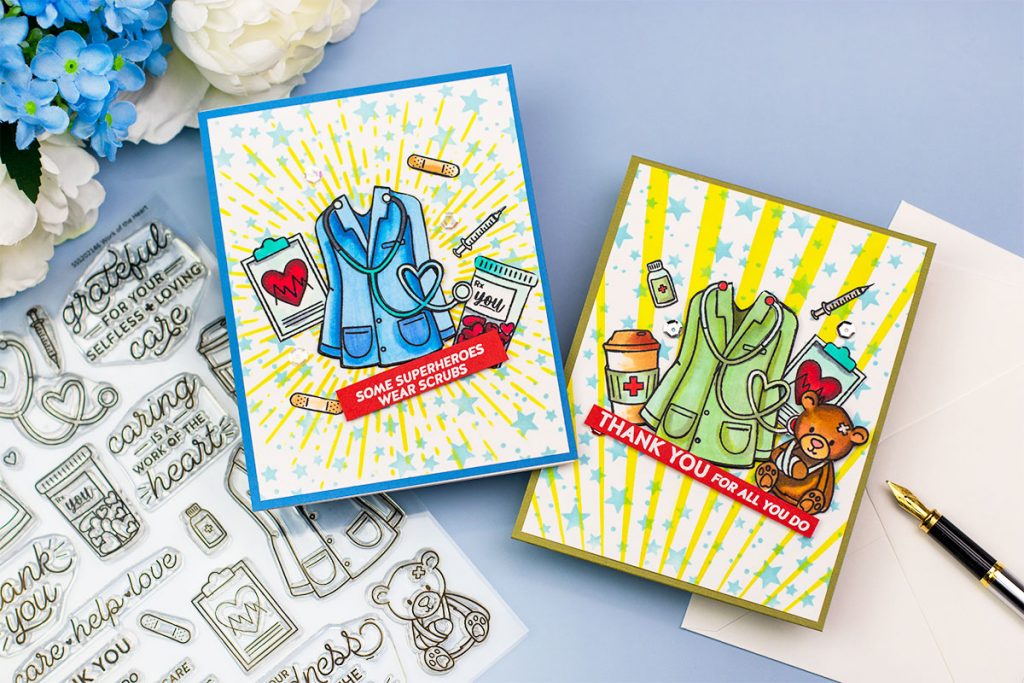
For today, I also made super fun and easy hero type stencilled backgrounds.
These easy backgrounds add a whole new atmosphere to these cards so I defo would invite you to try them out.
To make them, I used Squeezed Limonade and Speckled Egg Distress inks and Random Dots and Stars Stencil, Ocean Scene Builder stencils, and Radiant Background Stencil.
THANK YOU DOCTOR CARD

- To make this card I first stamped the images using Memento Back ink on Neenah Solar Crest 80 Lb.
- I used a stamping platform to get crisp stamped images but this is totally optional.
- Next, I added colors to the images using Copic and Nuvo alcohol markers.
- I fussy cut the images but this stamp set has a coordinating die set that will make everything easier.

The Stencilled Background
I always create front panels that are at least 1-1/4″ inches smaller than the card base.
- So I trimmed a 5-1/4″ x 4″ inches panel of Neenah Solar Crest 80 Lb.
- Then, using a blending brush I applied Squeezed Limonade Distress Ink through Radiant Background Stencil.
- I allowed the ink to dry and I applied Speckled Egg Distress ink through Random Dots and Stars Stencil using a blending brush.
- Next, I foam mounted the larger image onto the panel, and using Nuvo deluxe adhesive I glued the smaller images around it.
- The sentiment was heat embossed using white embossing powder on red cardstock
- To finish, I glued the panel onto a 5-1/2″ inches x 4-1/4″ inches blue piece of cardstock and I adhered this onto a C6 card base.
THANK YOU DOCTOR GIFT CARD
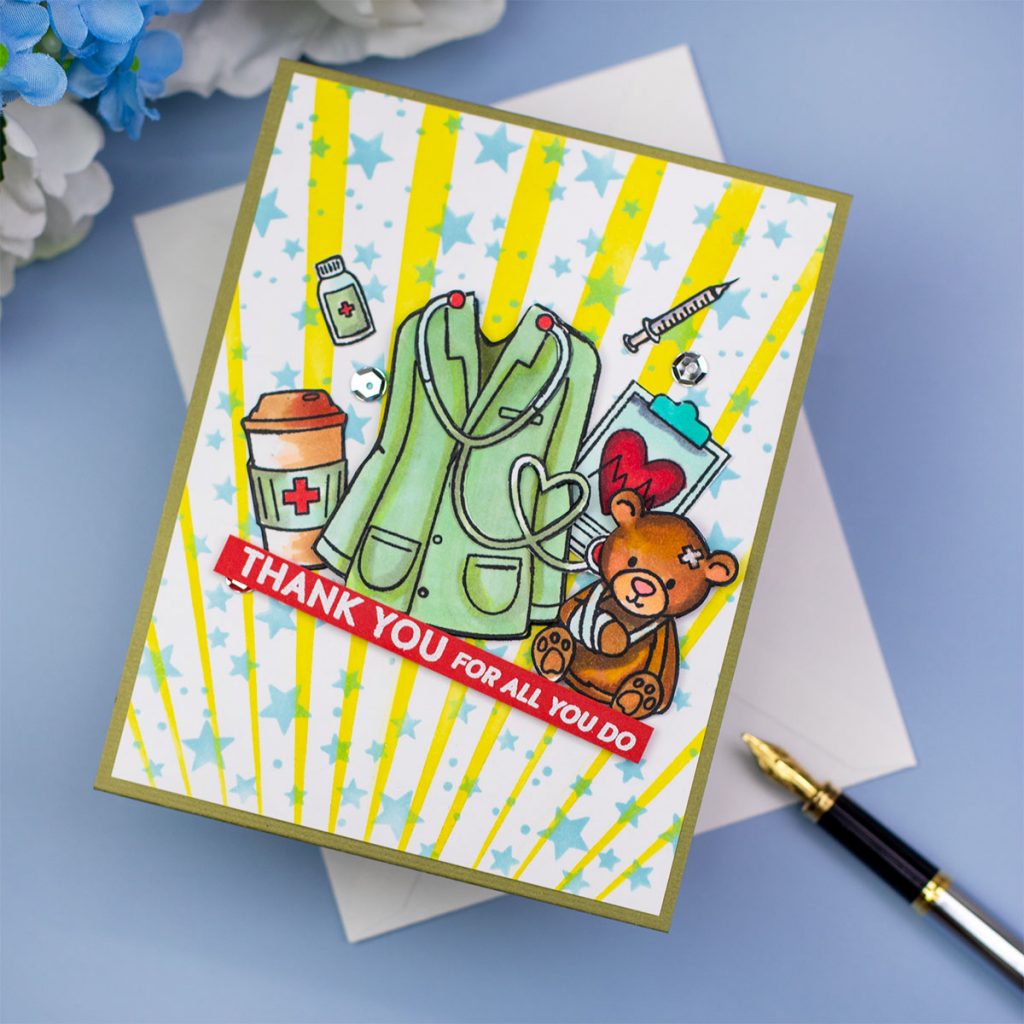
For this card, I did exactly the same but instead Radiant Background Stencil, I used the sunray stencils from Ocean Scene Builder stencils pack.
I also used green colours as a link to the military medical staff and to give you more ideas, I also added an insert to the card base as shown in the picture below.
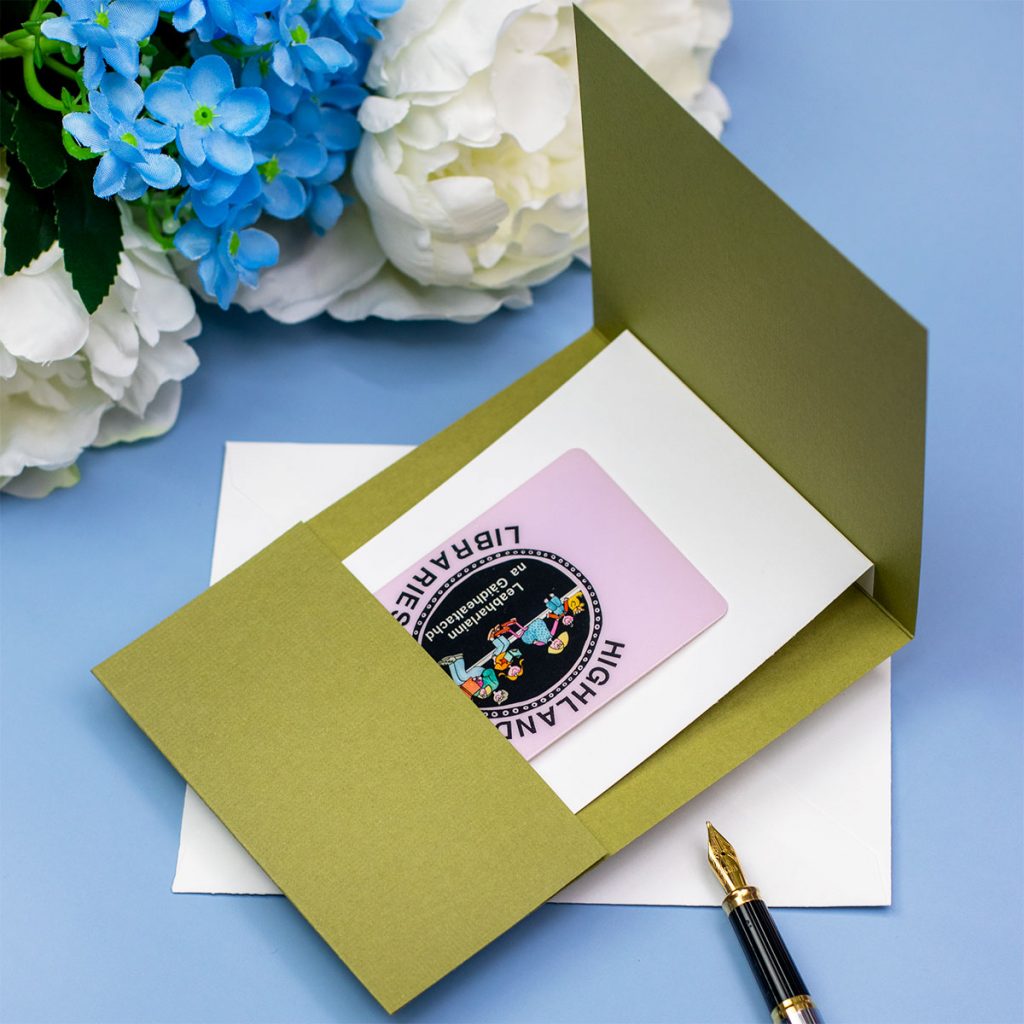
Learn how to create this insert in 6 easy steps
STEP BY STEP

- Cut a 12″x4-1/4″ piece of cardstock for the card base.
- Score and fold at 2-1/2″ inches and 7-3/4″ inches. The card base is done!
- For the insert you will need a 6″x 3-1-/4″ inches piece of cardstock.
- Score and fold at 1/2″ inches and at 5″ inches.
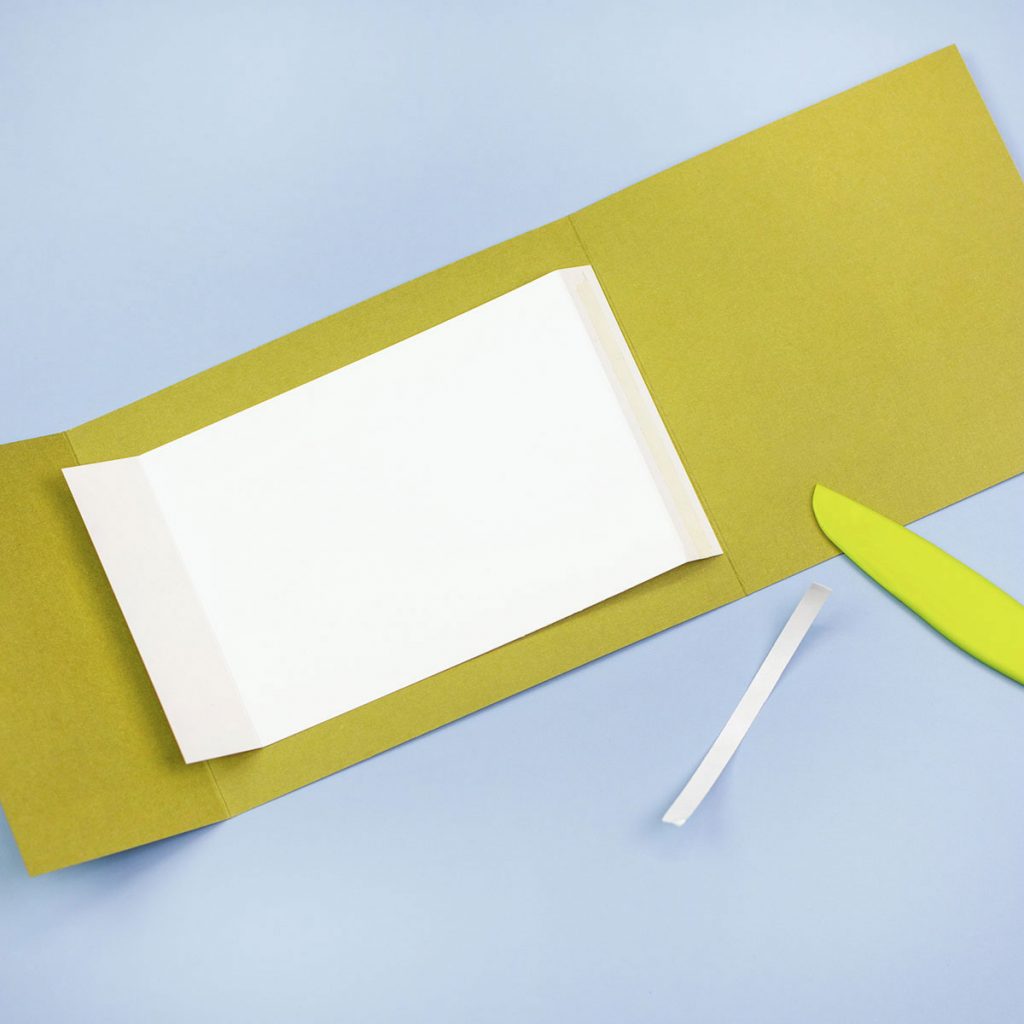
- Add double-sided tape on the slimmer flap of the insert
- Place the insert centered on the card base ( as shown in the picture above)
- The slimmer flap edge is aligned with the scoring line at the top of the card base.
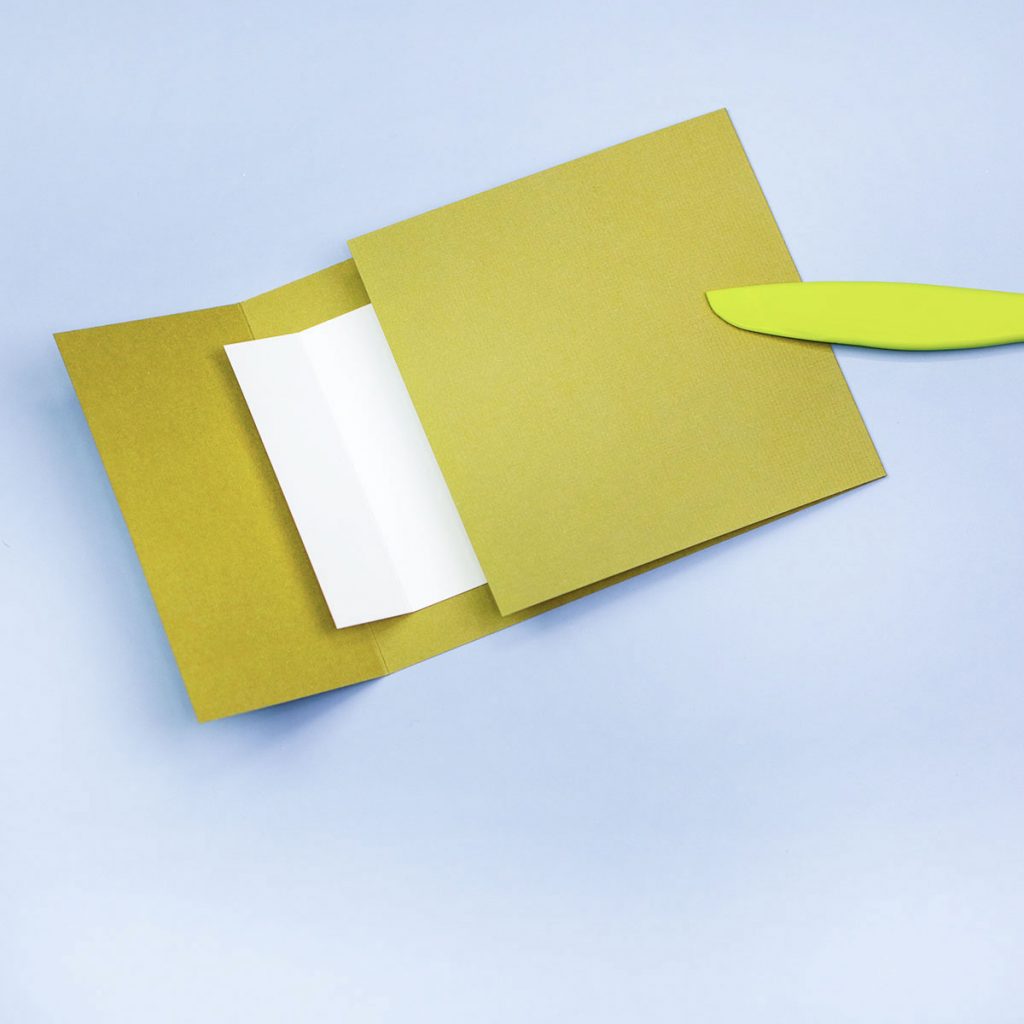
- Close the card base to affix the insert in the place.
- The inside of the card base now, should look like in the picture below.
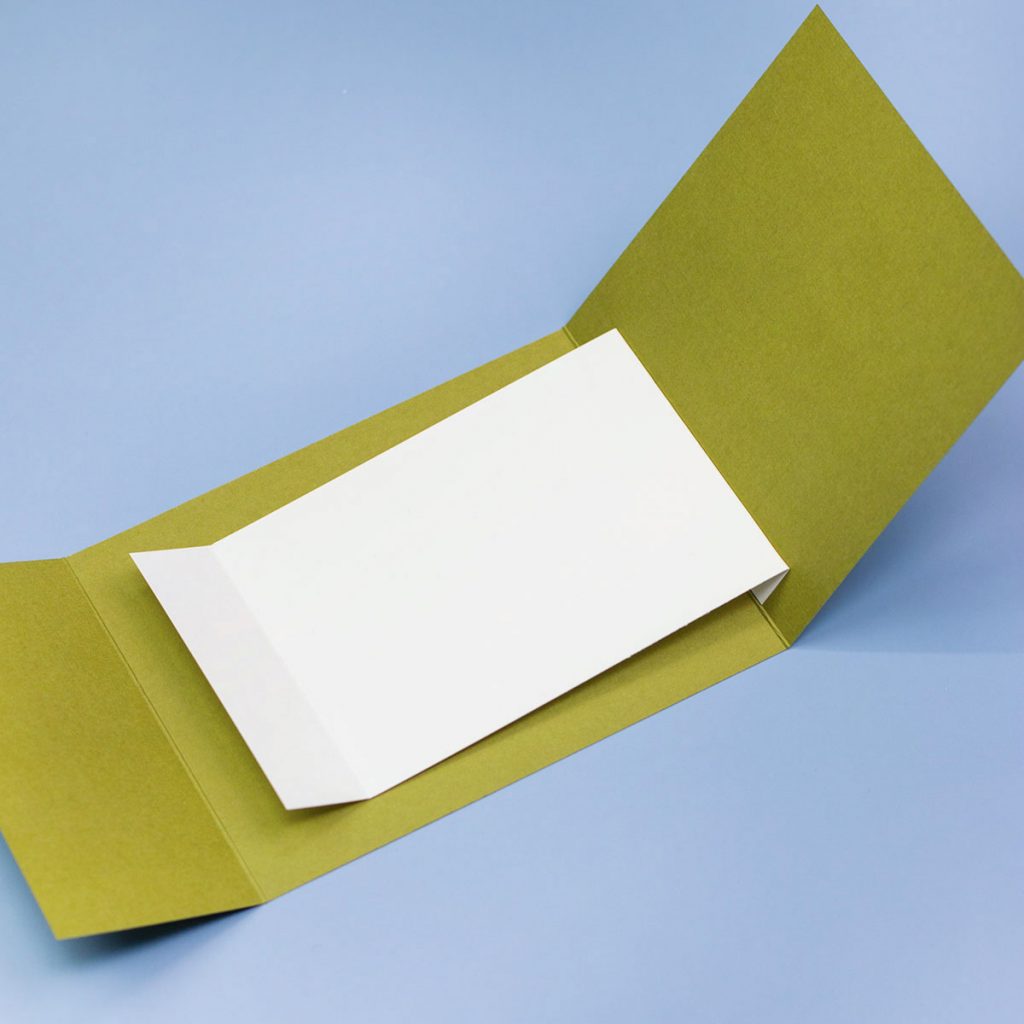
- Now add a little bit of the glue at the edges of the bottom flap.
- Please notice that I only added glue to the central area at the edge of that flap ( see picture below)

Fold the paper to adhere it in place.
Done!

This will create a slider and the gift card will pop up a little bit.
That’s all for today.
I hope you enjoy these projects
Happy Crating.
X
Bibi

SUPPLIES
Affiliate links apply at no extra cost to you. Thanks for your support


Leave a Reply