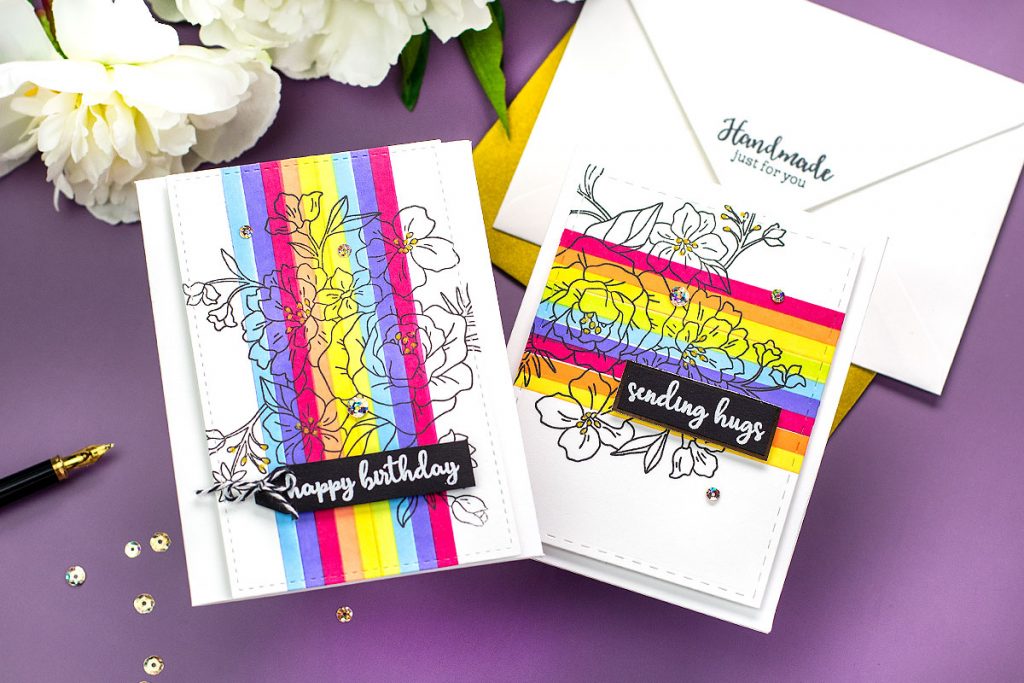
Hello there, for today I made super easy rainbow alcohol marker backgrounds featuring a new Tonic Studios release called the Stamp Club.
I also made other projects to share extra ideas and a step by step guide to do easy alcohol marker color.
I’m recycling one of my old ideas in the post here were you can find other ways to use this backgrounds.
Tonic Stamp – September 2020 includes :
- An 18 PCS floral stamp set + 6 PCS coordinating die set.
- A banners and sentiments stamp set that includes 37 individual stamps
Rainbow alcohol marker background Video
Let me share with you the most easy way to create backgrounds while I show you the new products in action.
As you could see in the video making this rainbow alcohol markers background is super easy.
The new goodies are very versatile as well as you get beautiful images and fun sentiments in different sizes.
You can use the stamps to create or decorate different papercraft projects such as cards, tags, boxes, memory books, scrapbook pages … the sky’s the limit!
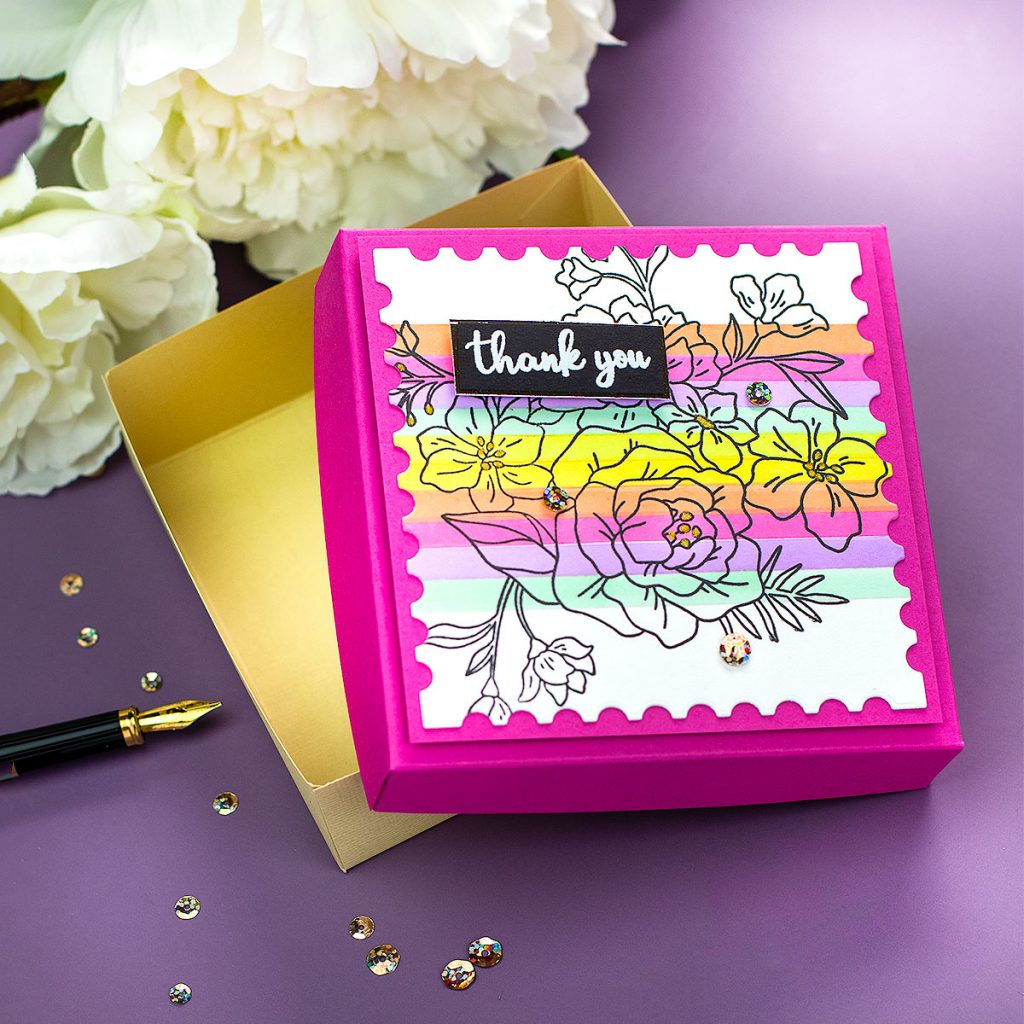
Rainbow panels for 3d projects
You can also create this easy background paper and stamp it or die cut it to decorate your 3D projects.
Nuvo Glitter marker coloring
The stamping possibilities using stamps included in this release are limitless.
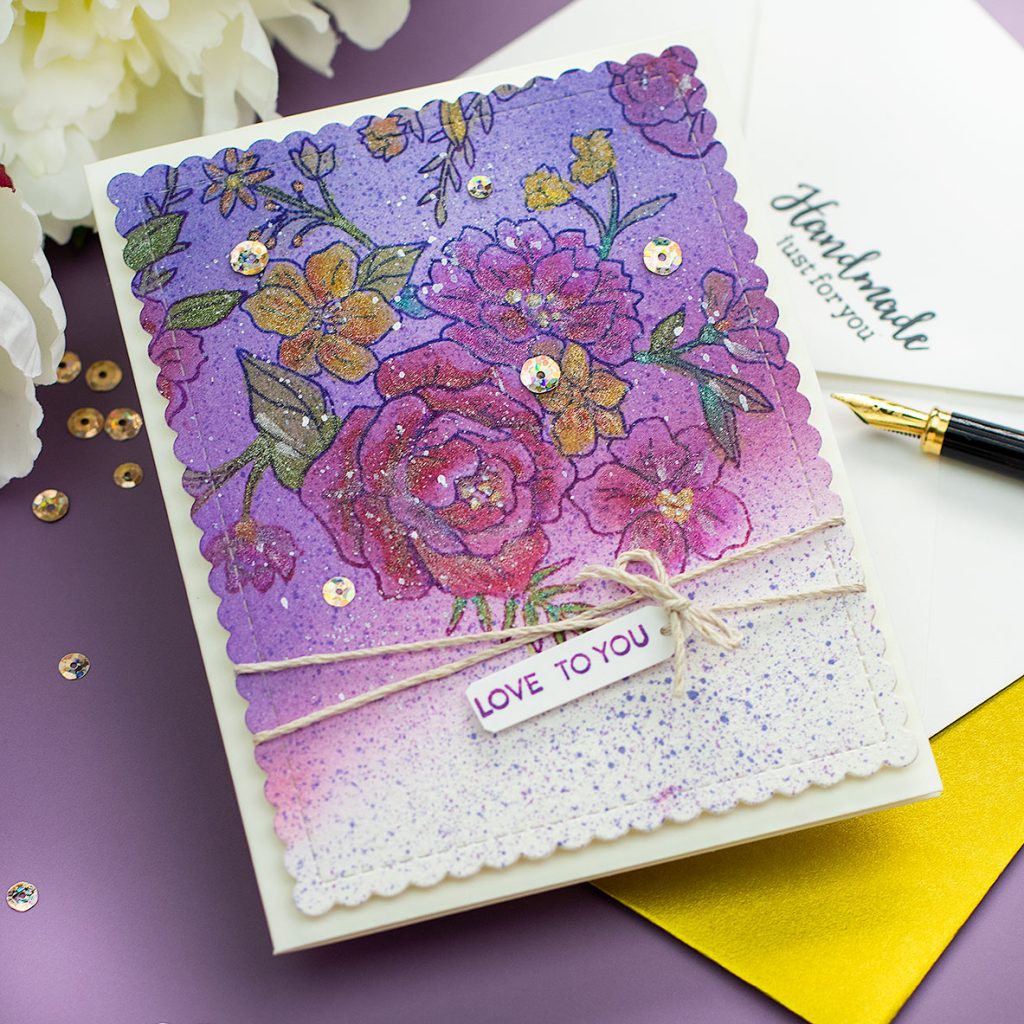
- For this card, I tried to do Nuvo hybrid inks blending over watercolor paper.
- I used royal blue, purple, and pink inks to stamp over the inked background.
- To add colour, I used Nuvo Glitter Markers. These are waterbased and you can use them as any other watercolour product.
- As I love splattering, I mixed a blue Nuvo Hybrid ink with rubbing alcohol and I splattered on the panel.
Here is the colouring mediums used for this card:
• Nuvo – Glitter Markers – Northern Lights – 171n
[ Tonic UK ] [ Tonic US ] [ SimonSaysStamp ]
• Nuvo – Glitter Markers – Ember Glow – 170n
[ Tonic UK ] [ Tonic US ] [ SimonSaysStamp ]
• Nuvo – Diamond Hybrid Ink Pads – Blue Blossom – 86n
[ Tonic UK ] [ Tonic US ] [ SimonSaysStamp ]
• Nuvo – Diamond Hybrid Ink Pads – Sunset Serenade – 82n
[ Tonic UK ] [ Tonic US ] [ SimonSaysStamp ]
I also wanted to share an easy colouring technique using alcohol markers. This is all about simplicity!
step by step alcohol marker Colouring
- Stamp the image using Nuvo Black Shadow Hybrid Ink on Craft Perfect Ultra Smooth 300 grams Cardstock

2. Apply a yellow marker (401) at the edges of the leaves.

Use a blue marker (425) on the base of the leaves and blend towards the areas previously coloured with the yellow marker .

Nuvo Alcohol markers are blendable and you can also create your own shades mixing primary or secondary colours or even complementary colours.
Use a dark green, grey or blue marker to add shadows to the leaves. I used a dark green #413.

To even the colour, blend all together using a light marker (359). This is optional as you might want to see the seems of the colours. This is a matter of personal preference.

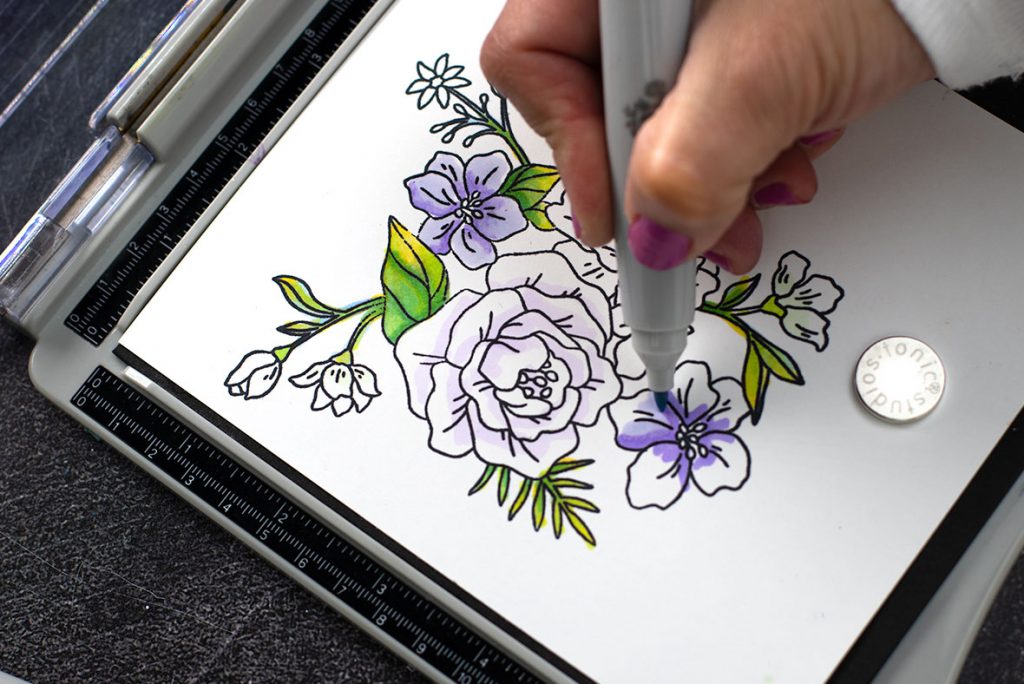
Add a light colour on the base of each petal. No more colouring is needed if you want to.

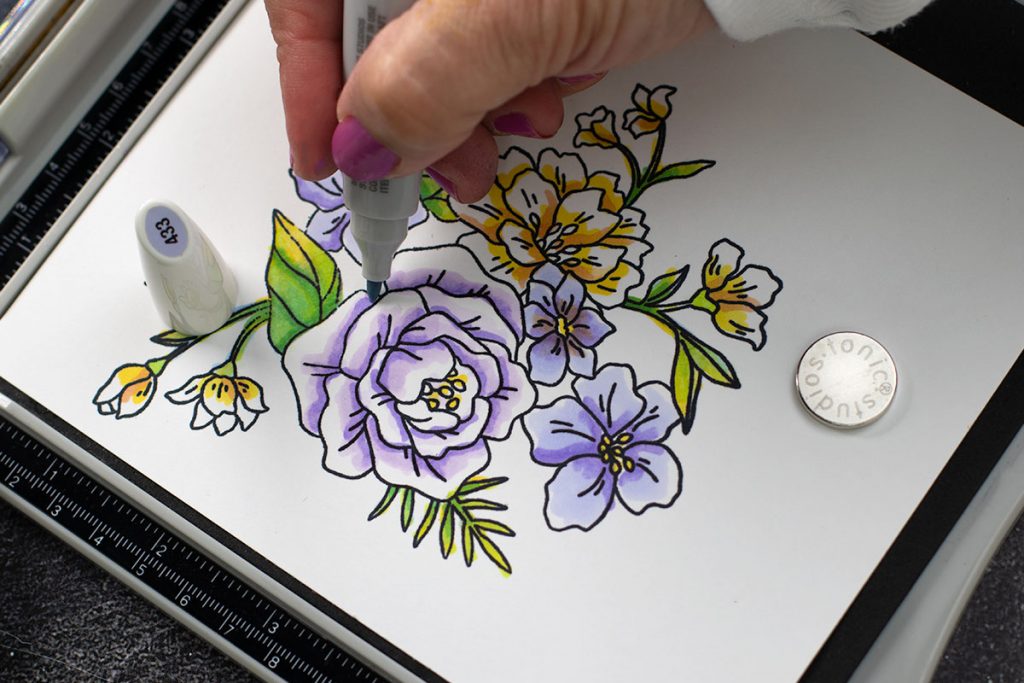
Add a dark colour (436) on the base of the flower petal. Then blend a lighter colour (433) towards the oposite edge of the petal.
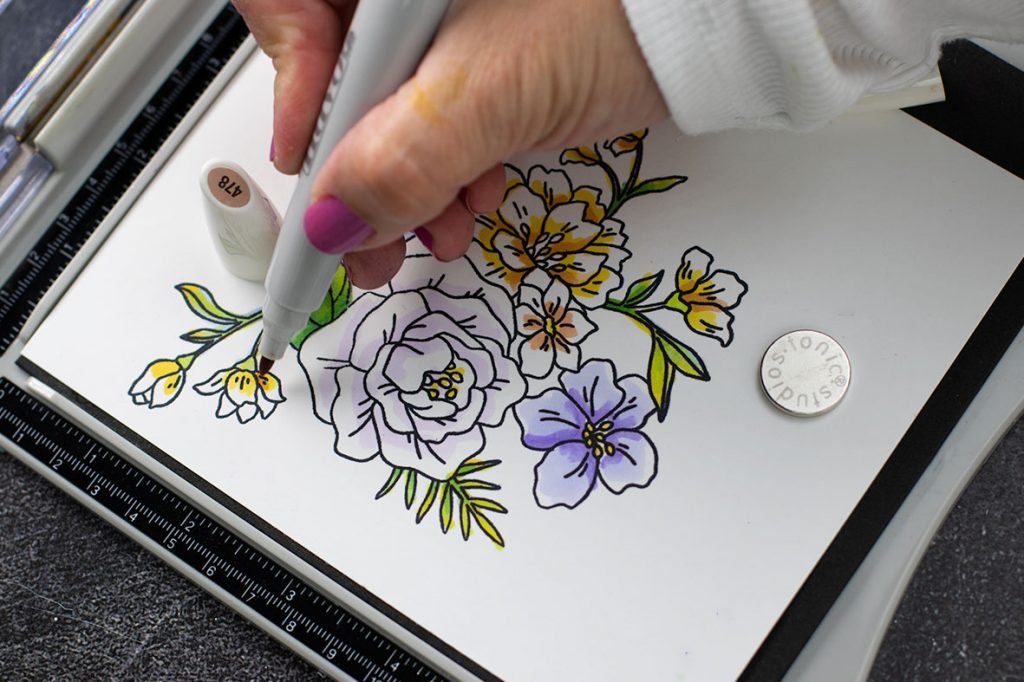
For the yellow flowers, I started by applying a light colour ( 401). Then I added a darker brown colour to add contrast (478).
You can change your mind any moment and add a darker colour over a light colour but you might not be able to do the oposite.
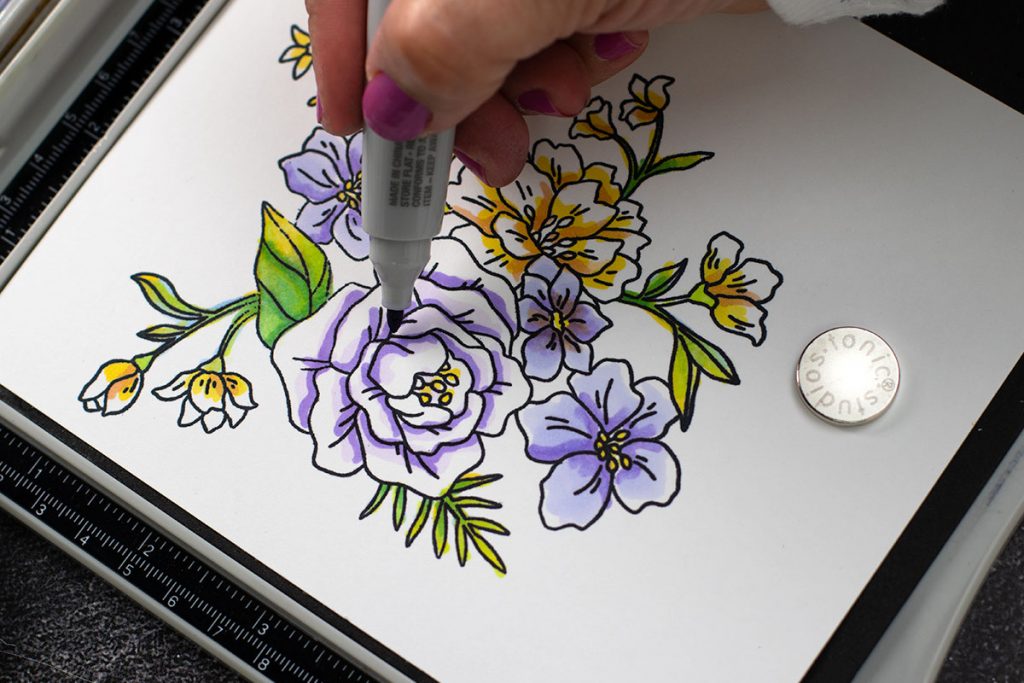
Blend a lighter shade (Lilac 433) into the dark colour (purple 436) . You can add colour in circular, linear or flicking motion towards the desire area.
I did this in circular and liner motion for this sample.
Add colour to the center of the flowers. I used yellow (389) but you can use orange, browns or even black.
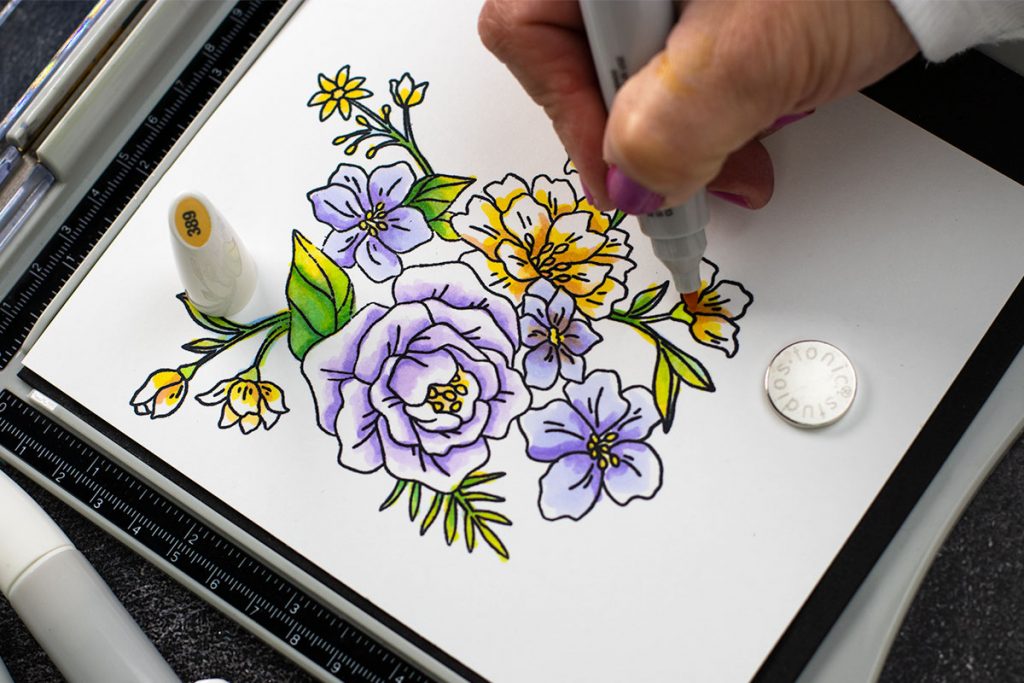
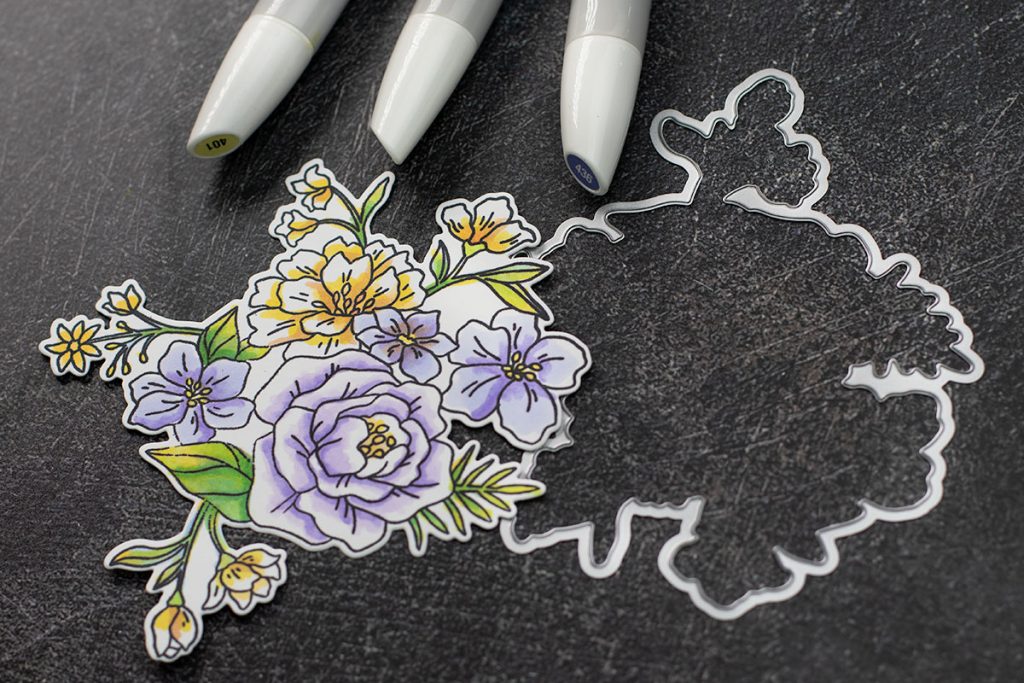
Die cut the coloured image using coordinating dies.
Affix the image on an embossed card panel.

Add a sentiment and embellish with sequins.
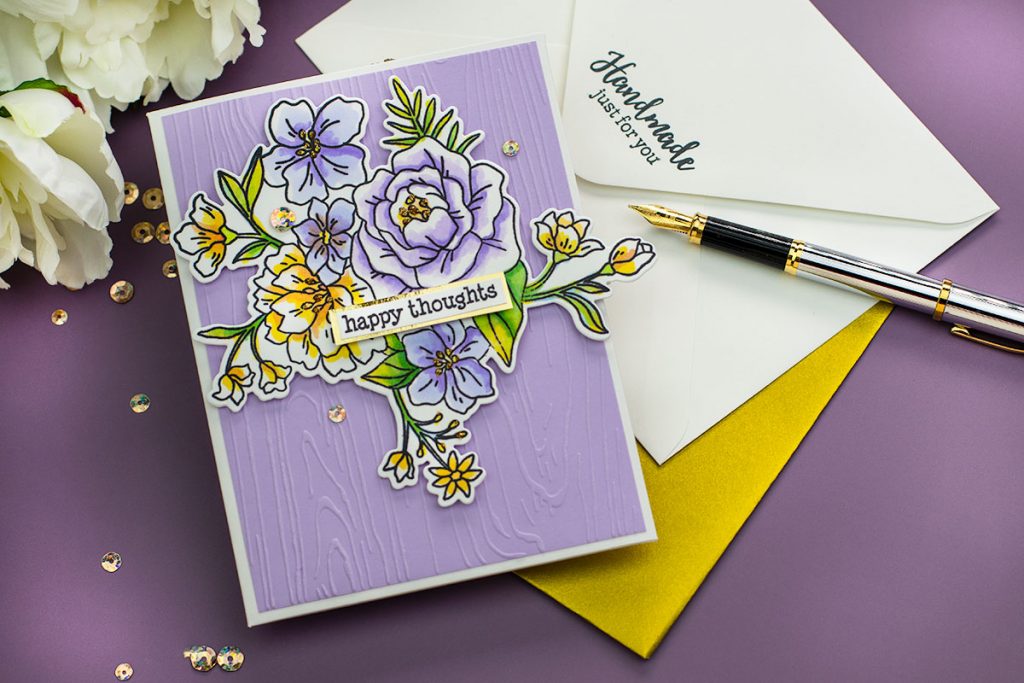
Alternatively, you can also stamp a matching envelope using stamps from Tonic Stamp Club – October 2020
top tips
- Start by choosing a light, a medium and a dark shade of the same colour.
- Be aware that you can use only one colour or two similar colours as I did today, or you can use three, four, five or as many colours as you can blend on a single area of your project.
- If you aren’t sure about the shades you want to use for your artwork it is ideal to start applying light colours and build up the colour from there.
- When you start by applying darker shades of colour this will help you to save ink and time. You will be also more efficient when colouring from dark to light using alcohol markers but this also depend on the look and feel you want to achieve.
- To get a light colour at the edge of your images here is a tip: do not add colour at all. You can also use the blender pen to lift the colour, or use a very light colour on that area.
- Colouring is all about preferences and style. You can colour an image by filling it with little dots, you can apply a solid colour, the sky is the limit! Do not limit your creativity.
- I’ll invite you to be more intuitive and to avoid overthinking when colouring.
That’s all for today.
I hope you enjoy this post
x Bibi






Leave a Reply