Hi there! I have this idea to make faux marble embellishments, die cuts or accents to apply them onto cards and I have been looking forward to spending a bit more of time trying different ways to achieve a more realistic look and feel and more colours as well.
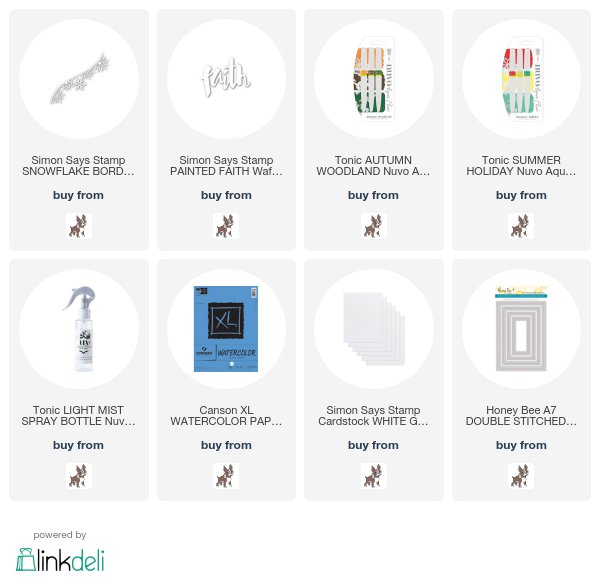
Today I’m sharing the result of a very first approach and for this card, I used: Painted Faith Wafer Die and Snowflake Border Wafer Die by Simon Says Stamps.
So I was making the card in this post about 3 months ago but when I was playing with the marble effect idea other ideas called my attention and I ended up making the cards in the picture below. Do this happens to you when crafting? Start crafting with an idea and making something else? It happens so often to me!
 |
| Click here to see Video – blog post for the cards above. |
Anyways .. To create the paper for the card today, I followed the same process to create the background paper for the Christmas cards in the picture and the same supplies “except for Distress Inks” as for the card in this post I used the inks of Nuvo Aqua Flow pens in green and blue instead.
Apart from the ink, I used exactly the same supplies ( Damask Stencil by Simon Says Stamps and Gesso). I think the Nuvo Aqua Flow Pens ink provide a completely different appearance to the paper.
I uploaded a video on my Youtube Channel to better show you how to crate the paper look and feel/ Find the video here ( explanation minute 1:11″ ).

So after making the paper I simply die cut the word ” Faith ” and also the “Snowflake Border” out of it.
I placed the Snowflake Border die at 2″ of the edge of the paper and then I run it through the die cutting machine so that I could use the negative die cut paper at the edge of a panel.
I die cut another Snowflake Border out of white cardstock and I inlaid it on the negative space created by the die on the green paper. Then I glued these 2 pieces down on a piece of white smooth cardstock that I die cut after using A2 Stitches frames by Honey Bee Stamps.
With my front panel done. I die cut the word ” Faith ” out of craft foam too and I glued it to the back of the green colored die cut word. I love the dimension the craft foam add to die cut words!
Then I glued down the die cut word on the front panel and I applied Nuvo Crystal Nuevo Glaze onto the letters and I allowed to dry overnight.
The die cut word looks like real glossy marble. Perhaps not the right colour but I think it looks soooo pretty!
I wish I could make more samples before Christmas to share with you but with my wee children around 24/24 it is almost impossible to sit and craft during this time of the year 🙁 , so I’ll leave the video tutorial with more samples to the next year which is also around the corner.
Wishing you peace and joy this season and happy crafting!
x
Bibi
That’s all for today. I hope you like this idea. Thanks for stopping by!
Do not forget to Subscribe to my blog here! or my Youtube Channel here to get my latest blog post or video directly in your inbox.
Happy crafting!!
Hugs
x
Bibi


Leave a Reply