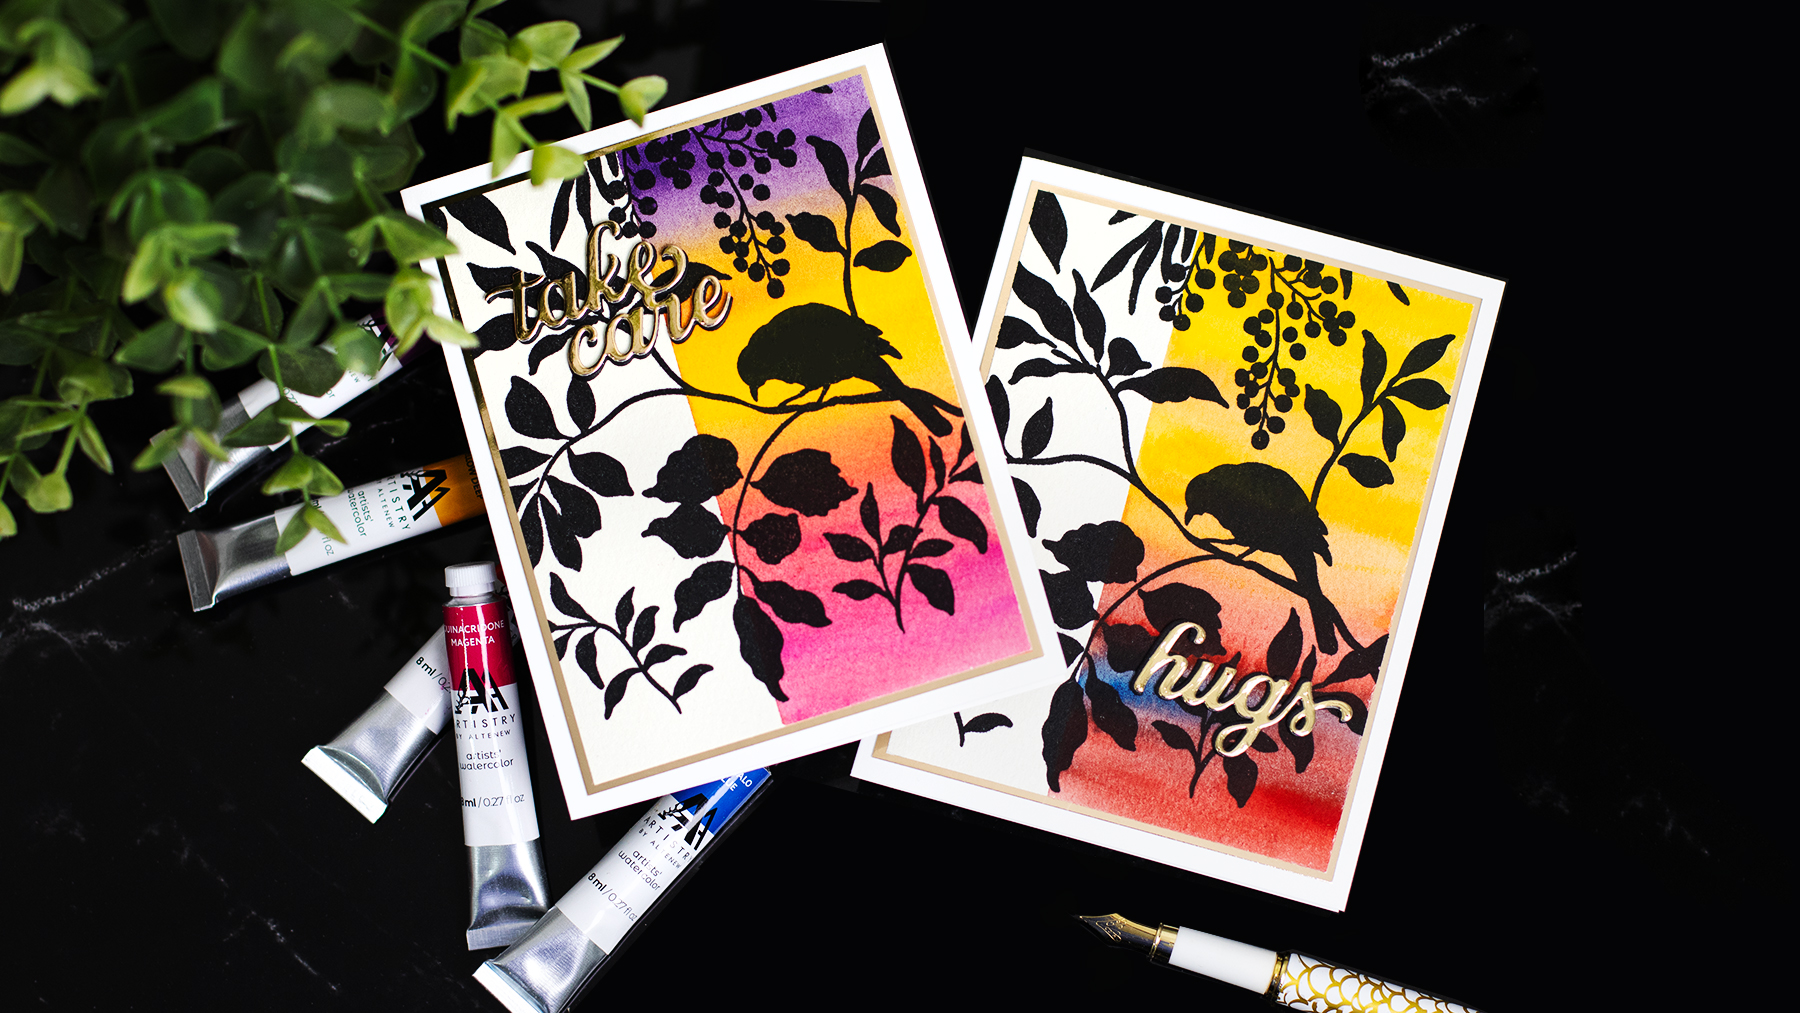
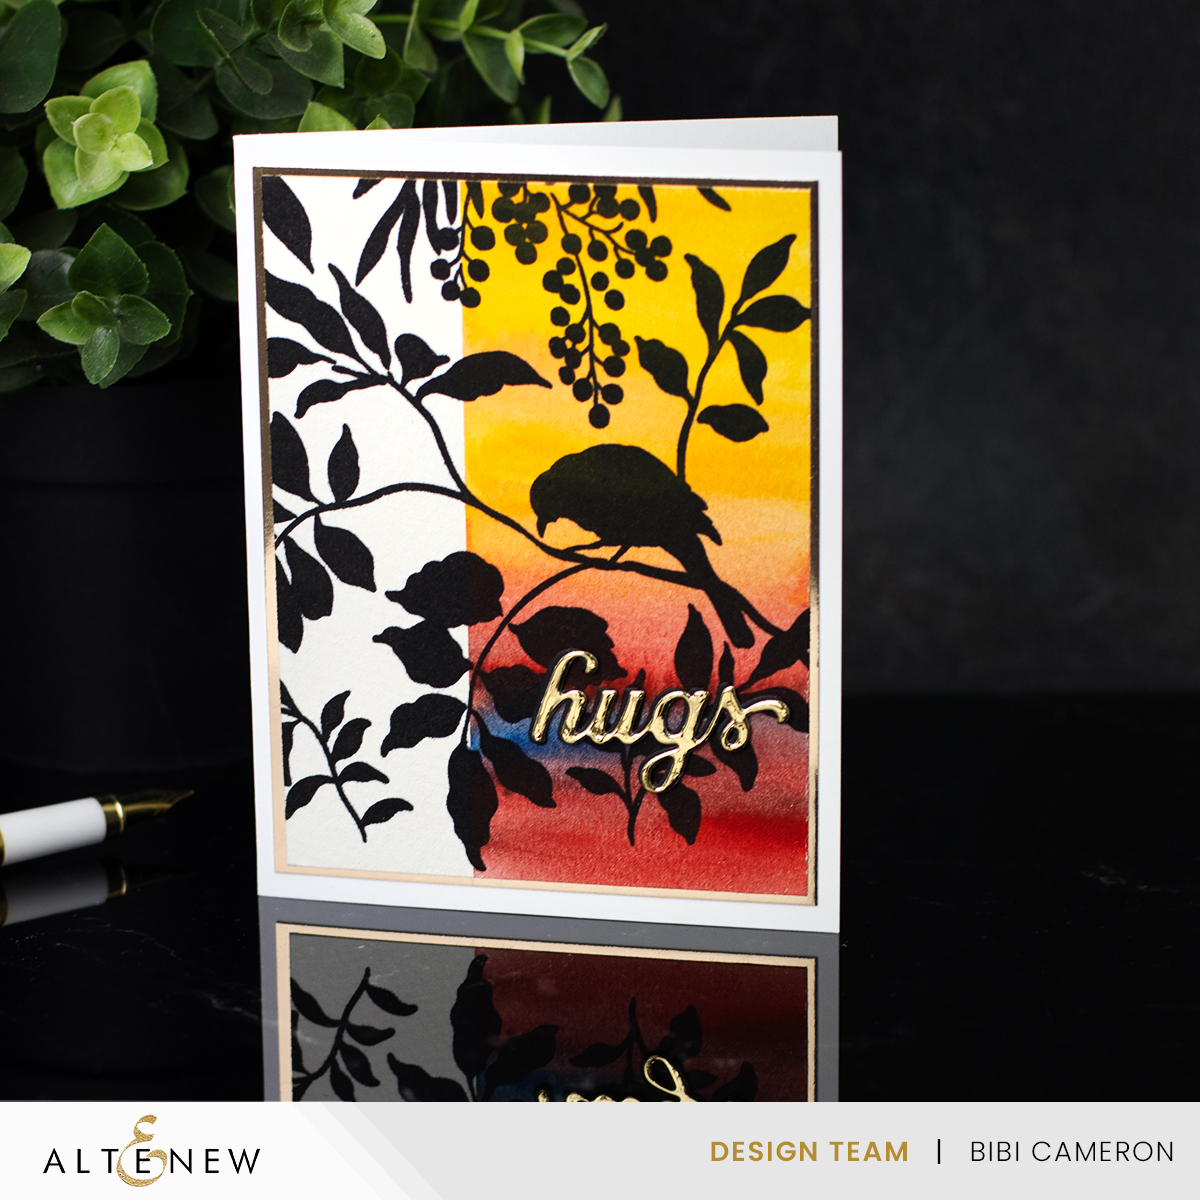
Hello crafty friends, I’m passing by to share super easy and quick bold stamping cardmaking ideas featuring the Altenew Palette Perfection Artists’ Watercolours and stamps from the Craft Your Life Project Kit: Whispers in the Canopy.
By combining highly pigmented watercolour washes with strong, detailed stamped images, it’s possible to achieve eye-catching results without complicated techniques or long prep time. This approach is ideal for clean, modern card designs that still feel expressive and artistic, making it perfect for both everyday crafting and last-minute cards.
Watch the Process
Card Recipe
PAPER
- Thin Premium Watercolour Paper – Background Panel
- Neenah 110Lb – Cardbase
- Gold Mirror Cardstock
INKS & COLORING TOOLS
- Stampwheel
- Alenew Obsidian Pigment Ink
- Quinacridone Violet
- Quinacridone Magenta
- Toluidine Red
- Phthalo Blue
- Yellow
ADHESIVES
Ultra Sticky Double Sided Tape (1/4 inch × 50m)
Palette Perfection Artists’ Watercolour Tubes

I’m impressed by the vibrant colours and how easy it is to create with these paints.
These paints are formulated with a high pigment load and minimal binders, resulting in stronger colour, excellent coverage, and fast reactivation with water. All colours are labelled with true pigment names, tested for lightfastness, and ACMI AP-approved for safe use.
Tubes are available individually, allowing for flexible palette building and clean, predictable colour mixing.
Bold Stamping Made Easy
Bold stamps are a powerful tool for creating striking projects with minimal effort. Their solid shapes and strong lines make them perfect for techniques like watercolour washes, ink blending, heat embossing, and resist effects, allowing the background work to really shine.
With a single bold stamp, you can create modern cards, quick thank-you notes, sympathy designs, or dramatic focal panels simply by changing colours or finishes.
They are especially useful for clean layouts and time-efficient cardmaking, delivering high impact without the need for complex layering or multiple images.
Step-by-step
1. Create the Backgrounds
These are A2 side-fold cards (4¼” × 5½”).
To make them, I first cut two panels of 80 gsm watercolor paper.
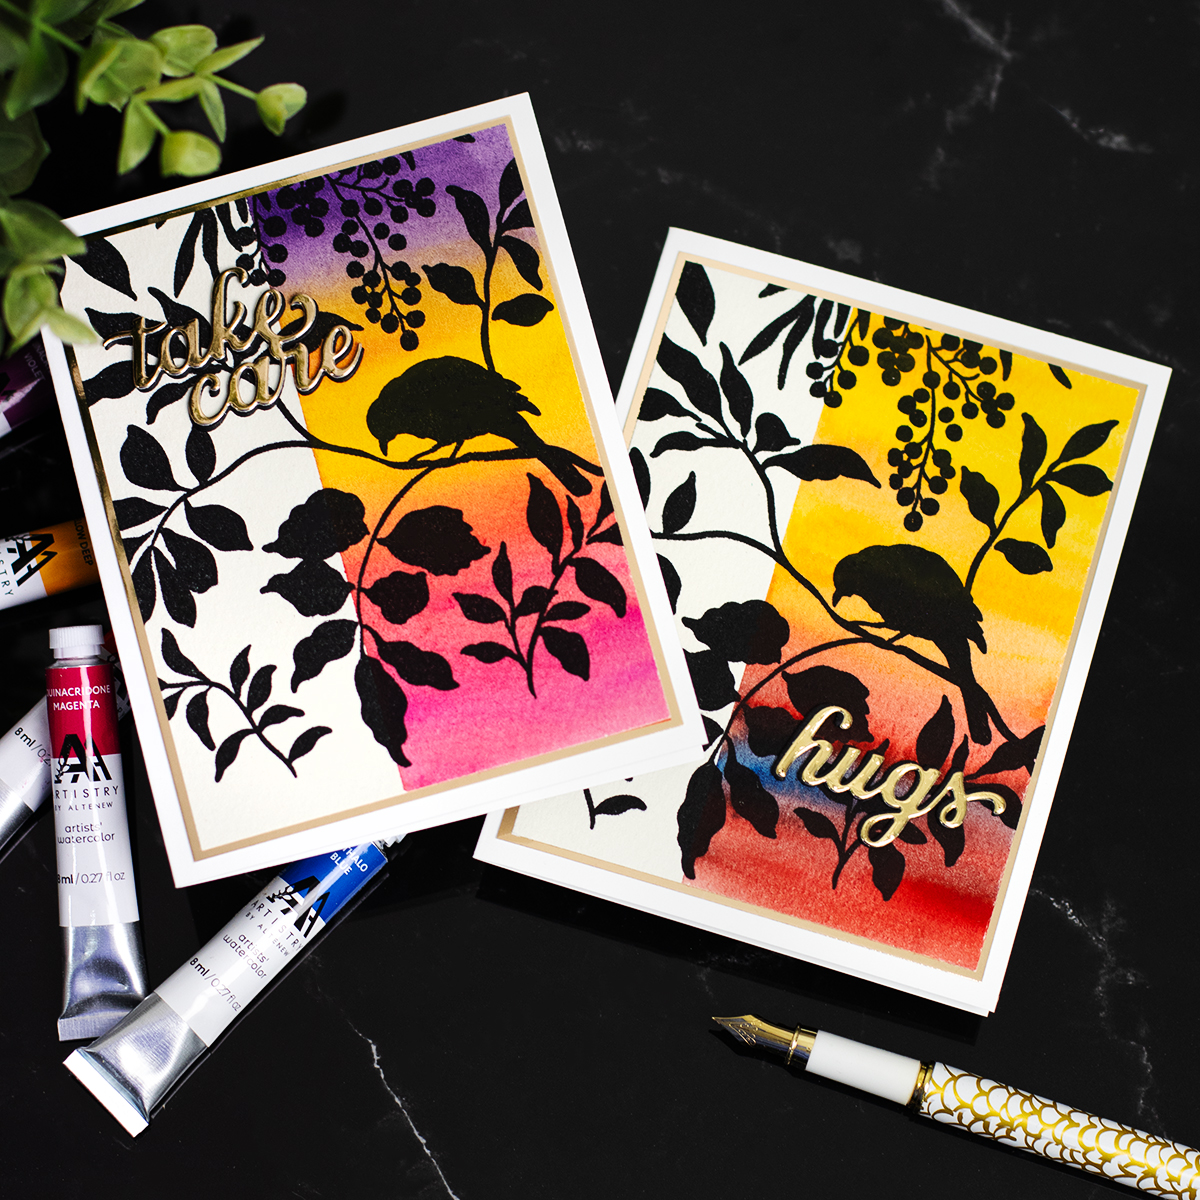
I used masking tape to cover a portion of each panel, then applied a drop of paint directly onto the paper. I used different colour combinations for each card:
One is more muted, and one is brighter.
The colours are the same, but for the brighter version ( below), I also added violet.
Next, I used a wet brush to drag the paint across the panel and blend the colours. I washed the brush every time I changed colour to avoid unwanted blends.
I allowed the paper to dry for a little bit, then removed the masking tape.
Done!
2. Bold Stamping
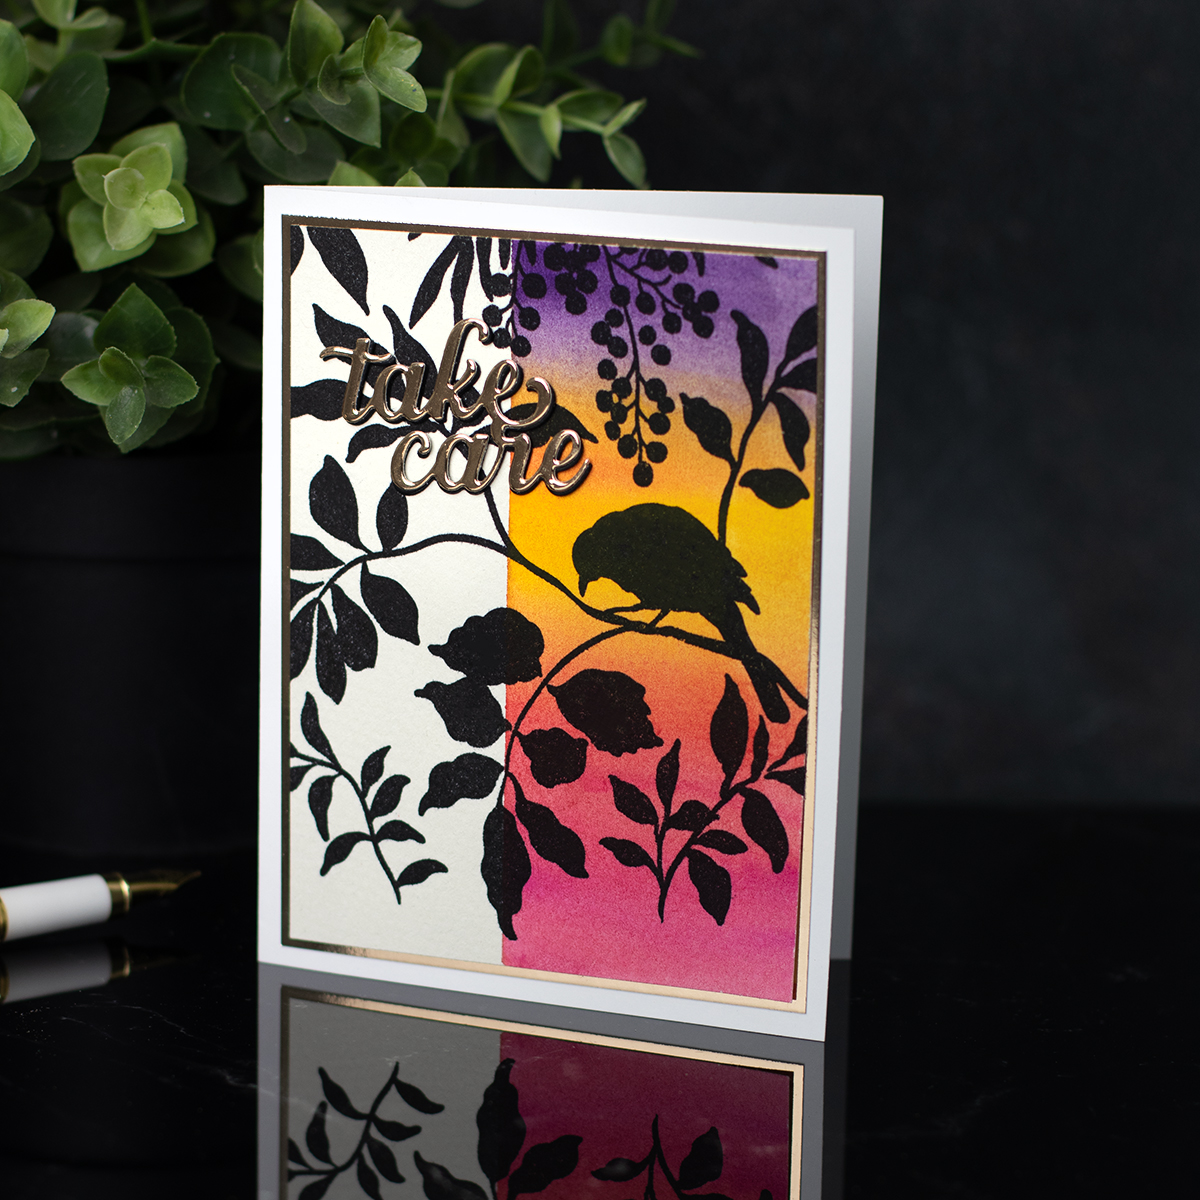
Next, I stamped the image using Obsidian ink. I had to stamp several times over each panel (about four times per panel) because the paper has texture and it’s difficult for the ink to reach all the grains of the watercolour paper.
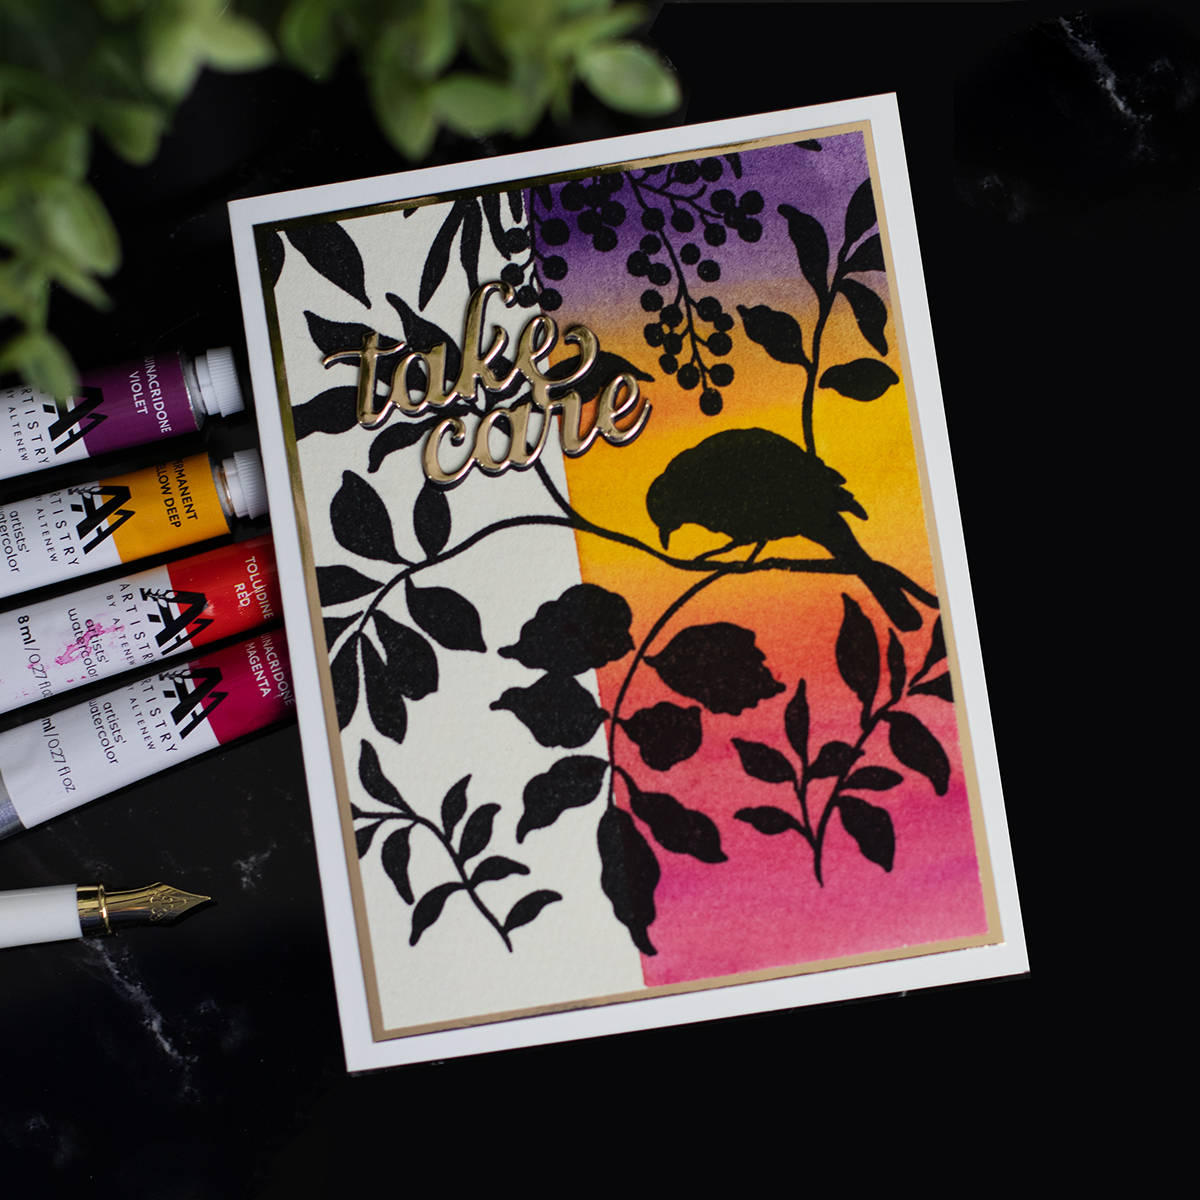
3. Add Die-Cut Sentiments
As these cards are very clean and simple, adding metallic accents and sentiments really steps up the design. So I used dies from the Stylish Greetings Die Set to create the sentiments.
4. Card Bases and Mat Layer
I made my own card bases by cutting an A4 sheet of cardstock in half, then scoring each piece in the middle.
Adding a metallic panel behind the watercolour-stamped panels gives a touch of elegance and really transforms the overall look and feel of these projects.

That is all for today. I hope you enjoy the inspiration.
Happy crafting
Bibi
Thirsty for more?
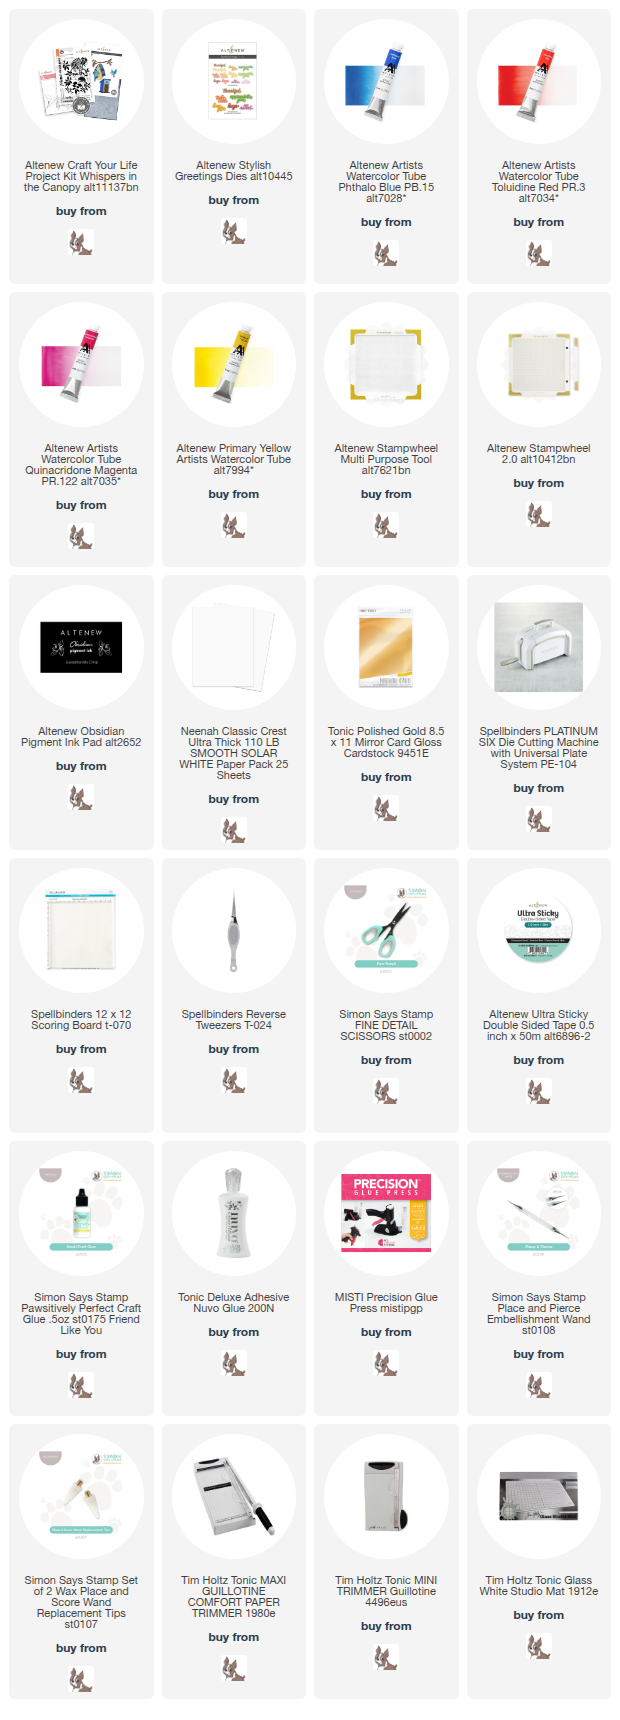
Supplies
Affiliate links apply at no extra cost to you.


Leave a Reply