Hello Crafty friends! I’m passing by to share the Pinkfresh Studio and a little bit of the Penny Black STAMPtember collaborations.
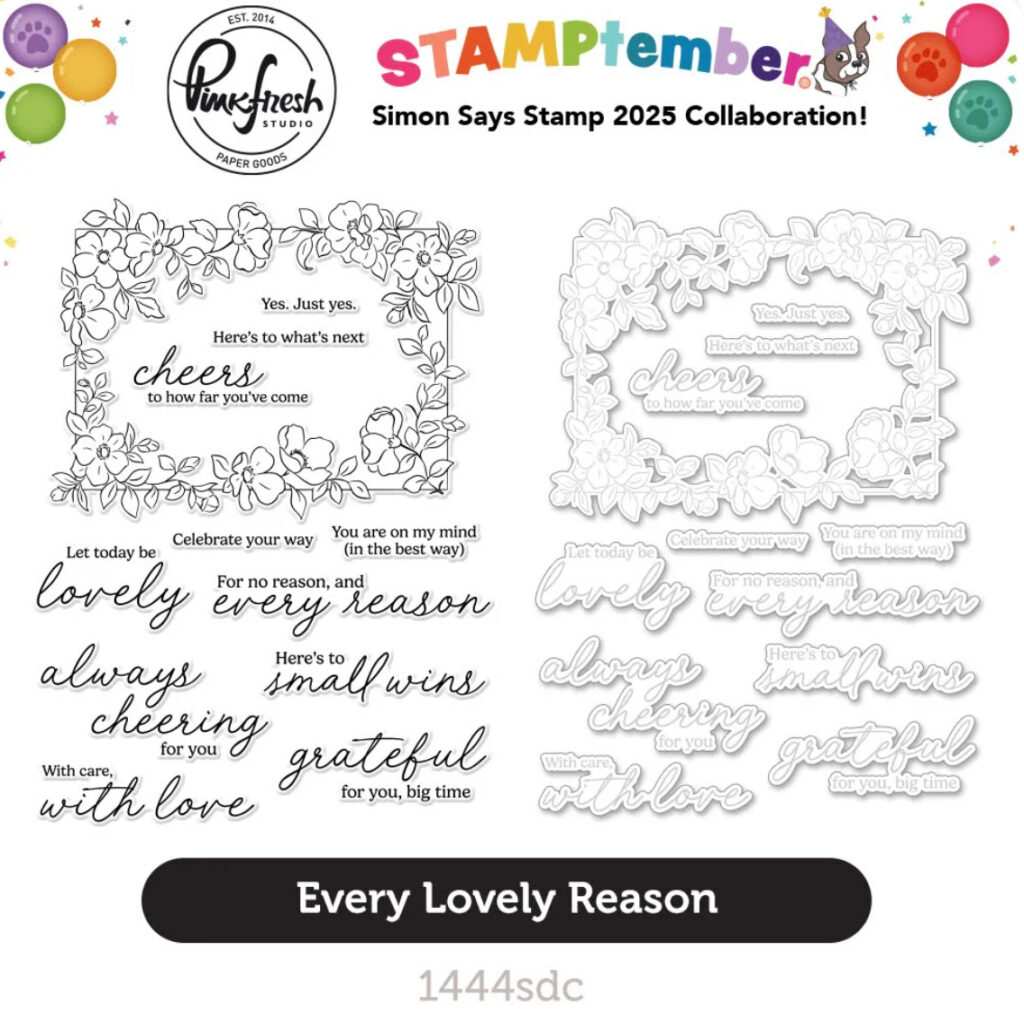
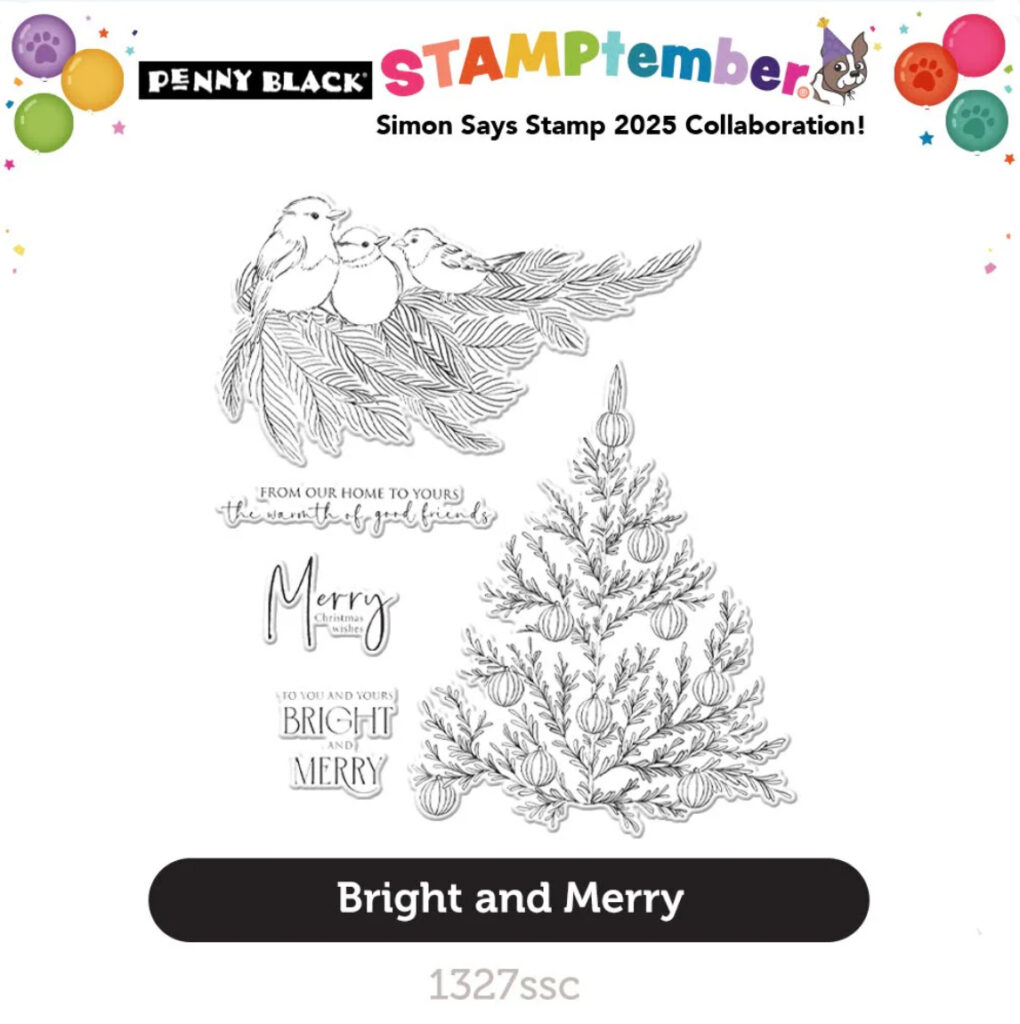
This collaboration features the Every Lovely Reason (Stamps, Dies, and Stencils) and the Bright and Merry Stamps and Dies.
Pinkfresh + Penny BLack STAMPtember 2025 CollaborationS
Watch the goodies in action
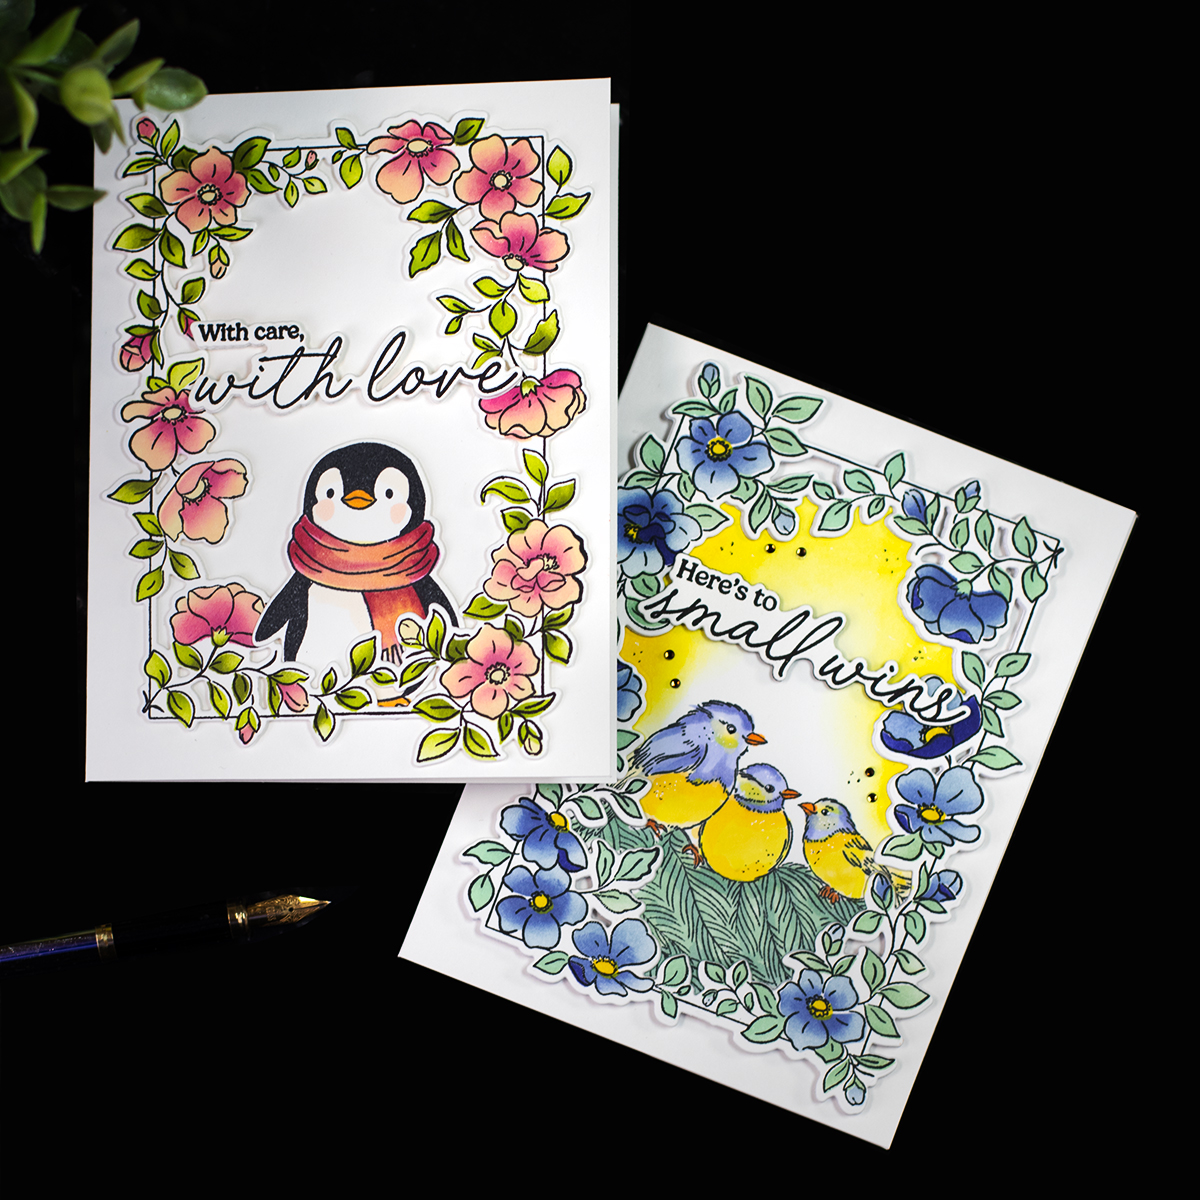
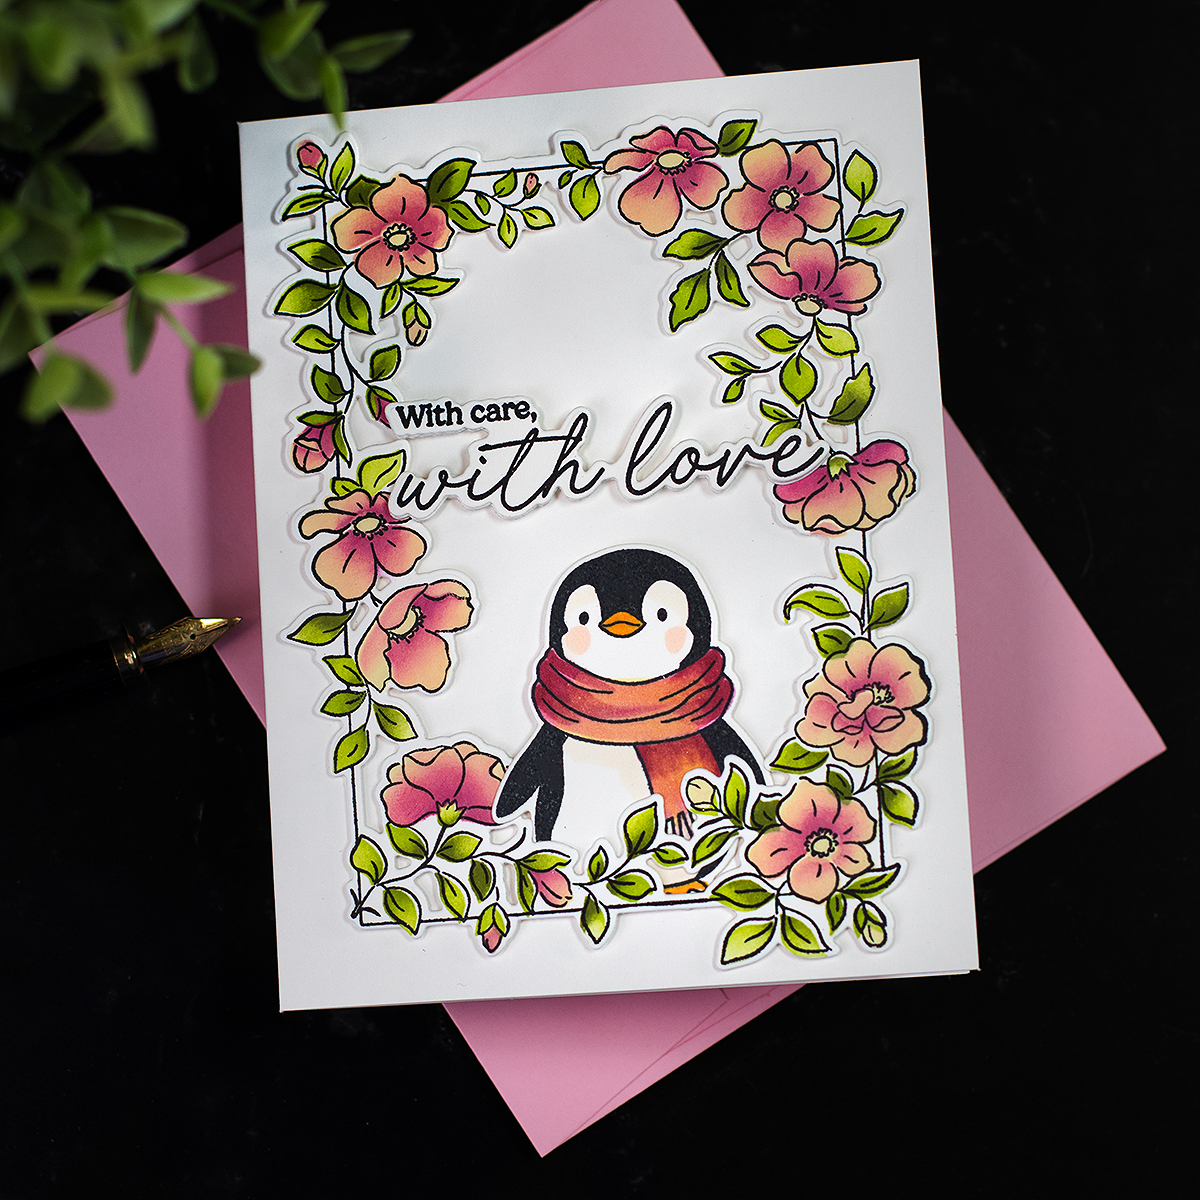
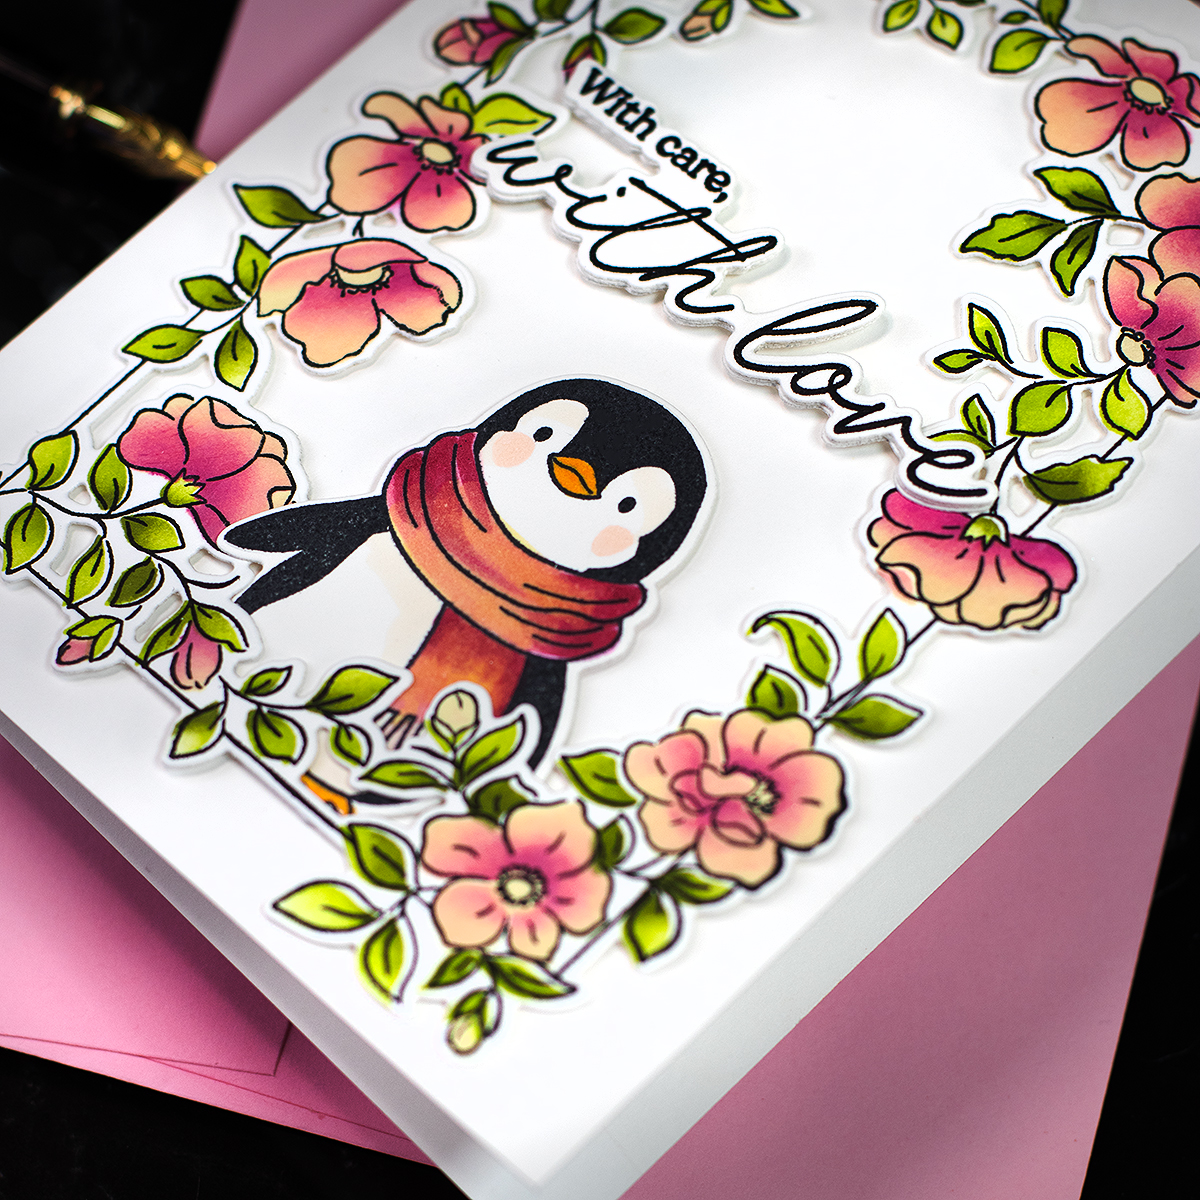
With Care And Love
Card Recipe
- Pinkfresh Studio STAMPtember Exclusive Every Lovely Reason Stamps And Dies – Floral Frame and sentiment.
- Memory Box STAMPtember Exclusive Good Cheer Stamps And Dies – Stamped Penguin
- Altenew Stampwheel
- Neenah Classic Crest Ultra Thick 110 LB Cardstock
- Memento Black Ink + Arteza Alcohol markers to stamp and add colour to the images
- Simon Says Stamp Nocturne Black VersaFine Clair Ink -to stamp the floral frame image
- Altenew Inks: Butternut, Razzeleberry, and Olive to add colour to the floral frame throughout the stencil.
Easy and super cute!
To make this car, I first stamped the floral frame using the Pinkfresh Studio STAMPtember Exclusive Every Lovely Reason Stamps and Simon Says Stamp Nocturne Black VersaFine Clair Ink.
Then, I added colour using the coordinating stencil and inks, and I die-cut it.
To add interest and dimension, I also die-cut 3 extra layers of cardstock using the frame die, and I stack them together behind the main image.
The penguin image was stamped using Memento Black Ink, I added colours using Altenew Alcohol markers, and I die-cut them using coordinating dies.
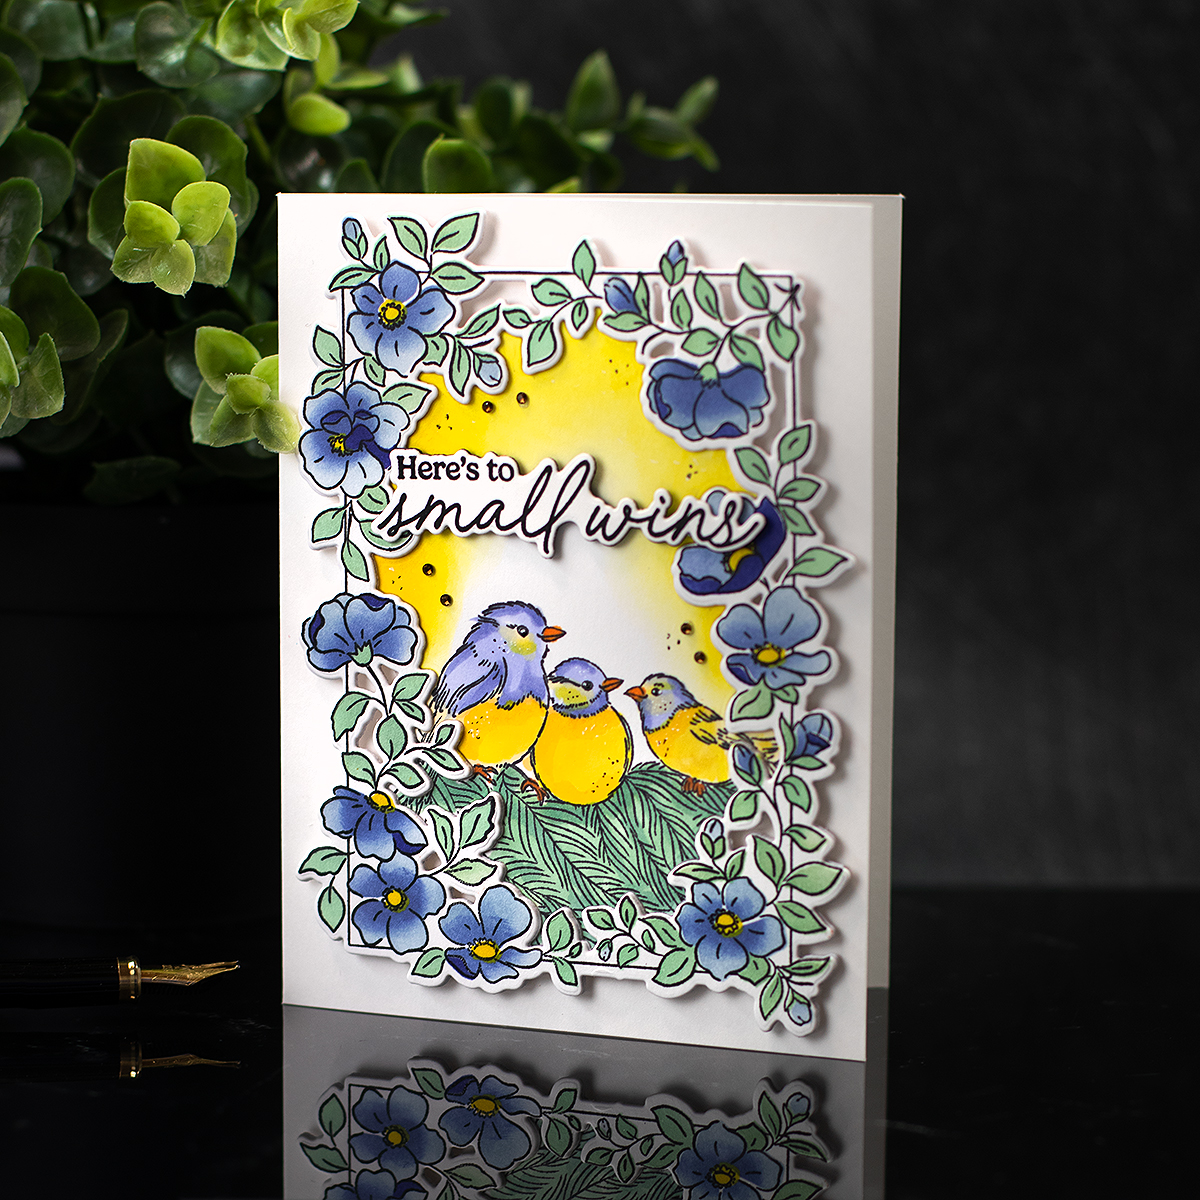
Here is to Amall Wins
Card Recipe
- Pinkfresh Studio STAMPtember Exclusive Every Lovely Reason Stamps And Dies – Floral Frane and sentiment.
- Penny Black STAMPtember Exclusive Bright and Merry Stamps And Dies – Birds Stamped Images.
- Altenew Stampwheel
- Neenah Classic Crest Ultra Thick 110 LB Cardstock
- Memento Black Ink + Arteza Alcohol markers to add colour to the images
- Simon Says Stamp Nocturne Black VersaFine Clair Ink -to stamp the floral frame image
- Morning, Twilight, Glaxy, and Citrine Pawsitively Saturaded Inks + and Altenew Mountain Mist to add colour to the frame through the stencil.
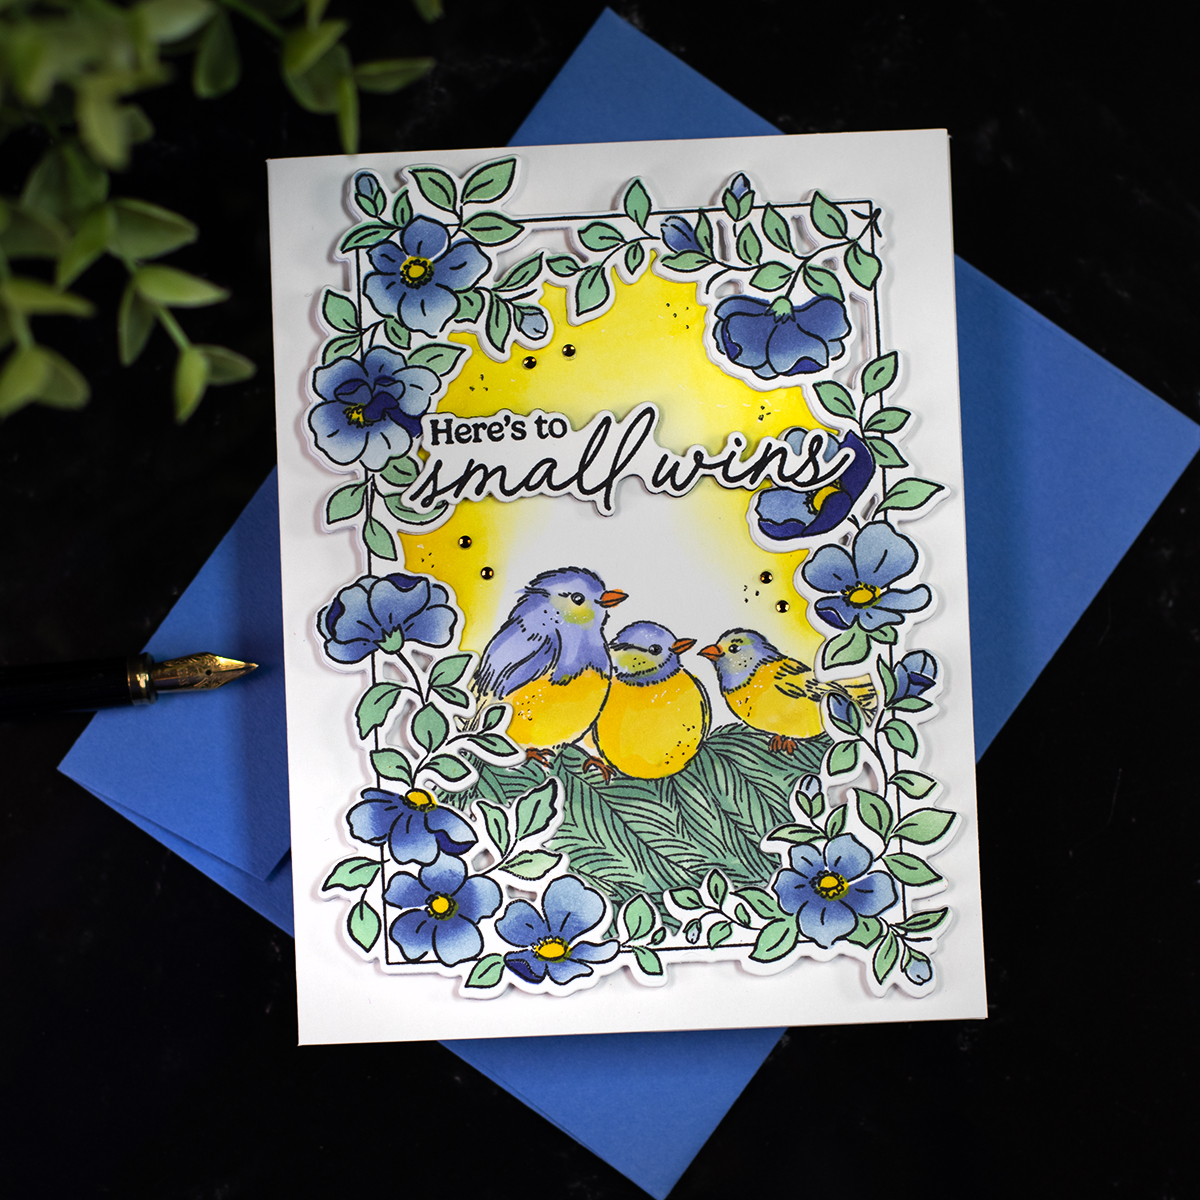
The process was similar to the previous card, but this time I stamped the image onto the negative piece that was die-cut at the centre of the floral frame.
I added colours and assembled the card as shown.
That’s all for today.
Thanks for stopping by.
X Bibi
Thirsty for More?
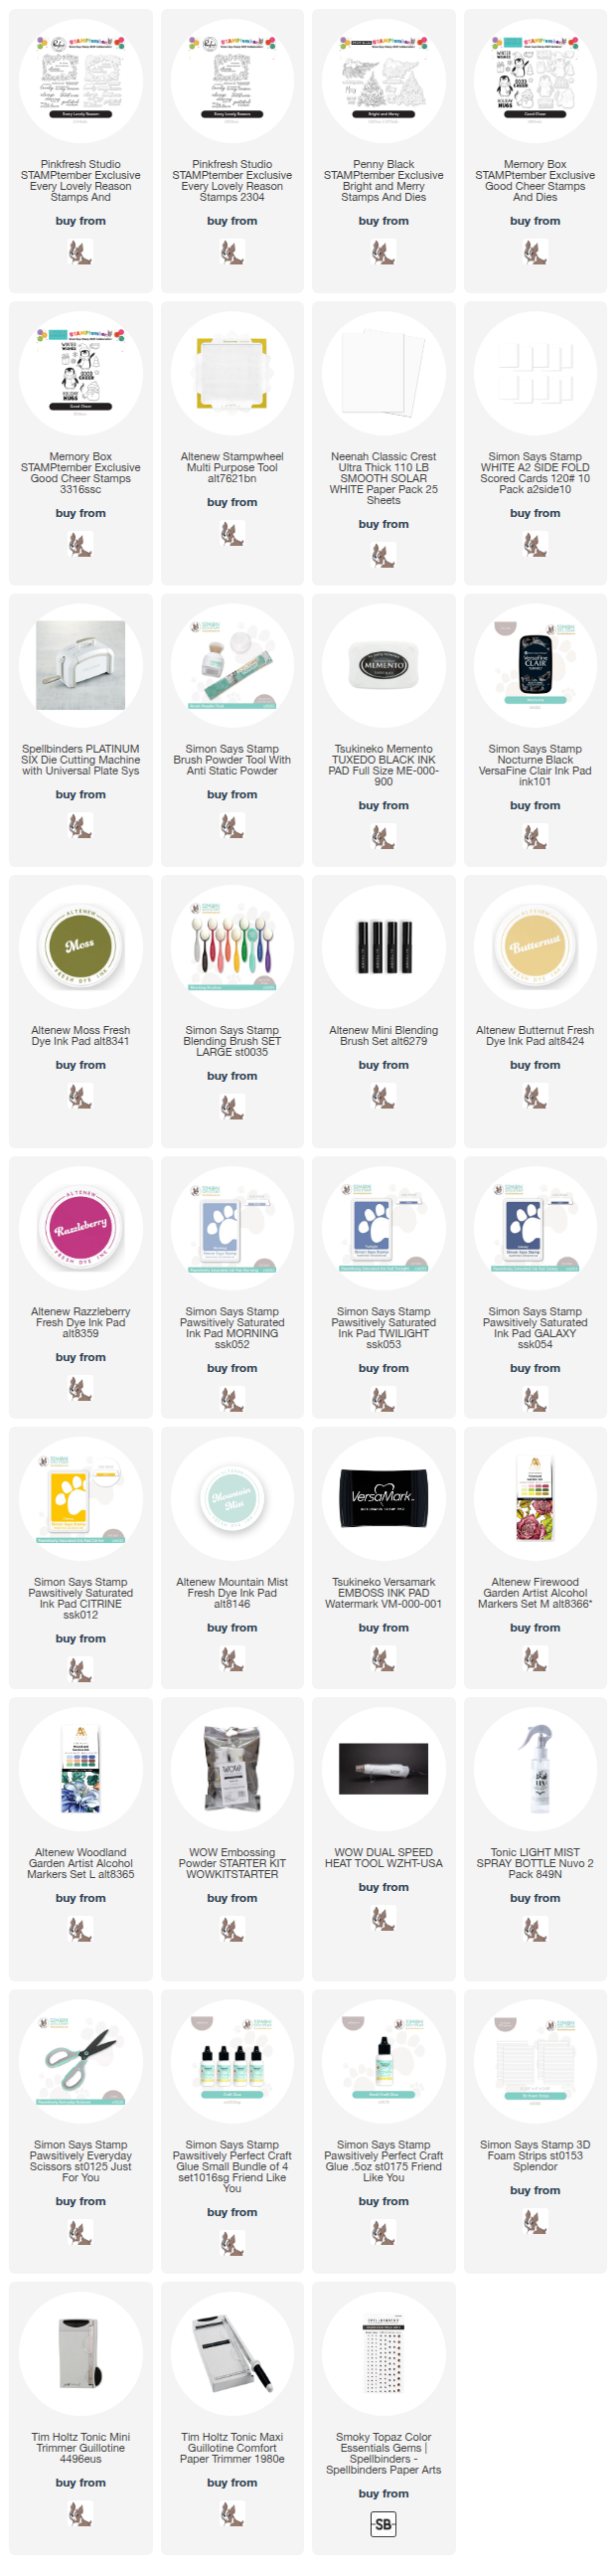
Supplies
Affiliate links apply at no extra cost to you. Thanks for your support.


Leave a Reply