Hello crafty friends! I’m passing by to share a video (at the bottom of this page) featuring the stunning Wanderlust Embossing Folder, along with creative die-cutting ideas using the Mini Delight: Enjoy the Flight.
I also used dies from the new Floral Odyssey Project Kit and the World in Bloom die set.
Card Recipe
PAPER
- Watercolour Paper Set – Cold Pressed – For the background
Available at Altenew | Simon Says Stamp - Neenah Classic Crest Ultra Thick 110 LB – For the flowers, accents, and card base.
- Crafty Necessities: Grass Field Cardstock – Die-cut leaves
Available at Altenew | Simon Says Stamp - Crafty Necessities: Misty Morning Cardstock – for the plane parts
Available at Altenew | Simon Says Stamp - Crafty Necessities: Cloudy Sky Cardstock for the plane parts
Available at Altenew | Simon Says Stamp - Crafty Necessities: Nimbus Cardstock for the plane parts
Available at Altenew | Simon Says Stamp - Brushed Black Cardstock for the compass.
Available at Spellbinders | Simon Says Stamp - Silver Mirror Card Gloss
DIES, STAMPS, EMBOSSING:
- Background: Wanderlust 3D Embossing Folder
Available at Altenew | Simon Says Stamp - Die-cut plane: Mini Delight: Enjoy the Flight Stamp & Die Set
Available at Altenew | SimonSaysStamp - Word Map die cut, florals and leaves: World in Bloom Layering Die Set
Available at Altenew | Simon Says Stamp - Compass: Craft Your Life Project Kit: Floral Odyssey
Available at Altenew | Simon Says Stamp
INKS
- Obsidian Pigment Ink – Background
Available at Altenew | Simon Says Stamp - Firebrick Ink – Background and flower centres.
Available at Altenew | SimonSaysStamp - Buttercream Ink – flowers
Available at Altenew | Simon Says Stamp - Hunter Green Ink – to add contrast to the leaves.
Available at Altenew | Simon Says Stamp - Sparkle Base 4 Pack – For the background and the compass.
Available at Simon Says Stamp | Contact Crafts - Tim Holtz Distress Spray Stain Picket Fence
- Mayan Gold Shimmer Relief Paste – For the compass.
Available at Altenew | Simon Says Stamp
EMBELLISHMENTS
- Dazzling Diamond Stellar Sequins
Available at Altenew | SimonSaysStamp
The process is simple!
Let’s dive into a world of creativity with the Wanderlust Embossed Texture, a unique element that can elevate your papercraft projects.
This groundbreaking texture brings depth and dimension, transforming flat surfaces into captivating pieces.
The background
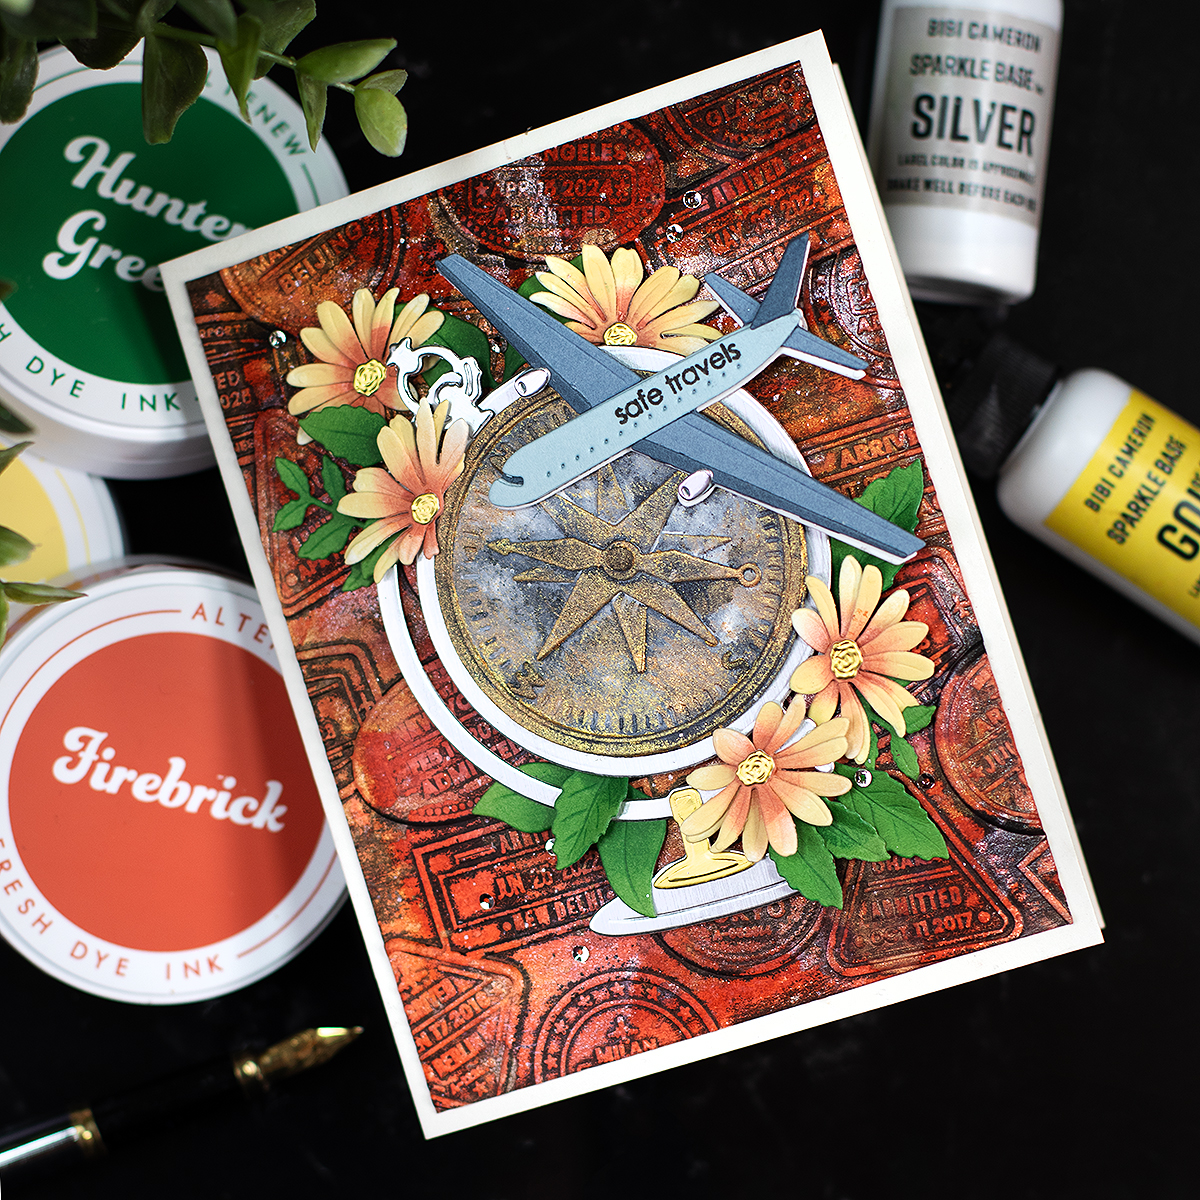
I started by trimming a piece of Watercolour Paper to 5-1/4″ x 4″. Then I applied Firebrick Ink by swiping the ink pad directly over the paper, covering it almost completely.
Next, I lightly misted the surface with water and, while it was still damp, added Gold and Silver Sparkle Bases. These watercolor paints are perfect for this purpose, but you can use any sparkling paint or spray you have on hand. To help the color settle, I gave the paper a light mist of Picked Fence Distress Spray.
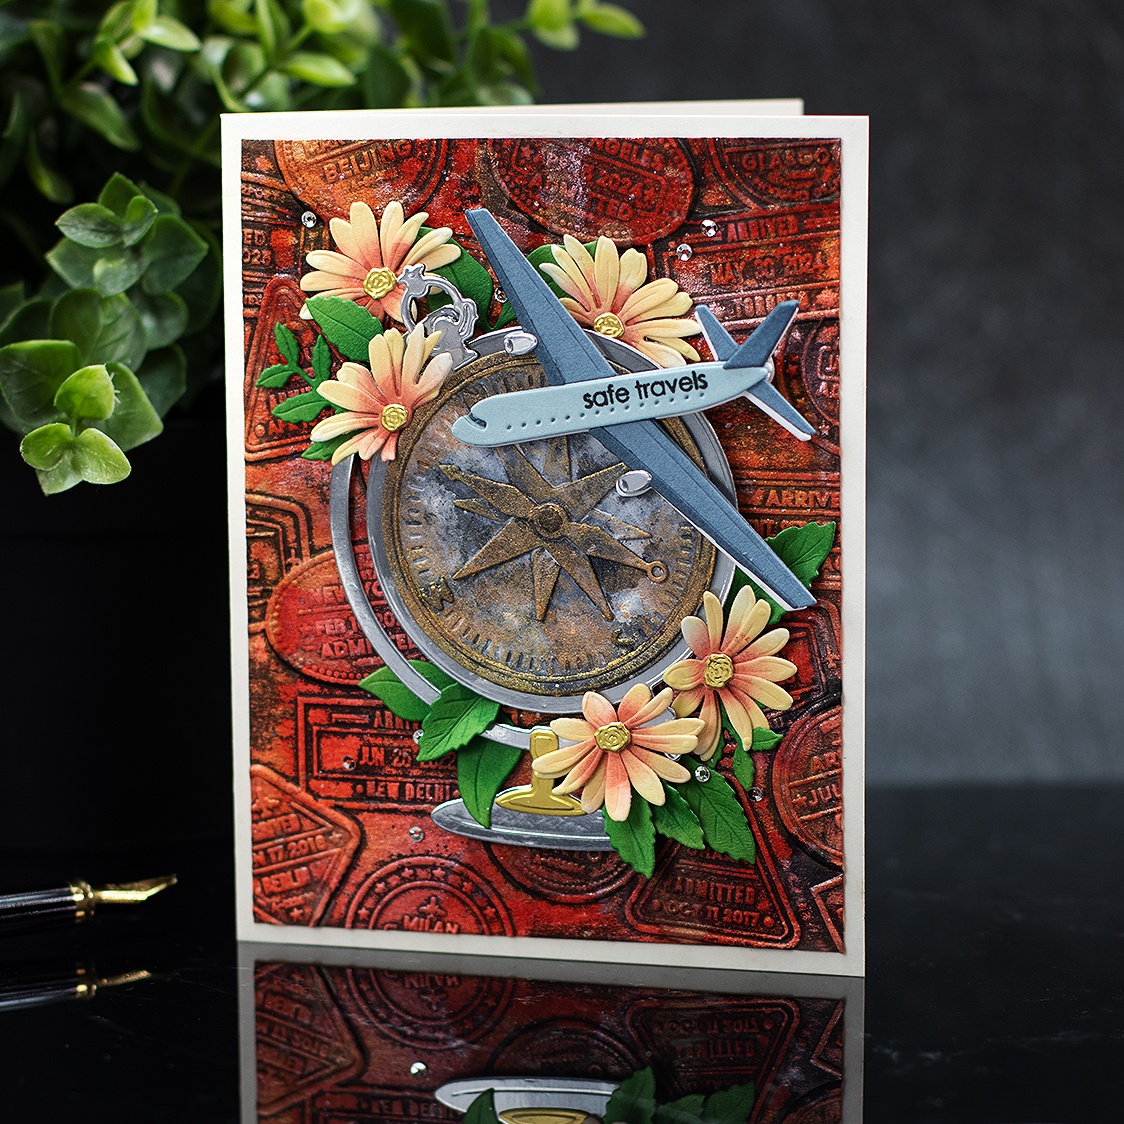
I dried the panel with a heat tool and then moved on to embossing. Using the Wanderlust 3D Embossing Folder, I applied Obsidian Pigment Ink generously over the raised design inside the folder. I placed my colored panel inside and ran it through my die-cutting and embossing machine twice.
Background done!
The Toppers
For the toppers, I used flower dies from the World in Bloom Layering Die Set and the compass is from the Craft Your Life Project Kit: Floral Odyssey.
I die-cut the flowers from white cardstock and, using a micro blending brush, applied Firebrick Ink to the centre of each piece, then I added Buttercream Fresh Dye Ink around the edges before assembling them.
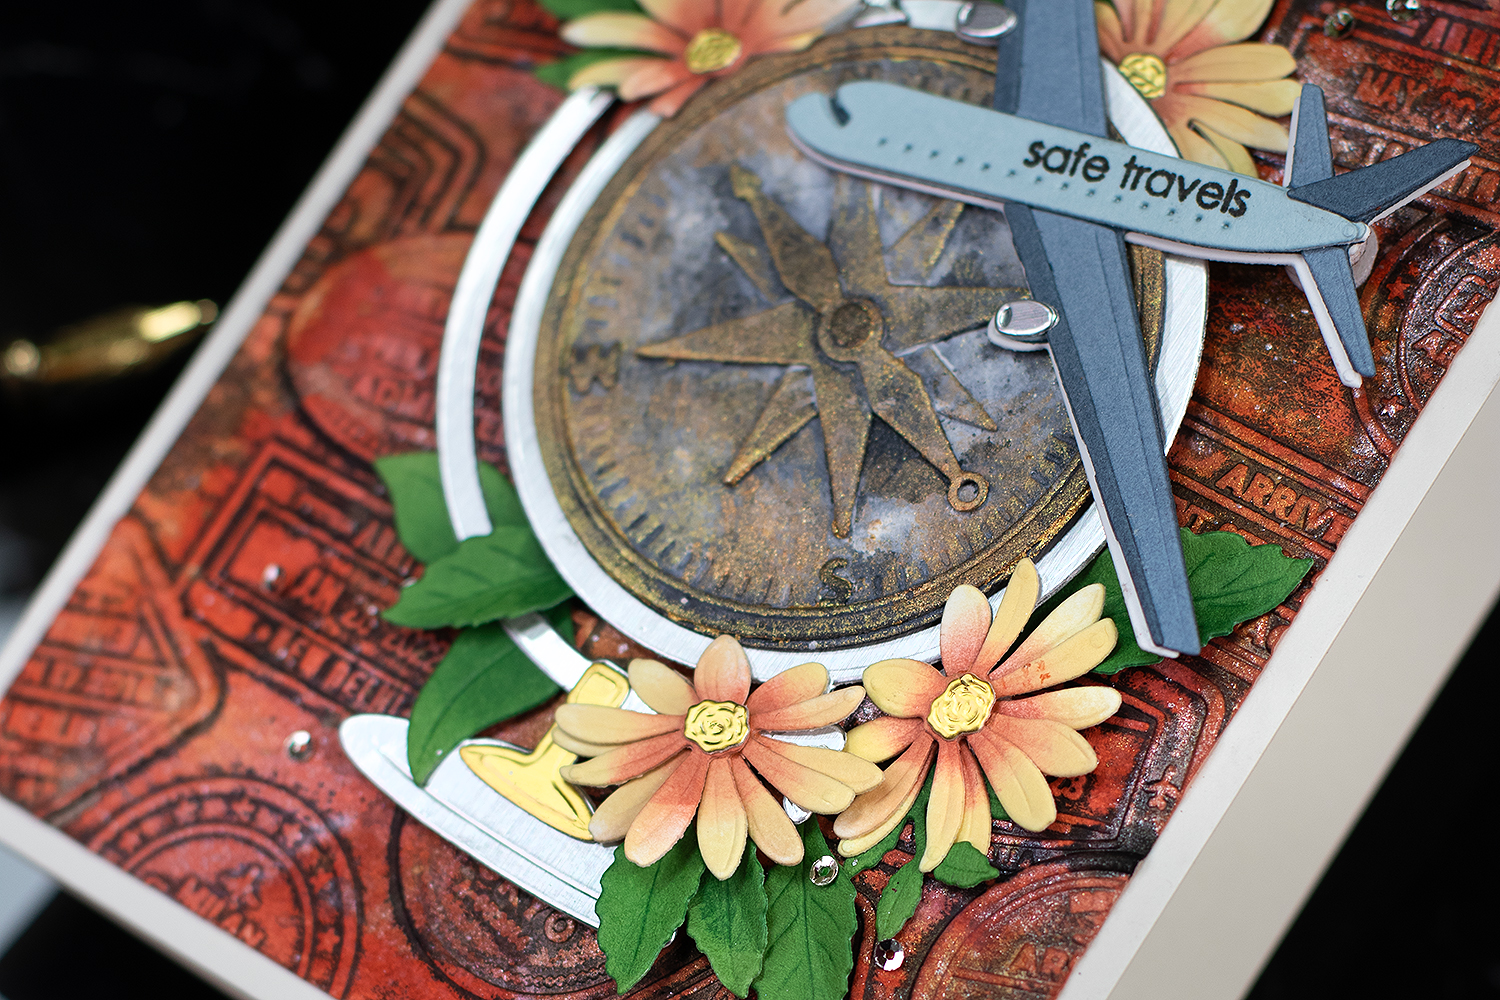
The compass was die-cut from black cardstock, assembled, and sprayed with Picked Fence Distress Spray.
Then, using a dry brush, I applied a touch of Mayan Gold Shimmer Relief Paste, and with a watercolour brush, I also added a little bit of Copper Sparkle Base to create a weathered metallic look.
For contrast, the aeroplane (from the Mini Delight: Enjoy the Flight Stamp & Die Set ) was die-cut from Crafty Necessities: Cloudy Sky Cardstock , Crafty Necessities: Misty Morning Cardstock , and Crafty Necessities: Nimbus Cardstock .
I added an extra white solid die-cut behind the assembled plane to create a drop shadow and make it pop.
Finally, I stamped the sentiment from the same Mini Delight set directly onto the plane.
Adhesives
To finish, I layered all the elements together as shown in the photo.
I use dimensional foam pads, Instant Dimension Foam Tape ( Available at Altenew and Simon Says Stamp), and Pawsitively glue to adhere the pieces in place.
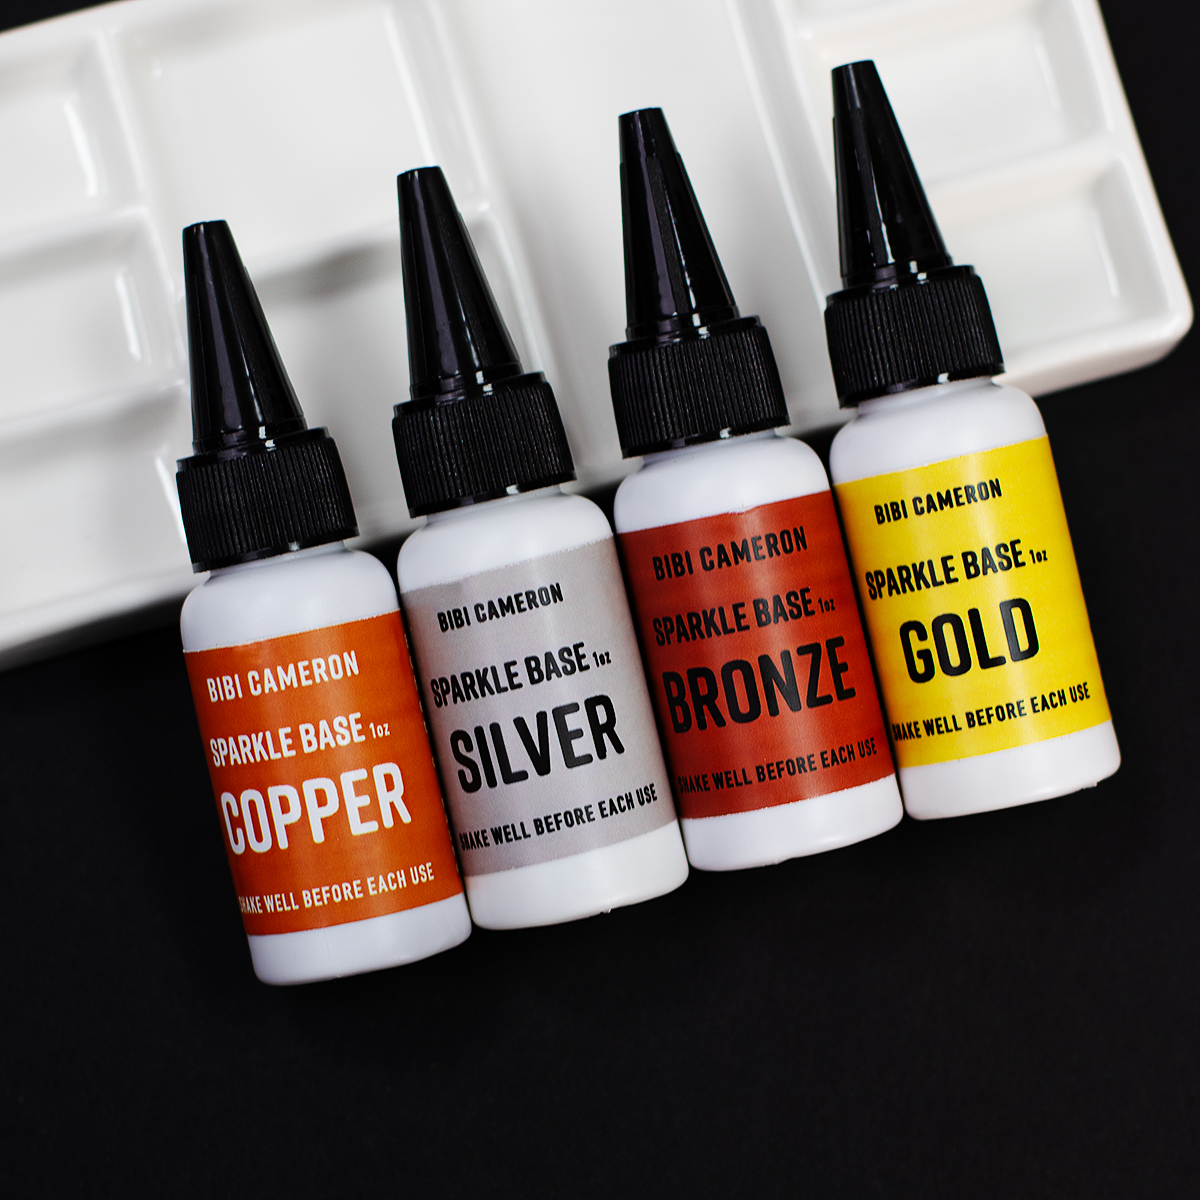
Find Sparkle Bases at Contact Craft here or Simon Says Stamp here
Thirsty for more?
Supplies
Affiliate links apply at no extra cost to you. Thanks for your support.


Leave a Reply