Hello crafty friends. I’m excited to share inspiration using the Elegant Bows bundle from the Altenew July 2025 Release
Elegant Bows
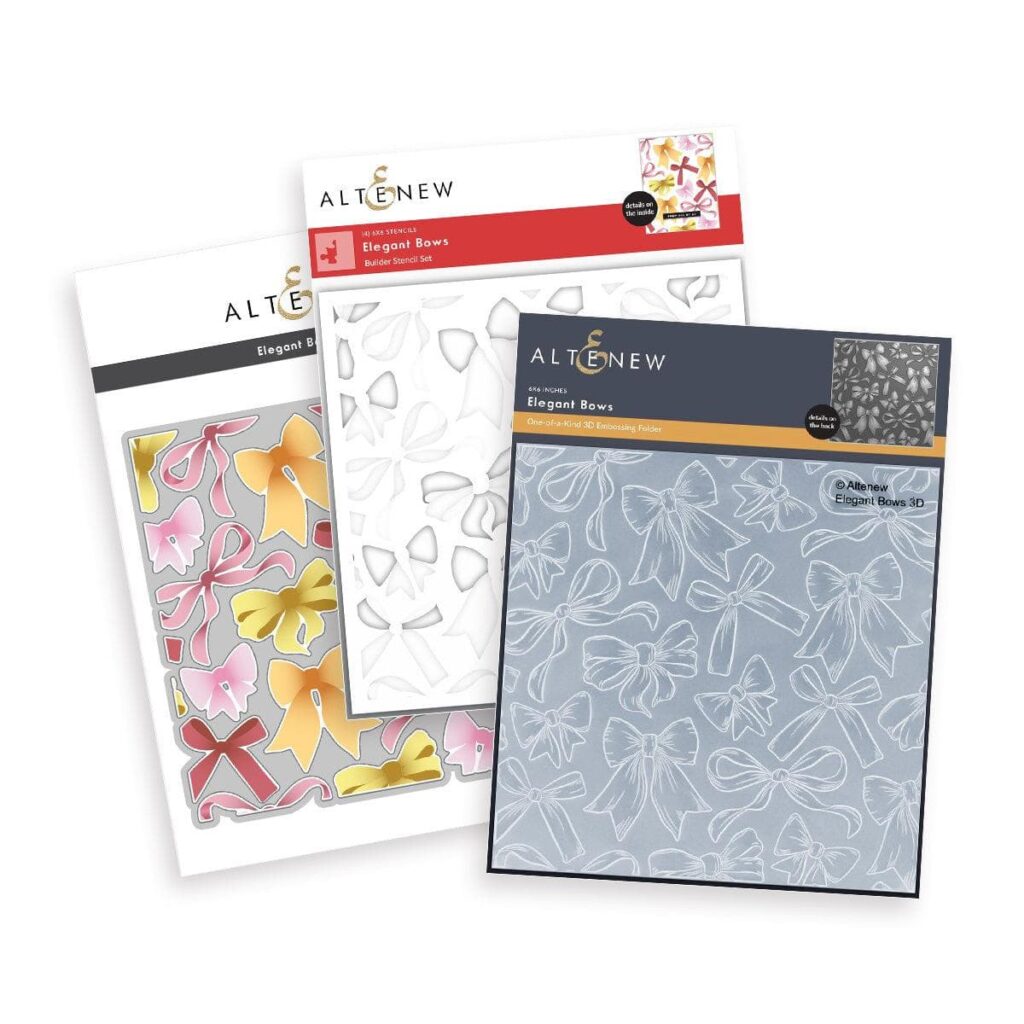
Elegant Bows is a versatile trio of an embossing folder, coordinating colouring stencils, and a zero-waste die set.
This trio is perfect for making everything from bold backgrounds to dimensional focal points, and it’s ideal for all kinds of papercraft projects.
Both the embossing folder and colouring stencils work individually, but when used together, you can easily add dimension and depth to your backgrounds.
You can use any colour to customise projects for any occasion, so here you have some fun cardmaking ideas.
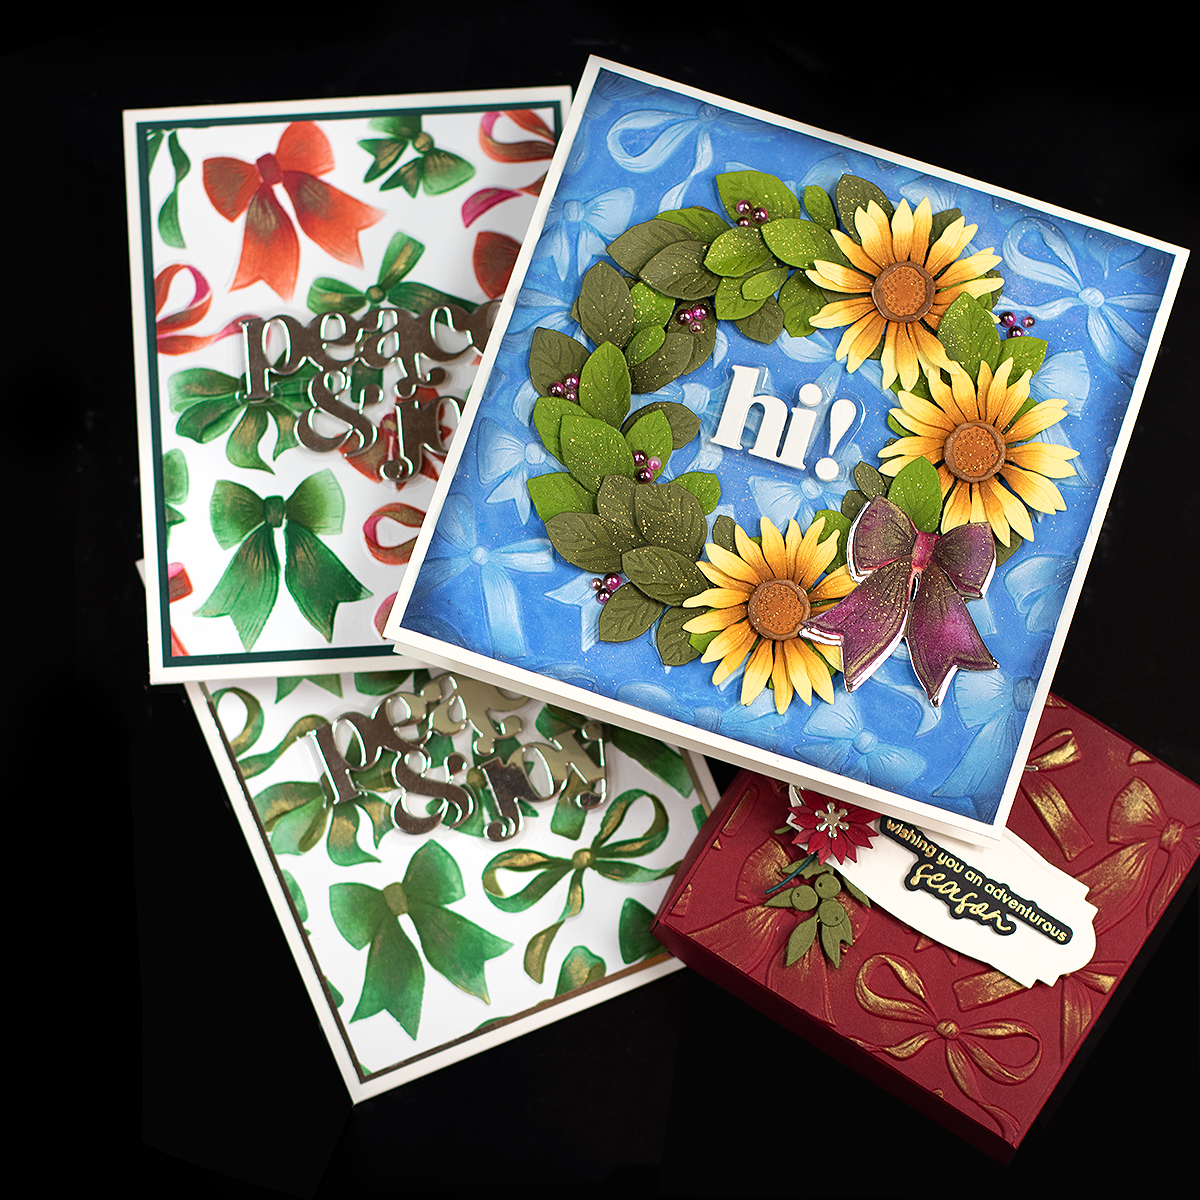
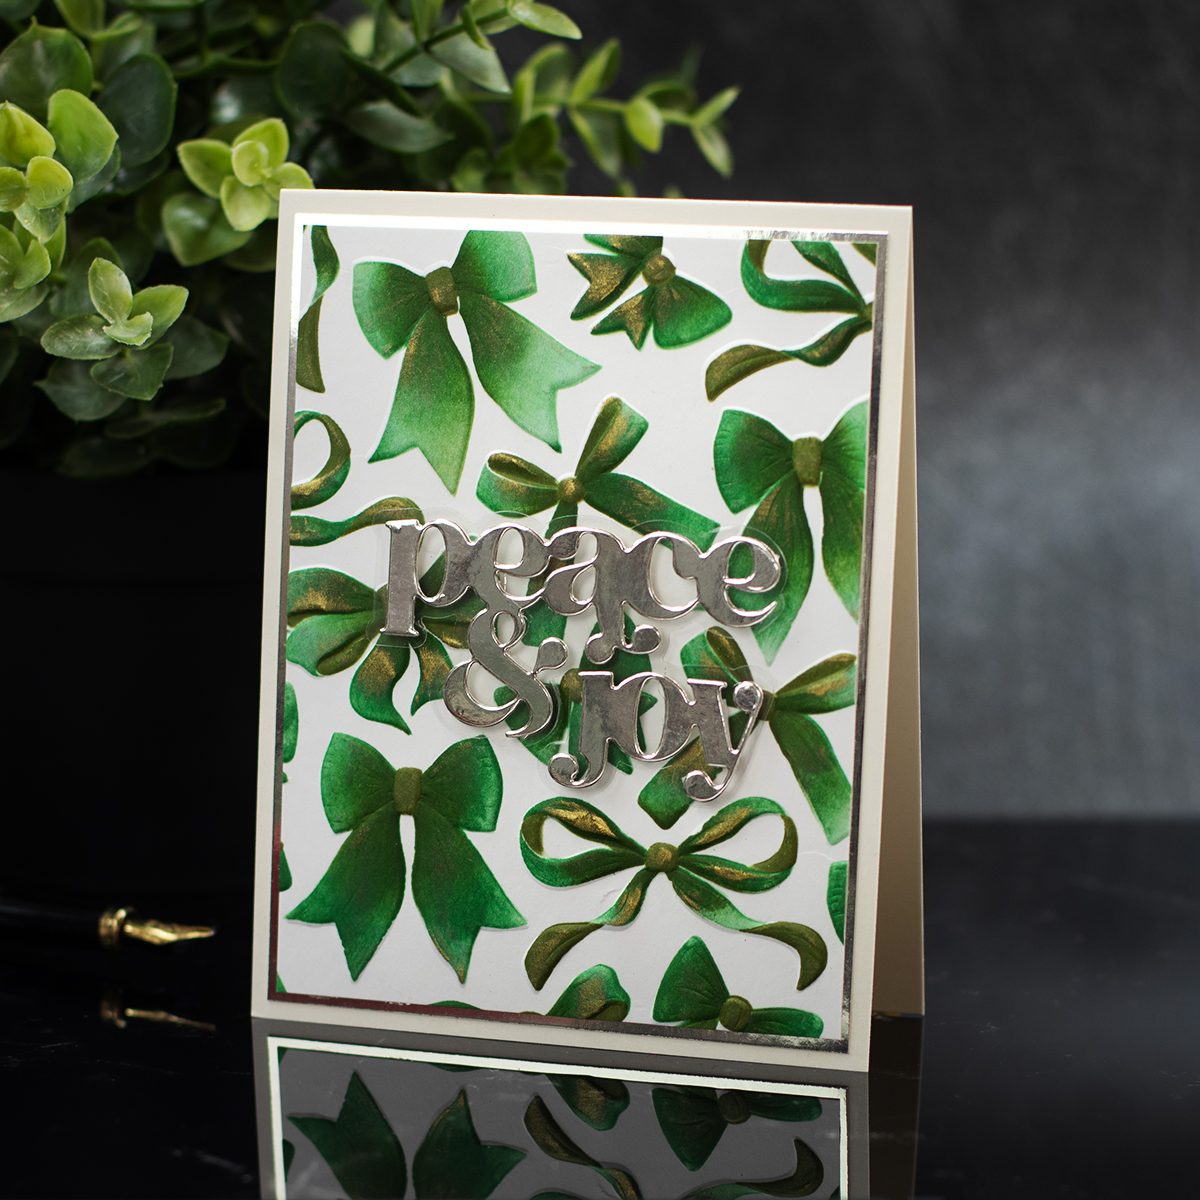
Fun Festive All-Over Bow Backgrounds
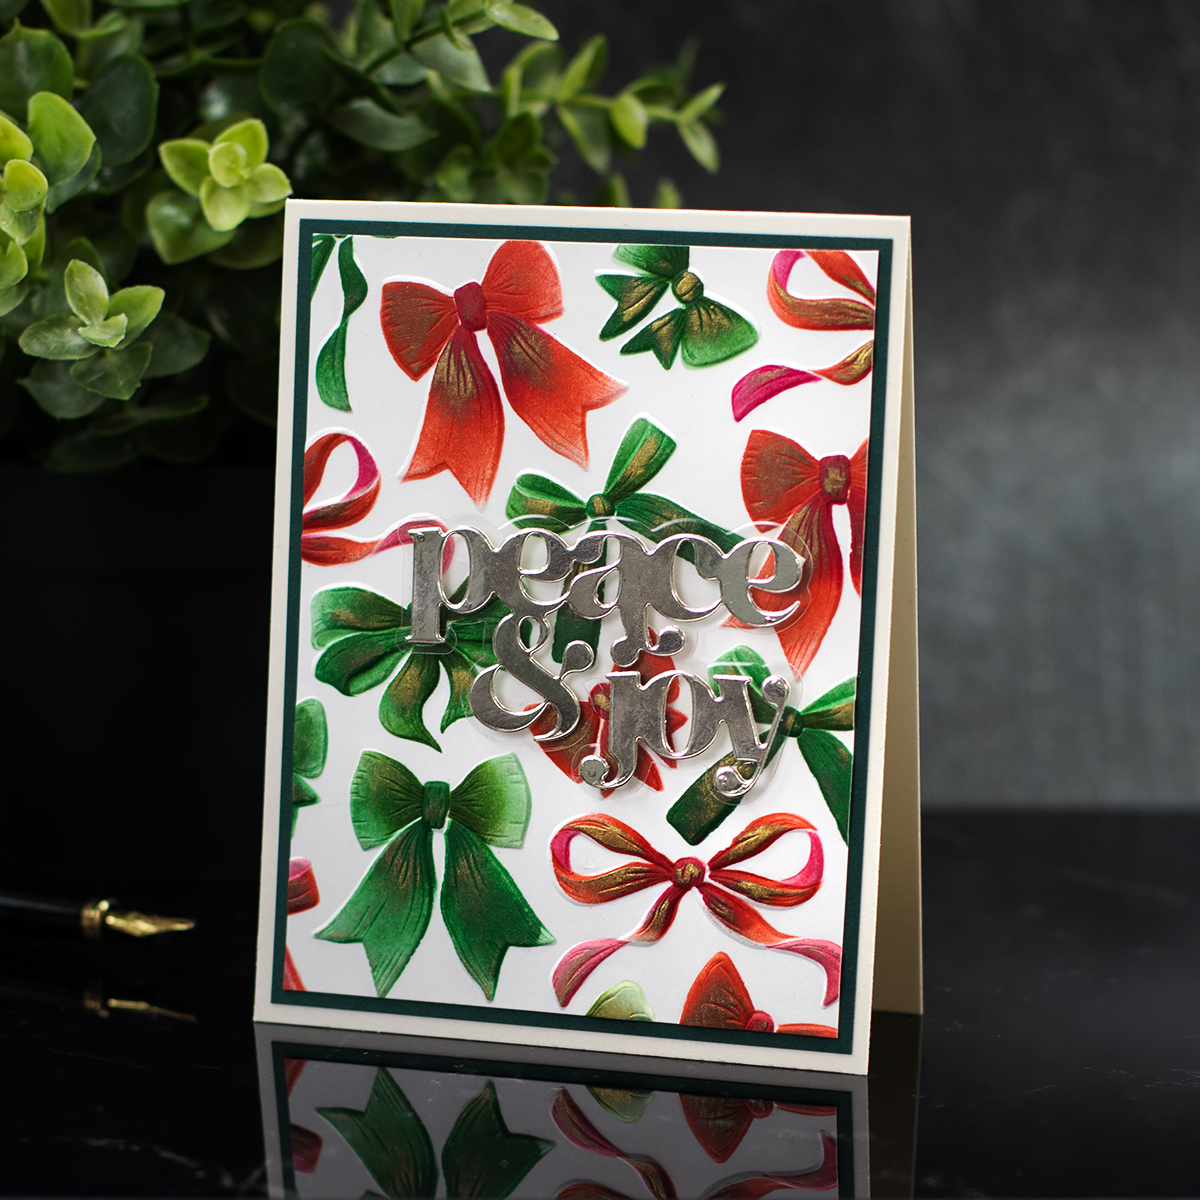
These cards measure 4-1/4″ x 5-1/2″
Cards Recipe
- Elegant Bows
- Timeless Sentiments Holiday Edition
- Cardstock: champagne mirror cardstock, Smooth white, Evergreen cardstock.
- Acetate
- Altenew Inks:
Green Bows: Hunter Green, Green Opal
Red Bows: firebrick, Magenta.
quick and easy projects. Perfect for mass production.
To make them, follow two simple steps using the Elegant Bows embossing folder and colouring stencils.
- Emboss the paper
- Use the colouring Stencils with your favourite ink colours.
For these festive/ Christmas cards, I used rich reds and deep green inks to fill the background, and I passed the Enchanted Gold ink pad over the raised areas of the embossed image to add a metallic accent.
I added a bold sentiment die-cut in mirror cardstock for extra shine.
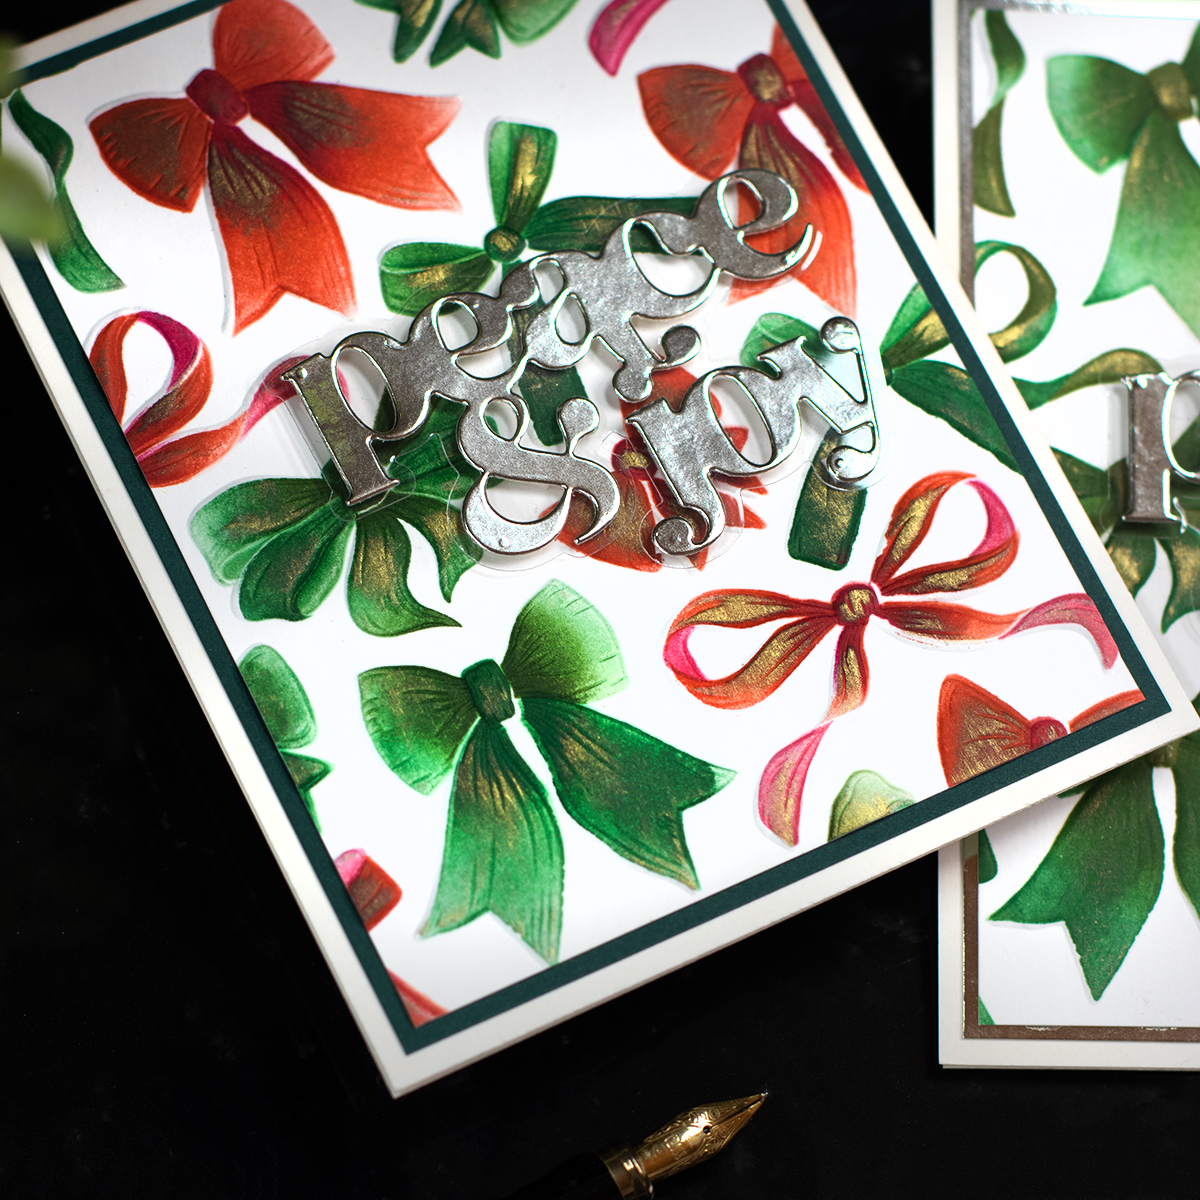
Tip: To avoid covering the beautiful background, use acetate to die-cut the backing panel of the sentiments. Add a metal shim underneath the acetate while die-cutting to have a clean cut.
Gift Box
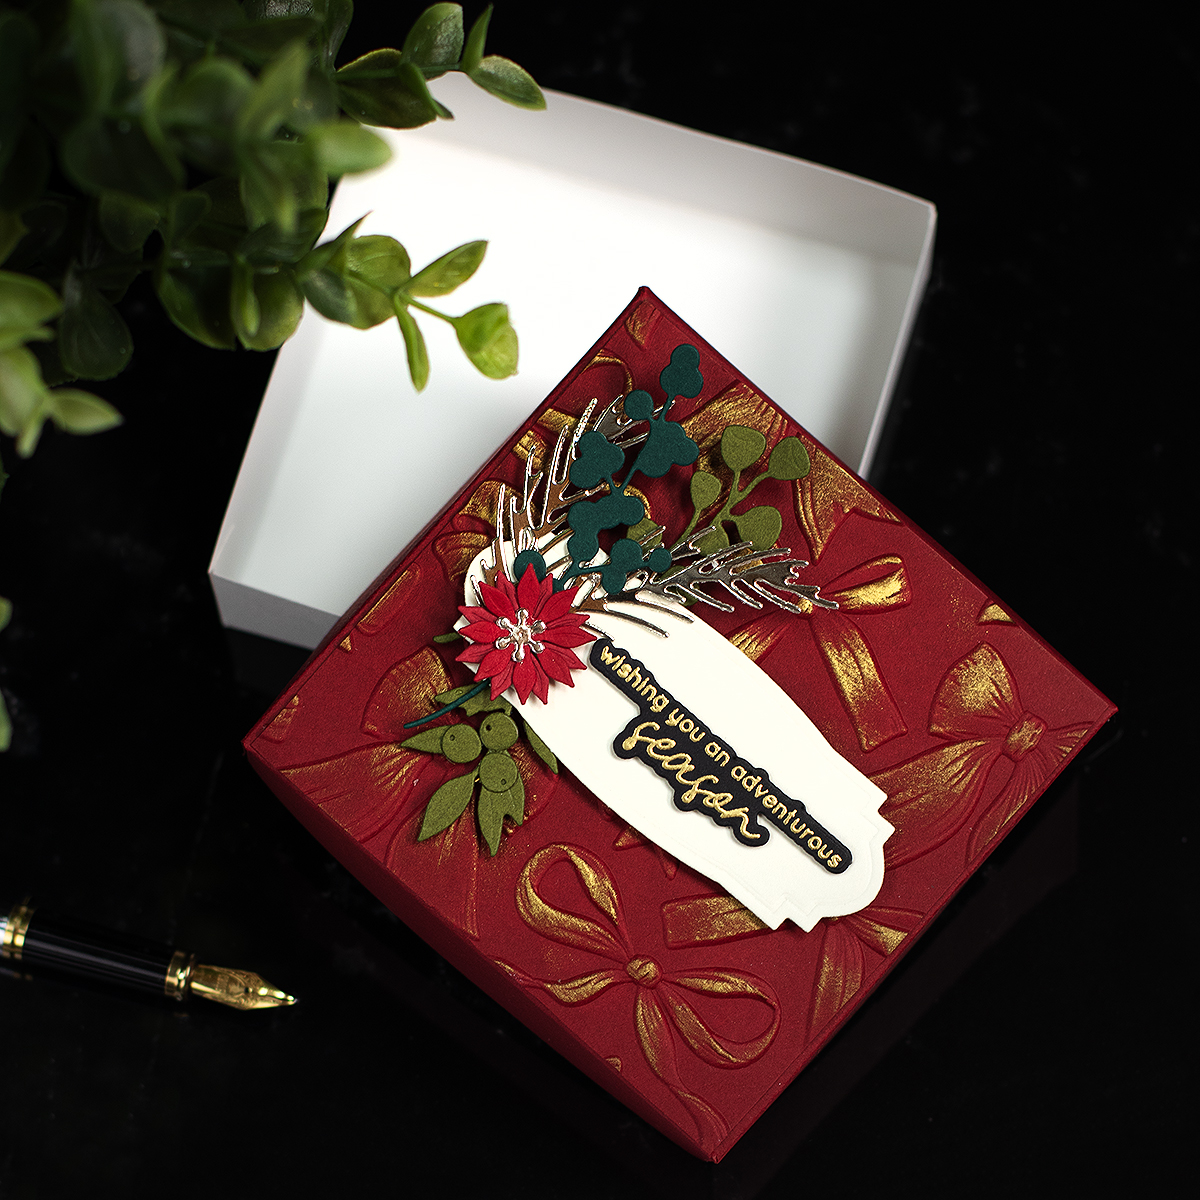
The same bow motif transforms beautifully onto a rich burgundy box.
This box measures 3-3/4″ wide by 1″ deep, but it can be made as large as 5-1/2″ to match the size of the embossing folder.
For this little box, I embossed a 3-3/4″ piece of Crafty Necessities: Vineyard Berry Cardstock and lightly brushed Enchanted Gold ink over the raised areas of the design.
Then, I adhered the embossed panel to the lid of the box.
Using the smallest die from the Nesting Slim Labels die set I die-cut a label.
I had some leftover flowers and leaves die-cuts made using the Zero Waste Ornamental Winter and Zero-Waste Berries and Branches sets, which I arranged into a small decorative cluster.
To finish it off, I added a gold heat-embossed sentiment on black cardstock, made using the Sleigh Ride Greetings stamps and coordinating dies.
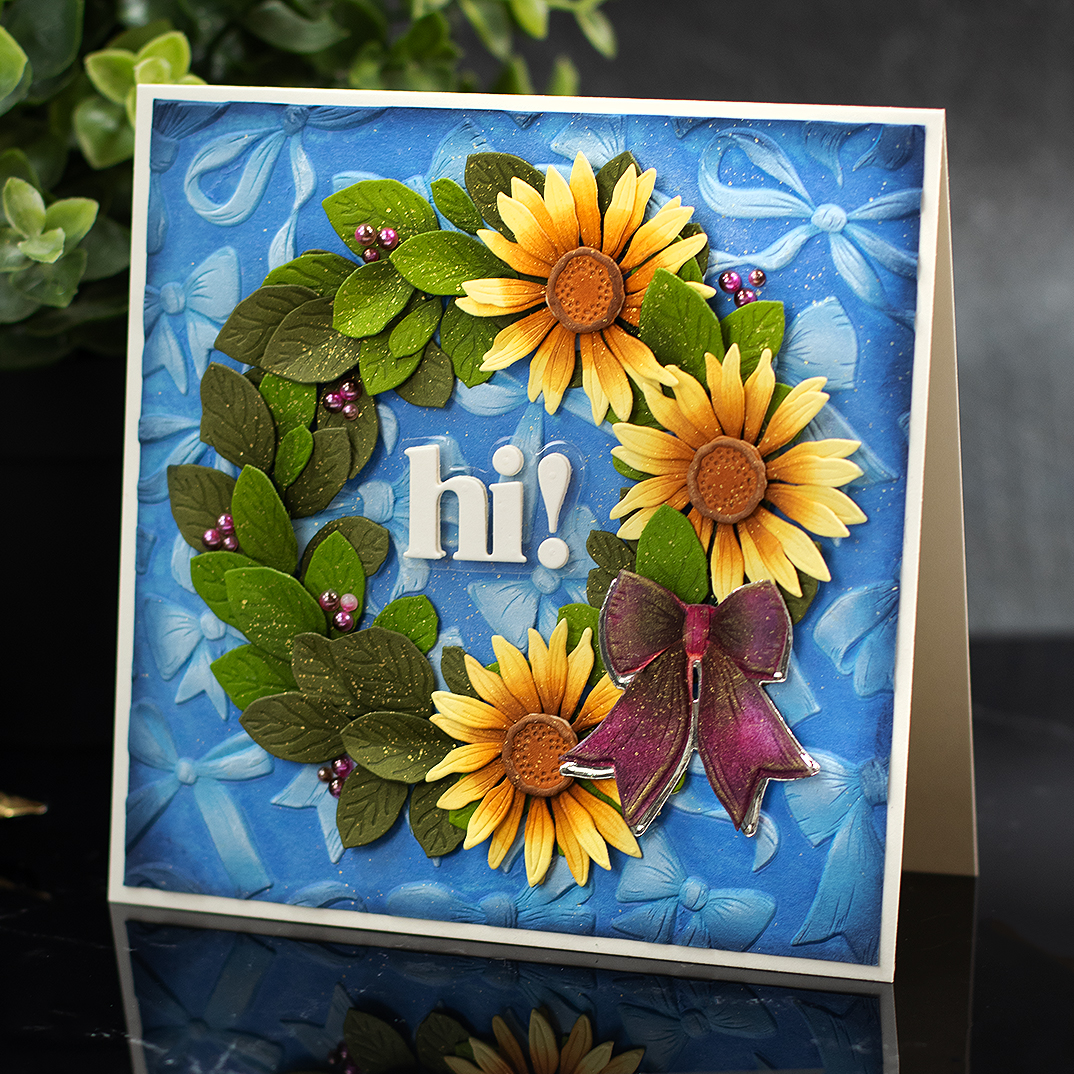
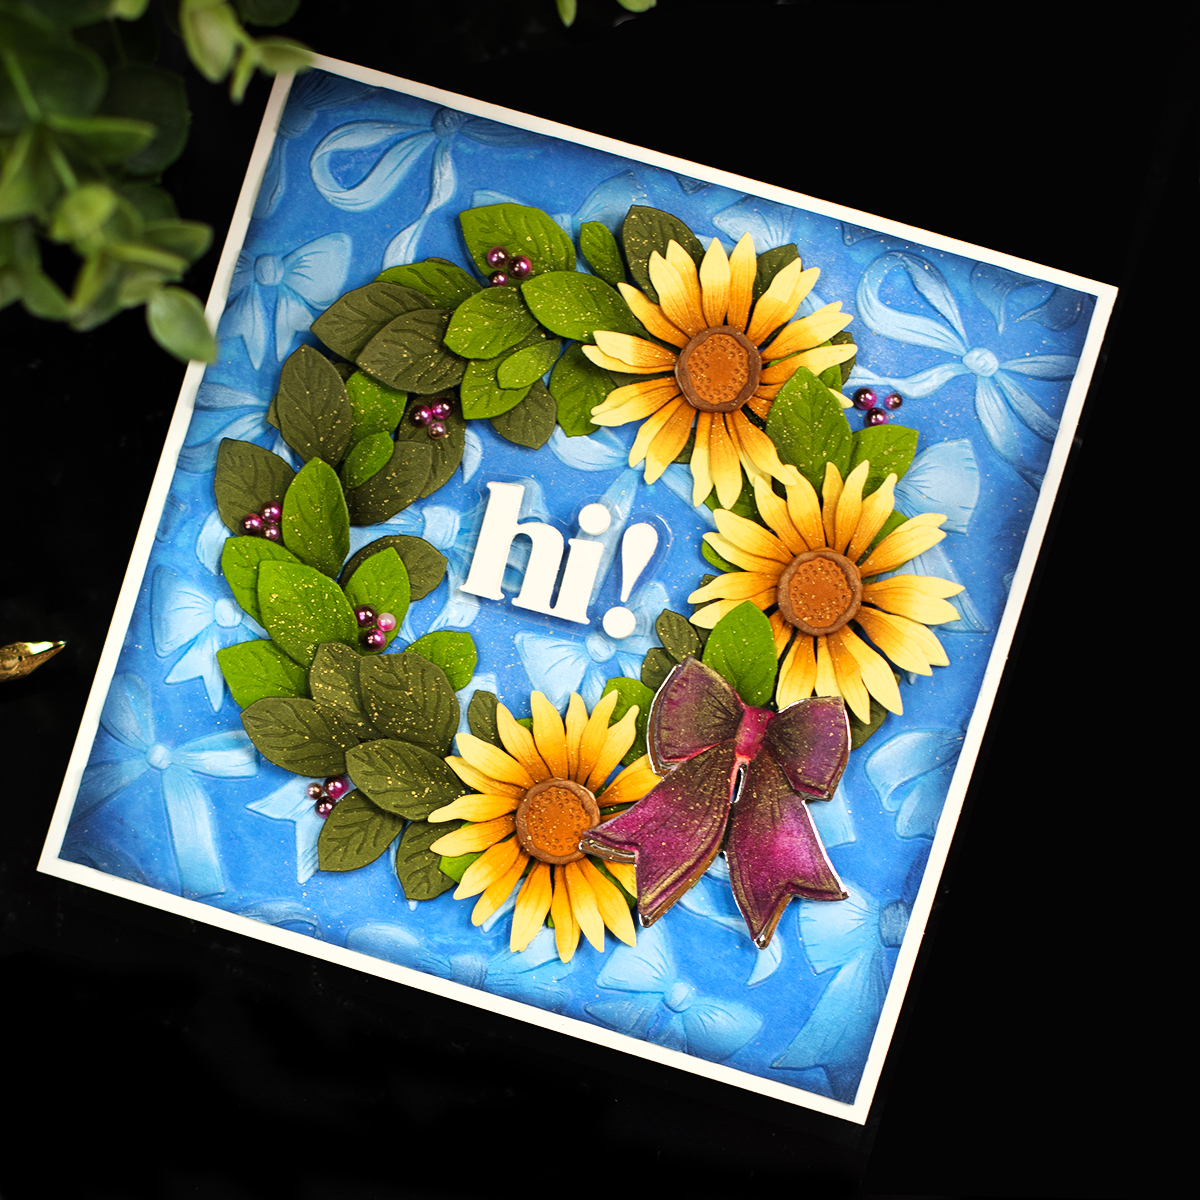
Autumnal Layered Wreath + Sunflower Card
Card Recipe
- Elegant Bows
- Zero-Waste: Autumn Leaves Die
- Bright Bloom Layering Die Set
- Timless Sentiments 2
- Crafty Necessities cardstock:
–Caribbean Sky for the background.
–Buttercream for the flowers.
–Olive and Moss for the leaves - Acetate: for the backing of the sentiment.
- Altenew Inks:
Background: Icerberg, Eastern Sky Ink, Cloud White Pigment Ink
Flowers : Pumpkin Pie, Melted Butterscotch, Choco Hazelnut Ink
Leaves: a hint of Green Opal Ink
Bows: A mix of red inks, Blue Horizon, and Grape Agate Ink
First, I die-cut all the elements for the wreath using the Zero-Waste: Autumn Leaves Die and the Bright Bloom Layering Die Set.
Then, I added a hint of ink blending to the die-cuts to create a bit more depth and interest.
The flowers only have two layers, so they’re super quick and easy to put together!
I also had an embossed, stencilled, and die-cut bow from previous experiments with the Elegant Bows Set, so I decided to put it to good use!
To build the wreath, I glued the leaves onto a 4″ circle die-cut frame and, using dimensional foam pads, I added the flowers and the bow for a bit of pop.
To finish the design, I added a cheerful “hi!” die-cut sentiment in the centre.
Here, I also used acetate for the background plate of the sentiment. It gives a very nice finishing touch without covering the beautiful bow embossed pattern
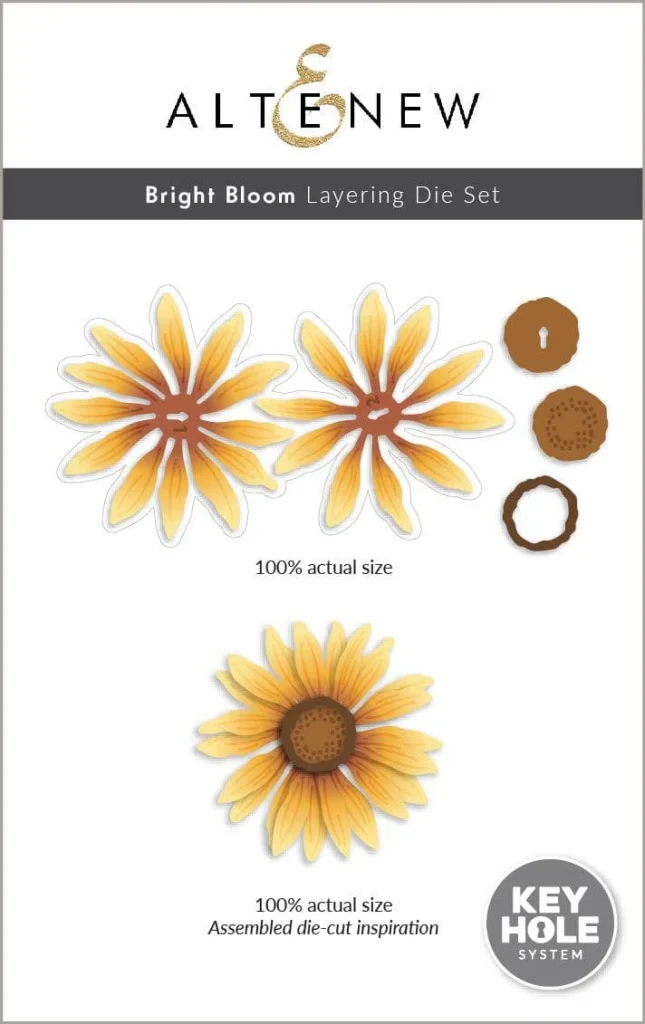
BTW… The Bright Bloom Layering Die Set (worth $10.99) is beautiful, and you can get it for FREE on orders over $79
That’s all for today.
I hope you enjoy the inspiration.
Let me know what your favourite idea is.
Happy Crafting
Supplies


Leave a Reply