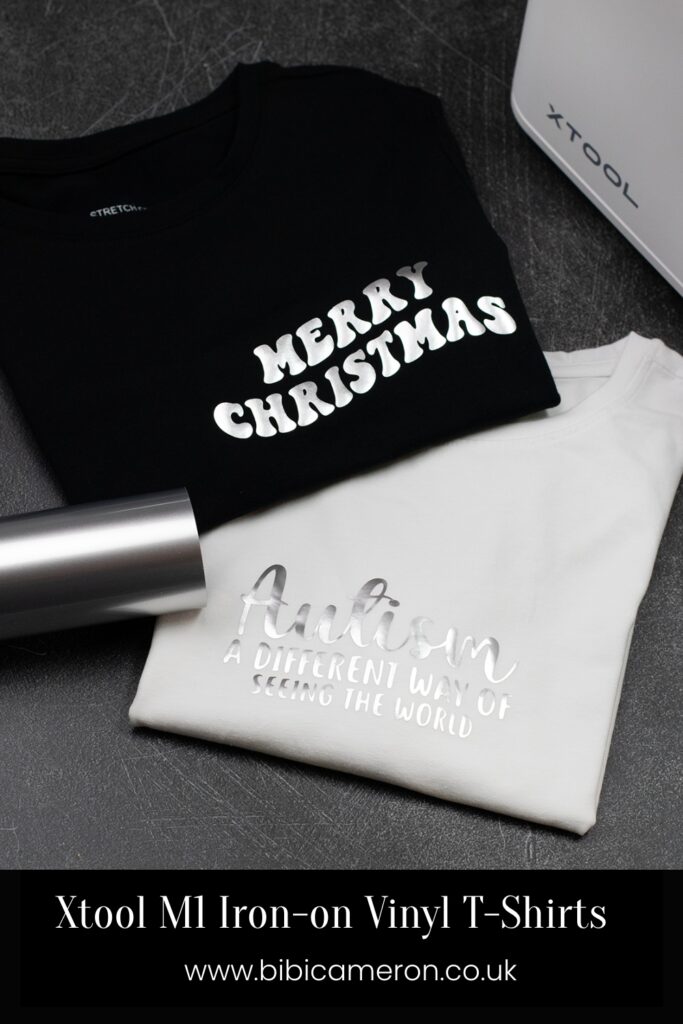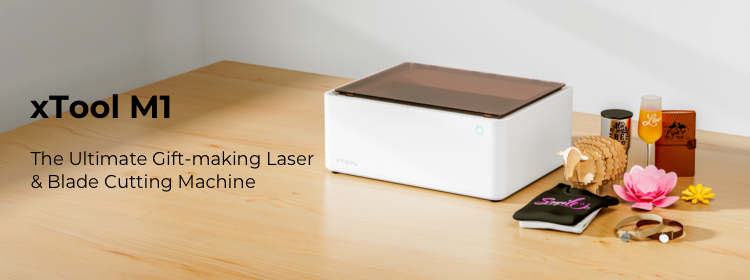
Hello, I’m passing by to share ideas to make personalized Iron-on Vinyl T-shirts using the Xtool M1.
The Xtool M1 cut Iron-On Vinyl like butter.
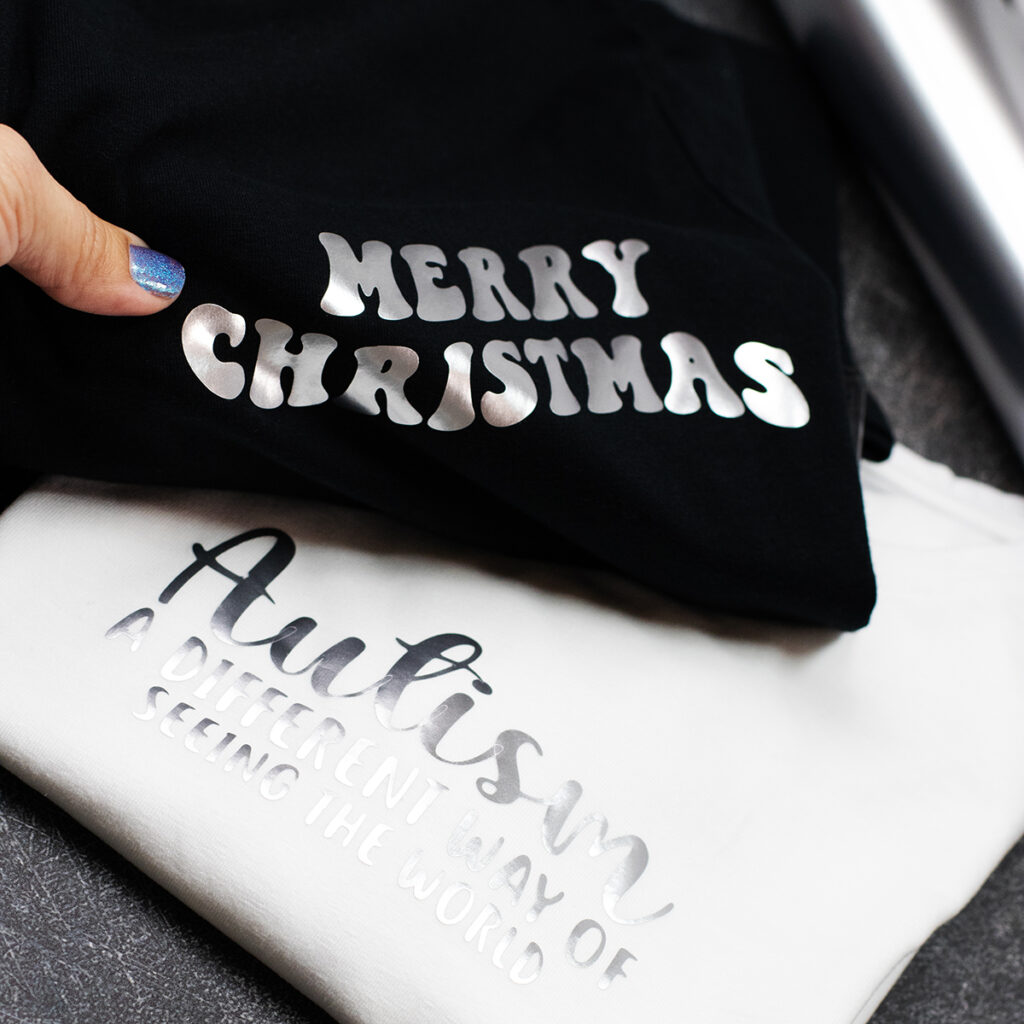
Once the artwork was cut, I then transferred it to the t-shirts using a hot iron.
I placed the iron over the vinyl for 15 seconds applying medium pressure and I removed the Vinyl liner only when cold as per instructions on the package.
This is easy peasy. It takes a few minutes and it is great mass-production.
For speed, you can use a single vinyl colour but with practice, you can also do this very fast using multiple colours.
Xtool M1 Iron-on Vinyl T-Shirts
Watch the video…
I can’t believe the processing times of the Xtool M1 to cut the vinyl and how sharp and well-defined the blade cut edges…
***Note: after using the blue sticky mat to cut the vinyl do not forget to put the plastic covers at the front and back.
So I was testing the Xtool Creative Space ( software) and the blade-cutting setting / Vinyl.
I used the Xtool M1 predefined settings to do this as shown in the video.
It is very important to remind you that the processing ( cutting) times can vary depending on how elaborate is the design or the amount of detail of an image.

T-shirts Recipe
I used the SVG files listed below:
- Merry Christmas – Download the template here
– Processing time 1:25 - Autism a Different Way of Seeing the World – Download the template here
-Processing time 2:53
To experiment, I also used Hobby Craft Silver Iron-on Vinyl and I got inexpensive stretchy t-shirts from a local shop.

Explore Previous Posts
Featuring Xtool M1 Papercraft Projects / Blade-Cut
Use dies to create Iron-on Appliques
Thanks for stopping by!
Happy Crafting.
X
Bibi


Leave a Reply