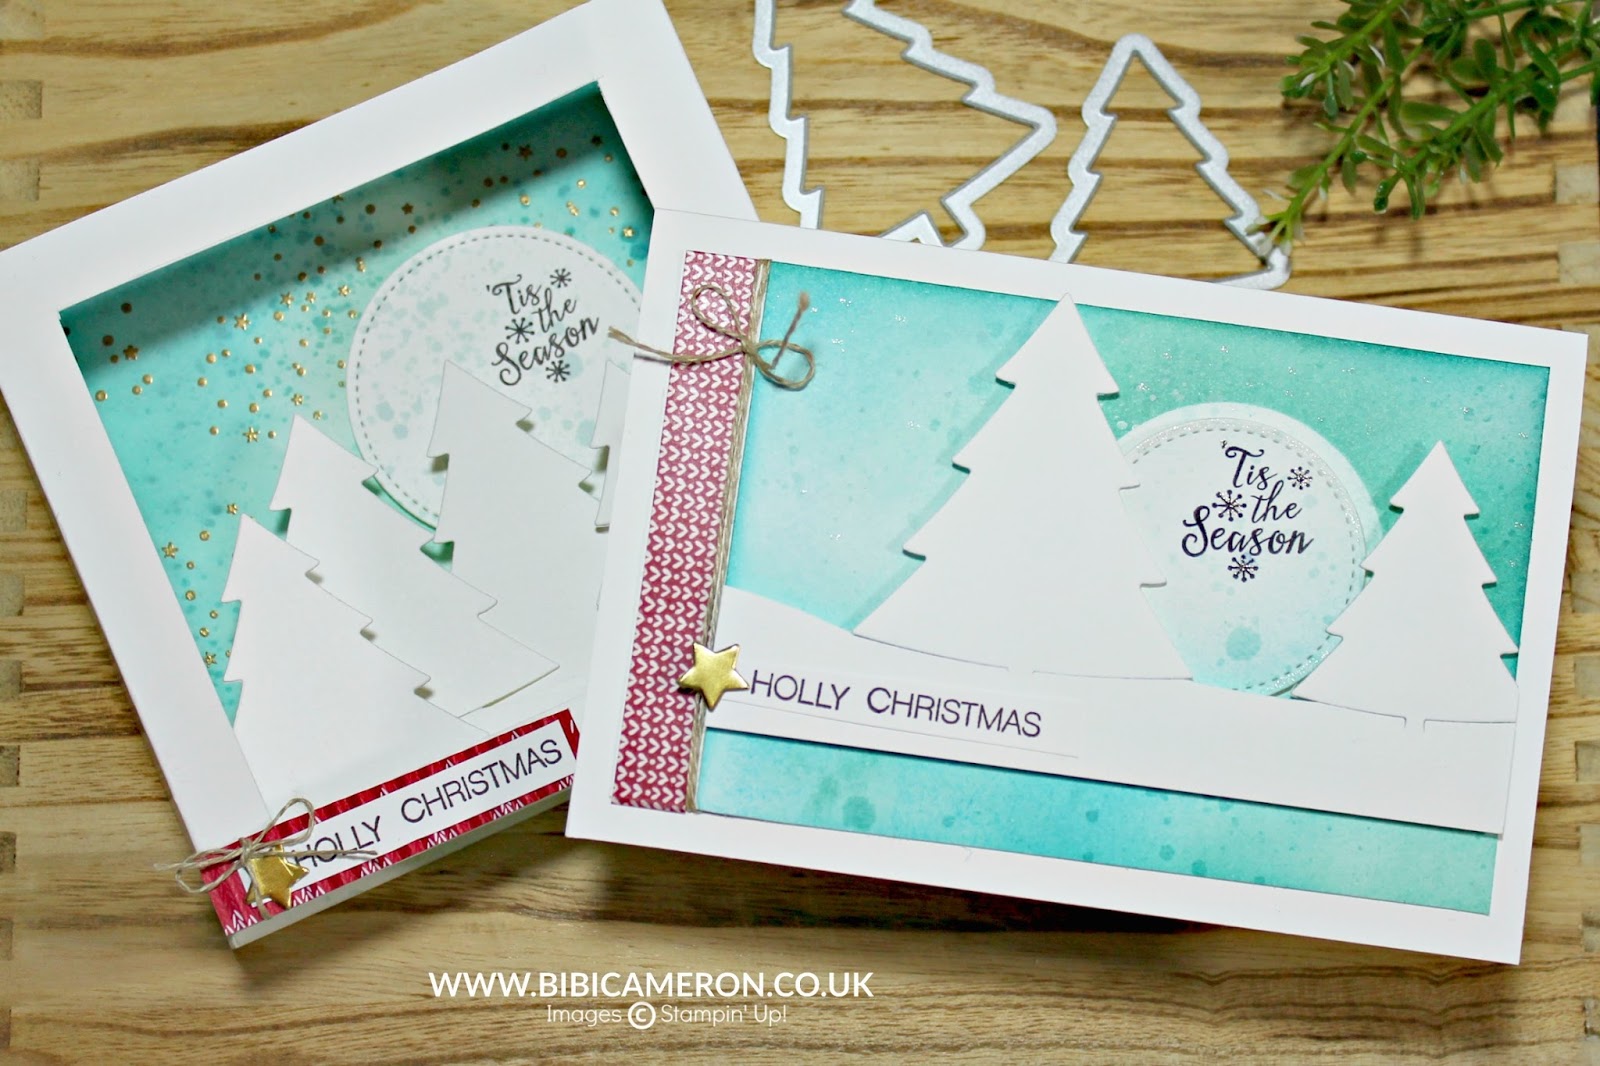
Thanks God is Friday! today I’m giving you an idea to turn framelits dies into edgelits with a simple and quick Partial Die Cutting Technique and make a Shadow Box Card in minutes and hassle free.
I’m featuring Peaceful Pines Bundle by Stampin’ Up! , Holly Jolly Stamp Set and Stitched Shapes Framelits Dies … Products available in my SHOP HERE !
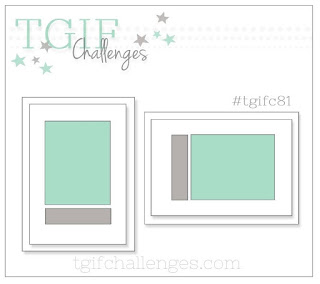
These projects are my entry for this week sketch challenge on TGIF Challenges .
Click here or in the picture below to join us or to have a look at what everybody is making.
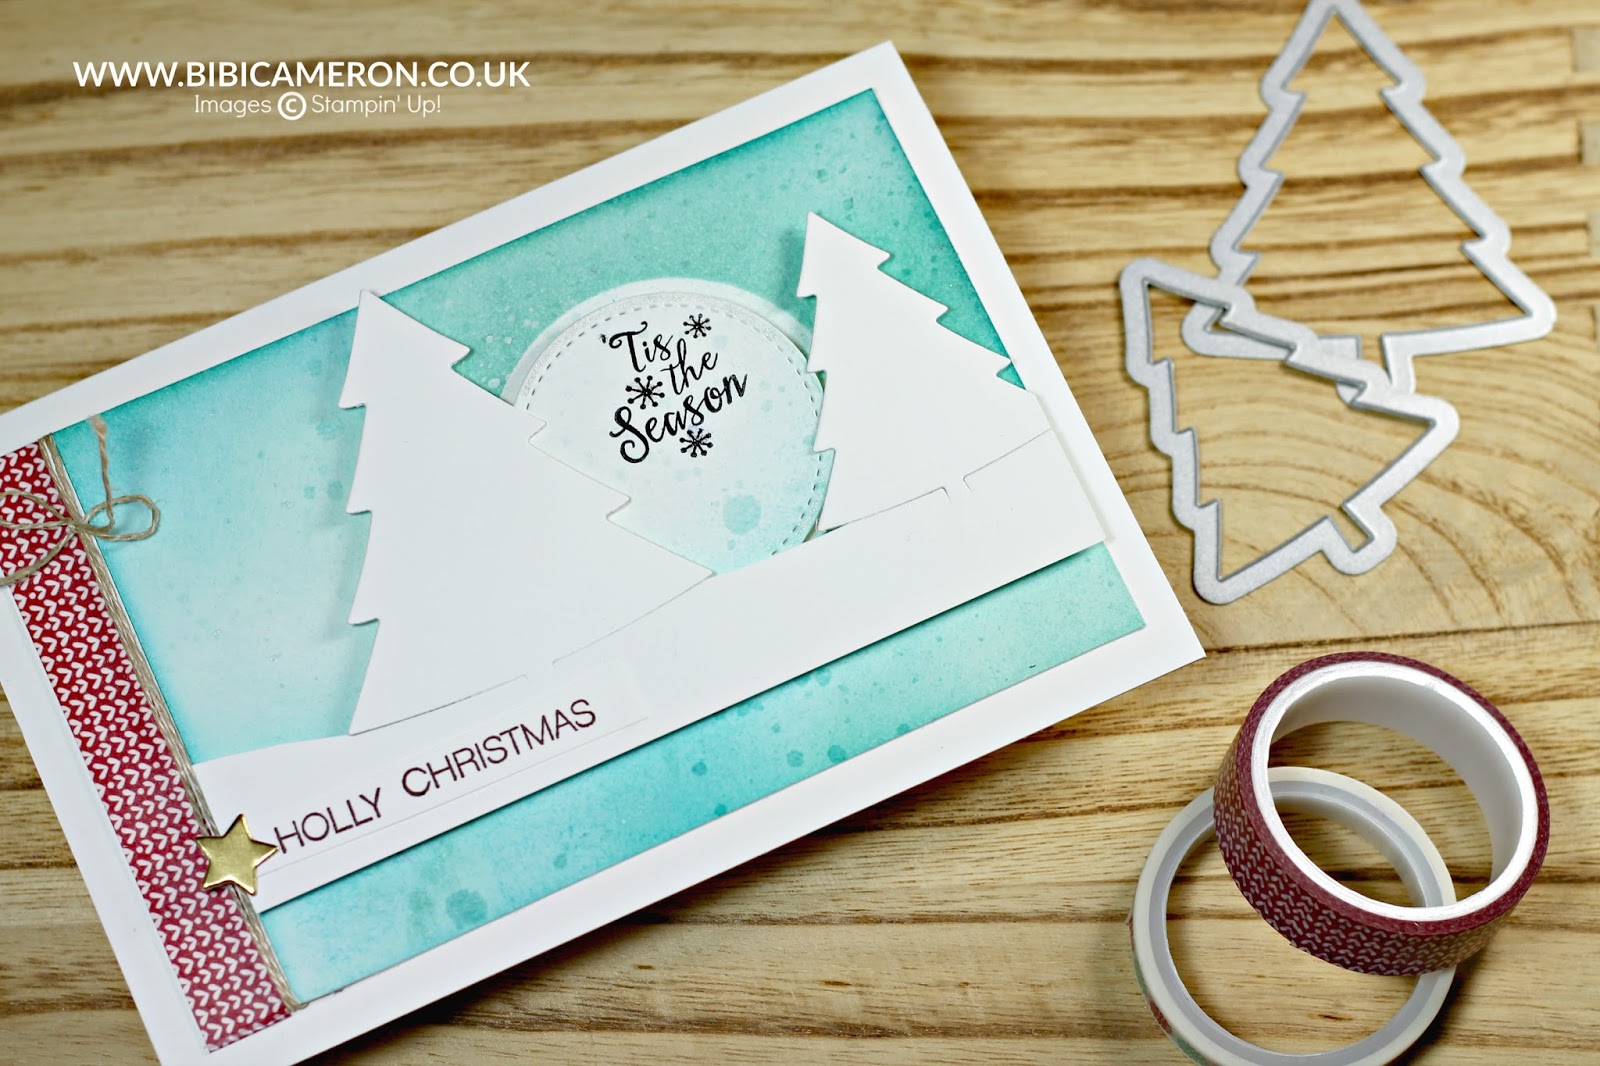
Partial Die Cutting
This is another way to use your framelits dies and give live to a minimalistic project with dimension a fun folding and a striking background. You can do it!
Shadow Box Card
After making the card above, I decided to try to go a little bit further and I made a shadow box card which is very trendy nowadays.
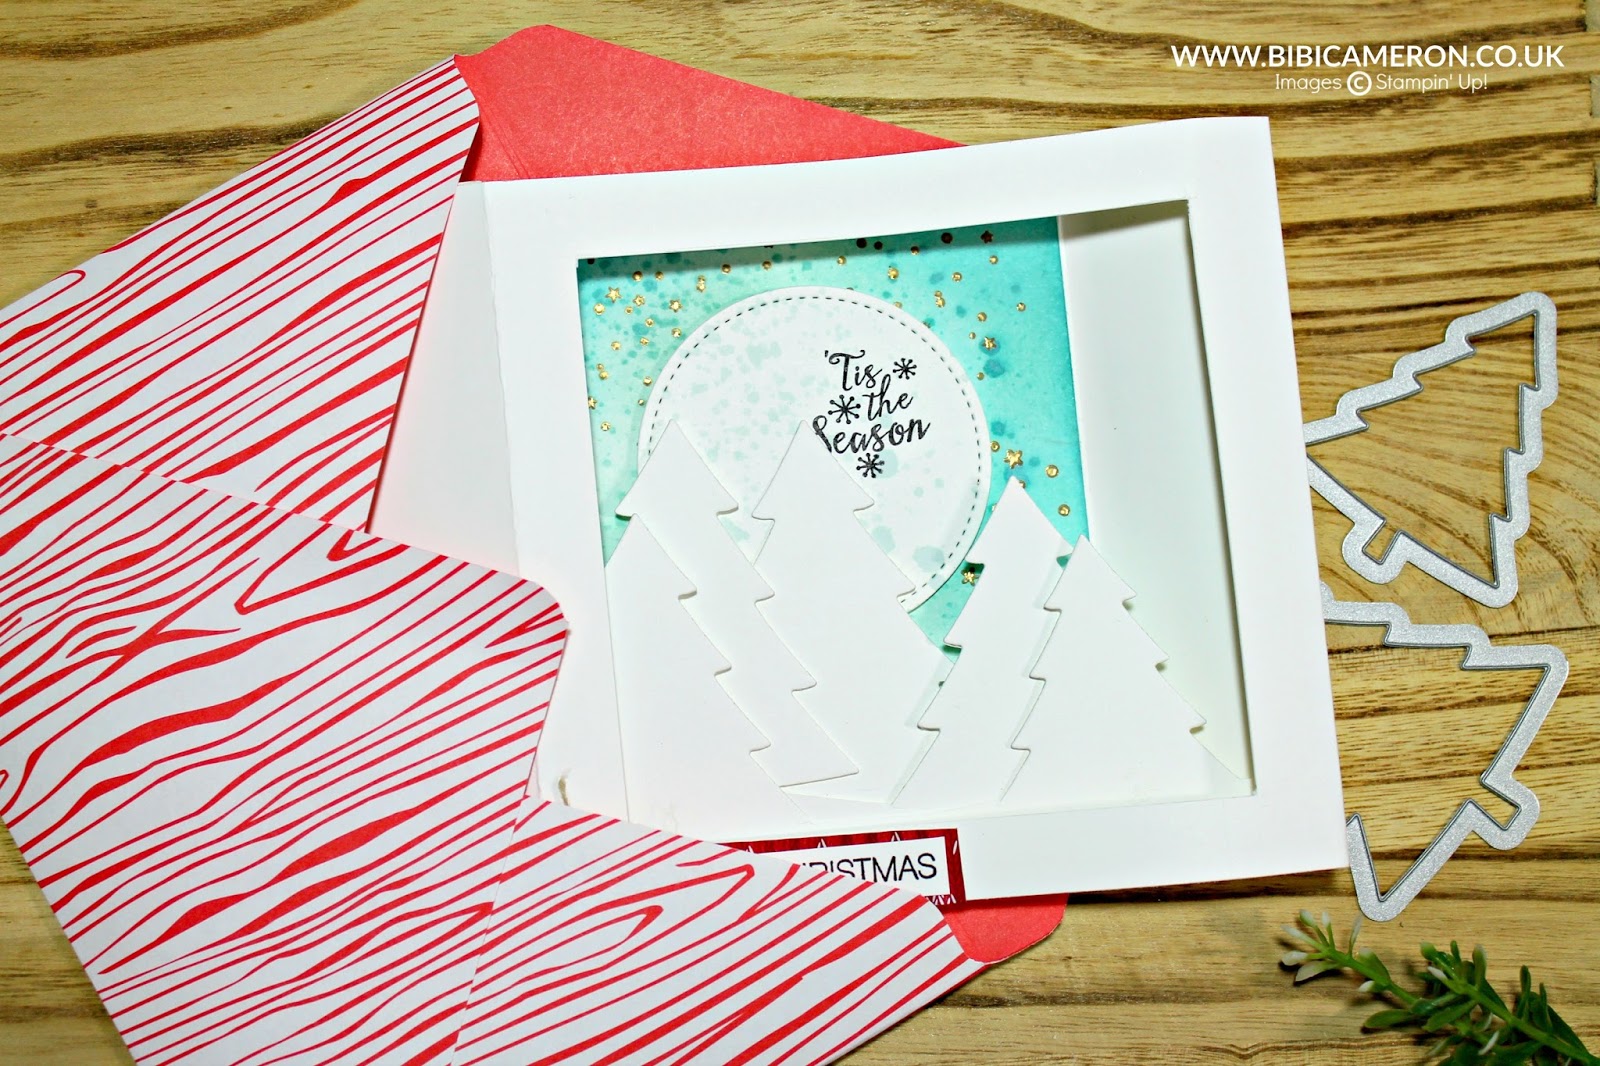
The card folded flat measures 5″x 6 -7/8″ inches ( 17.5 x 12.9 cm). 3D measures : Height: 5″, Width: 5-1/4″, Deep 1-1/2″ (12.7 x 13.4 x 4 cm)
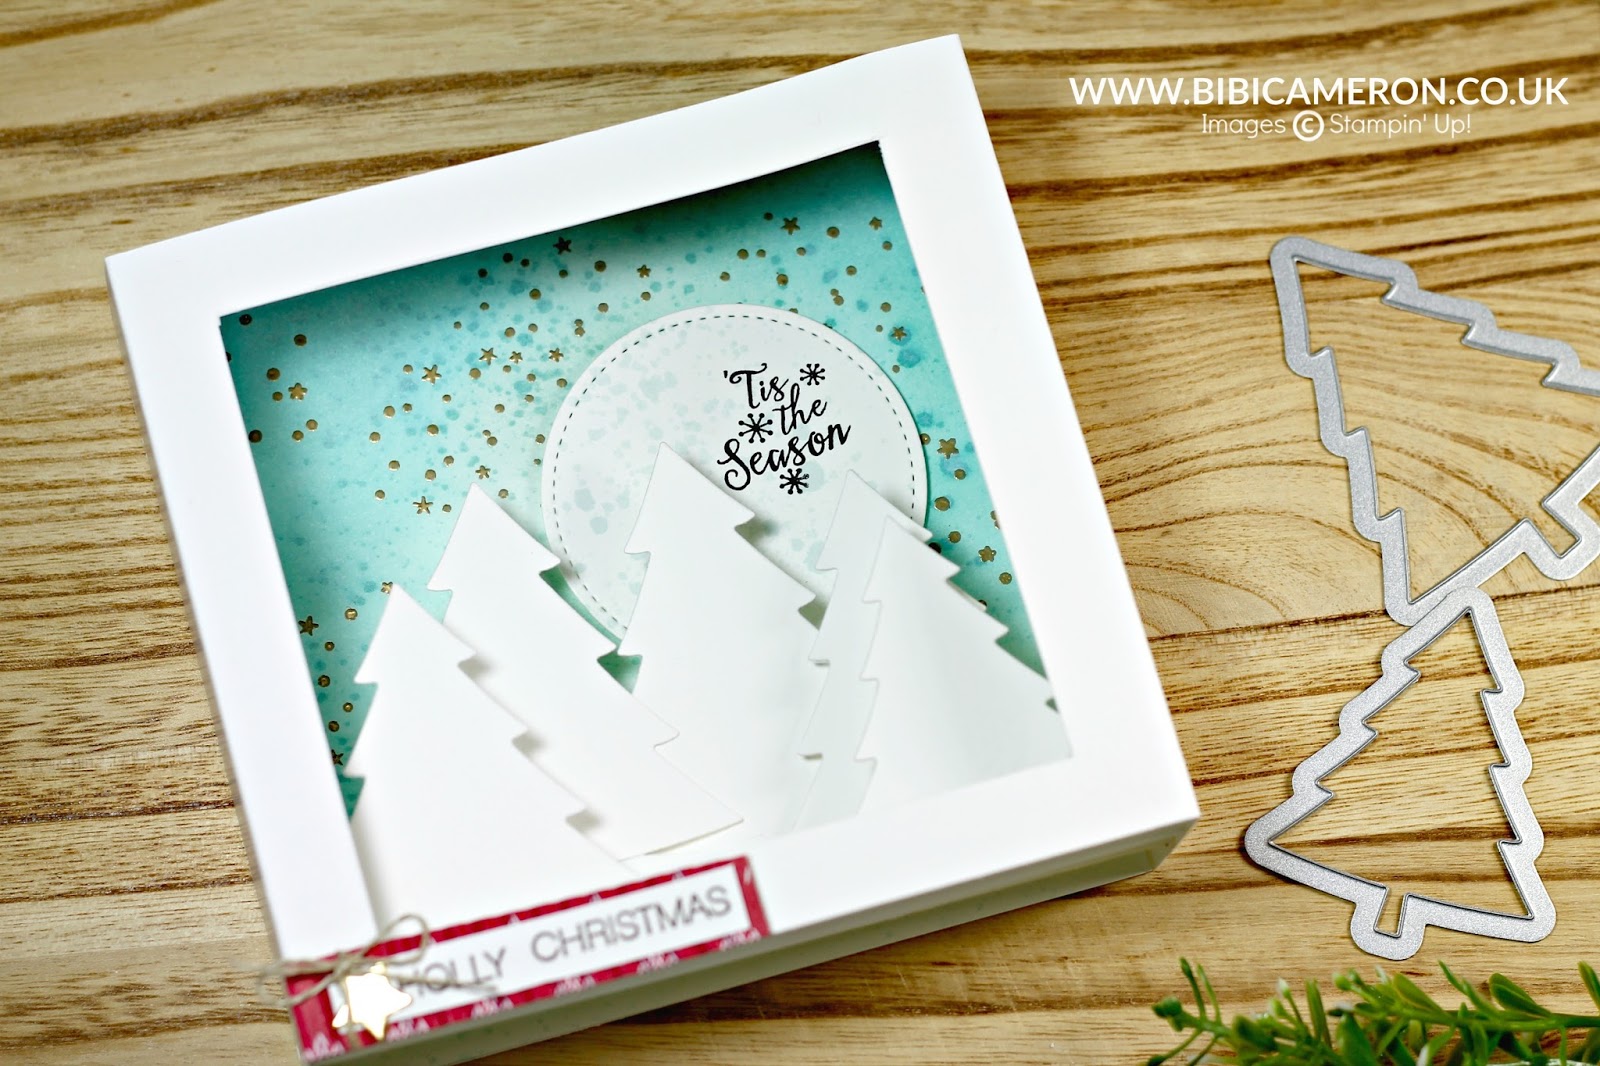
you can add a LED battery operated tea light
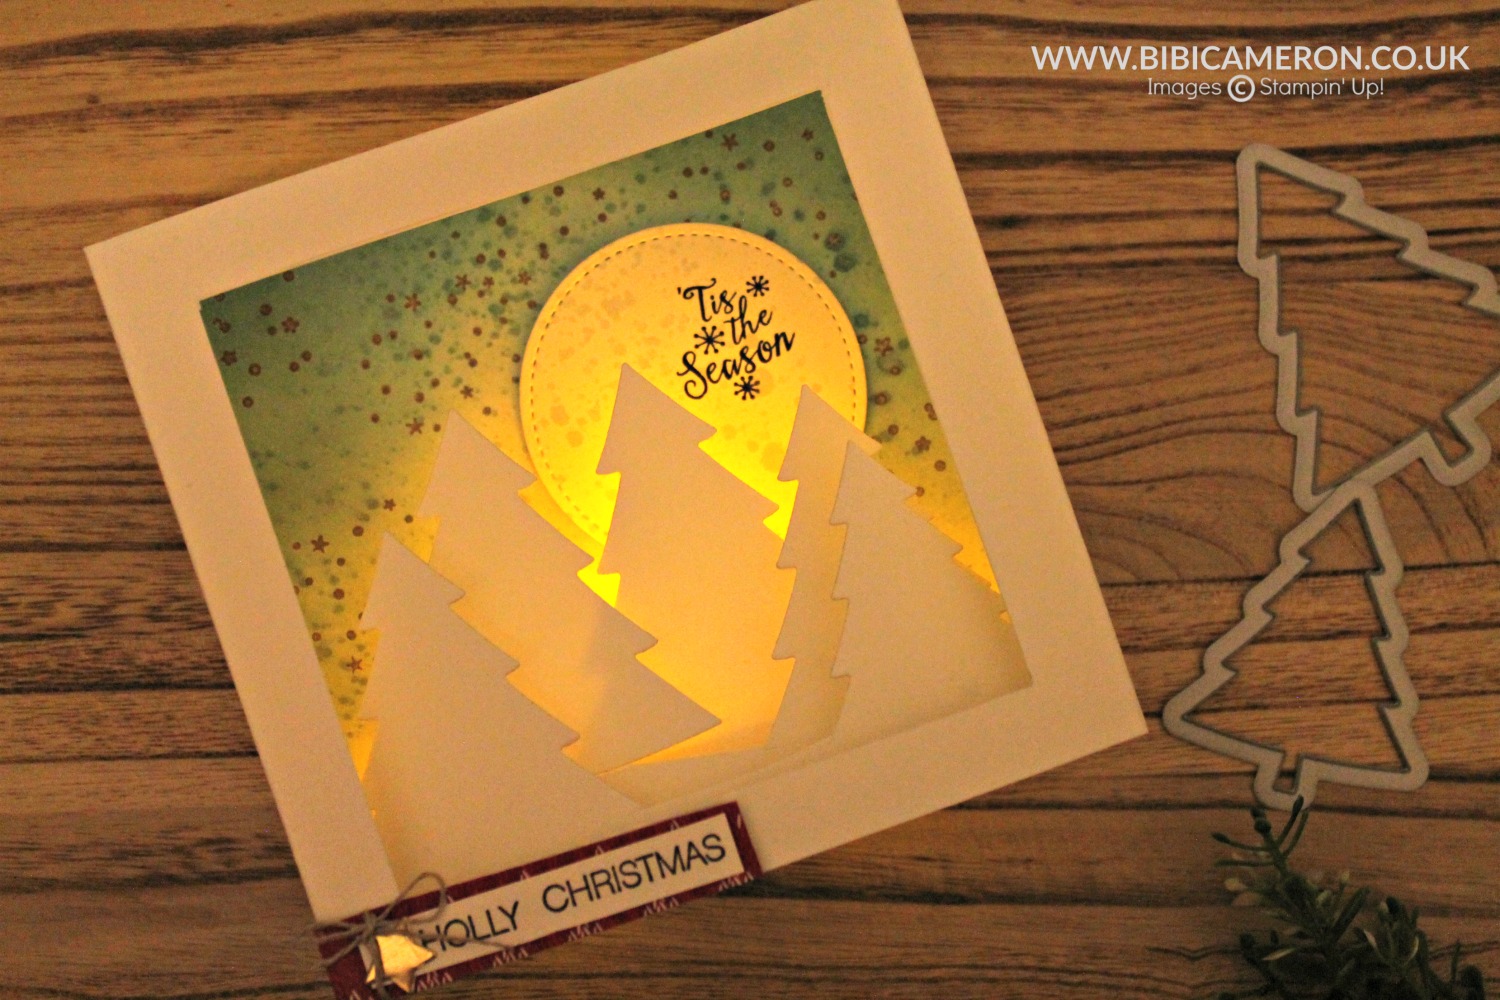
Boom!! isn’t it cool?
Shadow Box Card pieces
You will need in total 2 x A4 sheets of whisper white cardstock.
Cut 2 identical pieces ( main panels)
Height: 5″ inches ( 12.7cm)
Width: full width of the A4 sheet of whisper white cardstock (8-1/4″ | 21cm)
Score a line : 1-1/2″ from sides.
Cut a frame at 5/8″ ( 1.5cm) from the top and the bottom edge and side scoring lines.
Cut 1 piece to be coloured , stamped and heat embossed to be used as background
5″x5-1/4″ inches (12.7 x 13.4cm)
Cut 3 pieces for partial die cutting:
width 6″ inches (15cm)
height minimum 3- 1/2″ inches ( 9cm)
1 piece to die cut the moon : I used the 2 -3/8″ inches (6 cm) circle stitched die.
Thank you for visiting my blog today and do not forget that every order £25+ from my Independent Stampin’ Up! Shop will also receive a free thank you gift from me Click here to find the code and customer perks!
The gifts should reach mycustomers around 15th next month after plading their orders.
Do not hesitate to leave a comment or contact me if you have any question at bibicameron@gmail.com
I would love to hear form you!
Buy supplies to make this project …


Bibi, I love your projects and I could listen to you all day! I can't wait to make this to add to my Christmas decorations!
I like it too!! …and I wanted to say that you speak English beautifully, Bibi!! Never worry about that! …and you have a beautiful accent to my ear! Love your creativity!!!
love your videos. sometimes I get a giggle with your English. you do a great job!
Bibi, your shadowbox card is absolutely gorgeous! Your video was great and very clear on the instructions. Thank you so much for sharing all of your wonderful creations!
This is just amazing! I have been making shadow boxes (that don't fold flat and using bucket loads of dimentionals lol), I love how you have done these trees and that they fold for postage – AWESOME!