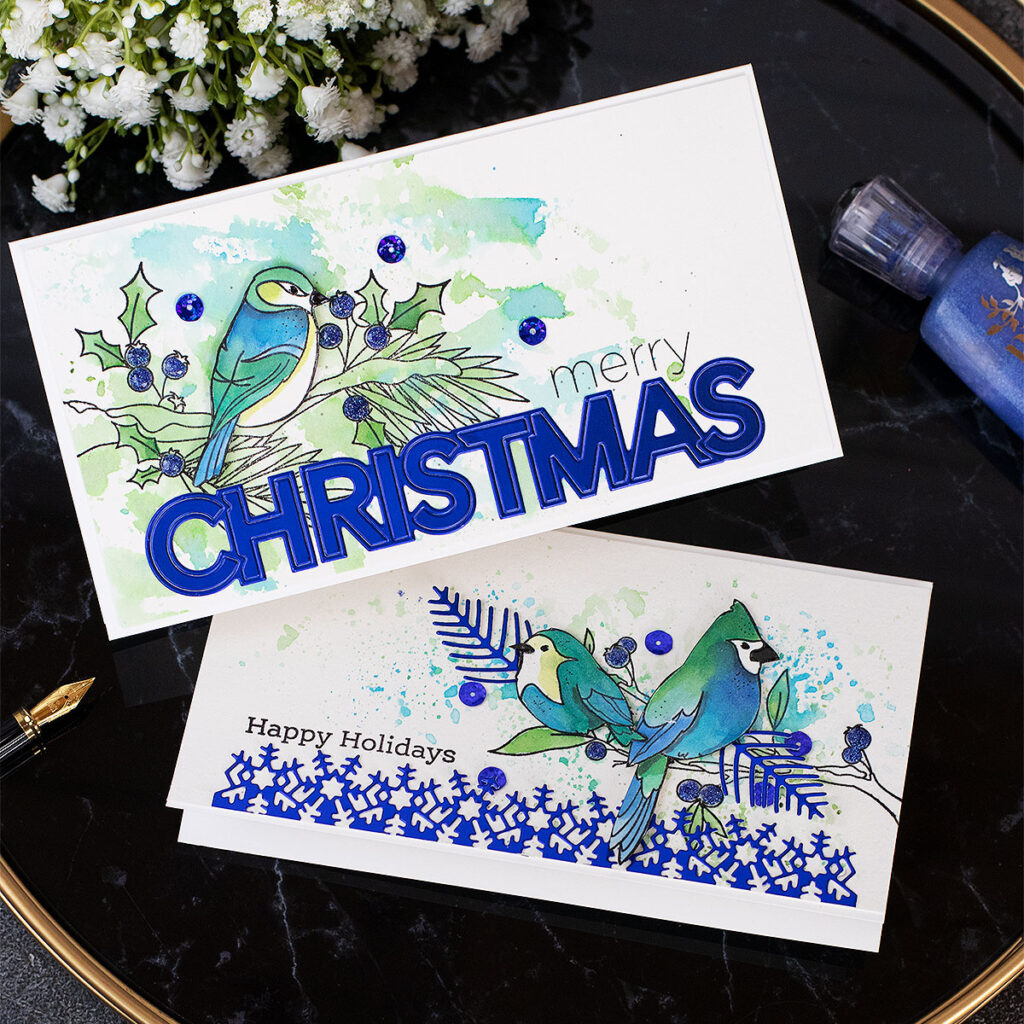
Hello there! I hope you are doing well. Today I’m sharing a couple of Xmas Cards ideas and lazy tips to quickly add colour and texture to handmade cards using Distress Inks.
This type of detail will also allow you to get creative with very few supplies and you can use any water-based ink you might have.
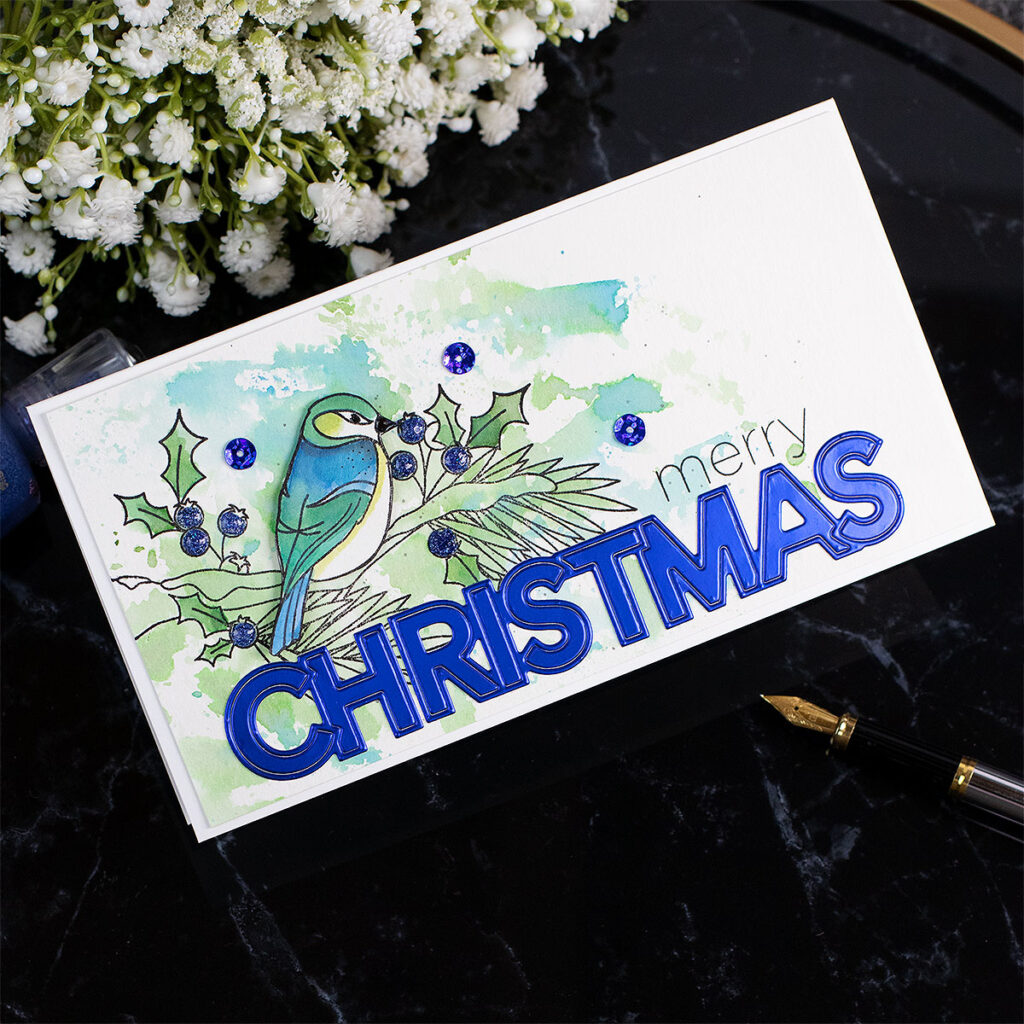
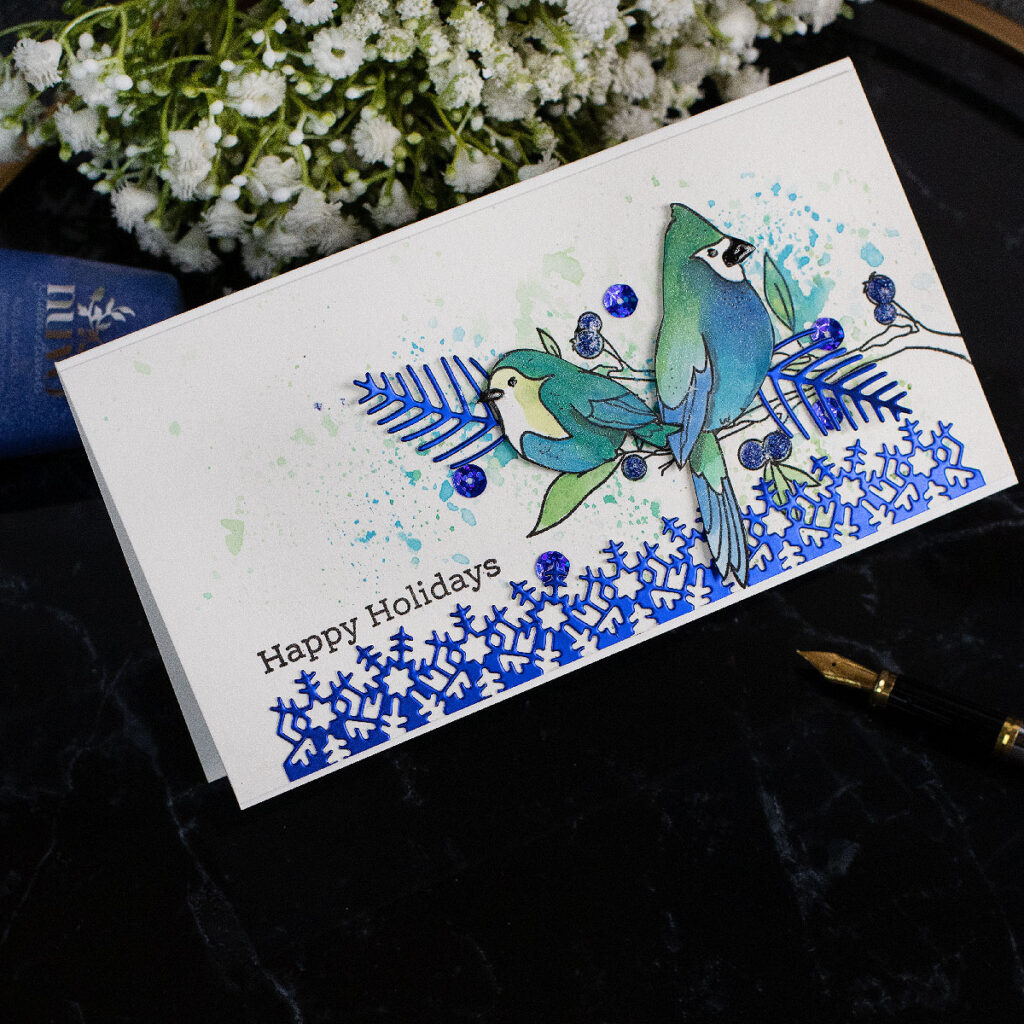
I used beautiful images and sentiments from the Winter Birds stamp set by Simon Says Stamp and I added die-cut decorative elements.
As metallic papers are eye-catching, the die -cuts elements are made out of metallic cardstock in a striking cobalt blue colour.
Cards Recipe
*** + Clickable Links
- Birds and sentiments from the Winter Birds stamp set
- Large Christmas die-cut word: Slimline Christmas Wafer Dies
- Snowflake border decorative piece: Winter Borders die set.
- Sprigs from Christmas Foliage die set.
- Strathmore watercolour paper
- Cobalt Velour Mirror Card Satin Cardstock
- VersaFine Clair Nocturne
- Prize Ribbon Distress Oxide Ink
- Pine Needles Distress Oxide Ink
- Mowed Lawn Distress Ink
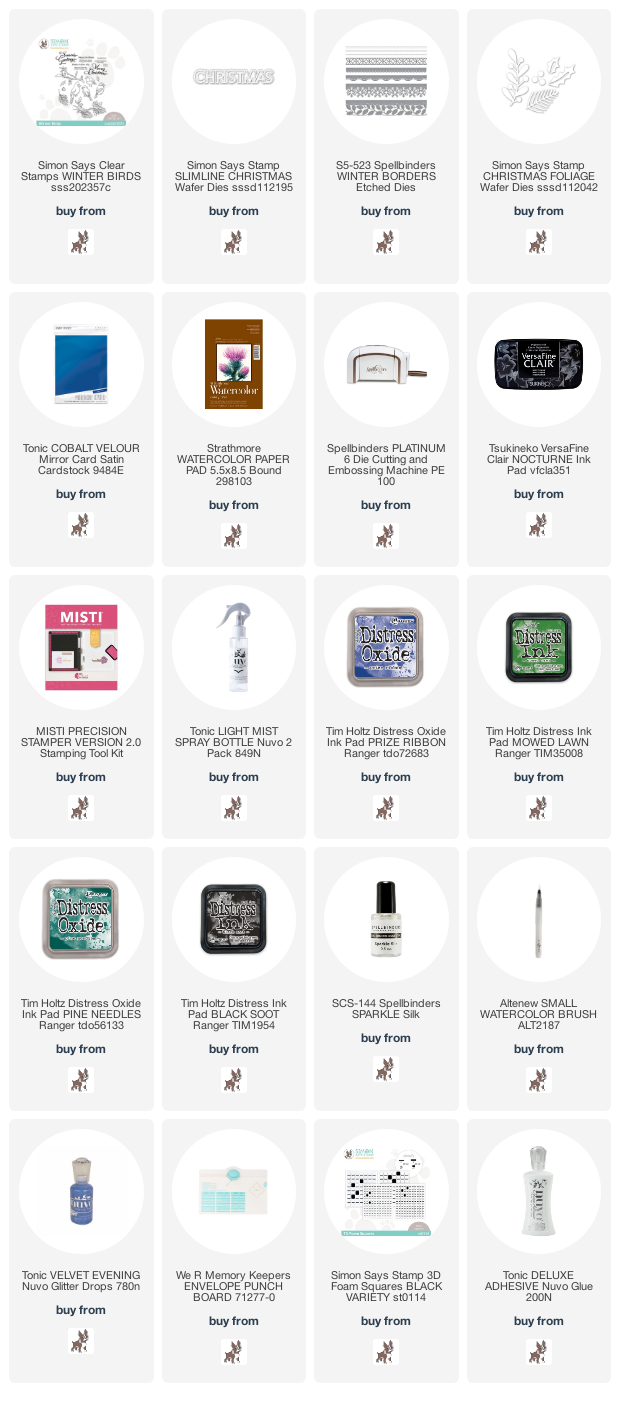
*** Find the complete supplies list with clickable links at the end of this post
Cardmaking Process and Tips
- First, I cut 2 pieces of Strathmore watercolour paper that measure about 6-3/4″ x 3-3/4″ inches.
I do not pay attention to the size of the cards, to be honest. I always can use larger envelopes or I can just make my own envelopes using an Envelope Punch Board. - Then, I applied the distress inks on a piece of plastic. I spray water over using a Nuvo Light Mist Bottle and then I place the inked plastic over the panels to transfer the ink from the plastic to the paper.
- When the panels were dry, I stamped the different branch designs and the sentiments on the different panels using VersaFine Clair Nocturne and the Misti Precision Stamping Tool.
- I also stamped the birds using the Misti and VersaFine Clair Nocturne Ink on a small piece of Strathmore watercolour paper.
Colouring
- To do the colouring, I use 2 main ink colours ( Prize Ribbon and Pine Needles Distress Oxide Ink)
- I apply one colour on one side of the image and the other on the opposite side of the image.
- Then, using a Small watercolour brush I drag each colour towards the centre of the image where I apply circular motion to blend them.
- I avoid covering the image with a solid colour as it can look dull.
- Next, I add a brighter ink to add brilliance. So I used Mowed Lawn Distress Ink.
- To add shadows and contrast, I use Black Soot Distress Ink in some little areas.
- For a little bit of sparkle, I applied Sparkle Silk over the images.
Once the images were coloured, I fussy cut them and stuck the on the panels using Foam Squares by Simon Says Stamp ( they are very strong foam pad adhesives).
Using Nuvo Deluxe Adhesive, I glued the die-cut word and other elements as shown in the pictures.
To embellish I used some Nuvo Glitters I have in my stash very similar to the Nuvo Velvet Evening Nuvo Drops.
PIN ME
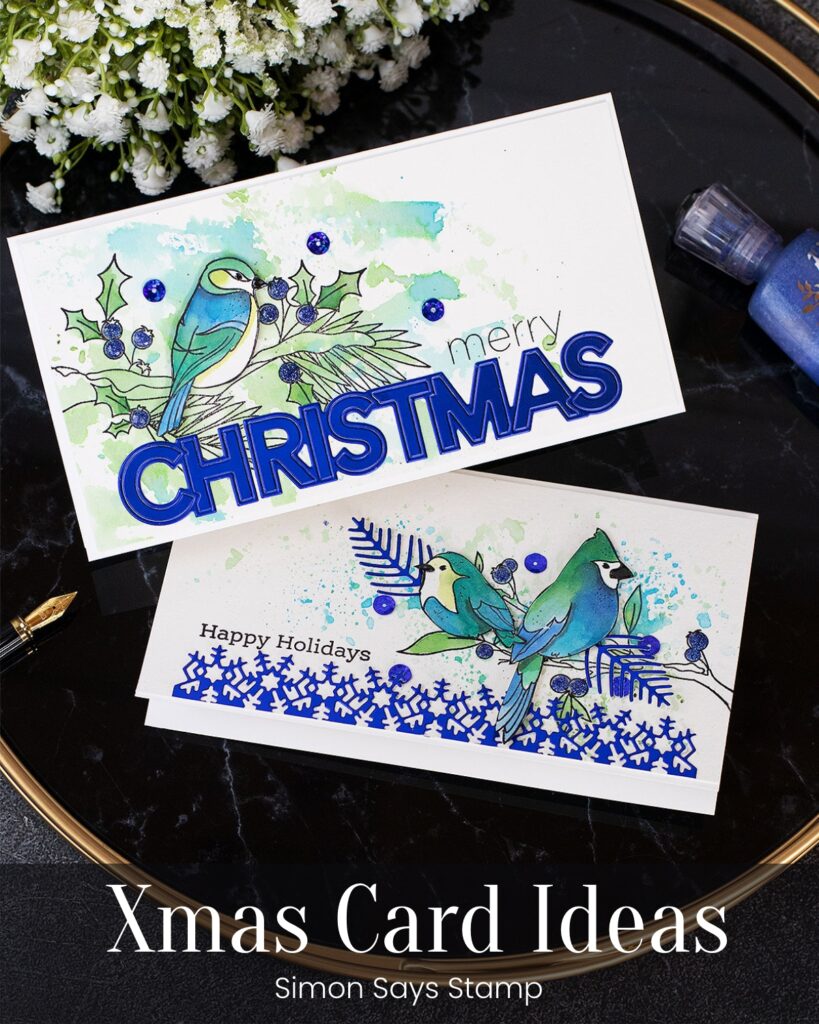
Thirsty for More?
This colour combo is my favourite and below you can see other samples …
That’s all for today.
Thanks for passing by.
X Bibi
Supplies
Affiliate Links apply at no extra cost to you. Thanks for your support.


These are just stunning and I agree – what a great color combination!!!!