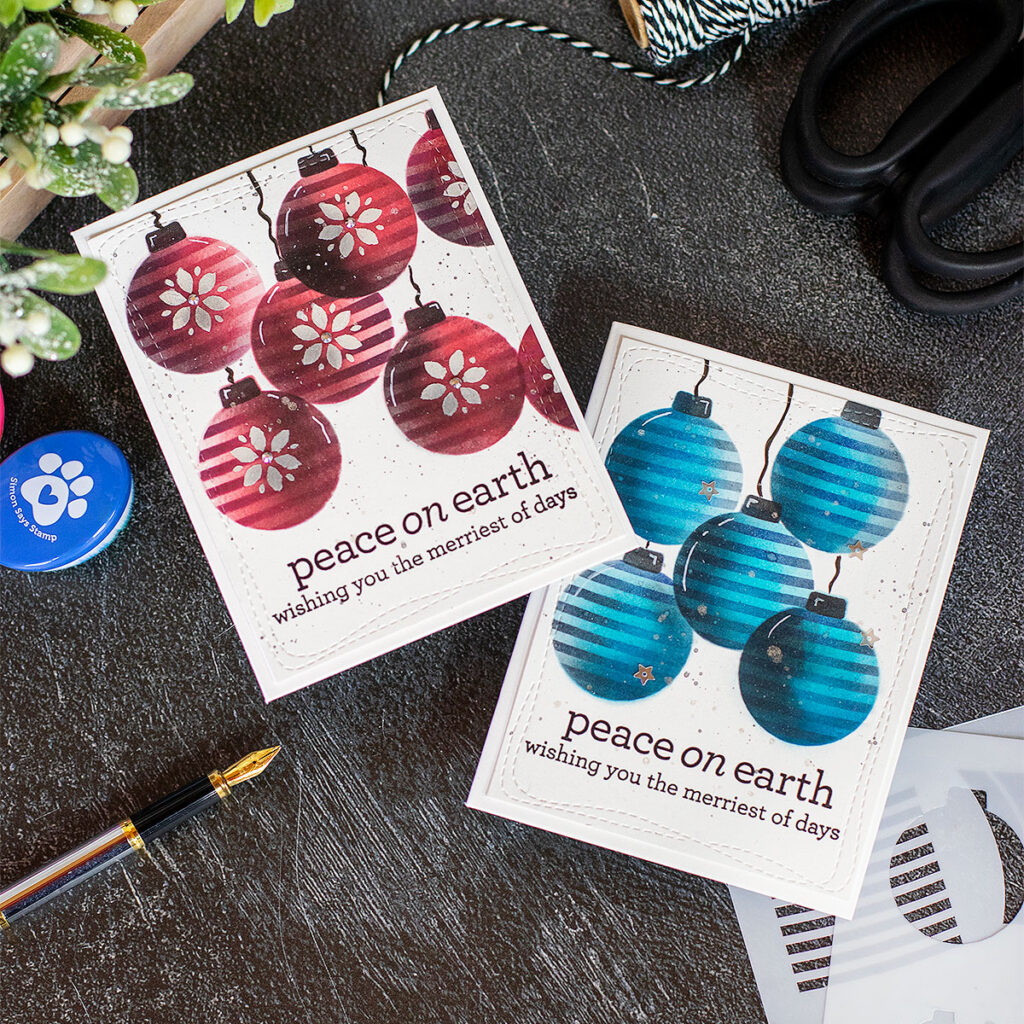
Hello crafty friends, Simon Says Stamp is having a new release called Handmade Holiday and today I’m sharing a super easy card idea using the new Ornament Builder Stencil.
Ornament Builder Stencil
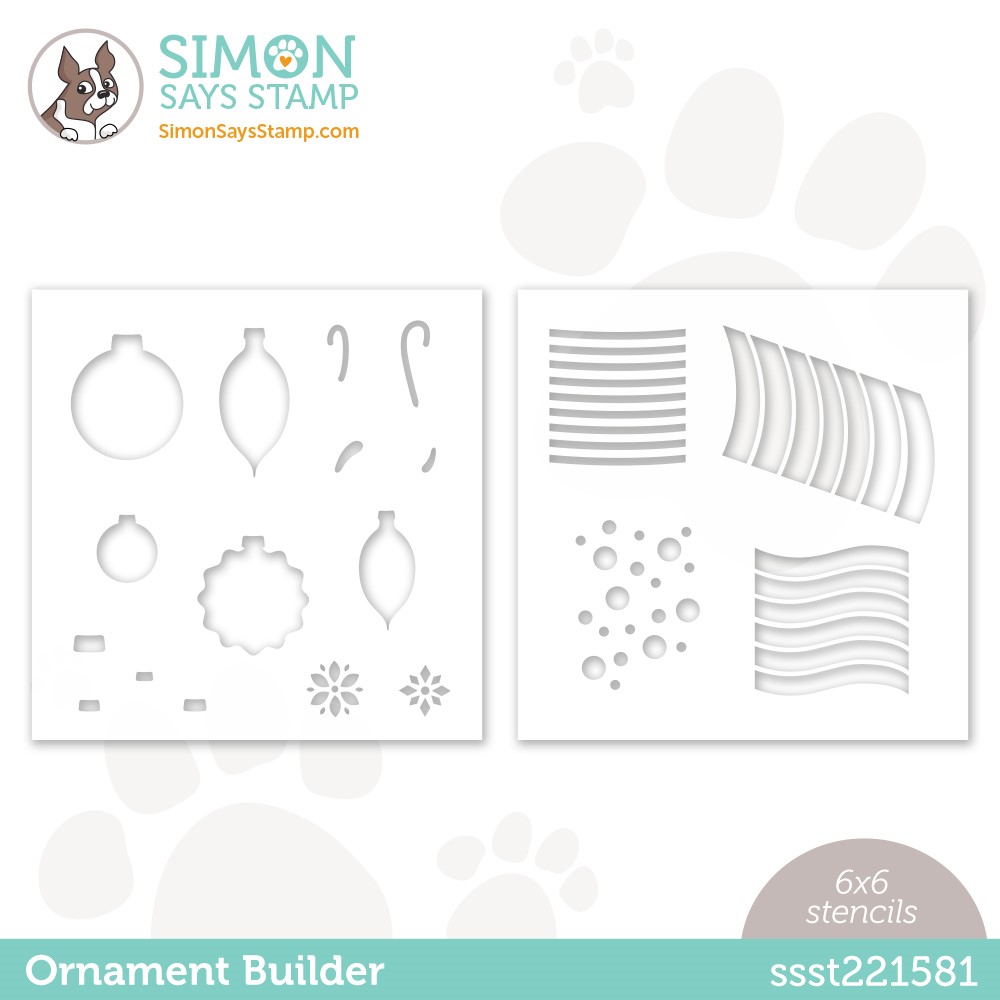
The Ornament Builder Stencil includes 2 stencils. One will create different solid stencilled shapes and the other will allow you to add patterns over the solid images using different ink colours or pastes.
The Cardmaking Procces
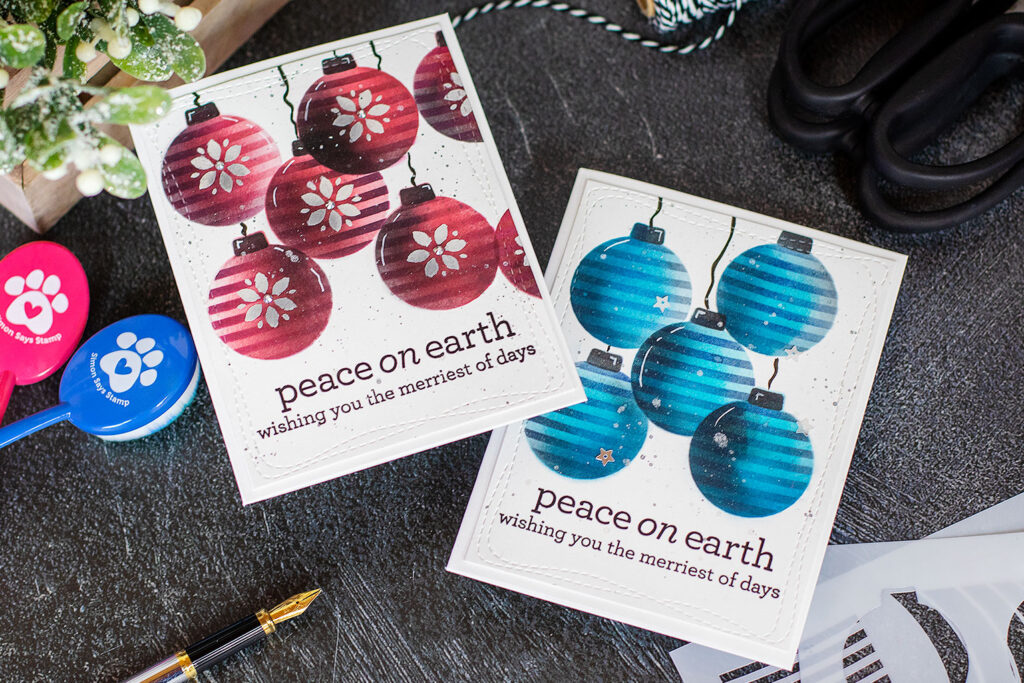
To do this you need light, a medium, a darker ink of the same colour, or similar colours. You will also need black ink.
- First, I used my maxi guillotine to cut two 4″ x 5-1/4″ inches panels out of Neenah 80L cardstock.
- Then, I stencilled the solid images first .
- I applied light to dark ink. Light ink to stencil the solid image and dark ink at the edges to add volume and interest.
- To add the strippes on the ornaments ( christmas baubles), you will need to place the stencil with the pattern underneth the stencil with the solid image and align this with the solid image stenciled on the panel.
- If you want contrasting stripes or patterns over the baubles you need to use darker inks to do the stencilling.
- I used large SSS Brush for the solid images and for the stripes and shadows I used a small brush,
You can repeat over and over until achieving the desired look.
After stencilling the pattern you might need to go over the image again with the light ink to blend things a little bit.
Finishing Touches
- For the sentiments, I used Ornamental Christmas stamp set using Versafine Onyx Black Ink.
- I drew the strings using a black pen and I added highlights using a white pen.
- To add black and shimmery speckles, I splattered the panels with a mix of black ink and water , and Spellbinders Sparkle Silk.
- To add a decorative edge to the panel, I die – cut it using the larger die from SSS Wonky Rectangles and the Spellbinders Platinum Die Cutting Machine.
- Next, I glued the panel on a A2 (C6) Card Blank using Nuvo DELUXE ADHESIVE.
You can see a speed video on my Instagram reel here or a longer version on my FB Page.
Blue Christmas Ornaments
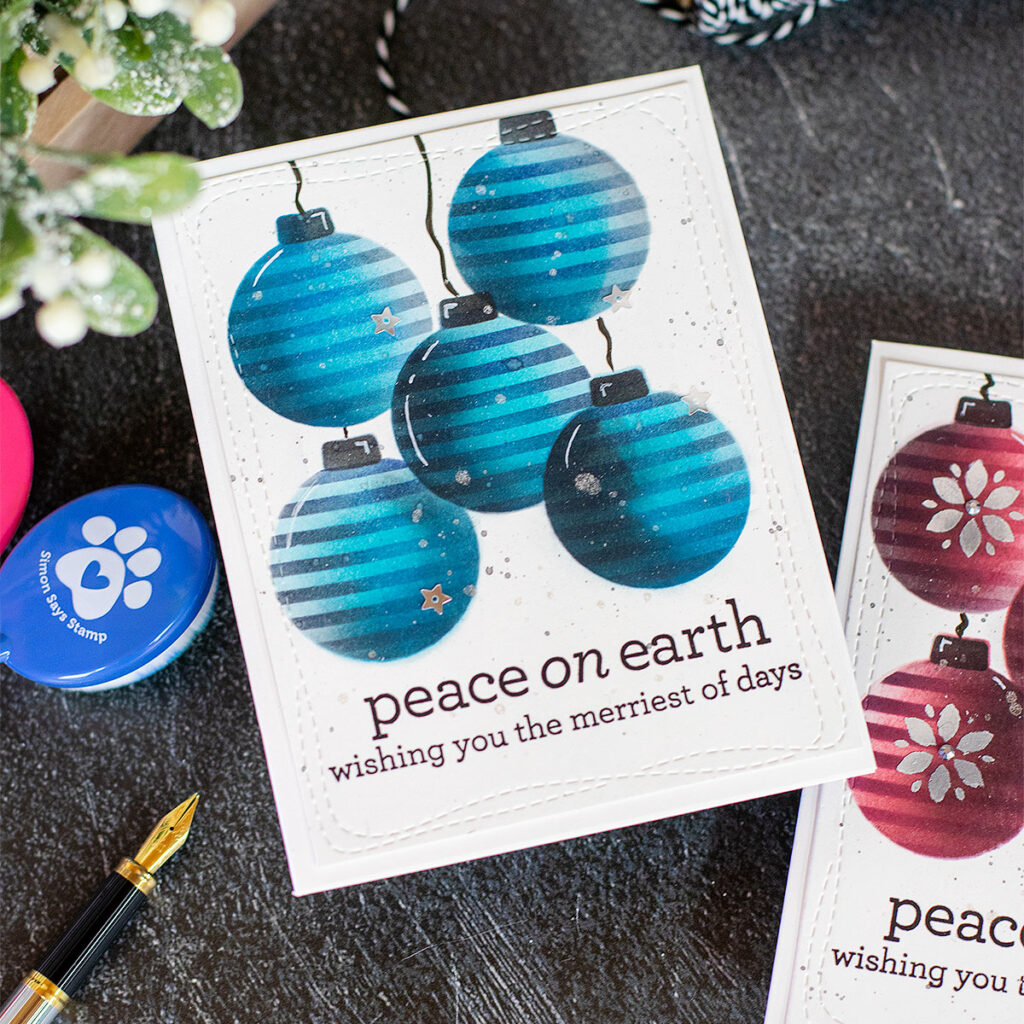
Inks Used:
- SURF Simon Says Stamp Pawsitively Saturated Ink Pad
- DEEP SEA Ink by Simon Says Stamp
- CHIPPED SAPPHIRE Distress Ink
- BLACK SOOT Distress ink
Red Christmas Ornaments
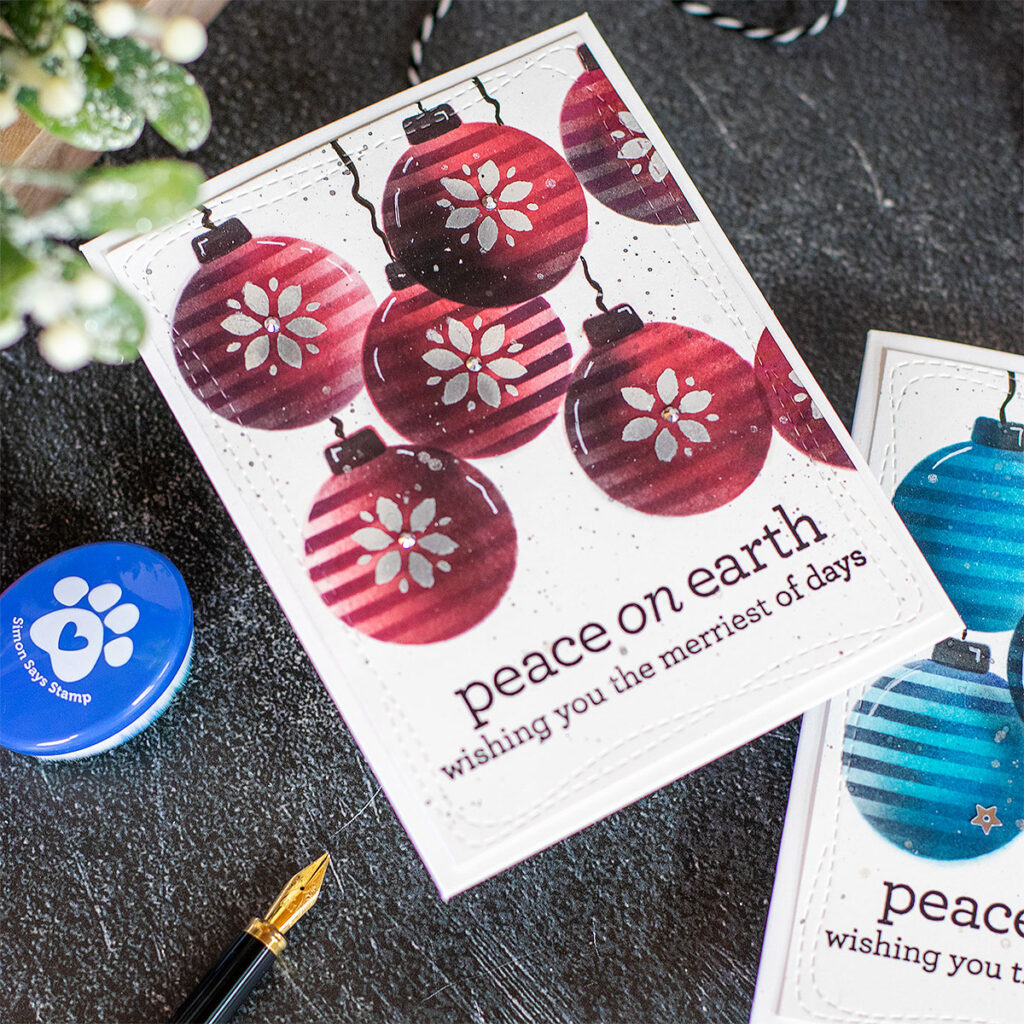
Inks Used
- SCHOOLHOUSE RED Ink by Simon Says Stamp
- ROSE APPLE Ink by Simon Says Stamp
- MAGNOLIA Ink by Simon Says Stamp
- I also stencilled the little floral image using a pallet knife and SNOW STORM Nuvo Embellishment Mousse
- To embellish I used Spellbinders Silver Mix Gems.
That’s all for today.
Thanks for stopping by.
X
Bibi
Explore Handmade Holiday release by Simon Says Stamp here.
Supplies List
Affiliate links apply at no extra cost to you. Thanks for your support.


You made such beautiful dimension with these! Love love love!
I just love the cards you made with the ornament stencils!! I love using stencils, but always seem to need some outside inspiration to get started. Thank you for sharing your talent!
Love your ornament card using the Ornament Builder Stencils. I appreciate the detailed instructions, very helpful!