
Create a breathtaking yet simple card using the Craft Your Life Project Kit: Magnificent Magnolias by Altenew.
In this post, I’ll show you how to add a soft velvet ink blending effect to die-cut flowers, creating elegant depth with simple techniques—perfect for both beginners and experienced crafters!
First, let me show you the Craft Your Life Project Kit: Magnificent Magnolias by Altenew.

The kit includes:
- Stamp set and coordinating stencils.
- A die set that will cut 4 beautiful layered magnolia designs and the sentiments in the stamp set.
- An embossing folder that coordinates with the stencils.
Key features:
- Super versatile.
- Each item can be used on its own or mixed and matched with other supplies from our stash.
- The possibilities are endless—combine them to create projects of all sizes and styles, each with its own unique look!
Soft Velvet Ink Blending with Altenew Magnificent Magnolias
Card Recipe
- Craft Your Life Project Kit Magnificent Magnolias
- Build-A-Garden Tranquil Trail Add on Dies
- Altenew Ultra Sticky Mat Grid
- Obsidian Ink
Altenew Ink Colours Used
- Mauve
- Agate
- Amethyst
- Ruby Red
- Mangrove Root.
- Mossy Meadow
The Process

Ink blending
- Die-cut the pieces from coloured cardstock. I used Frosty Pink Cardstock
- Choose three ink tones from the same colour family—a light, medium, and dark shade.
I used: Mauve, Agate, and Amethyst. - Select a fourth ink in a contrasting colour – I used Ruby Red ink
Allow each ink colour to show through. Leave some darker, some lighter, and some uninked areas. - Blend the three similar shades from the centre of each petal outward, leaving a few areas uninked for natural highlights.
- Apply the contrasting ink over the untouched areas and softly blend it into some of the already inked sections for added depth.
- Next, I assembled the flowers. Like many other Altenew die sets, the Magnificent Magnolias die set features a keyhole system, making it easy to align and layer the different pieces.
- Splatter with Gold Sparkle Base to add a touch of shine and elegance.
Done! Set the flowers aside.
Card Assembling
- Next, stamp the flower stem and leaves onto a 6-3/4″ x 4-3/4″ piece of Neenah 110 lb cardstock.
- Using the colouring stencils, apply brown and green inks to the stamped image.
- Next, adhere the flowers over the stem as shown in the photos and video.
- Using sentiment stamps and dies in the set, stamp and die-cut the sentiment “just because” and placed it over the image.
- To finish, I added a gold mirror cardstock mat layer and mounted the panel onto a 5×7-inch card base.
I love how this card came together with just a few key elements, allowing the beautiful layering die-cuts to take centre stage.
The minimalistic design lets the florals shine while still feeling elegant and complete.
I hope this project inspires you to try mixing your dies, stamps, and stencils in creative ways—even using just one stencil layer can make a big impact. Thanks for stopping by, and happy crafting!
That’s all for today.
Thanks for stopping by.
X Bibi
Thirsty for More?
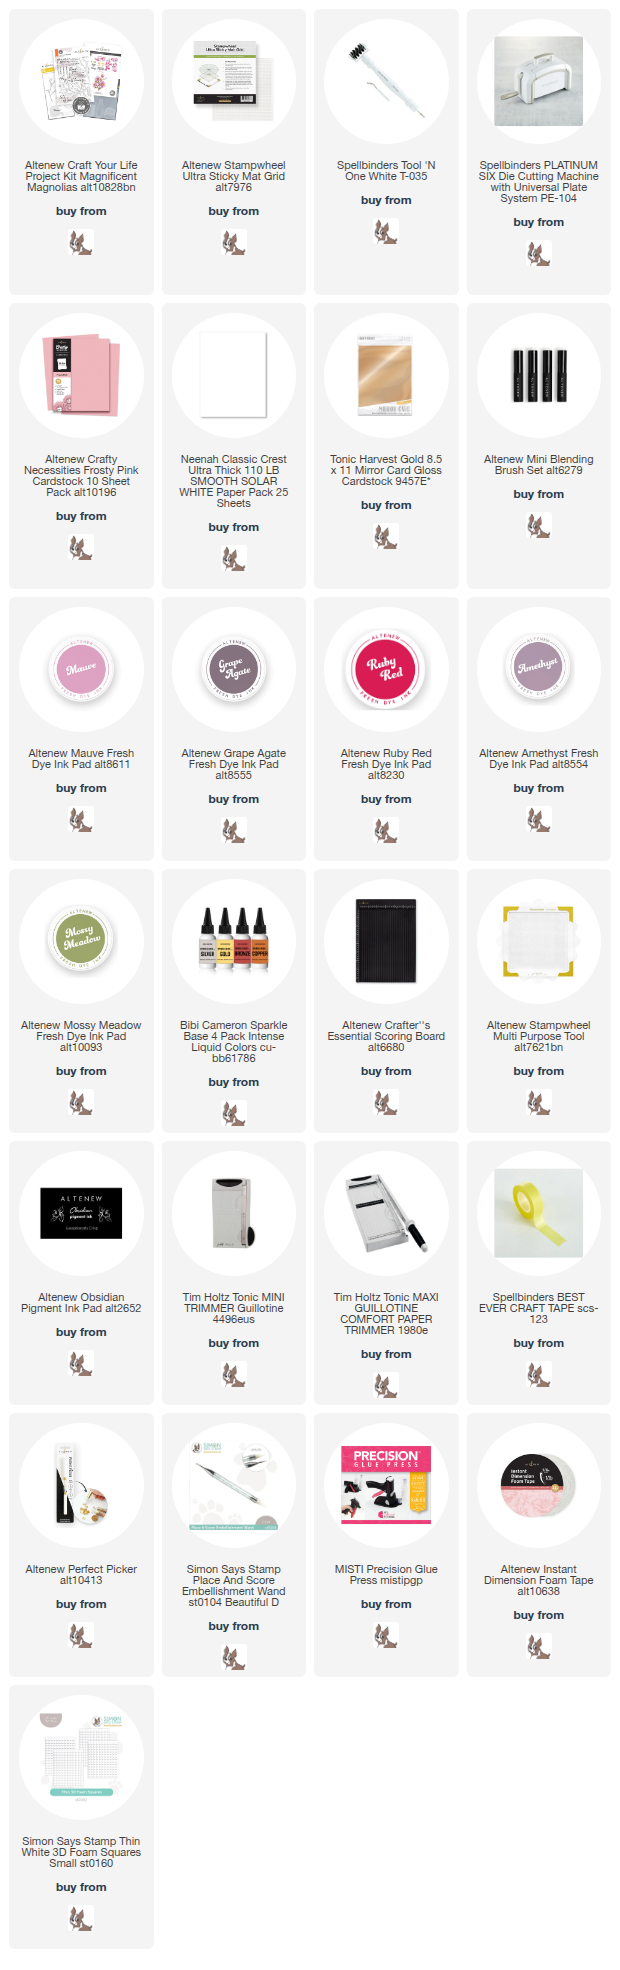
Supplies
Affiliate links apply at no extra cost to you. Thanks for your support.


Leave a Reply