Hello, crafty friends. I’m sharing some easy and quick cardmaking ideas using the new Altenew Cherry Blossom Branch layering die set and Inks.
This set creates a stunning floral design that will fill the front panel of a 6×6-inch card.
As I make my card bases using A4 sheets of cardstock, the largest size I can create is a 5-1/2″ square.
I love rectangular cards, so I cut 5″ x 5-1/2″ card bases for the cards today.
You can mix and match supplies to create different scenes, but the Cherry Blossom Branch on its own is more than enough to craft a simple and delicate front panel for any occasion cards.
Watch the Video
In this video, I’m sharing an easy and fun colouring technique to give each die-cut branch a realistic, textured look.
I start by applying dark inks on specific areas of each die cut and using a sea sponge. Then, I gently dab Altenew’s Cloud White Ink over. To finish, I spray water and let it air dry for a soft, dreamy effect—perfect for capturing the delicate elegance of cherry blossoms.
Note: regular sponges won’t do the trick.
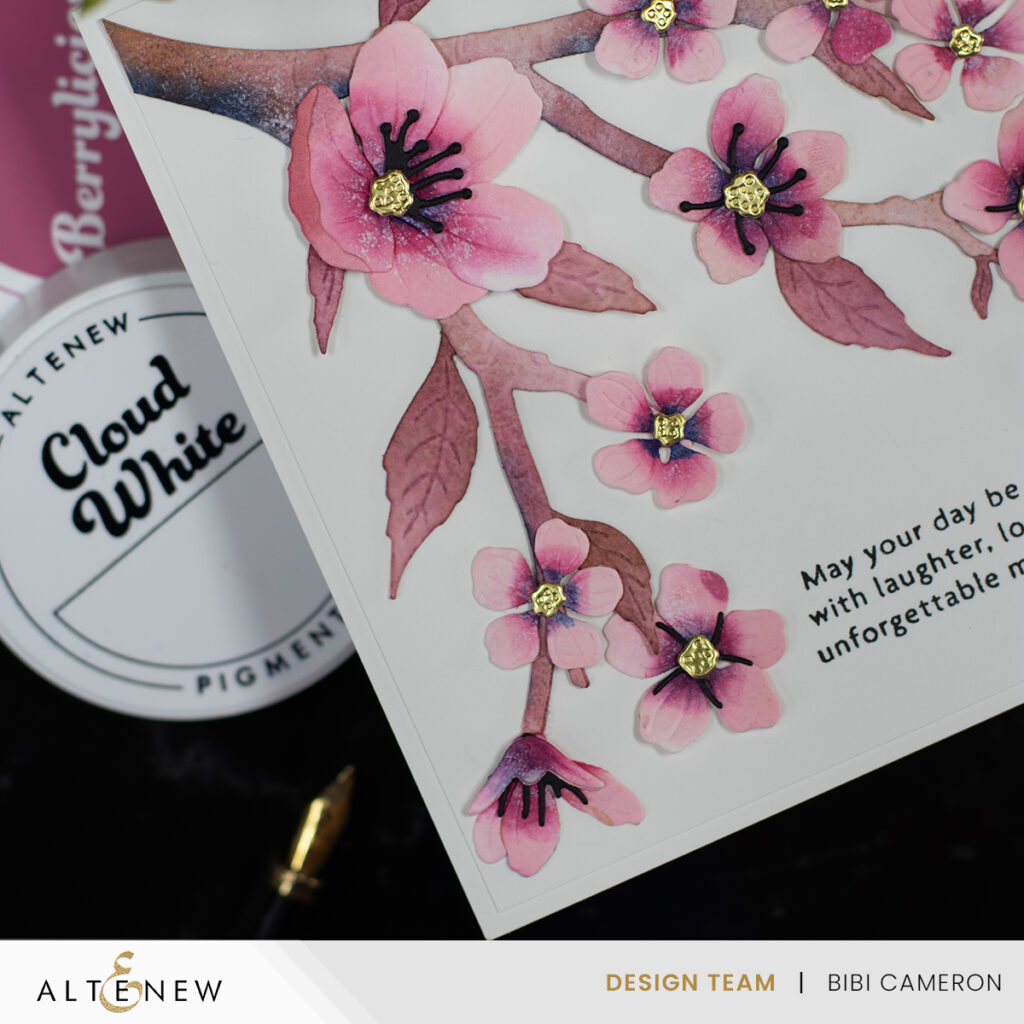
Pink Cherry Blossoms Card

Card Recipe
This card measures 5 x 5-1/2 inches.
- Neenah 110Lb White Solar Cardstock
- Cherry Blossom Branch layering die set
- Sentiment from the Breeze Petals stamp set
- Inks used to add colour to the flowers: Roze Quartz, Berrylicious, Navy, White Cloud
- Inks used to add colour to the branch: Acai Berry, Choco Hazelnut, Navy, White Cloud.
****Click here to find the complete supplis list.

Here’s a step-by-step breakdown of the process:
- First, I die-cut all the pieces out of Neenah 110lb White Solar Cardstock.
- Then, I placed the die cuts on a Gelly Plate to add colour.
- I started by applying Rose Quartz over all the die cuts, including the branches.
- Next, I added Berrylicious and Navy Inks to the centers of the flowers.
- For the branches, I used a mix of Acai Berry and Choco Hazelnut , and I added a hint of Navy at the edges.
- Once all the die cuts were colored, here comes the twist! using a Sea Sponge, I daubed White Cloud Ink over all the die cuts and lightly sprayed them with water.
This step distresses the inks, blending them together to create an unexpected texture. The result is a beautiful finish that’s hard to capture in photos but truly stunning in flesh.
The sentiment for this card was made using a stamp from the Breeze Petals stamp set.
I used, the Altenew Stampwheel and Obsidian Ink to stamp it after adding the branch on the front panel.

Blue Blossoms Card

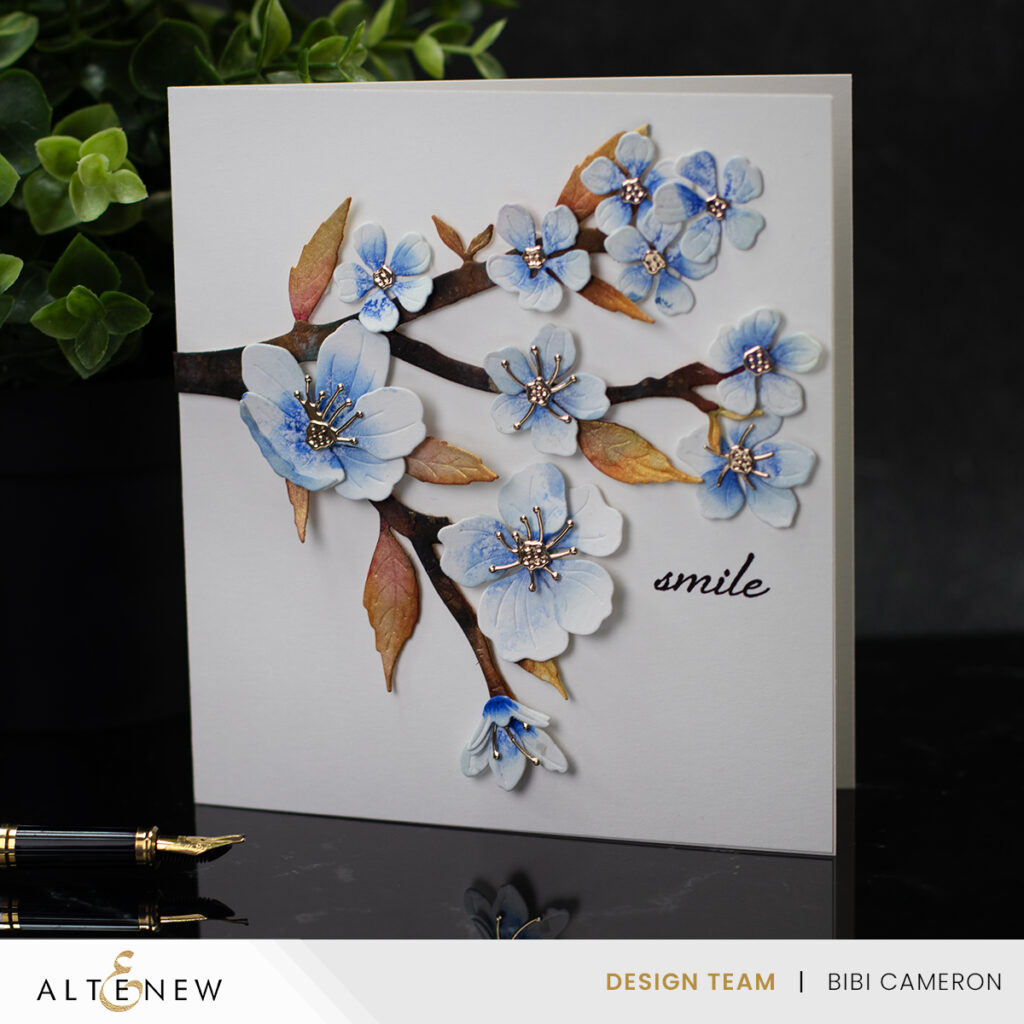
I made a “blue version of the Cherry Blossoms” using my creative allowance and I followed the same colouring steps as I did for the previous card. While these aren’t the natural colours of the flowers, I absolutely love how they turned out.
The beauty of cardmaking is that you can make these flowers in any colour you like!

Card Recipe
- Neenah 110Lb White Solar Cardstock
- Cherry Blossom Branch layering die set
- ” Smile” sentiment from Cheerful Coreopses stamp set
- Inks used to add colour to the flowers: Blueberry, Ride The Wave, White Cloud
- Inks used to add colour to the branch: Choco Hazelnut, Raw Amber, Berrylicious, Navy, Hunter Green, and Pure Graphite.
- To add shimmer and shine to the leaves, I used “Gold Sparkle Base”.
****Click here to find the complete supplis list.

That’s all for today.
Thanks for stopping by
X
Bibi
Thirsty For More?
Supplies


Leave a Reply