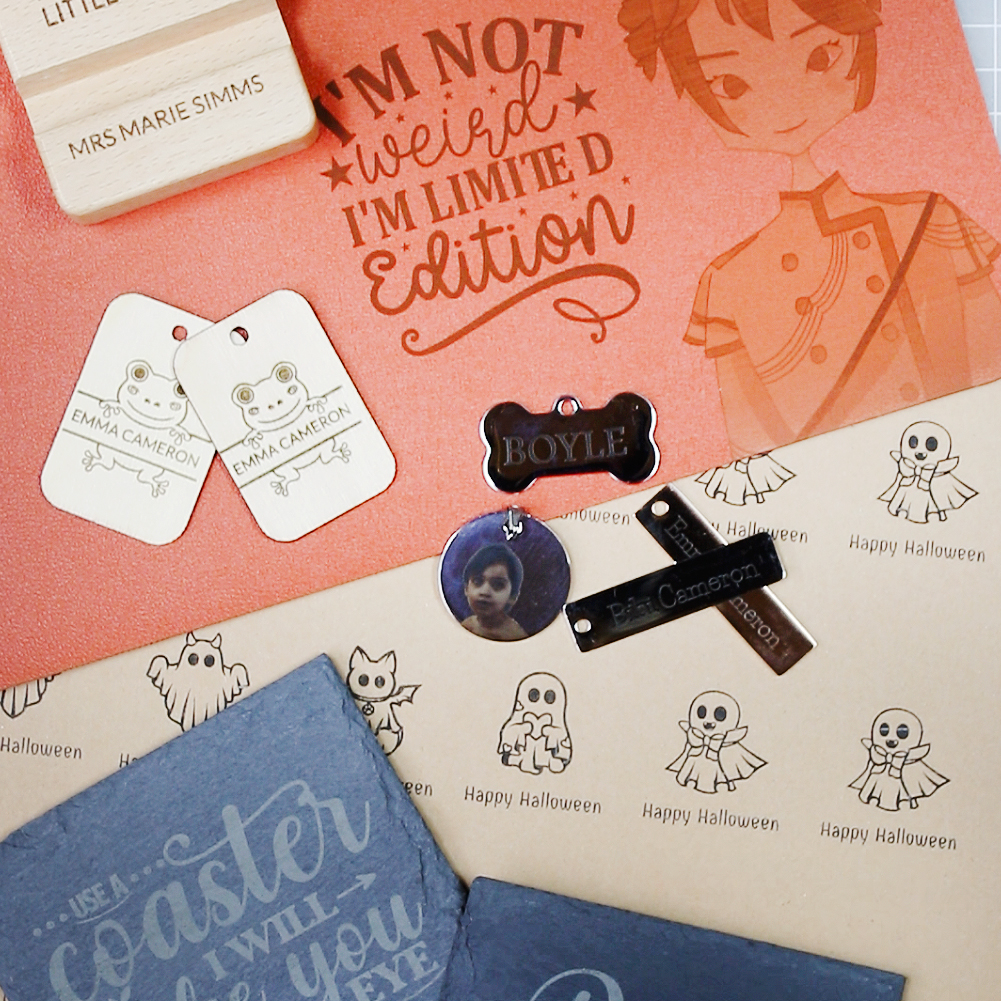
Hello crafty friends, I used my Xtool M1 laser engraving mode on 6 materials: PU leather, wood, metal, stone coasters, Kraf Paper, and bread.
Love it!!
I have used the Xtool M1 cutting module to cut paper and heat transfer vinyl so the laser was my next step in the journey.
Xtool M1 Laser Engraving
Explore the Xtool Solutions
Clickable links below
—— U K ——
🇬🇧 Xtool M1 Machine
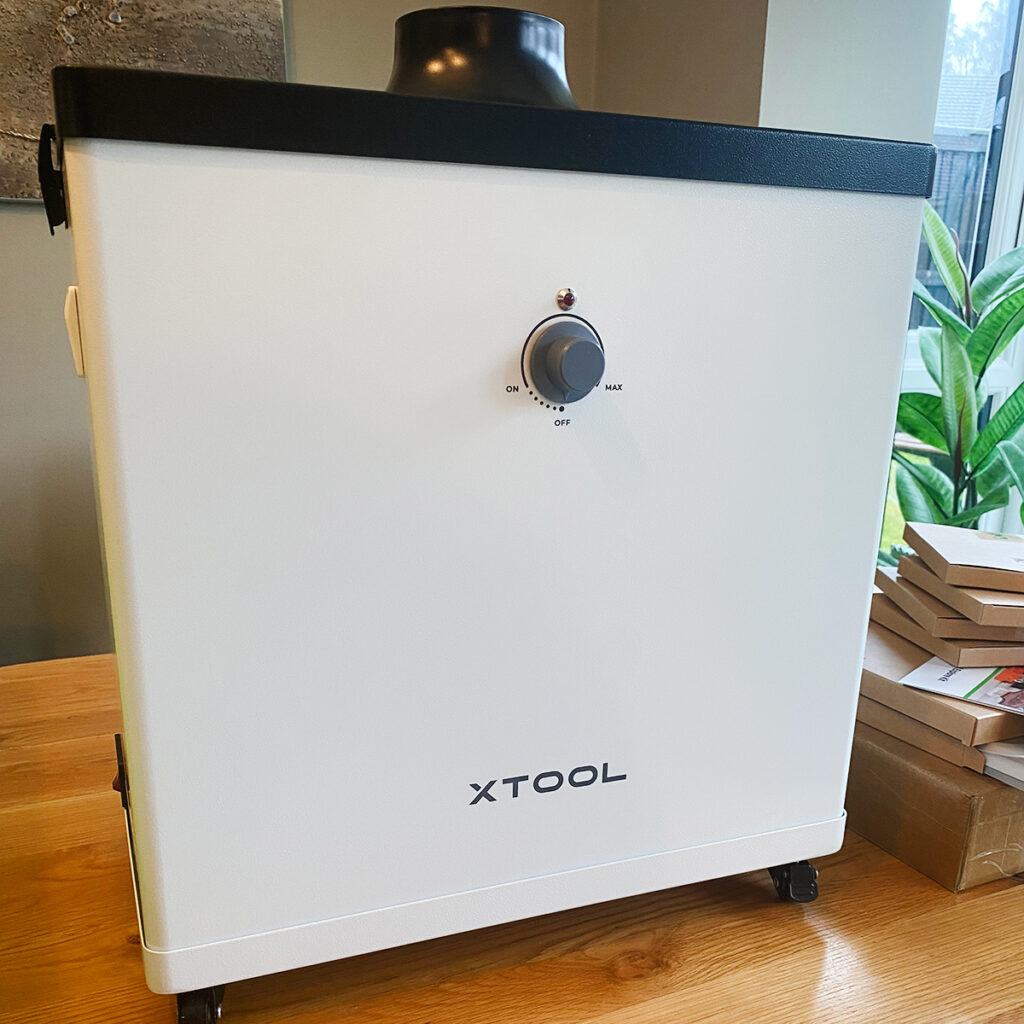
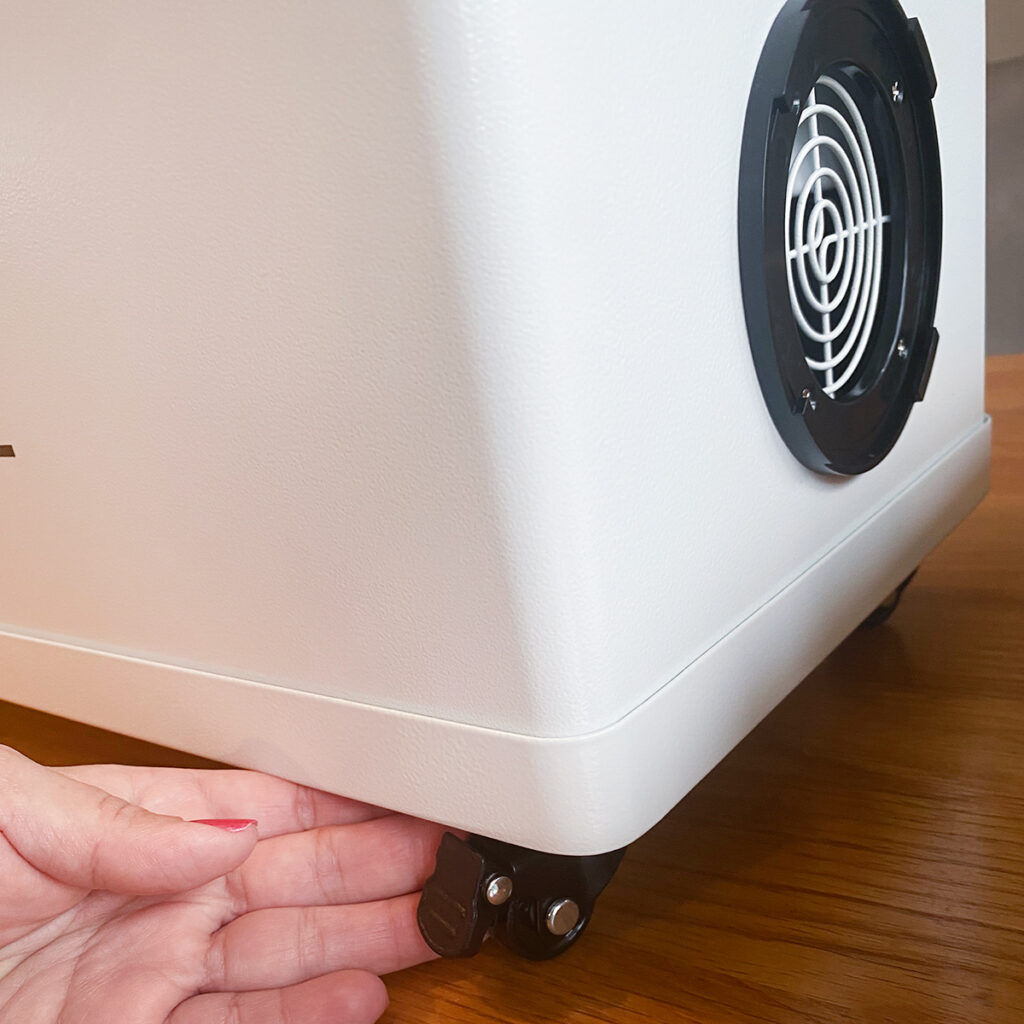
🇬🇧 Smoke Purifier
🇬🇧 Find the Smoke Purifier in Amazon here
🇬🇧 Material Pack
—— U S A ——
🇺🇸 Xtool M1 Machine
🇺🇸 Smoke Purifier
🇺🇸 Material Pack
Fail to Succeed
The key to success is to have a good file/ image and the right settings to process it on the Xtool M1.
As always, I prefer auto settings but some materials aren’t listed on the Xtool Creative Space (Software) so I used auto settings for similar materials bearing in mind thickness and composition.
Xtool also has material settings info here, and you can always experiment!
Failing is part of any learning process so be ready for it and perhaps learn to embrace it.
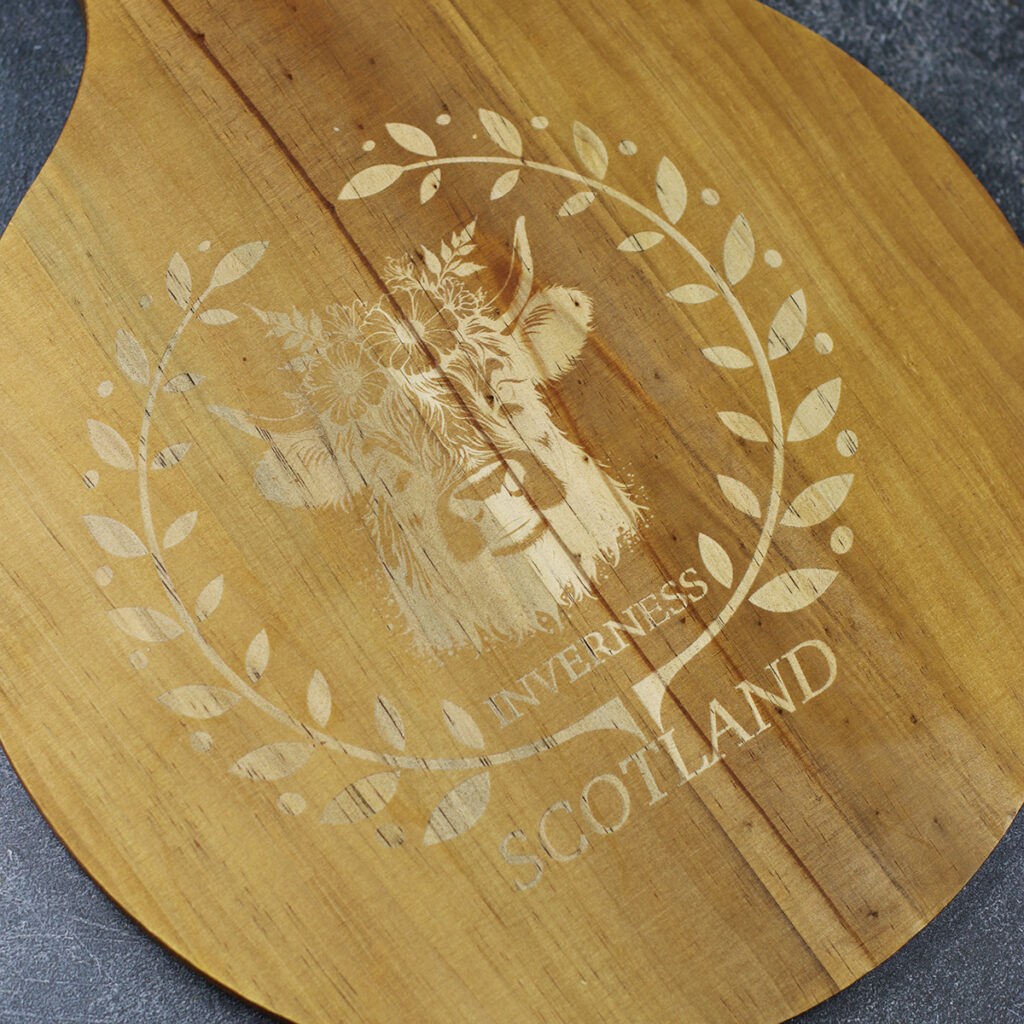
I bought a chopping board in a UK store called B&M and tried to engrave it and the results were not what I expected.
Half of the engraved image looks whiter than the other and the image was not centred.
This was my fault. I made the traditional mistakes: Wrong size ( too big), wrong material, wrong settings, and the artwork wasn’t centred.
The type of materials we use can affect the results. 100%
Lesson learned.
My Top Tips for engraving
- Before starting, remove the blade module.
You won’t need it. It can get stuck over thick materials and move them. - Click on “Refresh” often, especially when moving the material inside the Xtool.
- Before starting, click on “framing”. This will allow you to see where the images/text will be engraved.
- Do not forget to turn on your “smoke purifier” or to have the machine’s hose connected to a vent (window). Things can get smoky!!
- If you get a partially engraved image, you can repeat the process. Do not move material or anything in the Creative Space. Use a slower speed or more power to issues.
Note: At this stage ( beginner ) there are 2 main things to consider related to the settings:
Power and speed. Higher power and slower speed can burn materials.
Engraving a PU Leather Mouse Pad
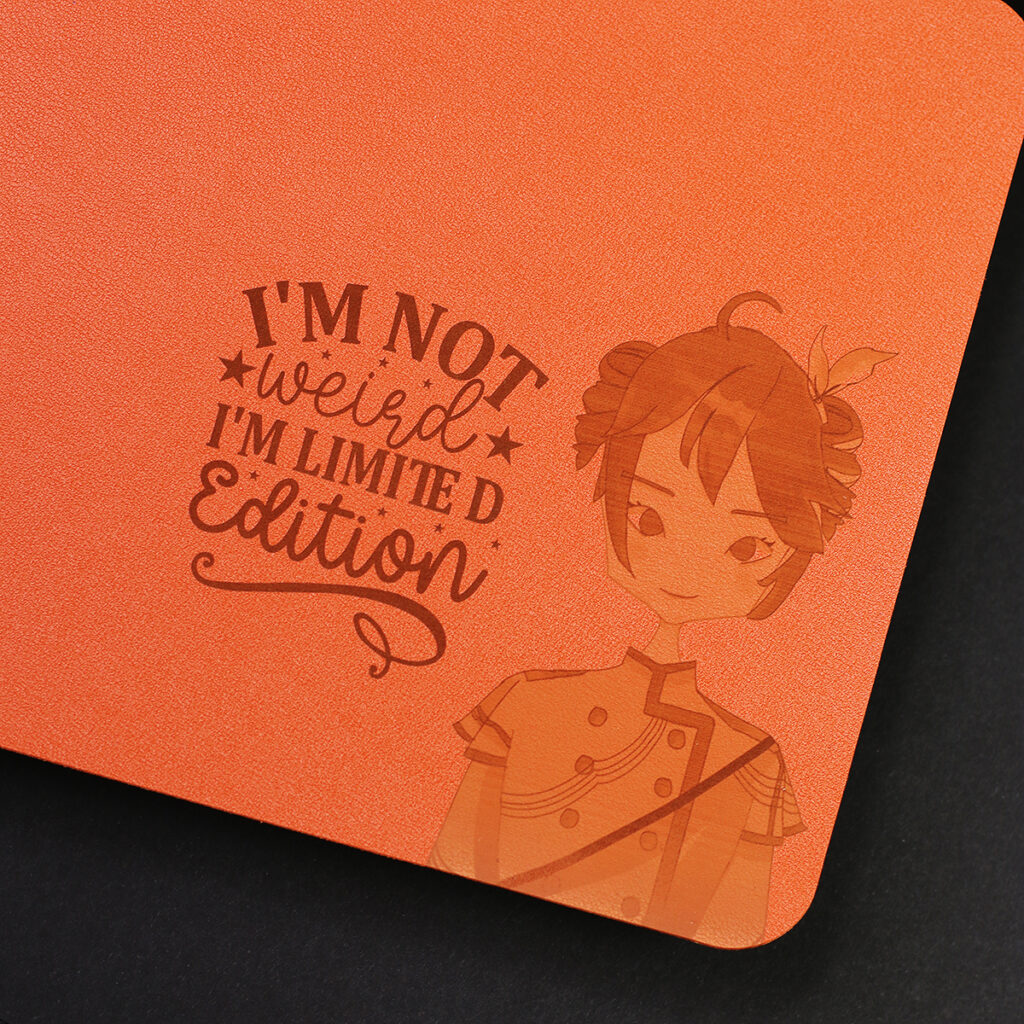
Xtool Creative Space did not have the presets to engrave PU leather but I found the instructions for this type of material in the Laser Materials Explore Kit that came with the machine.
The image is a bitmap and the text is a vector so you will need to enter settings to engrav each type of image format on the specific material.
I added the same settings to both.
As you see in the picture, the text looks darker than the image. Perhaps I should have used a lower speed for the bitmap.
User define material / Manual Settings
Power 50%
Speed 250
Pass 1
Lines per cm 100
Engraving mode: Bidirectional
**Image Bitmap Mode: Grayscale
Processing Time: 28 minutes
The text was downloaded from Creative Fabrica here!
Engraving Wood
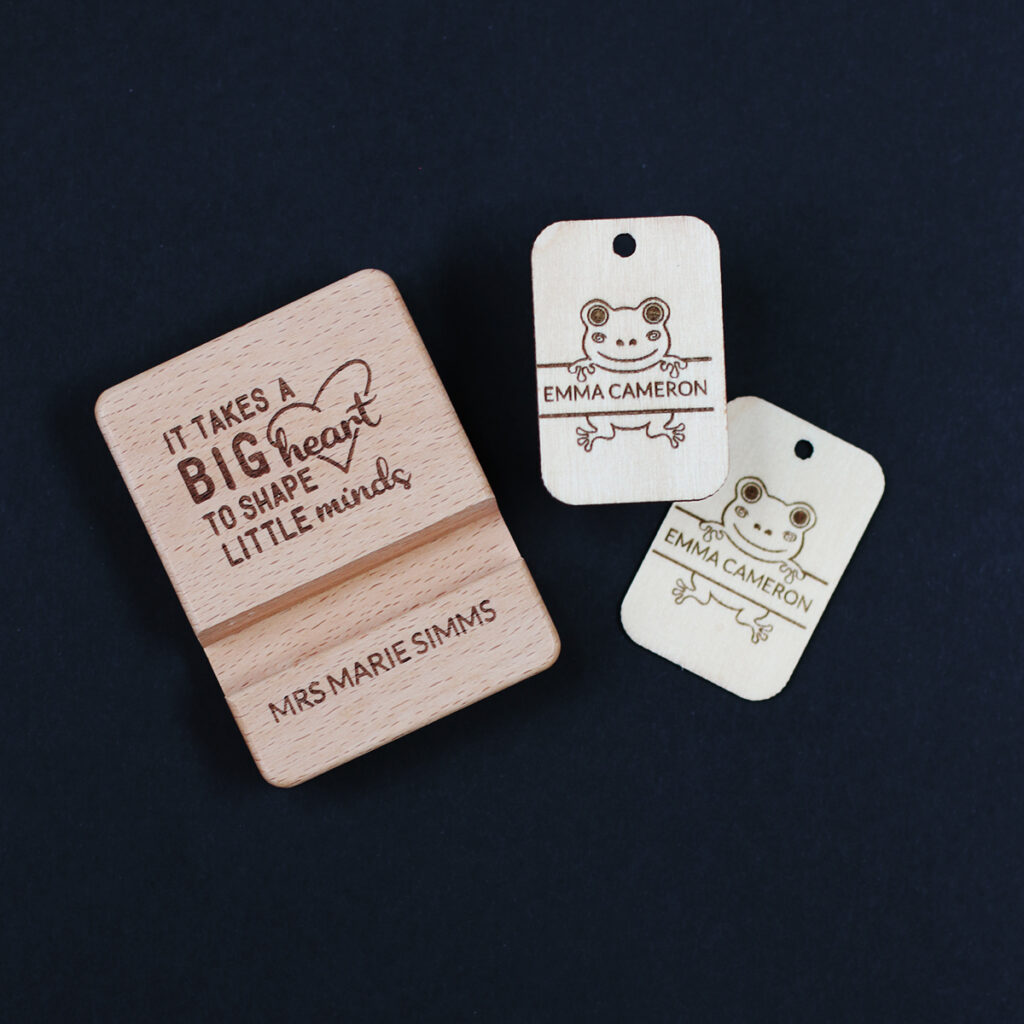
Xtool Auto Settings: Wood.
For the phone stand ( 20mm thick), I removed the base plate and placed the wood on my table during the engraving (no need to raise the Xtool)
Phone stand engraving time: 11 minutes
The text was downloaded from Creative Fabrica here
Tags engraving time: 3 minutes
The artwork was downloaded from Creative Fabrica here
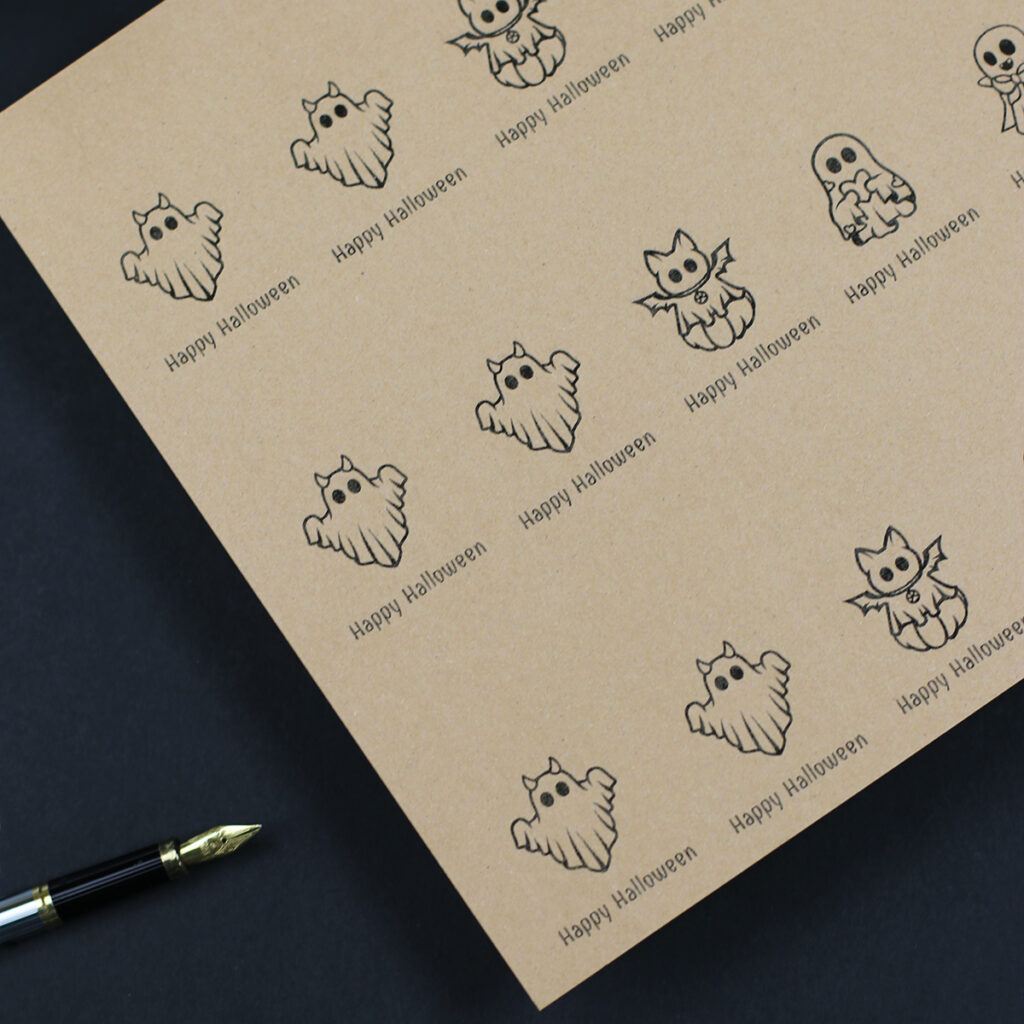
Xtool Auto Settings: Kraft Paper
Warning: Use foil under the paper to avoid engraving the Xtool base plate
Engraving time: 42 minutes
This sheet will make 21 tags
What is cool about this is that the image has been practically laser-cut more than engraved.
The artwork was downloaded from Creative Fabrica here
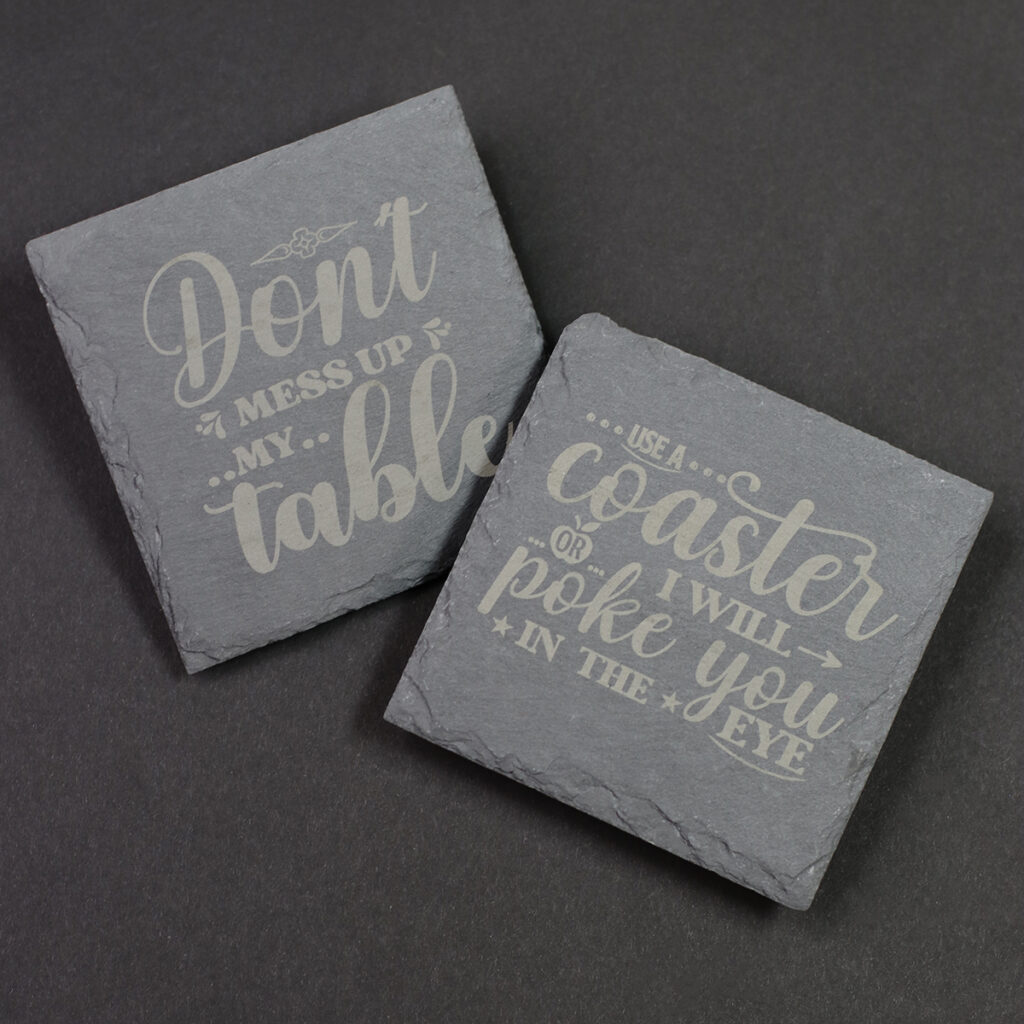
Xtool Auto Settings: Stone Coaster
Engraving time: 15 minutes each
The artwork was downloaded from Creative Fabrica here and here
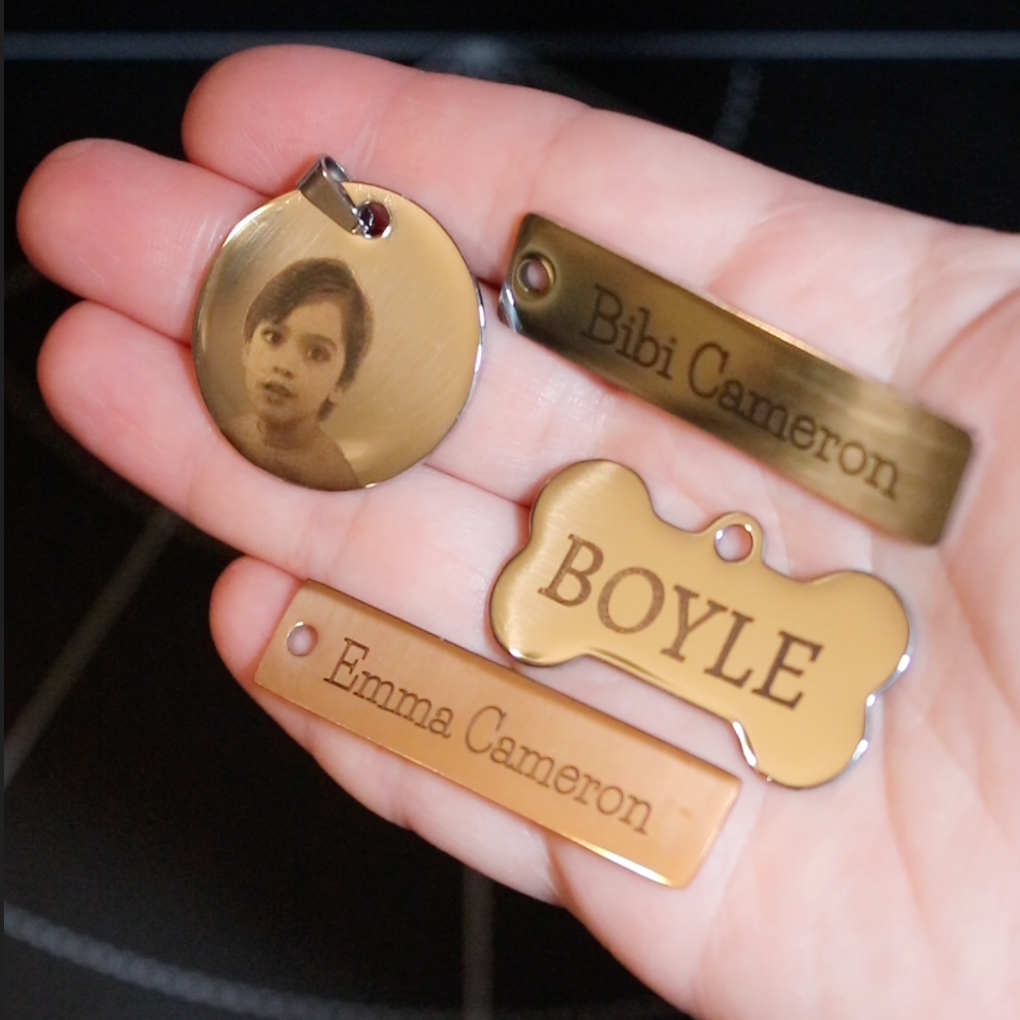
Xtool Auto Settings: Stainless Steal Tags
I use the text box in the Xtool Creative Space to personalize these tags
Protect your Xtool base plate by using foil underneath the tags.
Rectangular name tags engraving time: 10 seconds
Bone Tag engraving time: 5 minutes
Necklace Photo Tag engraving time: 11 minutes
Bread engraving
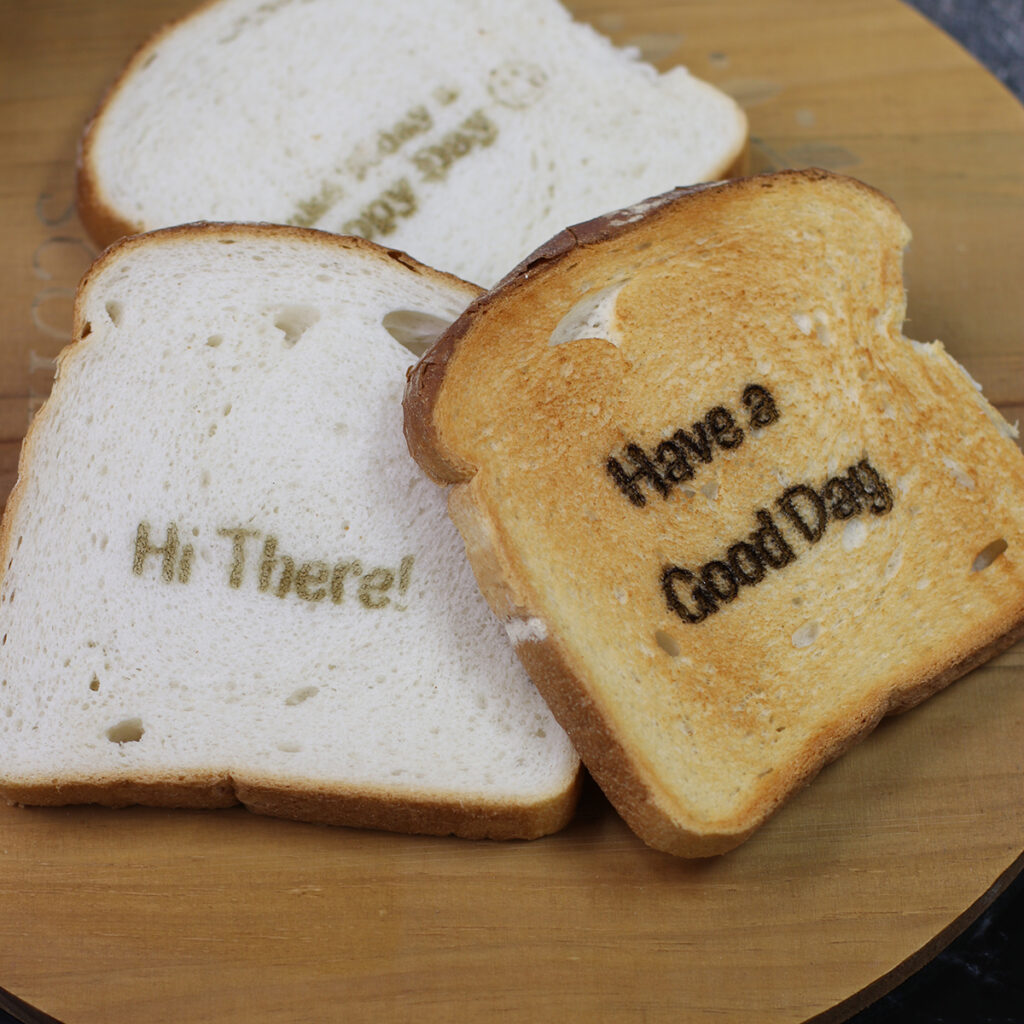
I ventured into bread engraving and tried 3 times until I got a decent result.
See the best settings I tried below – Bread in the left with the “Hi there” engraved.
Power: 100
Speed: 70
Pass: 1
It will burn it at a lower speed and won’t engrave at higher speeds even if the power is high.
Bread Engraving time: 5 minutes
Note: The bread I used wasn’t the best. It is thick (20mm) and it has lots of texture (spongy)
To engrave it, I first removed the base plate of the Xtool
Then, I placed the bread on a baking tray and this was placed within the Xtool work area but directly over the table or the work surface underneath the Xtool ( as shown in the video)
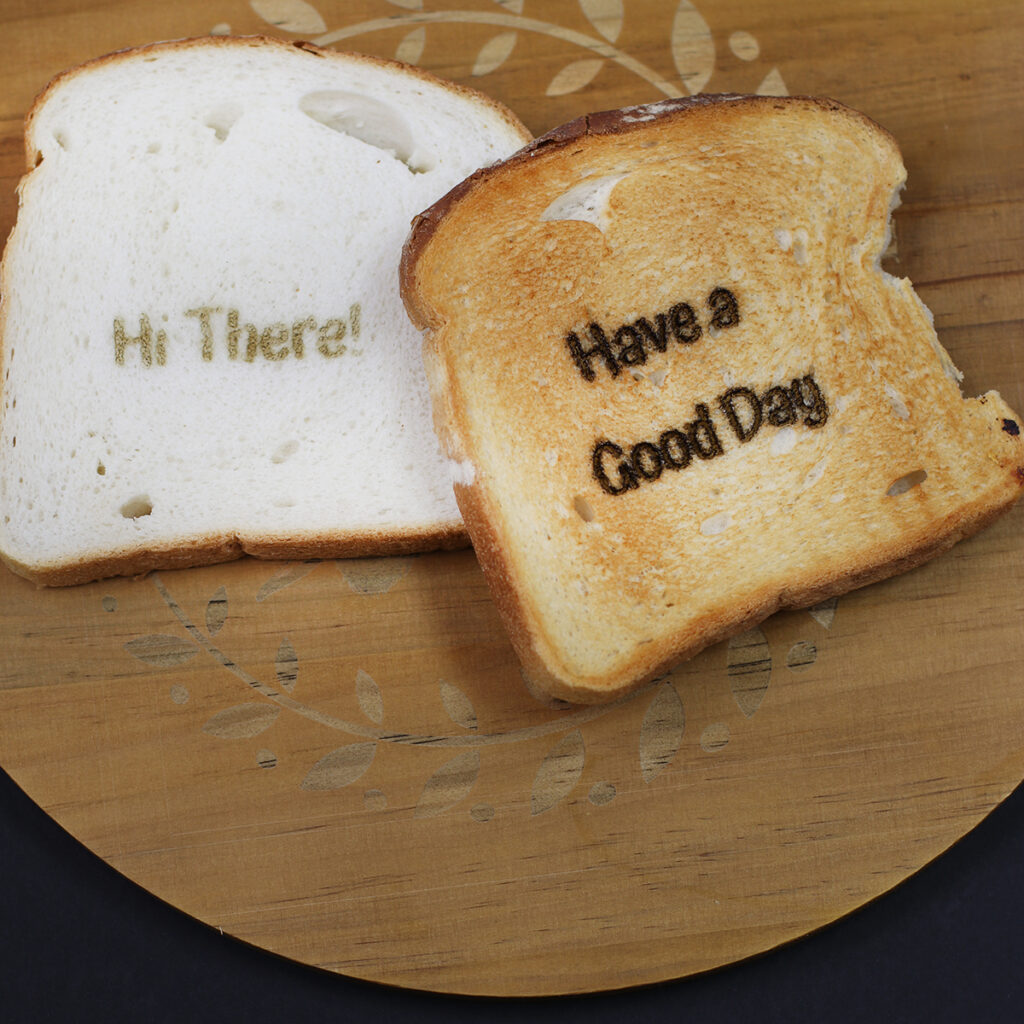
I wanted the message to look darker but darker in this case means burned. So avoid it at all costs.
To engrave the toasted bread in the picture, I reduced the speed to 56. The bread smelled and tasted burned.
That’s all for today.
Thanks for stopping by.
x
Bibi


Leave a Reply