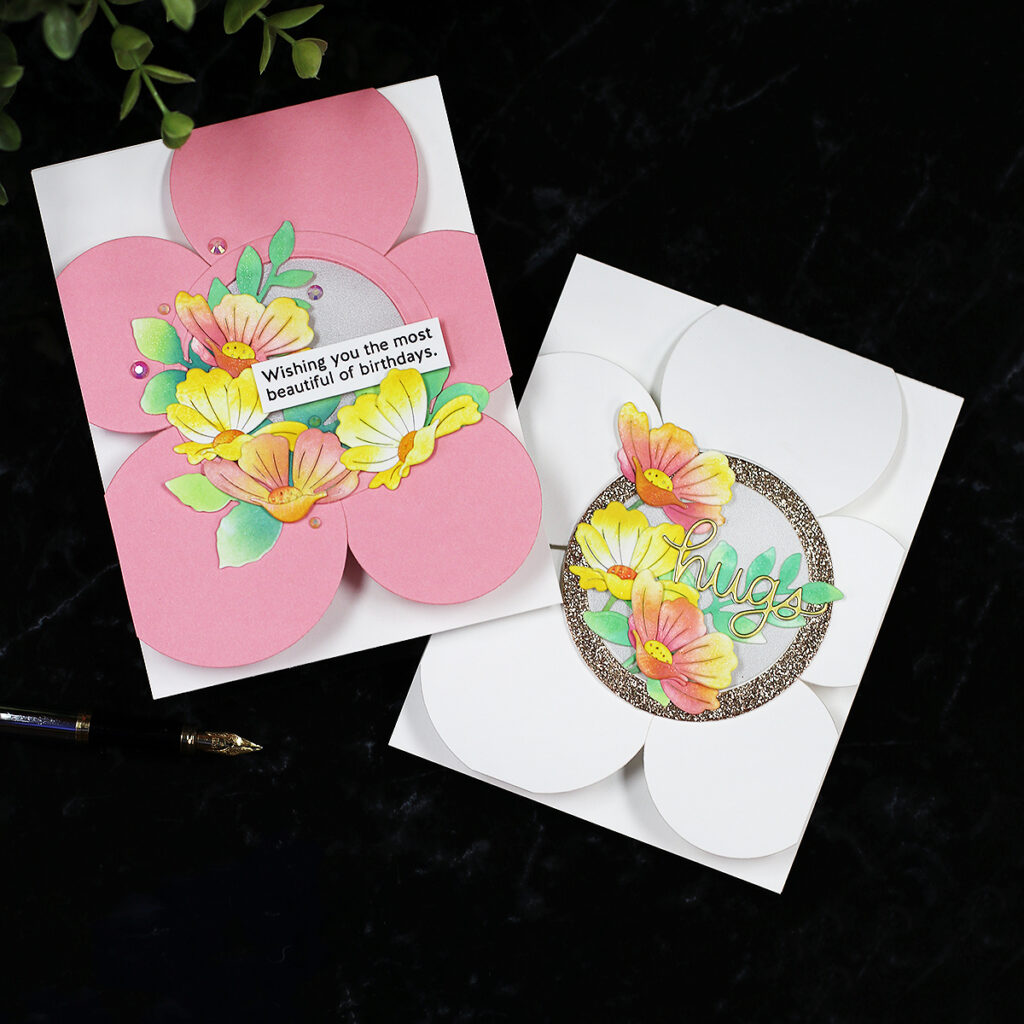
Creative card fronts using circle dies are part of a pool of ideas I want to share to inspire you to get creative with card bases.
After my Split Cards Series (that hasn’t ended), I wanted to keep experimenting and enjoying the simplicity of the basic shapes and paper strips.
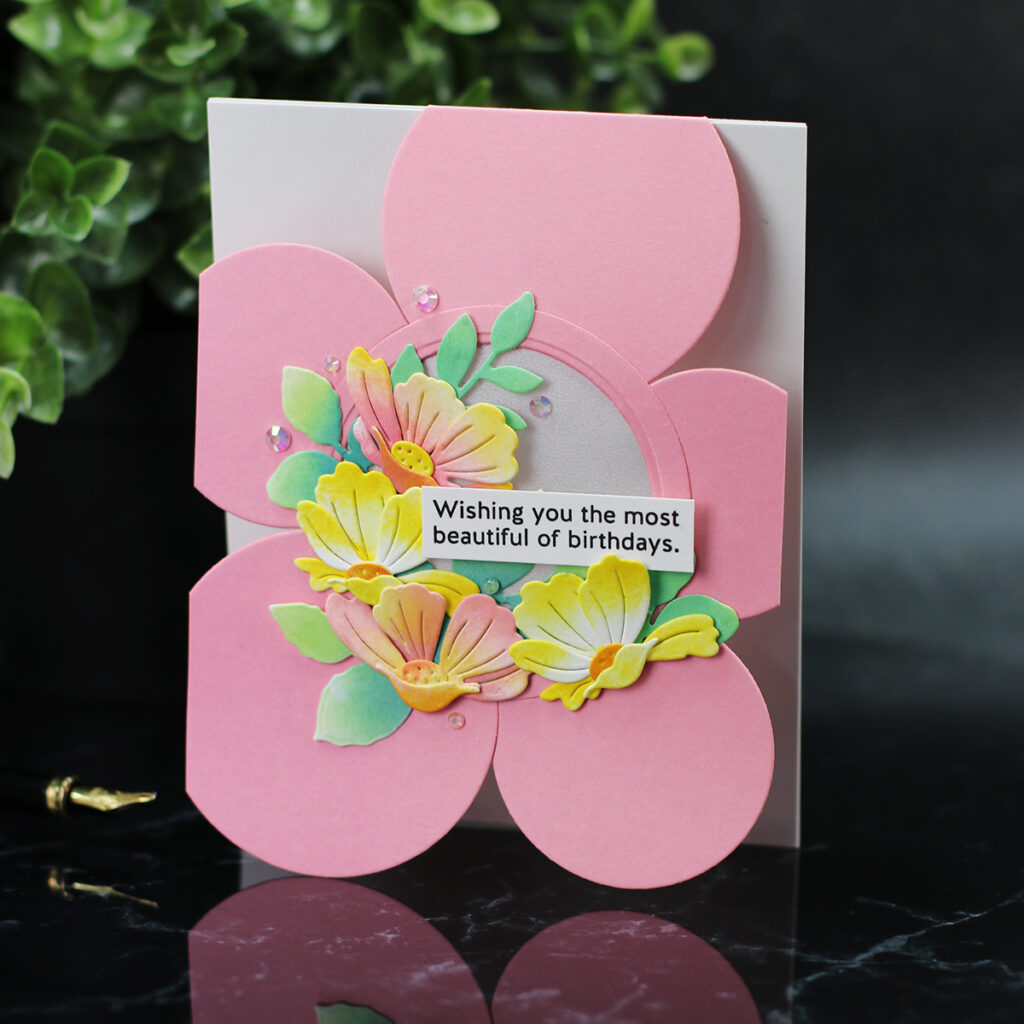
So this flower-shaped card fronts aren’t what I envisioned but it was a fun creative experience that can light up some creative mines to create from it.
I initially wanted to make something more abstract using circle frames or rings and I did try behind the scenes but the results were not great: flimsy card fronts, marks on the paper, yucky seems.
During the process, I got distracted by the idea of giving the shape of a flower to the front card. I know this is not original but I couldn’t help it.
Part of the whole thing was to create a focal point or a base to add small decorative die cuts and a sentiment.
I found the new Iceland Poppies wafer die by Simon Says Stamp perfect to complete the cards today.
Iceland Poppies
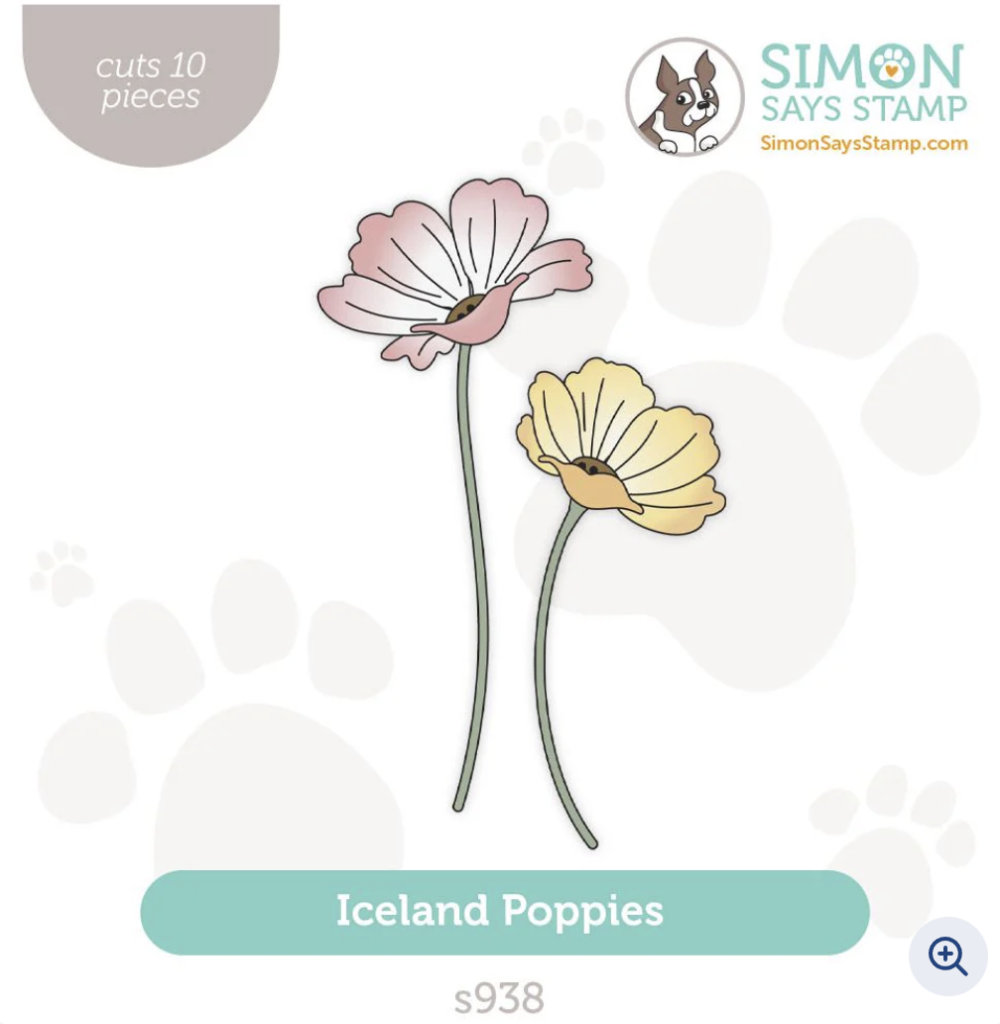
The new Iceland Poppies features small layered flowers perfect to add interest to any project.
I die-cut all out of white cardstock and I applied colours using Pawsitivley Inks in the supplies list here or at the bottom of this post.
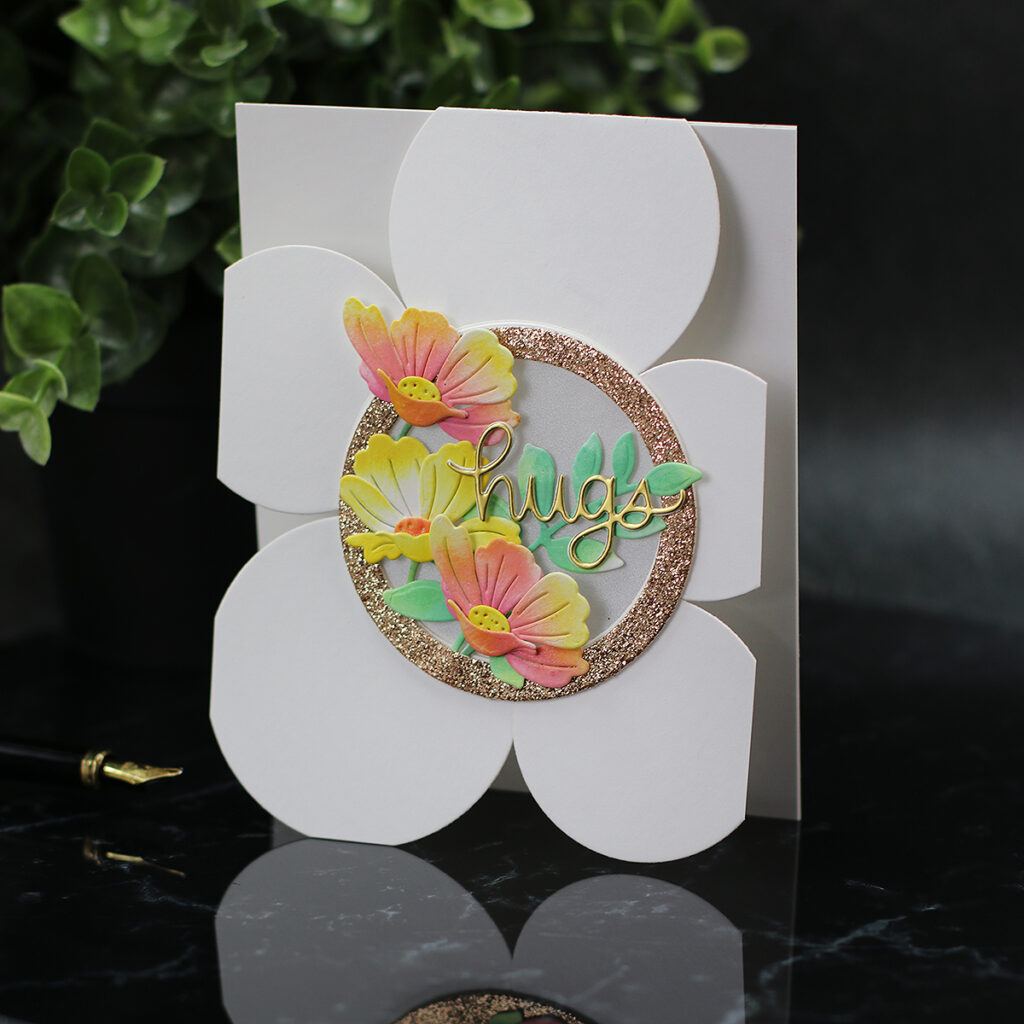
CardS Recipe
- We need thick cardstock for this type of card base 300 grams / 100 lb.
I used white and pink smooth cardstock. - Spellbinders everlasting Circles Die Set (2 -3/4″, 2-1/2″, 1 -3/4″ circle dies)
- Iceland Poppies wafer die ( small flowers -perfect for this)
- Aurora Blooms Die Set ( foliage)
- Small Script Trio Wafer Dies (Die-cut word “Hugs”)
- Hibiscus Blooms Stamp Set ( stamped sentiment pink card)
TOP Die-Cutting TIP
Do not forget to use a self-healing mat instead of the cutting plate underneath the paper to avoid marking the paper at the back.
Card Fronts Using Circle Dies
So in the video, you can see that I die-cut 5 circles.
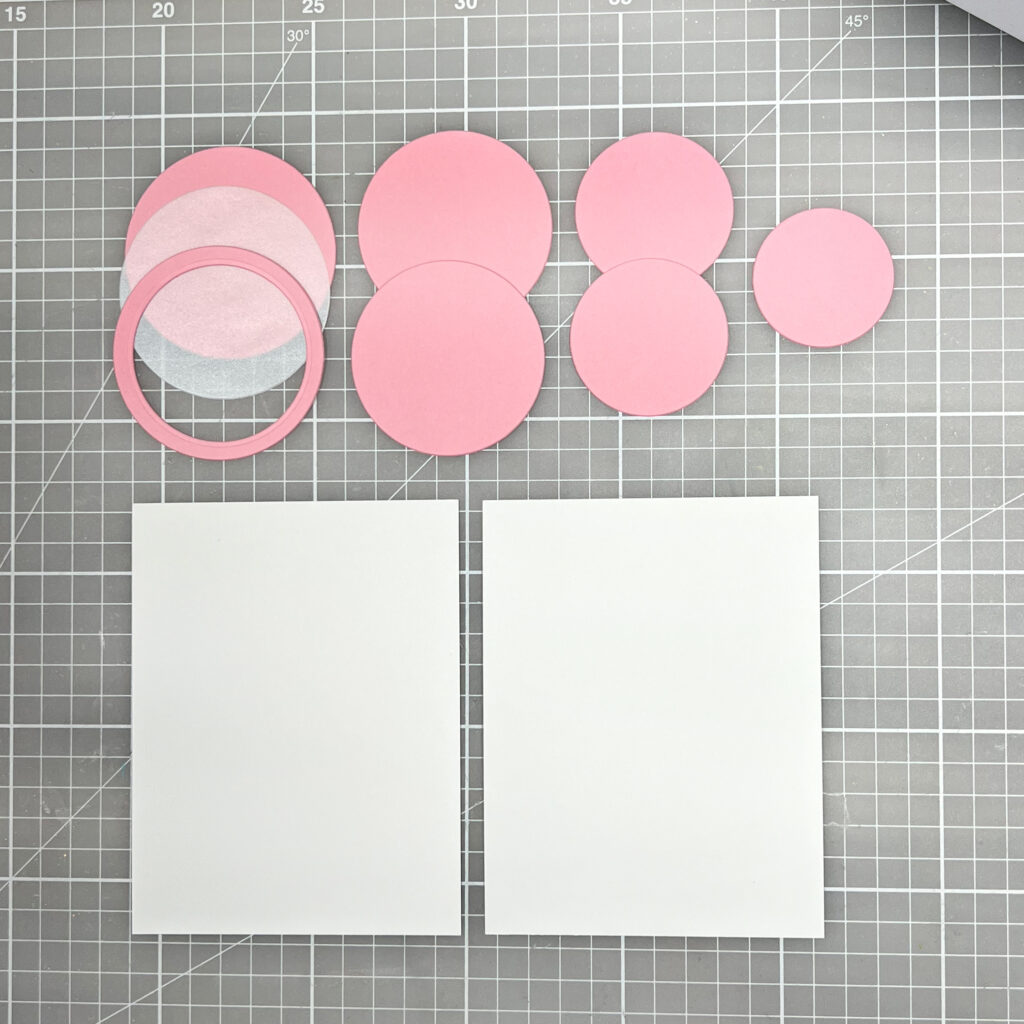
- One large circle die-cut made out of cardstock = 2 -3/4″
- A large circle die-cut made out of Vellum = 2-3/4″
- 1 Frame circle die-cut made using 2-3/4″ and 2-1/2″ circle dies.
- Two slightly smaller circle die-cuts = 2-1/2″
- One small circle die-cut + 1 -3/4″
- The white pieces in the pictures are to create the backing panel of the card base and they measure 4-1/4″ x 5-1/2″
You can use circles or any other basic shapes in any size and add as many as you want to create different front panels.
The Process
- First, I cut a scrap piece of paper to the size of my card base ( 4-1/4″ x 5-1/2″ ), and used it as a guide to place and glue the circle die-cuts in my desired shape ( flower)
- I placed the larger circle die-cut one in the centre of this piece and started arranging the others around it.
- It is important to leave some cardstock sticking out the top edge/margin to create a hinge, a top fold, or a flap to adhere this to a backing panel.
- Once I was happy with the arrangement, I glued the side die-cuts behind the edges of the central circle die-cut.
- I trimmed any excess cardstock sticking out the edges.
- Then, I die-cut a window in the central circle die-cut.
**This step is crucial to flattening the cardstock edges and making everything look seamlessly
Note: I won’t recommend embossing the die-cut panel because the embossing weakens the fibres of the paper. - Next, I added a silver vellum circle die-cut over the aperture and a circular frame die-cut over the vellum piece to seal everything up.
- I applied glue over the top hinge/flap and glued this to a backing panel.
- To cover the flap at the back of the card base I glued another cardstock panel over it.
The card base is Done! - Now is the turn to decorate it.. the sky’s the limit!
That’s all for today.
thanks for stripping by.
X Bibi
Thirsty for More?
Supplies
Affiliate links apply at no extra cost to you. Thanks for your support.


Leave a Reply