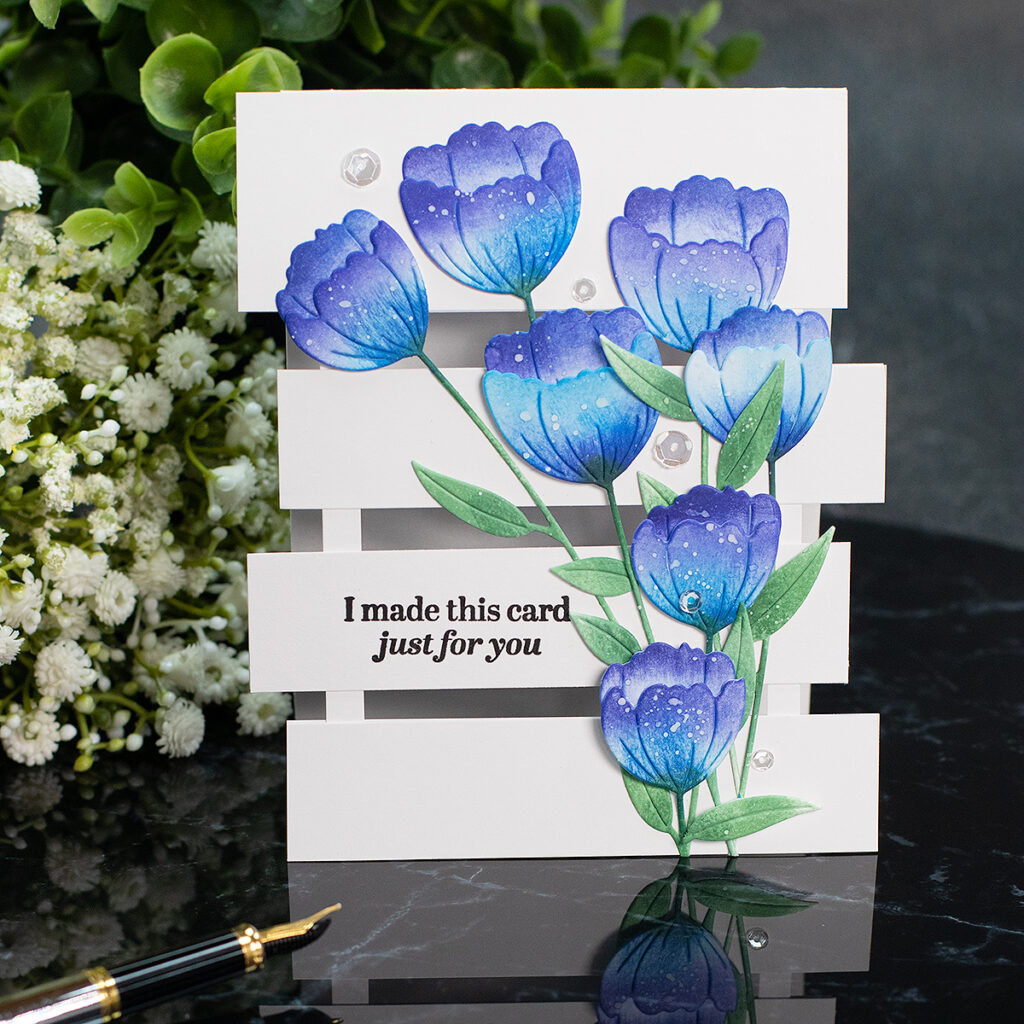
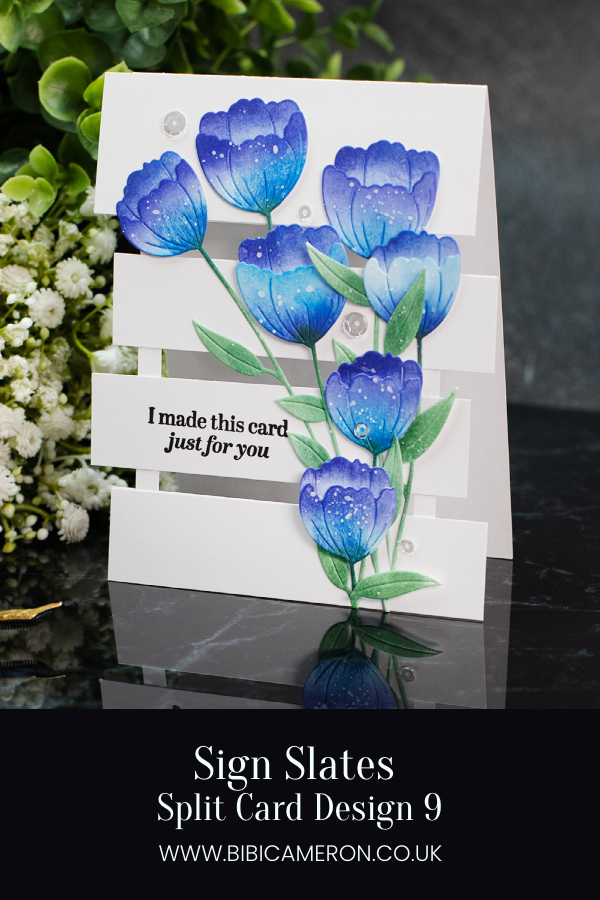
Hi Crafty friends, I’m passing by to share a Sign Slate Split Card Design idea, using the beautiful Crocus Stems die set by Simon Says Stamp to create the card toppers.
Scroll down to find the card recipe, more details and a 90 seconds video tutorial.
Sign Slate Split Card Design 9
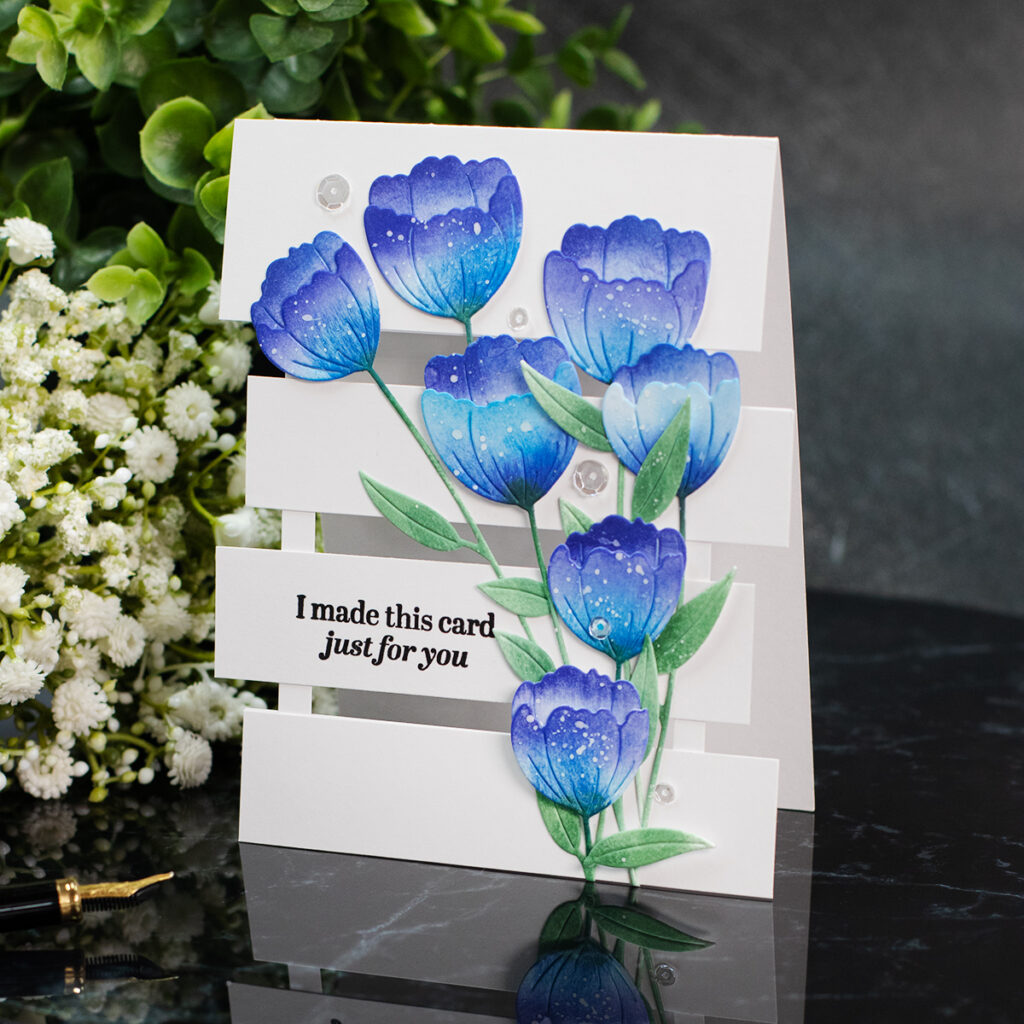
Card Recipe + Clickable Links
- 300 grams cardstock
- Tim Holtz Mini Trimmer
- Crocus Steams Wafer Die by Simon Says Stamp
- The sentiment is from Stamped With Love stamp set.
- Studio Katia Crystal Clear Fusion Sequins
- Nuvo Deluxe Adhesive
- Simon Says Stamp 3D Foam Squares White
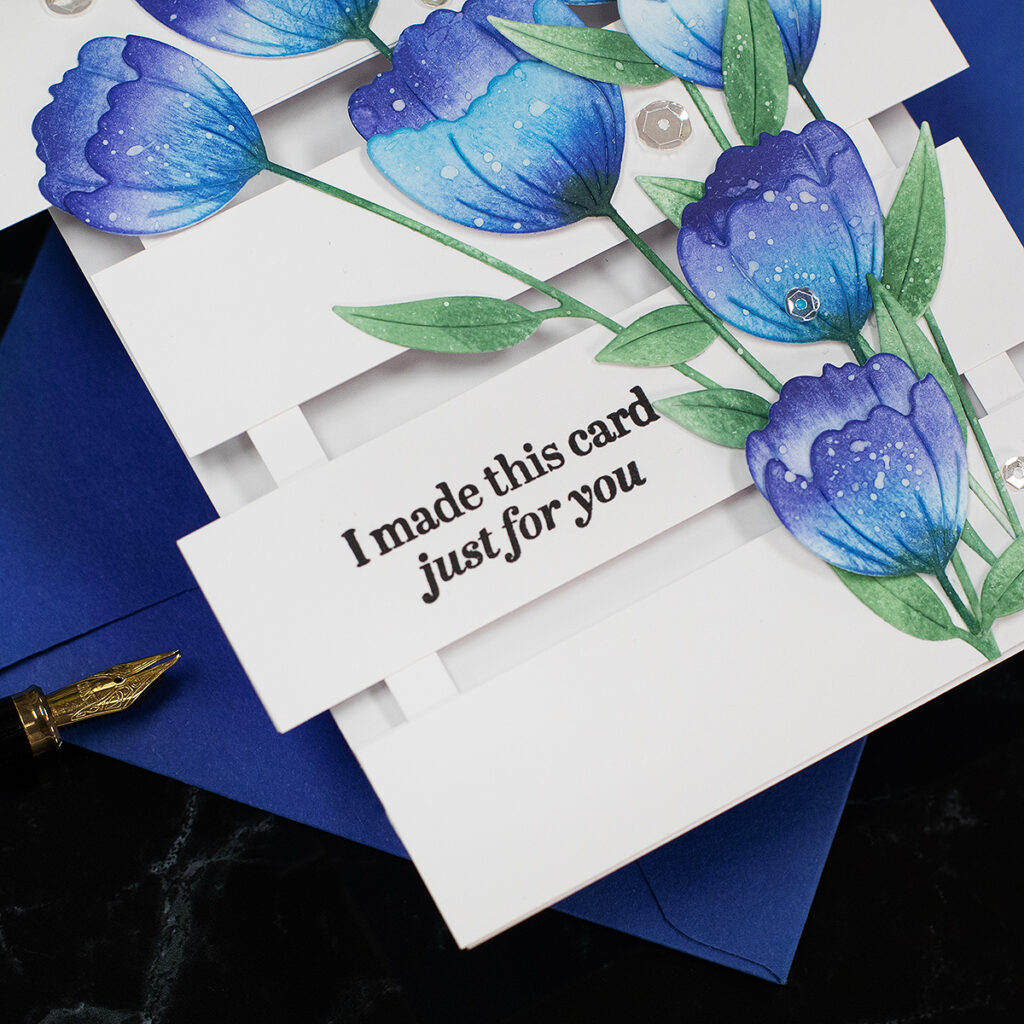
Ink and Blending Tools
- Simon Says Stamp Blending Brushes
- Leaves: Sage and Pine Pawsitively Saturated inks
- Flowers : Cadette and Galaxy Pawsitively Saturated inks
- White Acrylic Paint Splatters.
Tools
- Spellbinders Platinum Six Die Cutting Machine with Universal Plate System
- Simon Says Stamp Pawsitively Everyday Scissors
- MISTI Stamping Platform
- VersaFine Clair Noctrne Ink.
The VIDEO Tutorial
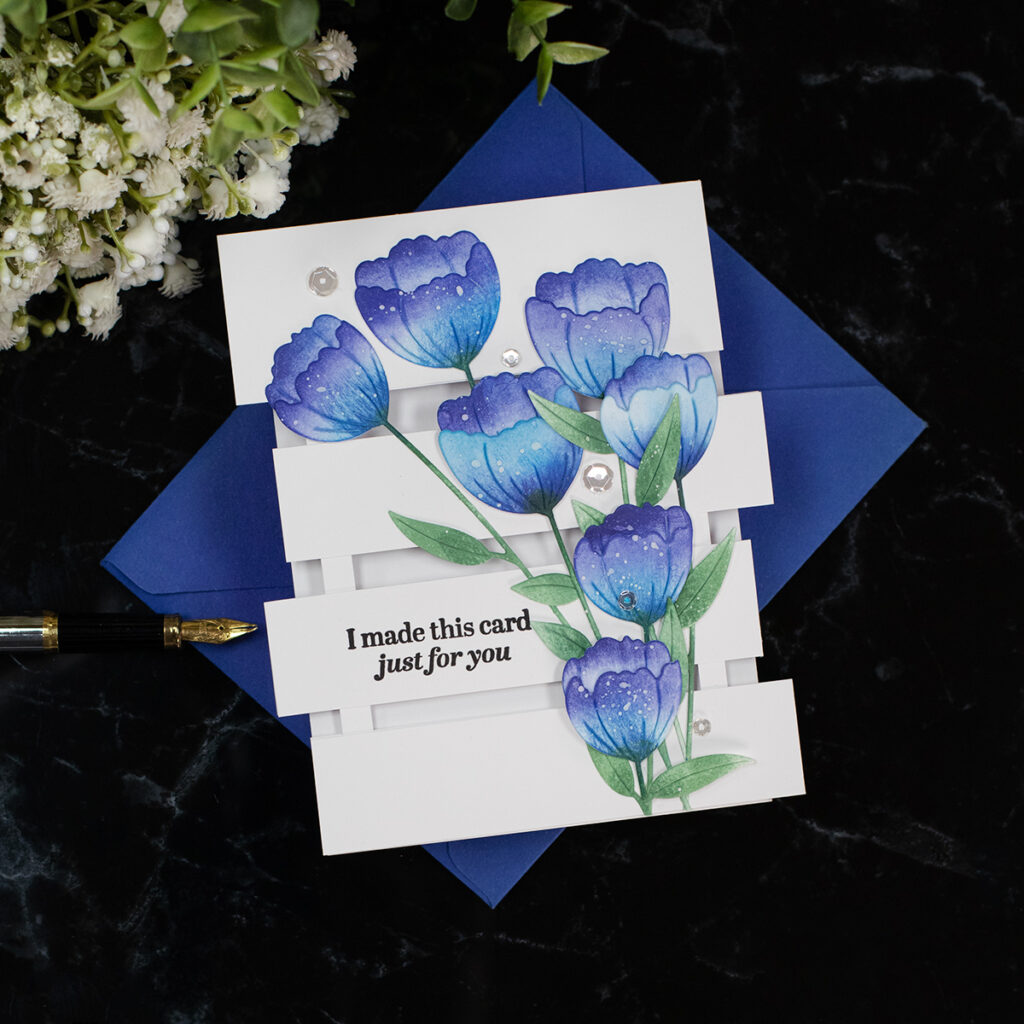
I shared a slower version of this card design in one of my latest videos here.
In the Instagram reel and Youtube Short below, you will find speed versions of the cardmaking process.
I hope they’re good enough to understand the process.
- So as always, you can make this card in any size.
- This is a C6 card, standard American Size: 4-1/4″ x 5- 1/2″ inches.
- I trimmed four (4) stripes out of the front panel of the card base, using the Tim Holtz Mini Trimmer
- Each stripe measures 1″ inch.
- From these 4 stripes, we will only use 3 to create the sign slate shape.
- The top portion of the card base should measure about 1- 3/4″ inches.
- Now, we need to cut 1/4″ inches from one of the sides of the card base.
- So the card base will measure 4″ inches x 5-1/5″ inches at this stage.
- Next, we need to glue the stripes/panels as shown in the video.
- To keep the pieces together, I’m using 1/4″ inches pieces of cardstock.
One of them was cut from the card base side. - After glueing these pieces, you can trim their length.
- So the vertical pieces that hold the panels together measure 1/4″ inches width.
- While glueing the pieces in place, I’m not measuring anything. I just make sure the spaces look symmetric.
- Once the card base is done, I advise using die-cuts that provide stability to the paper.
- Glue them in a way that they also connect the paper stripes / sign slates/panels.
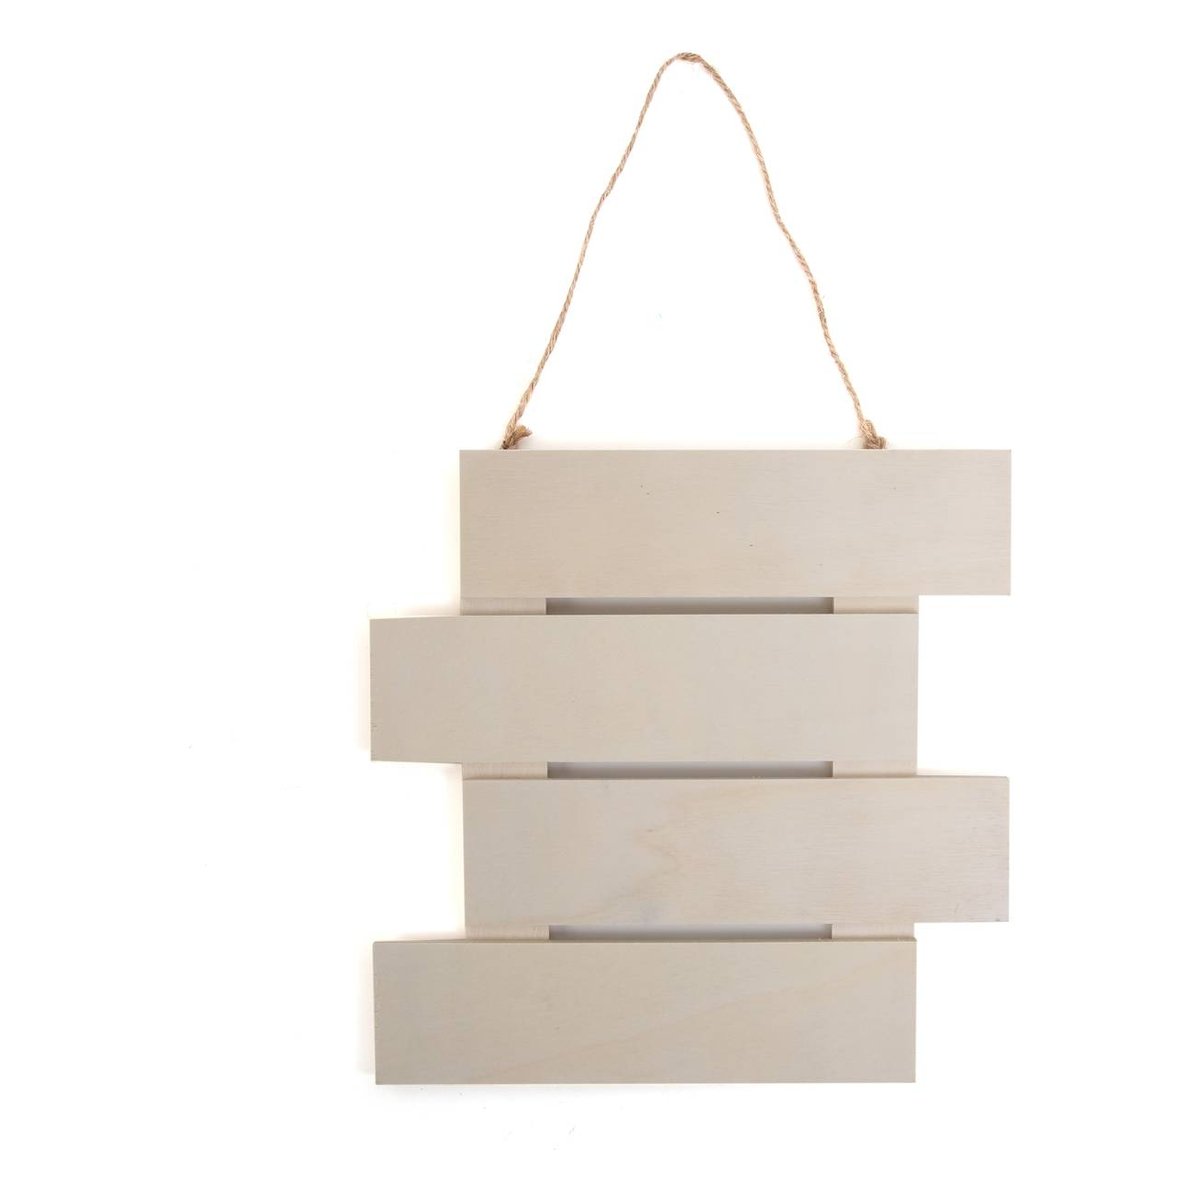
Here is the inspiration for this card design
I can’t take all the credit, here is my inspiration for this card… I saw it in a craft store and I had to give it flesh. lol
PIN ME
Thirsty for more?
That’s all for today.
Thanks for stopping by. X Bibi
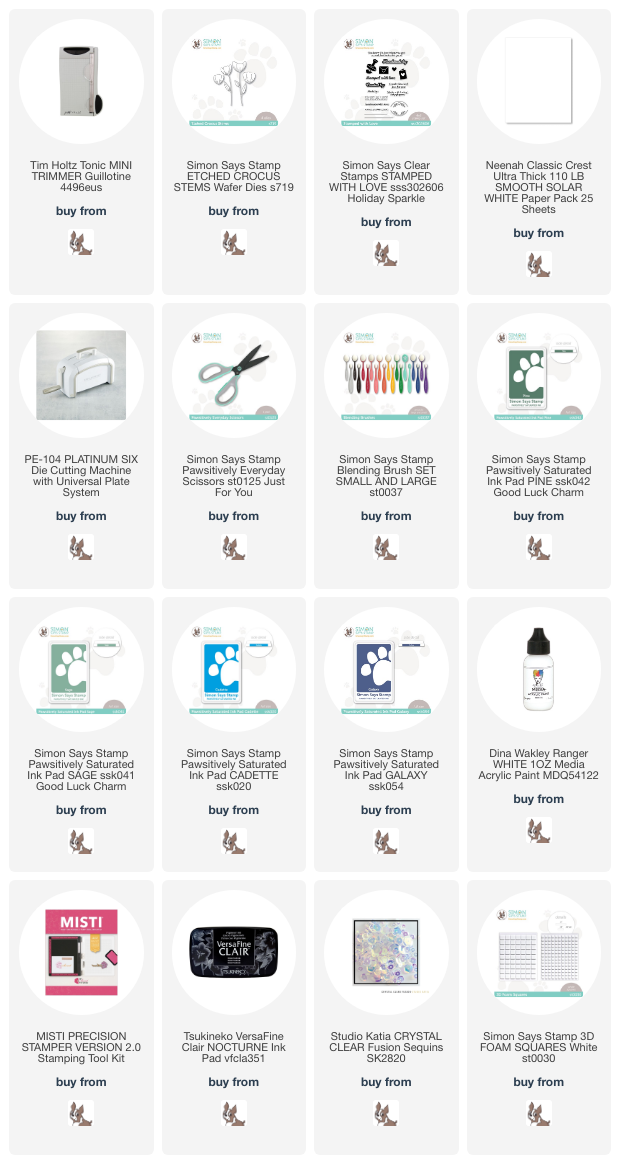
Supplies list
Affiliate links apply at no extra cost to you. Thanks for your support.


This is a total delight, Bibi! Love it! The spatters (or splatters?) really “make” the card, in my opinion.
Great work as always. Your talent continues to astound and impress me.
Lori S in PA (USA)
This is amazing! So pretty and I like the split design. You are definitely very talented! Thank you for sharing.
Your card is lovely.
I am always in ah when I see your cards.
Thank You so much for sharing them!
You always have such great, unique ideas! Love this !
Liz E