Hello from Colombia, we are celebrating Joyful Christmas a new Spellbinders release designed by Simon Hurley.
I made 4 easy cards to share some ideas and inspiration.
Supplies Used From This Release:
- Floral Stag Etched Dies
- Winter Woodland Stamp Set and Winter Woodland Die Set
- Halftone Holiday Stamp Set and Halftone Holiday Die Set
*** Find supplies list at the bottom of this post.
Floral Stag C6 Cards

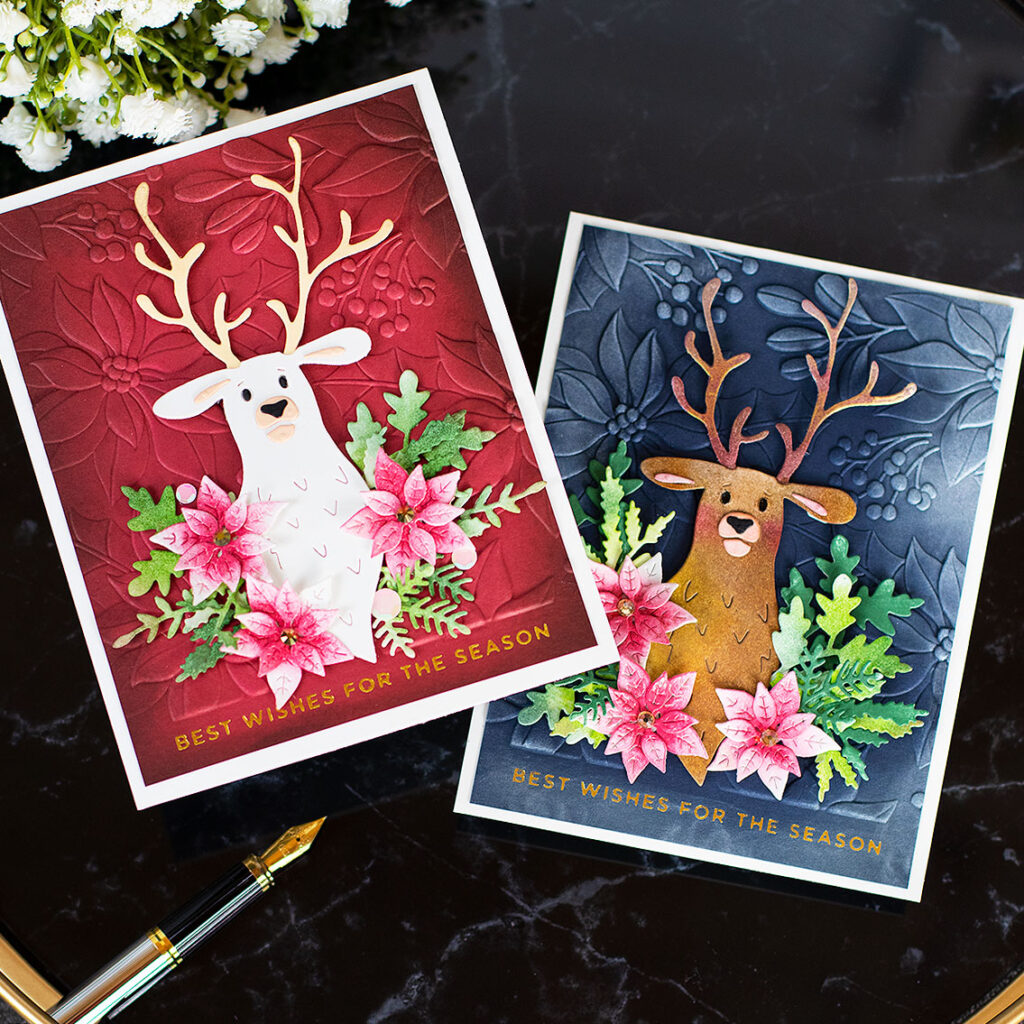
The Floral Stag die set is adorable and it is very easy to use.
For the card with a red background, I just cut different parts of the stag out of coloured cardstock and for the one with a navy blue background, I die-cut the stag pieces out of white cardstock and I applied colour to the die-cuts using inks.
Cards Recipe
- Floral Stag Etched Dies
- Scenic Poinsettias 3D Embossing Folder
- Navy Blue Cardstock
- For the sentiment, Polished Brass hot foil and a plate from the Glitter Wishes Glimmer Hot Foil Plate & Die Set.
- Aura Opalescent Color Essentials Sequins
- Pink Opalescent Color Essentials Sequins
- Gold Mix Color Essentials Gems.

To make this card, I first die cut all the pieces out of white cardstock. Then using Blending Brushes, I applied the following inks over the foliage die-cuts:
- Perfection Simon Says Stamp Pawsitively Saturated Ink
- Sage Simon Says Stamp Pawsitively Saturated Ink
- Pine Simon Says Stamp Pawsitively Saturated Ink
- Watermelon Simon Says Stamp Pawsitively Saturated Ink
- Cherry Simon Says Stamp Pawsitively Saturated Ink
To add colour to the Stag, I used Mocha and Cherry Simon Says Stamp Pawsitively Saturated Inks + Rusty Hinge Distress Ink.
I partially embossed the panel using the Scenic Poinsettias 3D Embossing Folder and I hot foiled a sentiment from Glitter Wishes Glimmer Hot Foil Plate & Die Set at the bottom of the panel.
Then, I applied white ink over the edges.
To finish, I embellished using Gold Mix Color Essentials Gems.

For this card, I used the same supplies and I applied a colour variation.
I used Red Cardstock and using a Blending Brush, I applied Mocha Simon Says Stamp Pawsitively Saturated Ink over the edges of the embossed panel.
To keep it simple, I didn’t add ink over the stag die-cuts.
For the flowers and foliage, I used the same ink colours as for the card above.
Partial Die-Cut TRifold Cards

Here are some extra ideas for you.
If you have coordinating dies you can easily create different partially die-cut edges for your project. This is easy and adds loads of value to your projects.
Cards Recipe
- Winter Woodland Stamp Set and Winter Woodland Die Set
- Halftone Holiday Stamp Set and Halftone Holiday Die Set

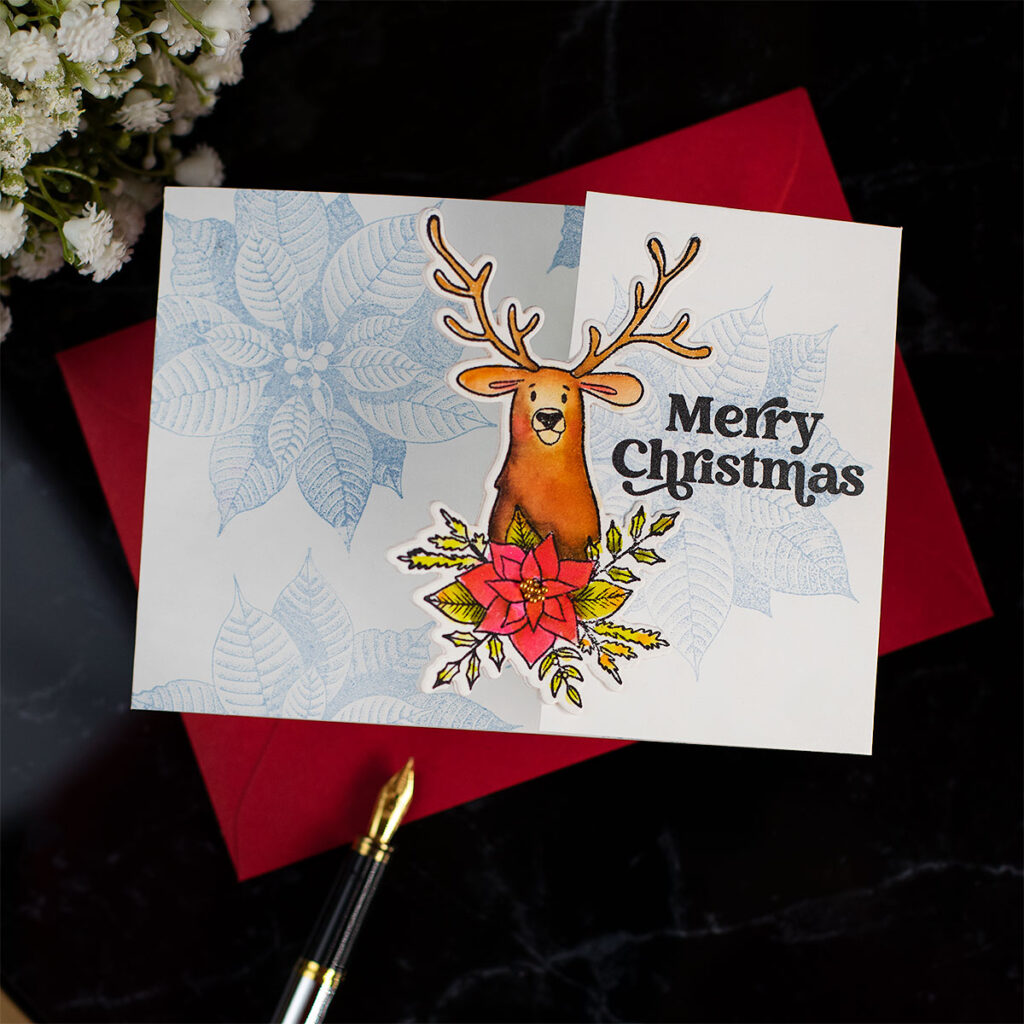
- For this C6 card, I first stamped the images from the Winter Woodland Stamp Set on Strathmore watercolour paper using Verafine Clair Nocturne Ink and the Misti.
- Then, I applied colour using Zigs and a water brush.
- Next, I die-cut the coloured image and set it aside.
- Using the stag coordinating die, I partially die-cut the edge of the front fold of the card.
- I trimmed any excess paper at the top and bottom of the partially die-cut edge.
- Using Morning Simon Says Stamp Pawsitively Saturated Ink, I stamped the poinsettia from the Halftone Holiday Stamp Set over the 2 front folds of the card.
- I glue the coloured and die-cut image over the partially die-cut edge and I stamped the sentiment also using Verafine Clair Nocturne Ink.

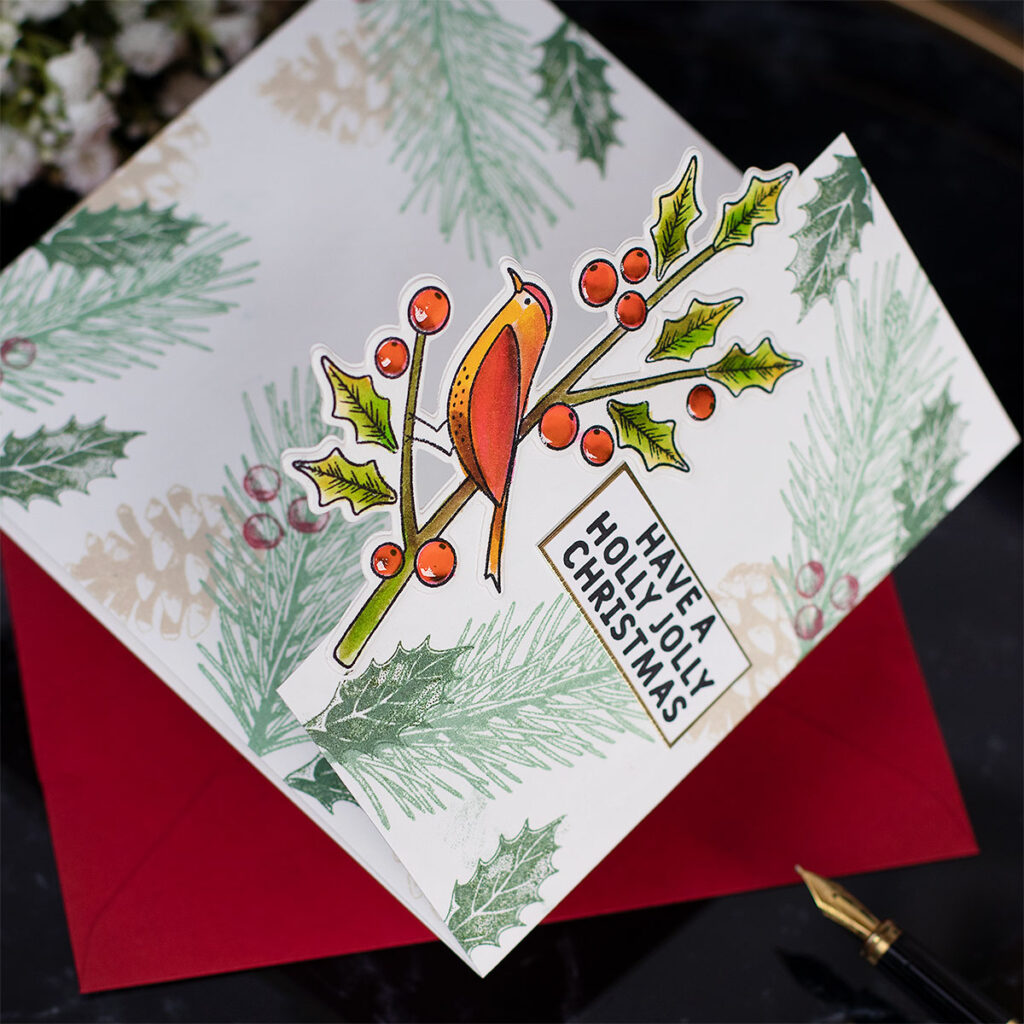
I decided to make another card using another image from the Winter Woodland Stamp Set
This is a 5 x 5 inches card.
Again, I stamped the image on Strathmore watercolour paper using Verafine Clair Nocturne Ink and the Misti and I added colour using Zigs and a water brush.

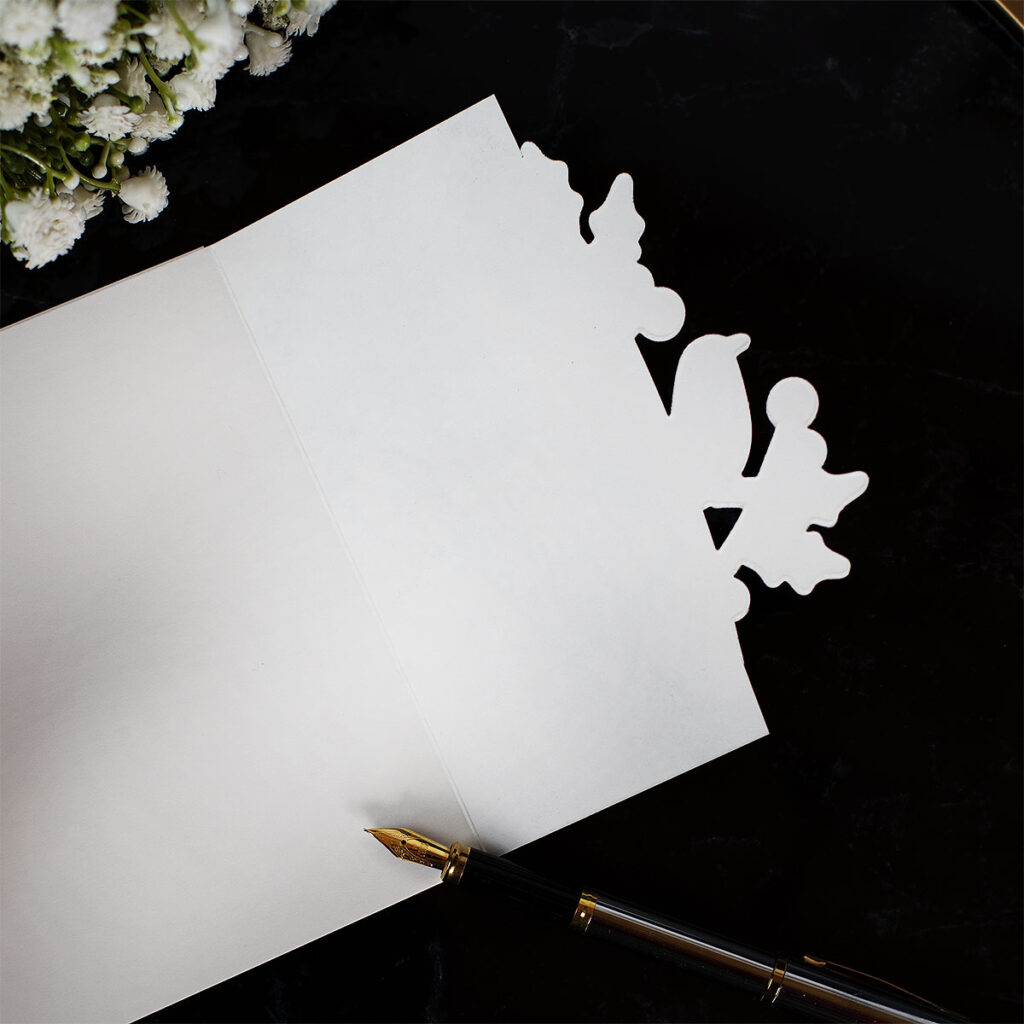
I partially die-cut the front panel using the image coordinating die and I glued the image over with the intention to leave the card completely blank.
I couldn’t resist stamping the pine cones, pine branches, leaves, and cherries.
To do this, I used Sage, Pine, and Latte Simon Says Stamp Pawsitively Saturated Ink + Schoolhouse Red Premium Dye Ink by Simon Says Stamp
I stamped the sentiment also using Verafine Clair Nocturne Ink over a piece of white cardstock to make a little banner and I glued over a piece of gold paper to then stick it to the card.
Thirsty for more?
That’s all for today.
Thanks for stopping by.
X
Bibi
Supplies
Affiliate links apply at no extra cost to you. Thanks for your support.


I absolutely adore this new set and you have created such beautiful cards using it. I especially love the embossing folder on the first and that beautiful deer. Thank you so much for the inspiration and hope its not too long before I can get my hands on it !
Marie
Gorgeous cards!!!!