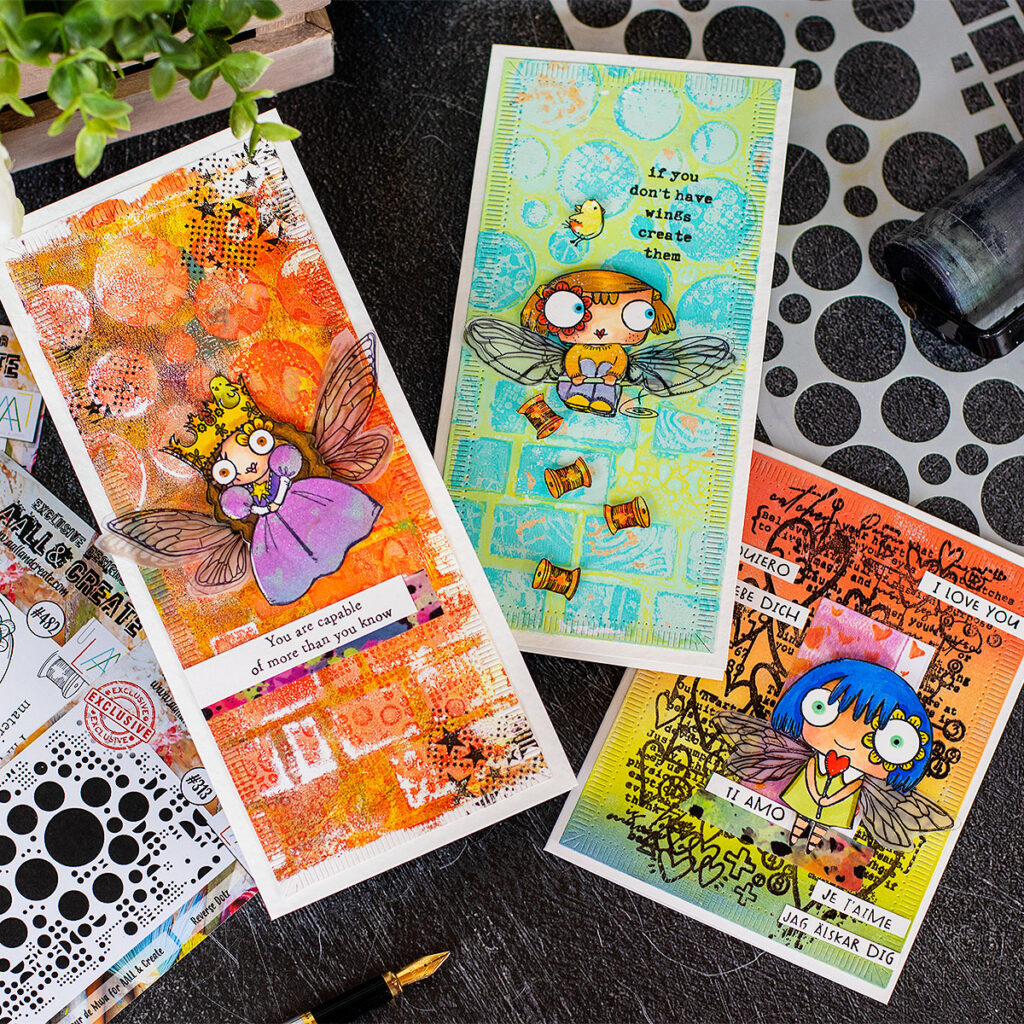
Hello crafty friends, I have been invited to be AALL & Create guest designer for the next 3 months and today I’m sharing my very first layered gel prints!
I’m unexpectedly in love.
The prints over the paper feel smooth and yet so filled with texture, colour, and life.
Watch the video
AALL & Create

An invitation to unleash your creativity, to try new things, and to enter a new crafty world filled with color, textures and magical characters.
- AALL & Create stamps and stencils come in different sizes.
- Made out of high-quality photopolymer the stamps aim for stamping perfection. The impression is very sharp from the very first time.
- The supplies translate different designers’ artwork.
- A wide array of products to suit different crafty styles.
- The products are identified by numbers.
Today I’m featuring Janet Klein stamp designs and Autor de Mwa’s stencils for AALL & Create
****Find a clickable supplies list at the bottom of this post
The dolls
- I stamped the different dolls over smooth cardstock using Memento black ink.
- Then, I applied colour over the face, hands and hair, using Copic Markers.
- For some of the doll’s dresses or clothes, I stamped the images on gel prints, then I fussy cut them and paper pieced them over the stamped images.
- I also added. pair of wings to the dolls using stamps from the Insect Wings stamp set.
- One pair of wings was stamped using Black Archival Ink over acetate, then I trim them and glued them behind each doll using Nuvo Deluxe Adhesive.
- The other pair was stamped on vellum and I also u it by hand to then add them behind the other wings.
The sentiments
the sentiment on the blue ard was stamped directly on the background and for the other 2 cards, I made banners out of smooth cardstock.
To get crisp stamped words, I used the Misti and Versafine Onyx black.
The Backgrounds

One of the things I love the most when making cards is adding texture and sparkle and for my cards today, I tried for the very first time making some layered gel prints.
This means taking textures to a whole new level.
To do this I needed:
- A gel press.
- Acrylic chalk paint,.
- Acrylic iridescent paints.
- Gouache paints.
- AALL & Create stencils
… I’m obsessed!
Layered Gel Prints Technique
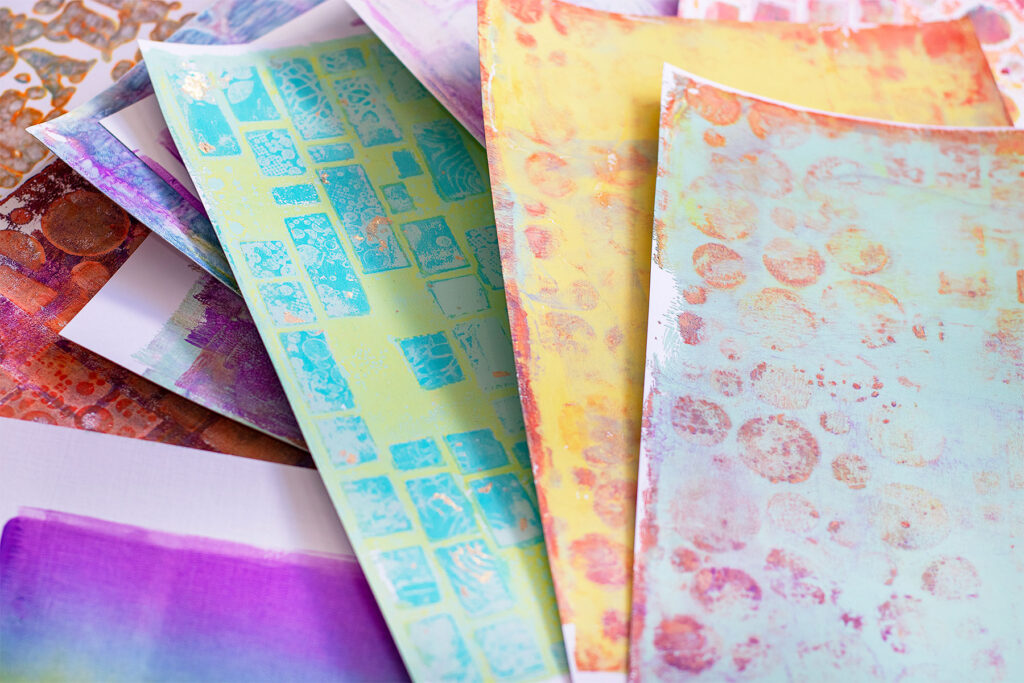
- As you saw in the video, I used a brayer to apply a thin layer of acrylic or Gouache paint on the gel press
- Then, place the stencil over while the paint was still wet.
- Next, place a sheet of printer paper over the stencil to lift the paint from the negative spaces ( you could use a piece of cardstock to get a print if you want to).
- Now you can apply another layer of paint using a brayer.
- Allow the paint to dry a little bit.
- Then, use clear stamps to lift the paint on the negative areas of the stencil. This will create textures.
- Here you can add also gilding flakes on the stencil’s negative spaces ( the flakes will stick to the paint and will add interest to your piece – this is totally optional).
- Allow the paint to dry.
- Then, apply another layer of paint (this will seat again on the stencil’s negative spaces).
- Remove the stencil.
- Allow the layers of paint to dry.
- Once the paint is dry, apply another layer of paint over ( it could be any single colour or different colours in different areas of your piece).
- Place a piece of smooth white cardstock over and press down using a brayer or the palms of your hands.
- Lift the paper and enjoy your layered gel print.
- If after doing this there is paint over the gel press, use other pieces of cardstock to make other prints.
Top Tips:
- Allow the paint to dry between paint applications.
- Be careful when passing the brayer over dry paint on the gel press as you could lift the paint previously applied.
- When you layer colours the paint will blend anyways so for example if your first layer is yellow and your second layer is blue, your artwork might tend to look green.
- Bear in mind colour combos BUT no one will stop you if you want to go crazy.
Acrylic Chalk Paint Layered Gel Print Background + gilding flakes

- Stamps used : #482 ( girl), #348, ( wings), #311, #467( birds), #311 (background texture), #313 (background texture).
- Stencils used: #135, #63.
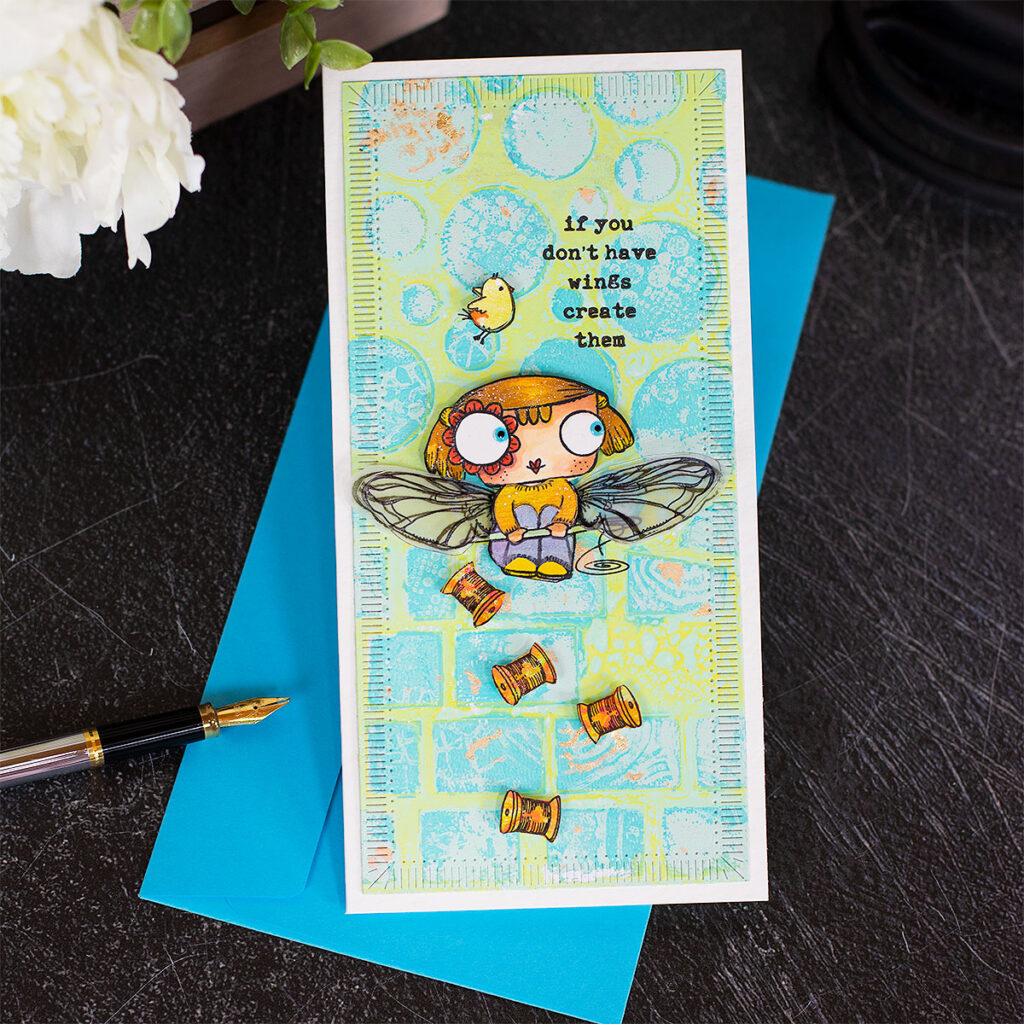
So here is an idea o add a touch of gold to your gel prints
- To do this I used: yellow, blue, teal, mint green chalk acrylic paint.
- I applied the first layer of paint on the gel print, then I added Nuvo Gold Gilding Flakes over the wet paint so it stuck to it.
- To add colour to the doll’s face, hair and hands, I used Copic Markers.
- The doll’s clothes were stamped on different gel prints, then fussy cut and paper pieced over the stamped image.
- I stamped a pair of wings using samps from the Insect Wings stamp set using Black Archival Ink over acetate, and another pair on vellum. Then I trim them and glued them behind using Nuvo Deluxe Adhesive.
- To stamp the sentiment, I used the Misti and Versafine Onyx black ink.
- The thread spool was stamped on one of the gel prints I made, using Versafine Onyx black ink, and I fussy cut them too.

Gouache Paint Layered Gel Print Background
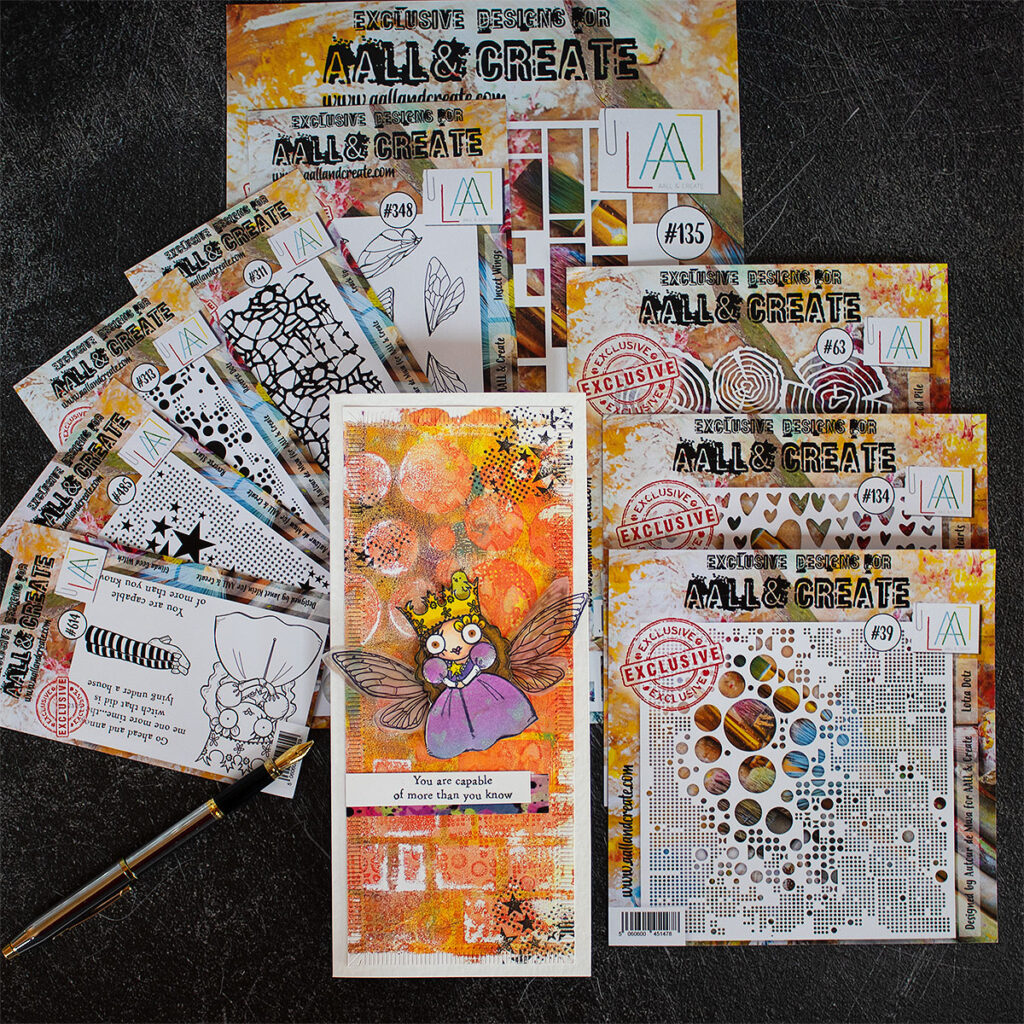
- Stamps Used : 614 ( girl) , 348 ( wings), 467( birds), 485 (stars).
- Stencils: 135, 63, 39,134.
- Washi tape: #19
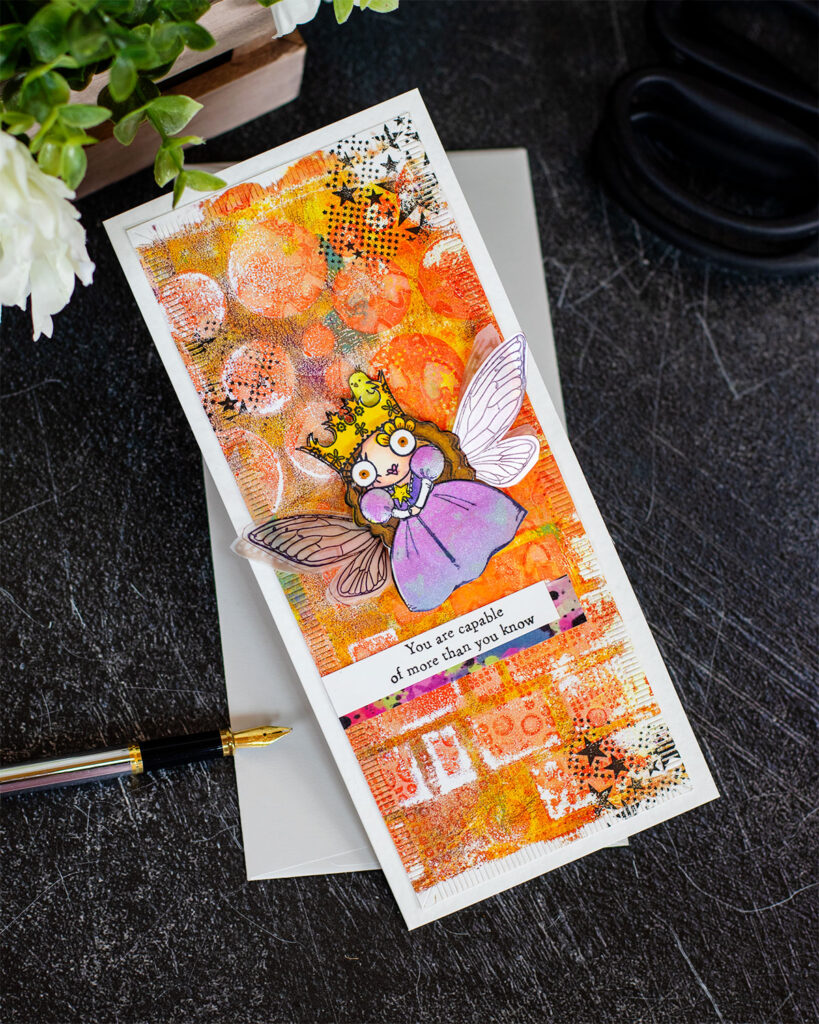
For this sample, I wanted to see the performance of Gouache paint over the gel press.
It actually worked really well using red, white, peach, yellow, blue, and purple gouache paints.
- I stamped the doll over smooth cardstock using Memento black ink.
- Then I applied colour over the face, hands and hair, using Copic Markers.
- The doll’s dress was stamped on a purple gel print, then fussy cut and paper pieced over the stamped image.
- I added acetate and vellum wings behind the image.
- To make the wings, I used stamps from the Insect Wings stamp set and Black Archival Ink over acetate and vellum, then I trim them and glued them behind using Nuvo Deluxe Adhesive.

Acrylic Iridescent Paint Brayered Background
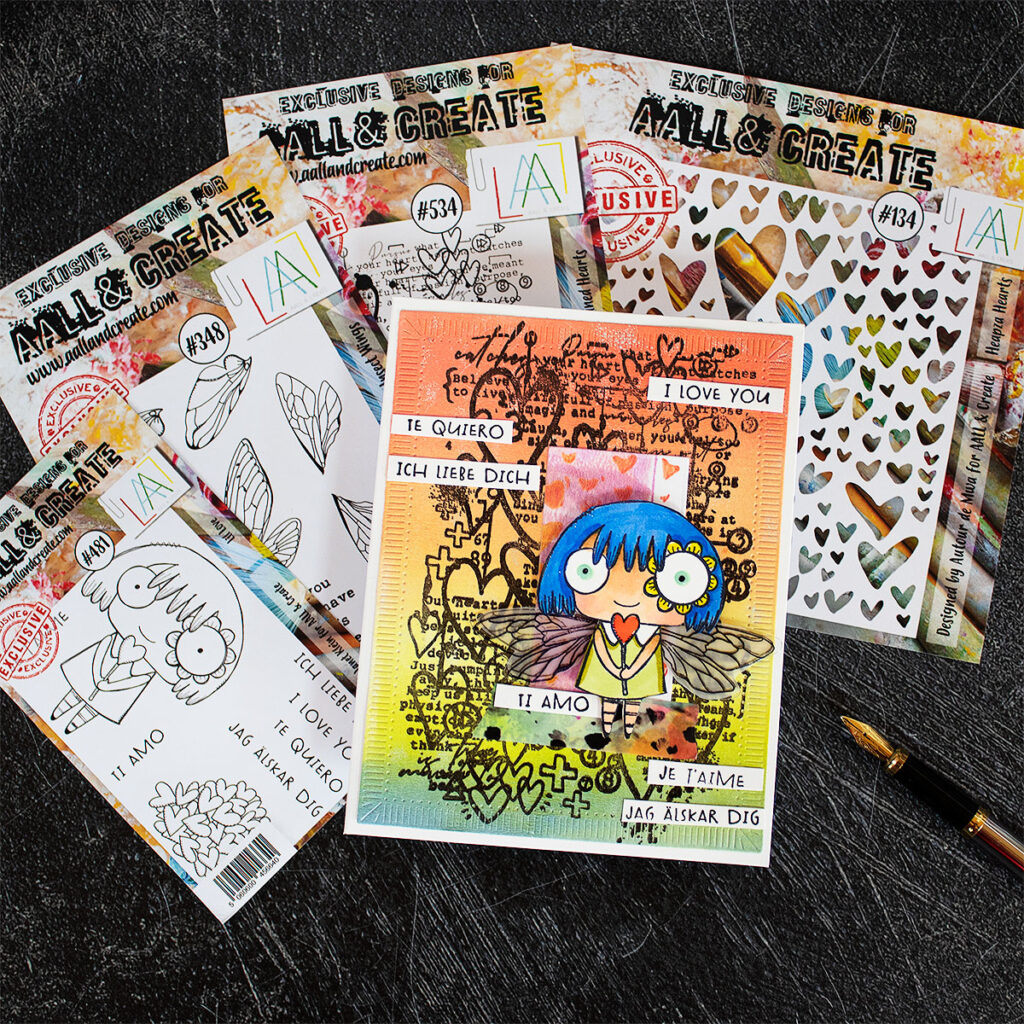
- Stamps used: 481 ( girl) , 348 ( wings), 534 ( background)
- Stencils : 134 ( hearts)
- Washi tape: #19
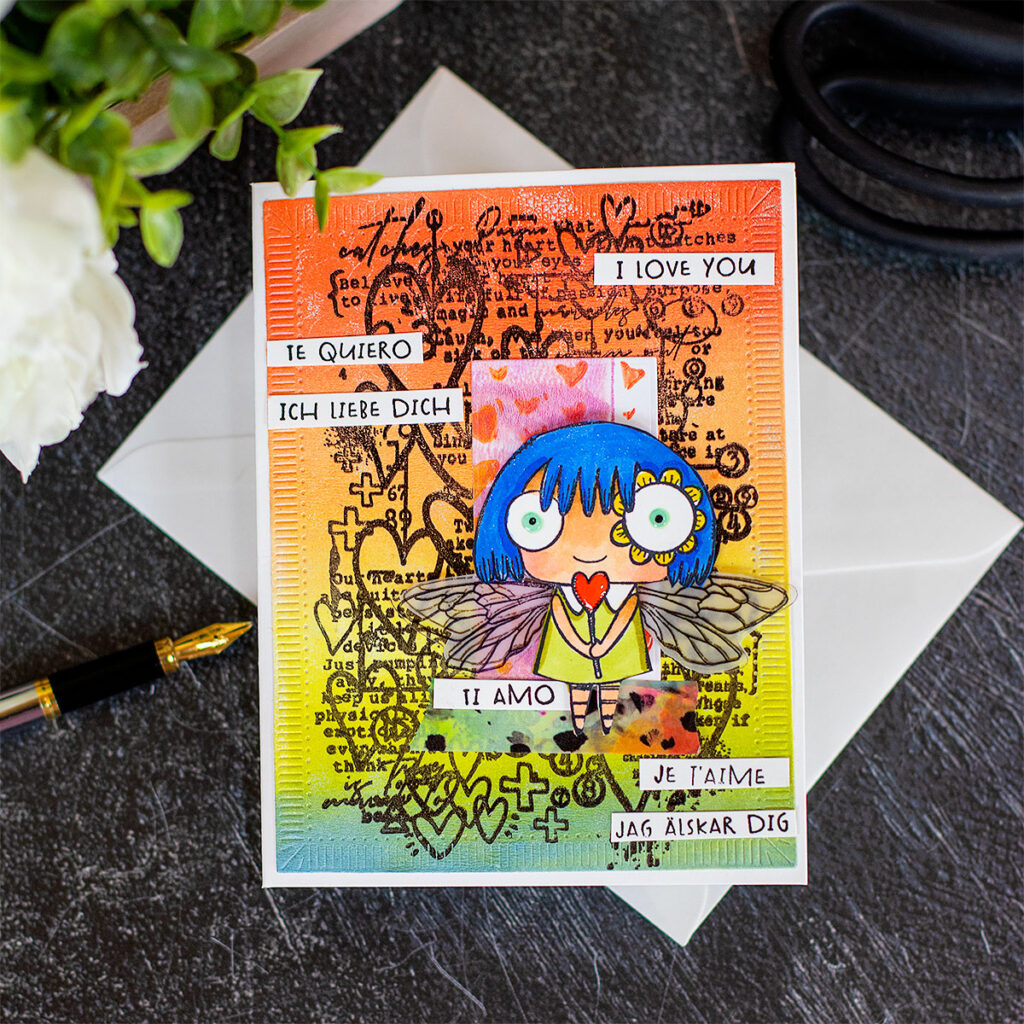
I also wanted to share a super easy brayered background using acrylic iridescent paint.
I’m showing how to create this background on my Instagram post here.
- I added colour to the image using Copic Markers.
- hen, I stamped wings using samps from the Insect Wings stamp set using Black Archival Ink over acetate. I trim them and glued them behind the image using Nuvo Deluxe Adhesive.
- To stamp the sentiments, I used the Misti and Versafine Onyx black ink over smooth cardstock and I trimmed them to make little banners.

That’s all for today.
Thanks for stopping by.
X
Bibi
Thirsty for more?
Supplies
Affiliate links apply at no extra cost to you. Thanks for your support.


Can you talk about your process for the dolls? They are wonderful. How did you get the gilding flakes so precisely on the dolls hair?