The new Congrats on a Line Wafer die set by Simon Says Stamp is super cool.
It includes two large word dies that partially die-cut the bottom part of the paper, allowing you to decide the height, width of the panel, and position of the word in your project ( Left, center, right).
You can use this kind of dies on a wide variety of projects, I’ll be sharing more inspiration soon.
For today, I paired one of the gorgeous bold sentiments with images from the Blooming Meadow stamp set to make a super easy slimline card and also to share tips to get the mojo back or your creative juices flowing.

The CardMaking Process
- I started by die-cutting the background panels using dies from Slimline Stitching Trio die set.
- Then, I stamped all the images from the Blooming Meadow stamp set using Black Memento ink on Neenah Classic Crest 80lb cardstock.
- First, I stamped the outline images ( three of each flower and leaf design).
- Then, I used coordinating bold stamps to quickly fill with colour the outline images.
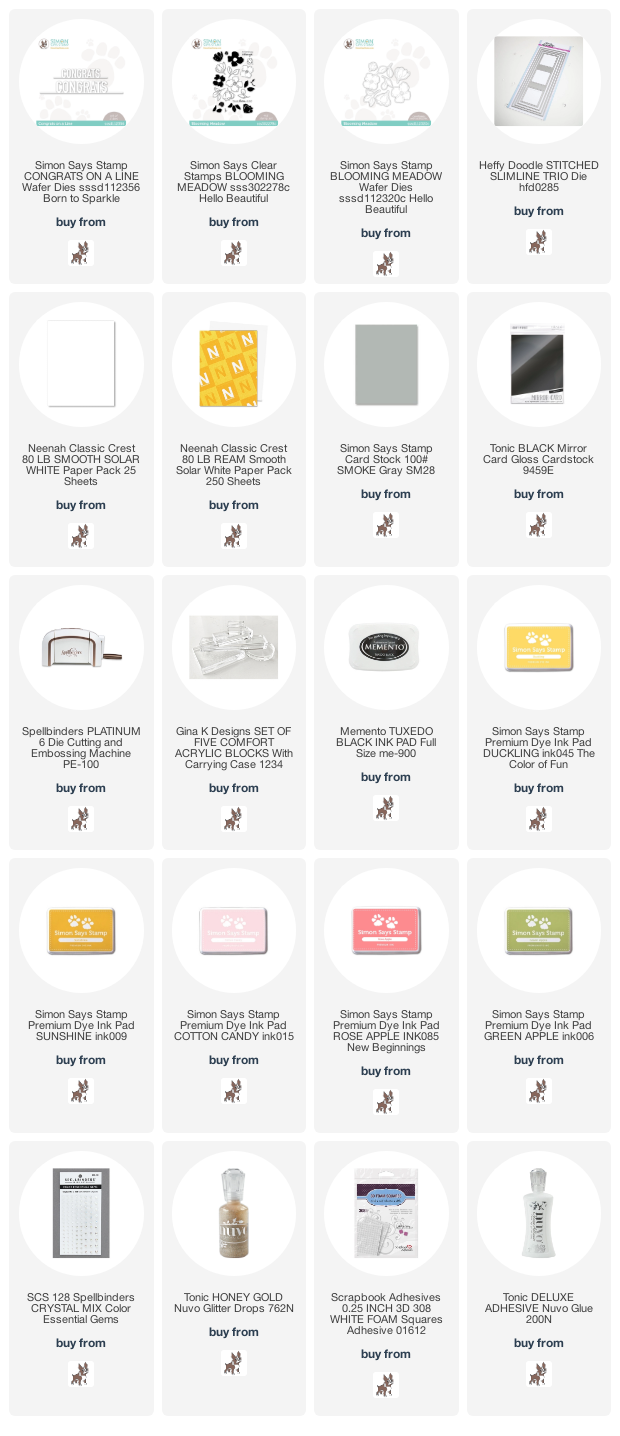
- SSS ink colours used: Duckling, Sunshine, Cotton Candy, Rose Apple, Green Apple.
- When the stamping was done, I die-cut all the images using Blooming Meadow die set
***For stamping speed, I used clear stamping blocks.
***To do all the die-cutting, I used Spellbinders Platinum 6 Die Cutting Machine.

Getting Your Mojo Back
I said to myself that I wouldn’t overthink when creating this card.
Then I remember a conversation on Facebook where people were asking how to get the mojo back or the creative juices flowing.
So I thought that I could share some very basic but effective tips with you.
- Golden tip: avoid overthinking ( sounds silly but it is really a big deal).
- Search for ideas online (not only for products name but also layouts and colour combos).
- Then, stamp and die cut several images first.
- Use cardstock colours or in general colours that coordinate together.
- Place the die cuts in different ways on your desired size panel.
- Rotate the images upside down, in a wreath shape, or around the panel edges ( frame).
- Organize images in rainbow colour order or just add them all over the panel.
- Remember that your card components don’t have to be completely stuck onto the background panel (like the massive word die-cut on my card today).
- Don’t worry about the space for a sentiment. You can always add a small banner over any composition you create.
- For long floral arrangements ( like the one in the card in this post) add the images in a zig-zag shape across the panel and fill in the empty spaces with leaves, a few extra flowers and embellishments.
- Don’t forget to add sparkle or shiny elements to your projects.
From this simple exercise, you will find a whole new way to create, new layouts and interesting ways to use images.

For this card, I just adhered to the first row of florals using dimensional adhesive foam pads across the panel in zig-zag order and making sure there are not two flowers of the same colour next to each other.
This allowed me to add extra flowers and leaves in the empty spaces at the top and the bottom of the Zig Zag without making it look crowded.
Congrats on a Line
- Once I was happy with the floral arrangement, I die-cut the large “Congrats” word out of black gloss mirror cardstock using Congrats on a Line wafer die set.
- Congrats on a Line Wafer die set partially die-cut the bottom part of the panel so you can adjust the height and width of the panel.
- The word will be always at the top. You can decide its position ( left, right, or center)
- I trimmed the bottom part of the die-cut just under 1/4″ of an inch and the word is centered so that the sentiment is framing the base of the floral arrangement.
- To adhere it to the card, I only glued the side corners of the die-cut directly to the background panel, the letters are glued over the flowers.
- To add interest, I also allow some leaves to peek through the die-cut word, and I added Gold Glitter pre-made Nuvo drops and the new Crystal Mix Gems by Spellbinders.
That’s all for today.
I hope you enjoy this post.
Happy crafting.
X
Bibi
Supplies
Affiliate links applies at no extra cost to you. Thanks for your support.


Leave a Reply