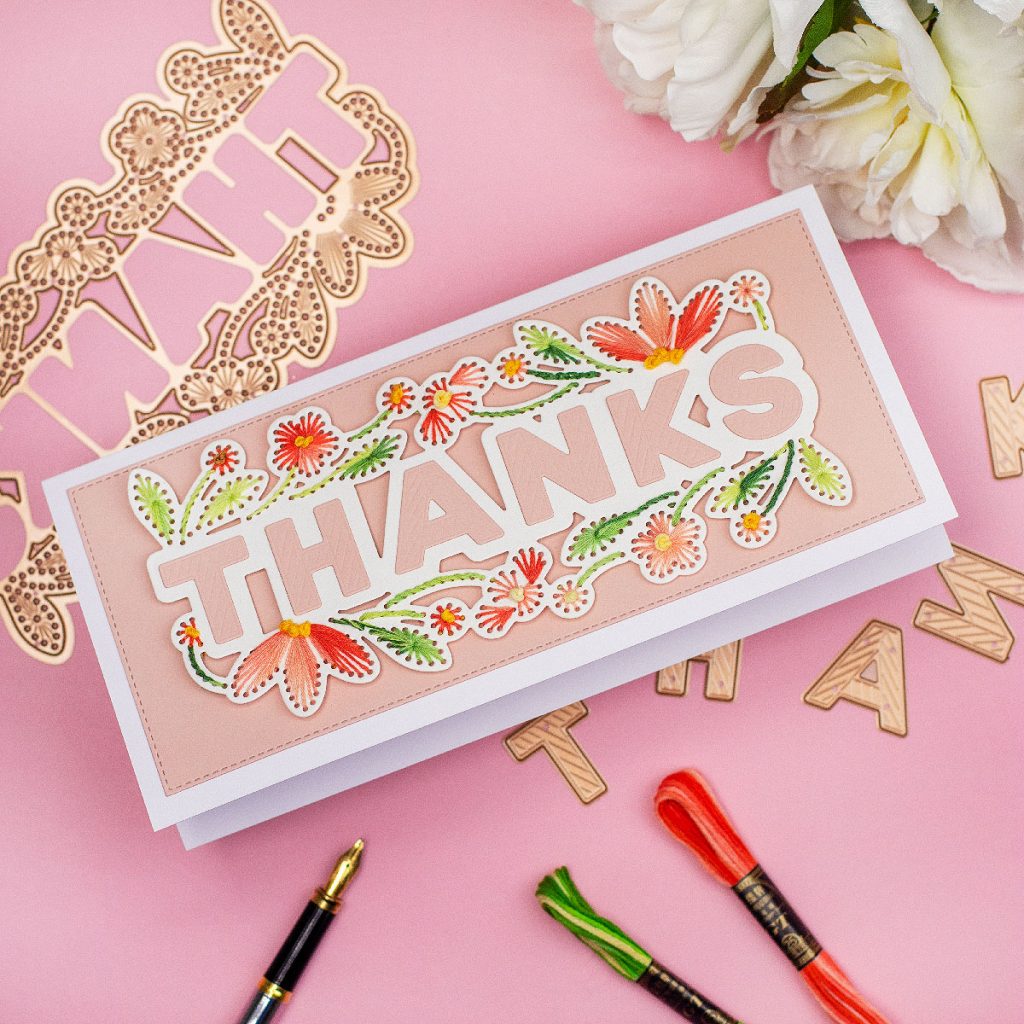
I think you are going to love Stitched Thanks the Spellbinders Small Die of the Month [April 2021].
Stitched Thanks Video
In the video below you can see the products in action plus I’m sharing some tips and easy stitches.
This kind of stitching dies has been very popular. The Merry Stitching Die Set was the first of this kind released and it was sold out very quickly!
I hope you can grab yours before it’s too late!!!
Stitched Thanks Die Set
- This is a 7 pieces die set.
- The larger die measures 6-1/2 x 3-1/4 inches .
- The fonts measures 1 x 1 inches
- It will create a front panel for slimline cards.
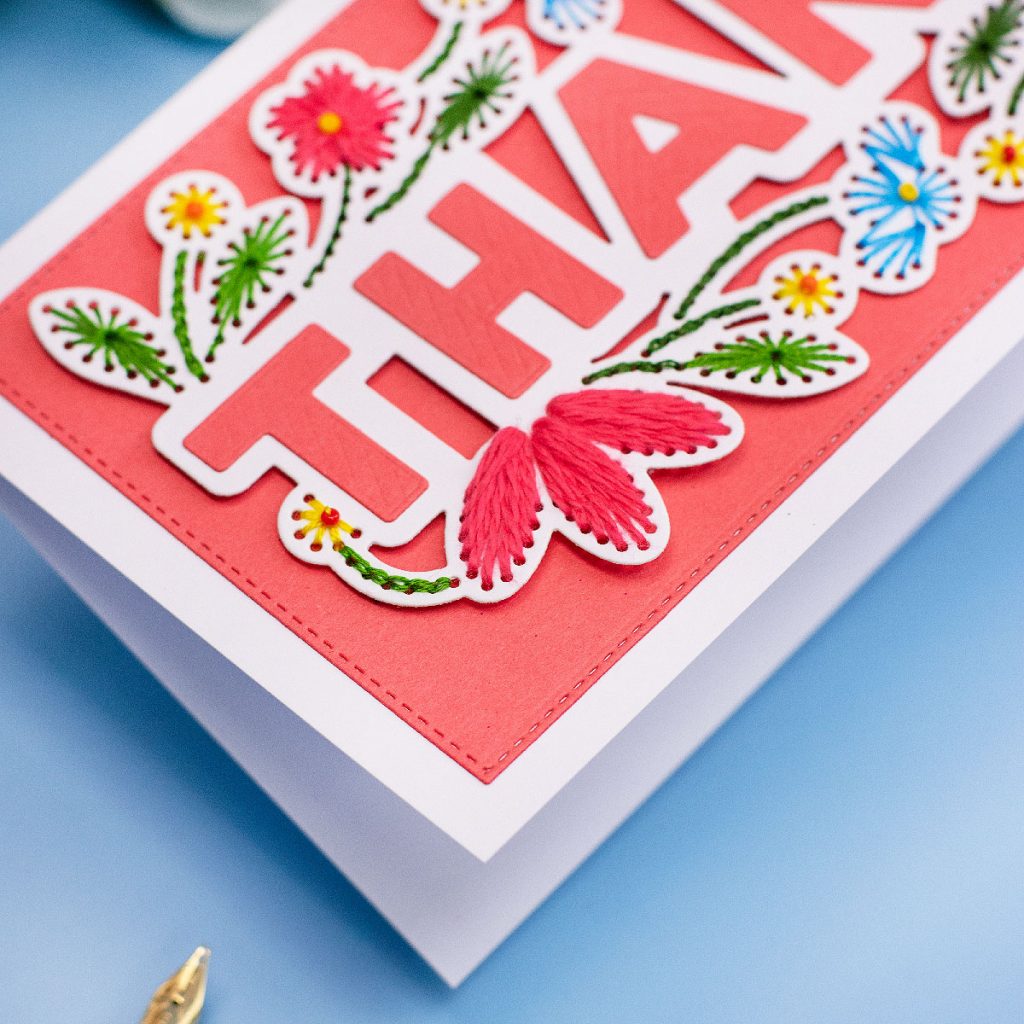
- Designed to piece a patterned frame around the word “Thanks” so that you can do some embroidery
- Cost $15 USD (monthly subscription you can cancel anytime)
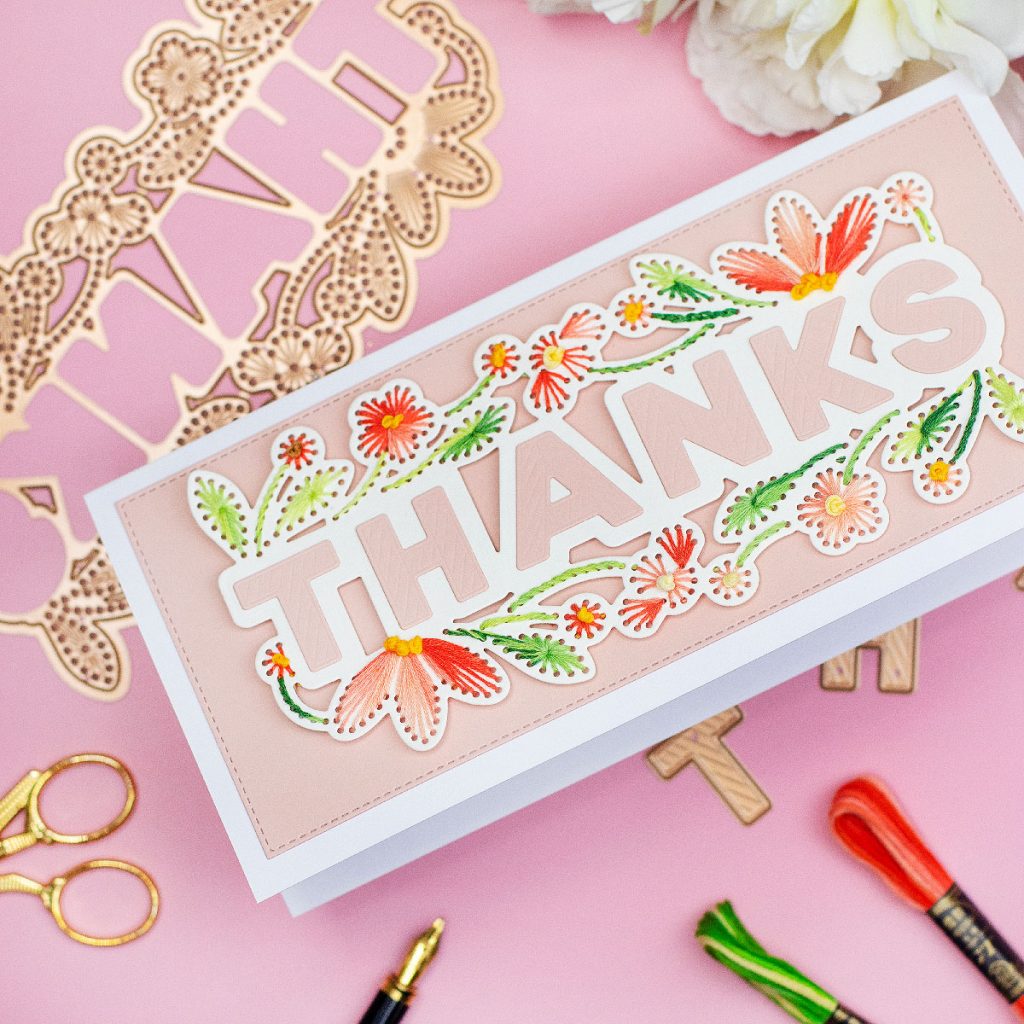
The Thread
- Because of the size of the little holes, I would advise using 3 or 4 strings of thread.
- You can use any kind of embroidery thread.
- I got some affordable Variegated thread from Amazon.

Time Crafting
You would expect to get this done in 1 – 2 hours from start to finish.
Most of the time can be spent threading the needle so a needle threader will be great help. I couldn’t find mine!!
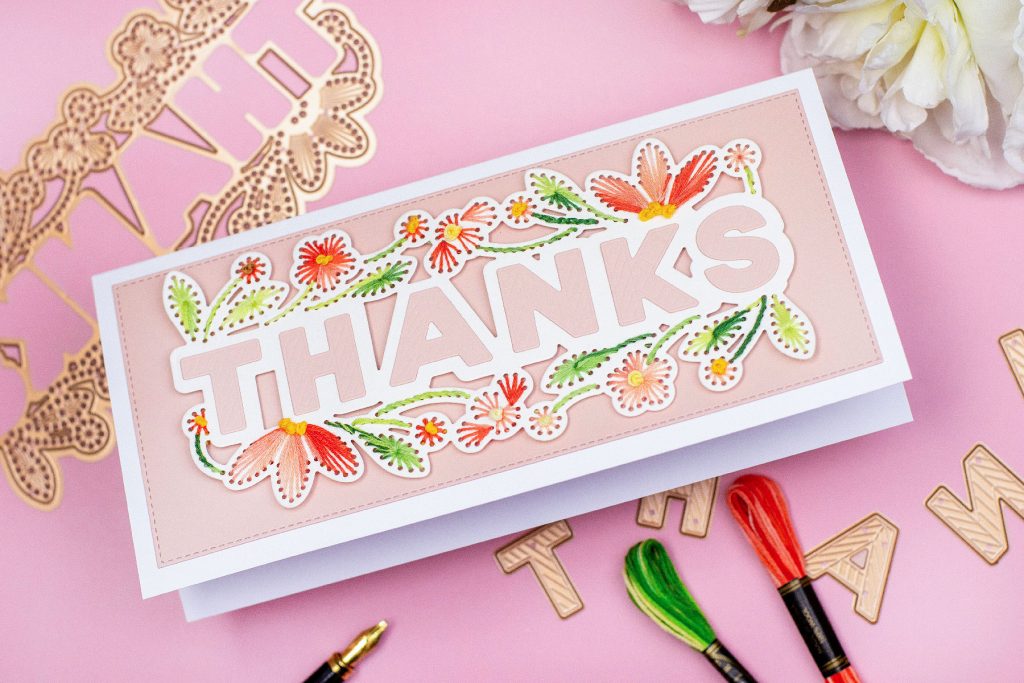
Stitches Applied
- Stem and Chain for the Stem or branches
- Straight for the leaves
- French knot on the center of the flowers
- You can get creative and apply fancy stitches using the dotty pattern. I decided to keep it simple for you today.
Top Tips
- 270 – 300 grams cardstock will resist a little bit of tear and it won’t crease easily.
- Remove any piece of paper from your die after using it for a better cut next time. I used the
- Use an Embroidery Needle, long enough to allow you to work over the paper with ease.
- Embroidery thread 6 strands are the best! You can use 3 strands to get more of your thread.
- Note: I got ANCHOR Stickgarne Perlgarn 5 Multicolor thread by mistake ( Stunning but expensive and too tick for this job)
- Don’t be lazy! Lazy people work harder so use short strings of thread ( about 15″ inches long maximum).
- Gravity helps! Prevent thread tangles by placing the area you are working facing down.
- This is papercraft! You can use liquid glue to adhere to the end of the thread at the back of the panel or over the knot that secures the stitch.
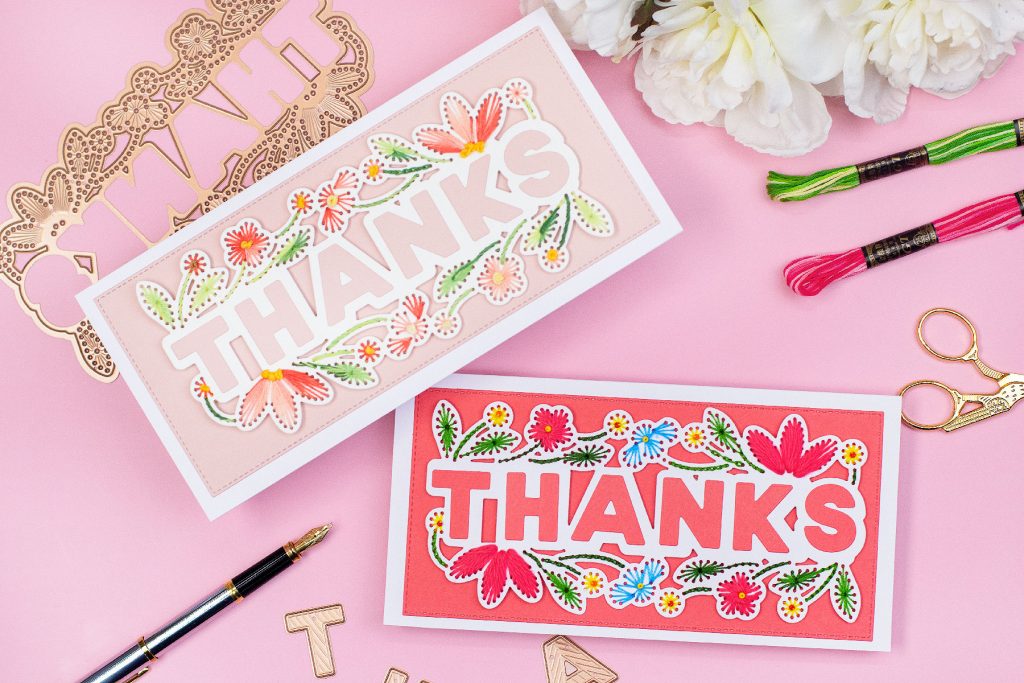
I made two cards to feature the Stitched Thanks die of this month and I opted for pinky colours.
You can make this in any colour you might like.
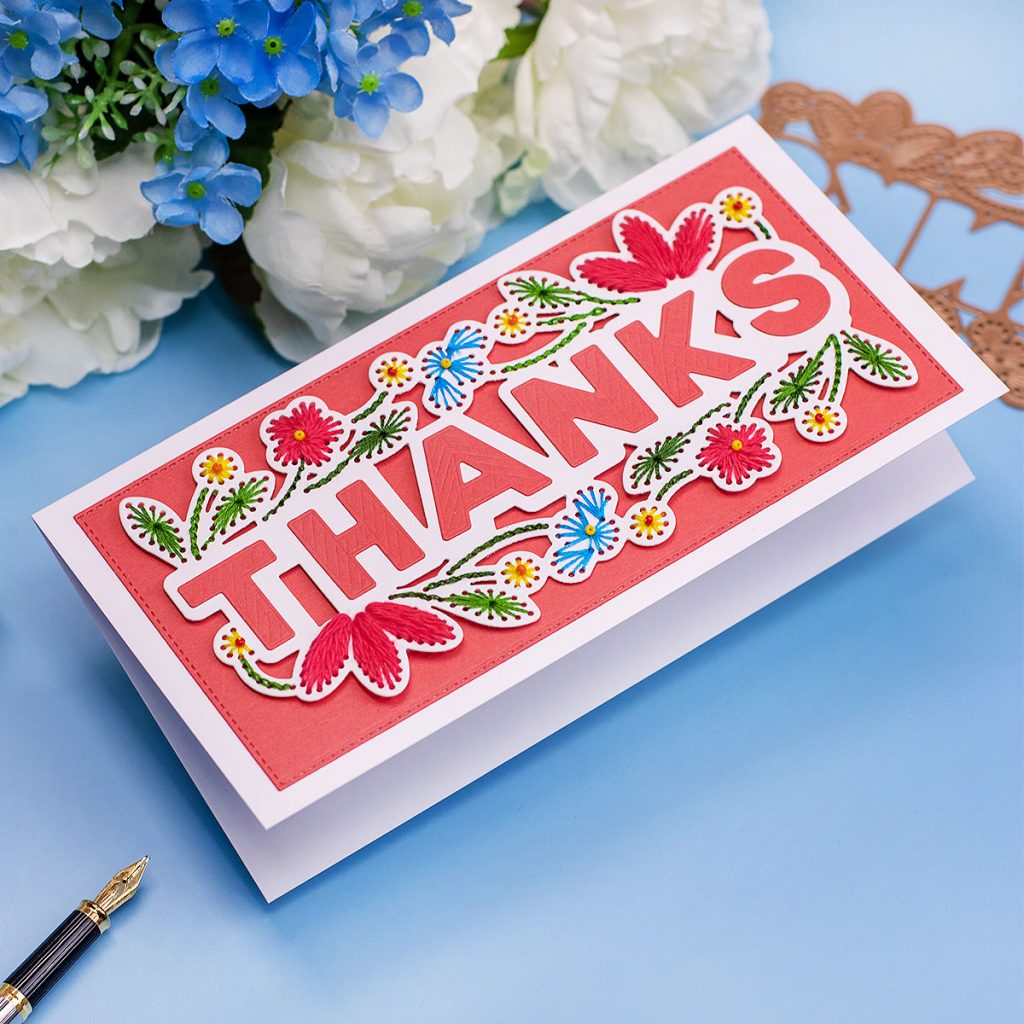
A no-brainer choice for an anharmonic composition is to use the same cardstock color for the background and for the sentiment BUT this is not a rule just help to get you started.
SPELLBINDERS KITS I’m featuring this month
This kits would be available until supplies last at :
- Stitched Thanks – Small Die of the Month
- Universal Curved Border Set – Large Die of the Month
- Curved Glimmer Border & Sentiments- Glimmer Hot Foil Kit of the Month
- Dahlia Dimensional Doily – APG Die of the Month
- Sincerely Yours – Card Kit of the Month Club
Thanks for stopping by
Hugs
Bibi
Supplies List
Affiliate links apply at no extra cost to you. Thanks for your support.


Your work is so wonderful. And I understood you very well with the stitching. What a great kit that is and your description of the various stitches that could be used and how to finish the thread off on the back of the card was very helpful. Thank you.