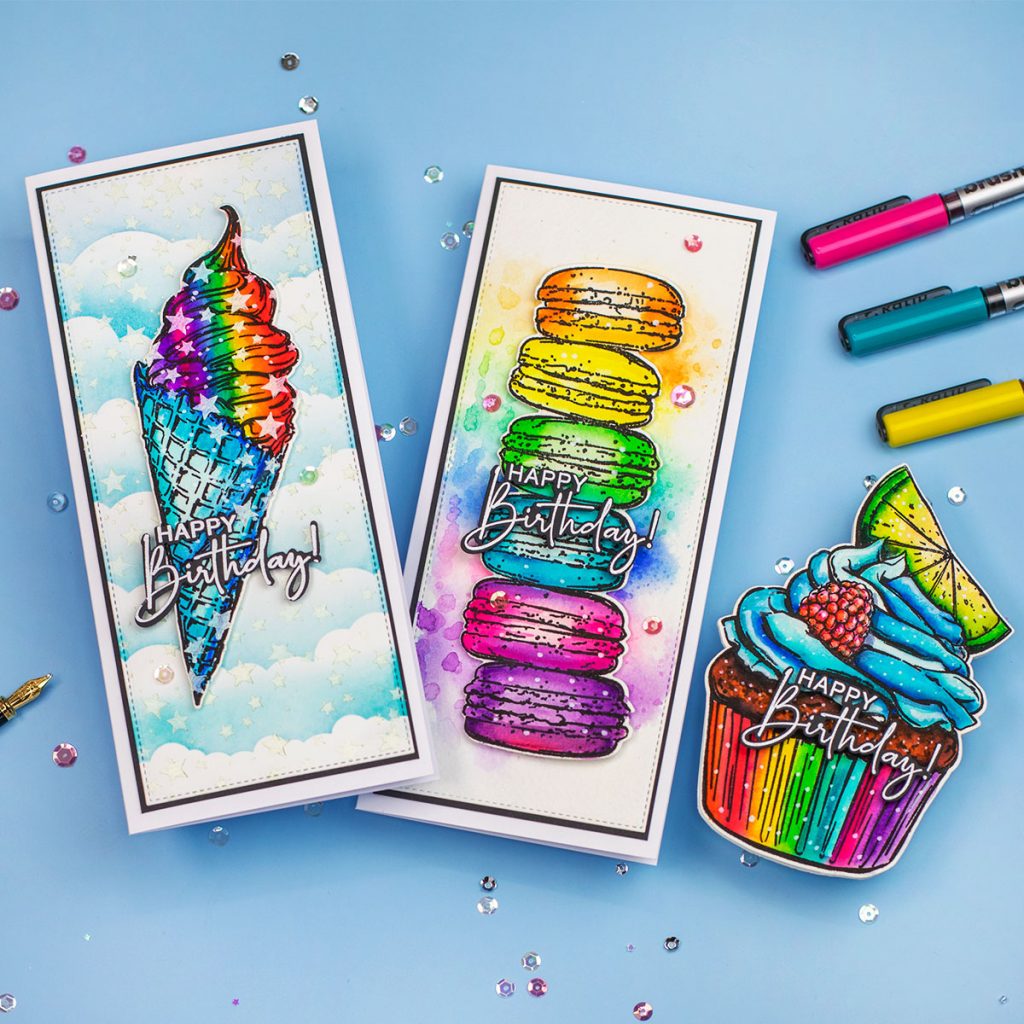
Hi there, the latest Big and Bold release by Colorado Craft Company is beautiful and I made three cards featuring the Cupcake, Ice Cream, and Macarons stamps and coordinating die sets.
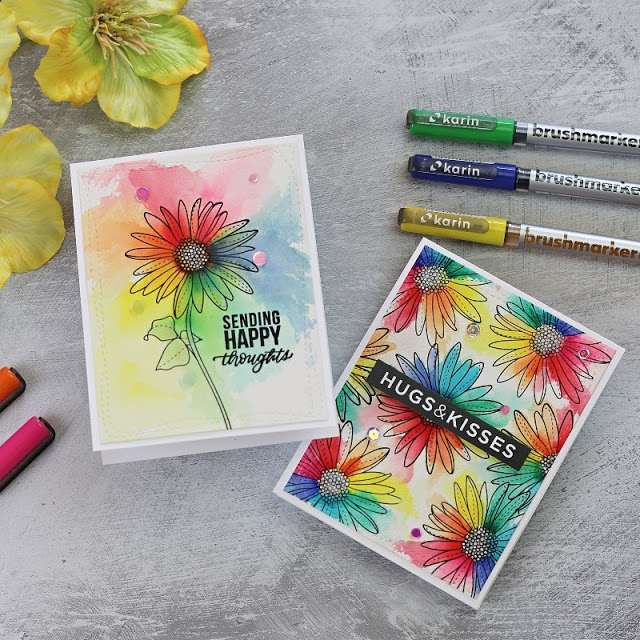
I’m also sharing a super easy rainbow colouring using Karin Markers.
Karin Markers are incredibly easy to blend with very little water and the colours are very vibrant.
So these markers always invite me to blend multiple colours on my projects.
BIG AND BOLD Ice cream macarons and cupcake

Big & Bold stamp sets and die set used in this post:
- Citrus Berry Cupcake stamp set + Citrus Berry Cupcake Dies.
- Slimline Macarons stamp set + Slimline Macarons Dies.
- Slimline Ice Cream stamp set + Slimline Ice Cream Dies.
CITRUS BERRY CUPCAKE SHAPED CARD
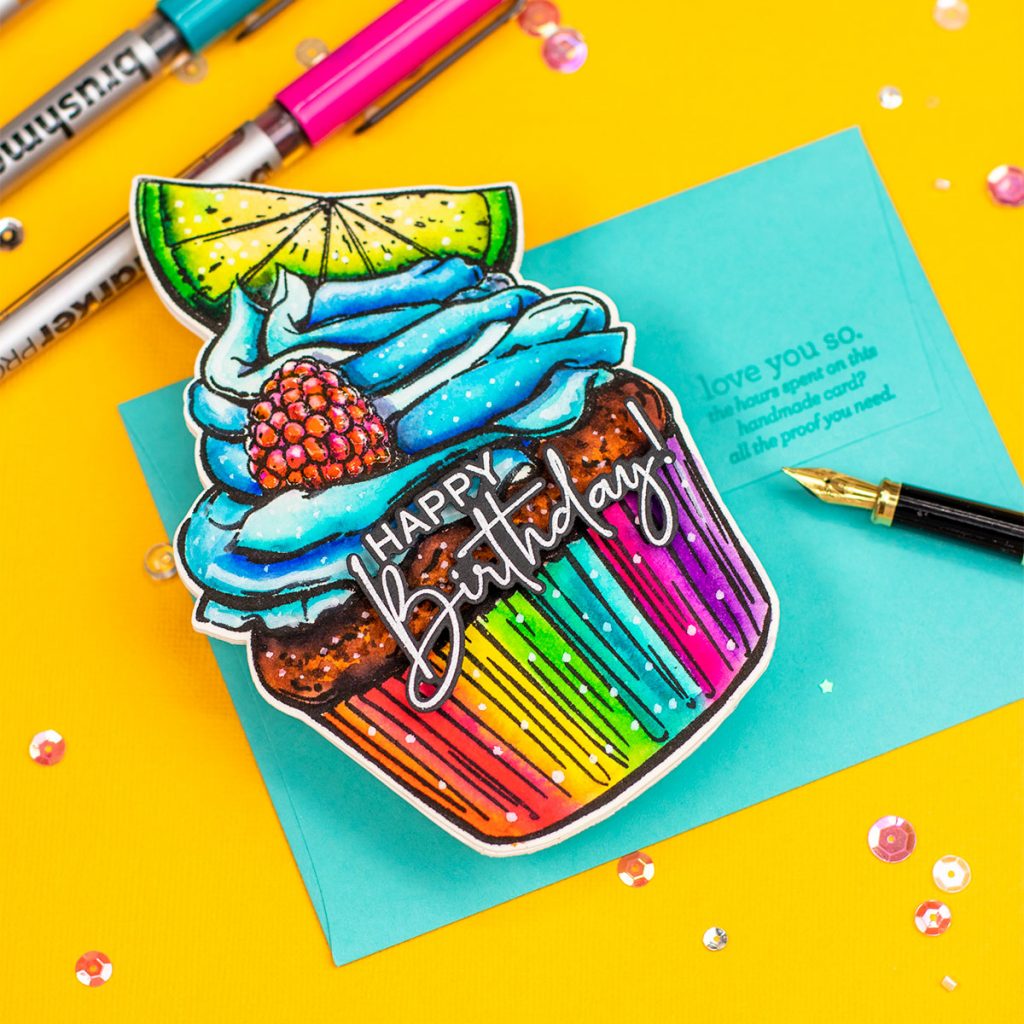
So I first made this Cupcake shaped card and I enjoyed coloring with a little bit more detail the different areas of the image.
This card measures 5-1/2″ x 4 1/4″ inches – C6.
- I stamped the image from Big & Bold Citrus Berry Cupcake using Versafine Onyx Black ink on watercolor paper.
- Then, I used Karin Markers and Aqua Brushes, to add colours.
- Once the image was coloured, I die-cut it using + Big & Bold Citrus Berry Cupcake Dies.
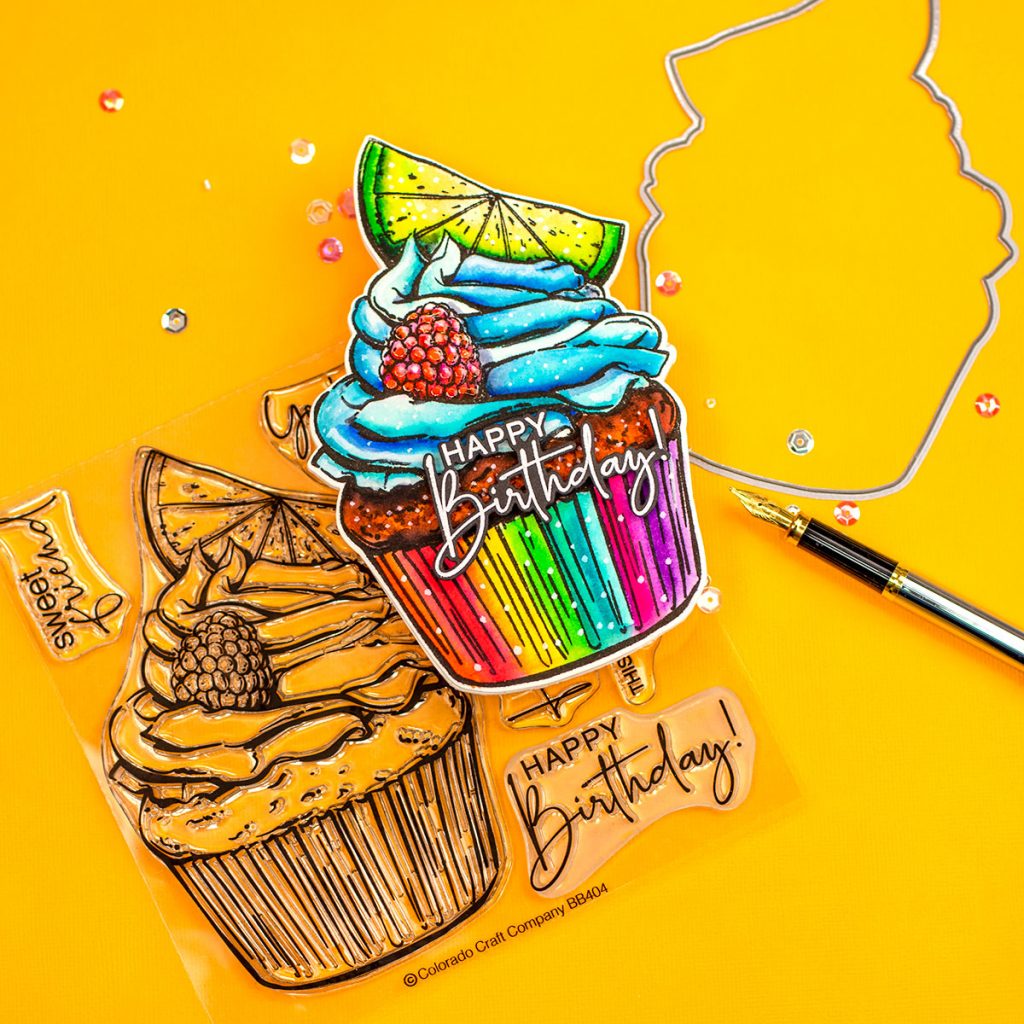
I was shocked! The large cupcake die hugs the image outline beautifully. It motivated me to create a cupcake-shaped card.
So using this large die, I partially die-cut a side folding card base by placing the die over it with the side blade off the page but near the side folding.
I secured the die in place using washi tape and run it through the die cutting machine. Voila!
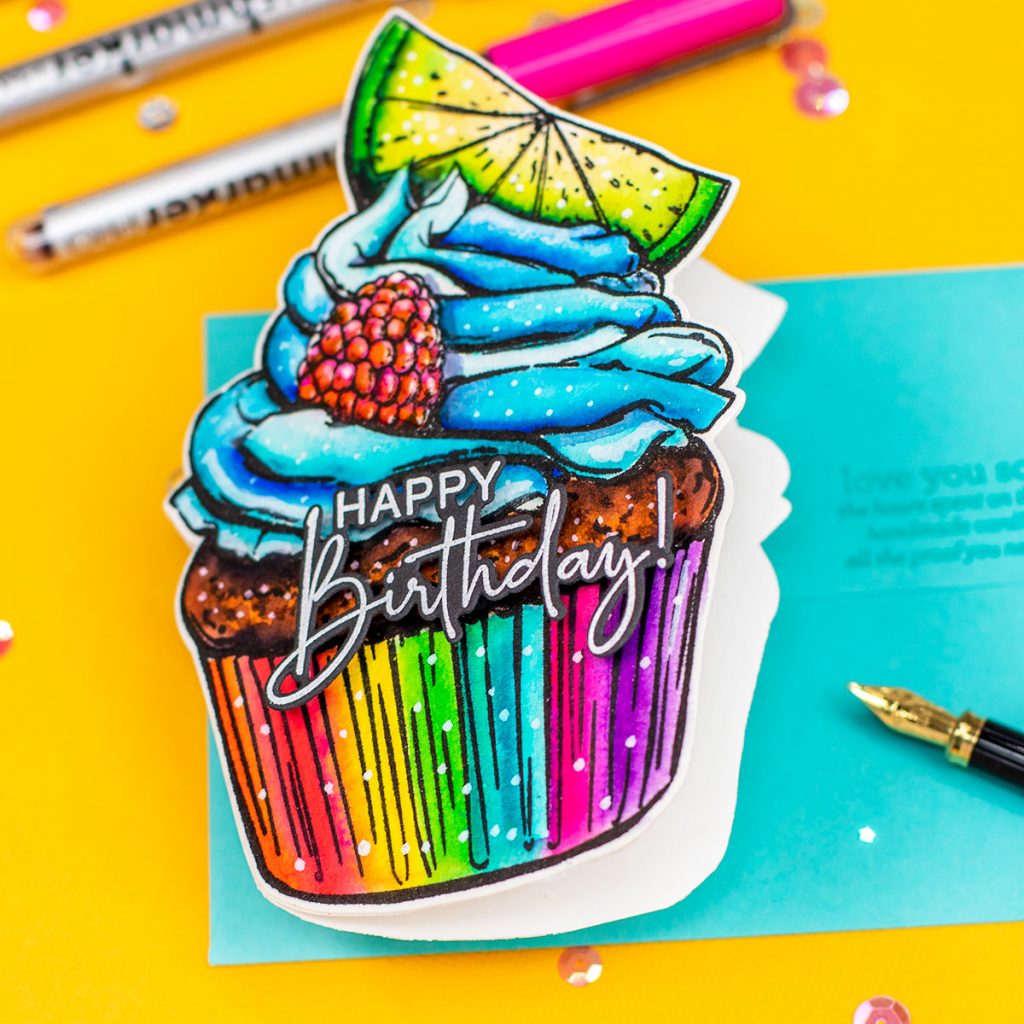
Then, I glued the die-cut water-coloured image to the front panel.
I also die-cut a white heat embossed sentiment on black using coordinating dies !! WOW I’m totally in love with the super detailed die-cut sentiment.
These are stunning , fun products for cardmaking!!
BTW, I also wanted to stamp the envelope using a sentiment from the Sassy Flaps stamp set by Simon Says Stamp. This set is ideal to stamp fun sentiments on envelopes or packaging.
SLIMLINE ICE CREAM
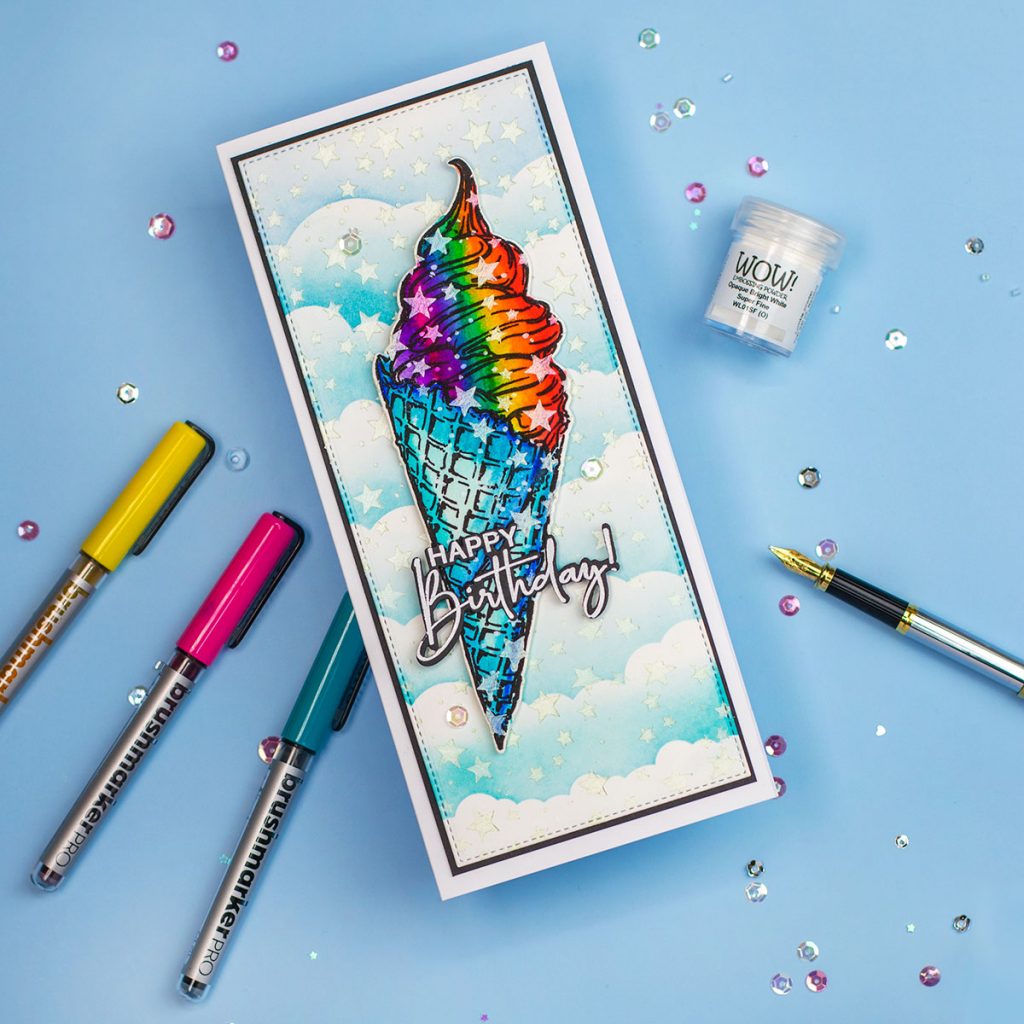
This slimline card measures 4″x9″ inches and it will fit in an envelope made using Slimline envelope by Simon Says Stamp.
- First, I stamped the large Ice Cream using Versafine Onyx Black ink ( waterproof)
- Then, I used Karin Markers, to add colours.

Colouring
I started by adding colour to the top portion of the ice cream.
- To do this, I applied the markers directly on the paper in a linear, vertical way and in the rainbow order leaving white gaps between colors.
- Then, I blended the colours using a Nuvo Aqua Brush “slightly wet”
- Then, I repeated the same process until achieving the colour intensity desired.
- For the ice cream cone, I applied the marker over the edges and blended it with the Nuvo Aqua Brush toward the center.
- To finish I die-cut the image using Bog & Bold Slimline Ice Cream Dies.
- The sentiment is from Big & Bold Citrus Berry Cupcake stamp set and it was di- cut using + Citrus Berry Cupcake Dies.
Note: It is very important to clean the brush when applying it over darker colors that can contaminate the next one.
The Background
- I die-cut a background panel using Stitched Slimline Trio die set by Heffy Doodle.
- Then, I used a Cloud Stencil and Peacock Feathers Distress ink to add a pattern to the background.
- I also used Random Dots and Stars Stencil and Honeydew Nuvo Mousse to add shiny stars to the background.
NEW FAB!!
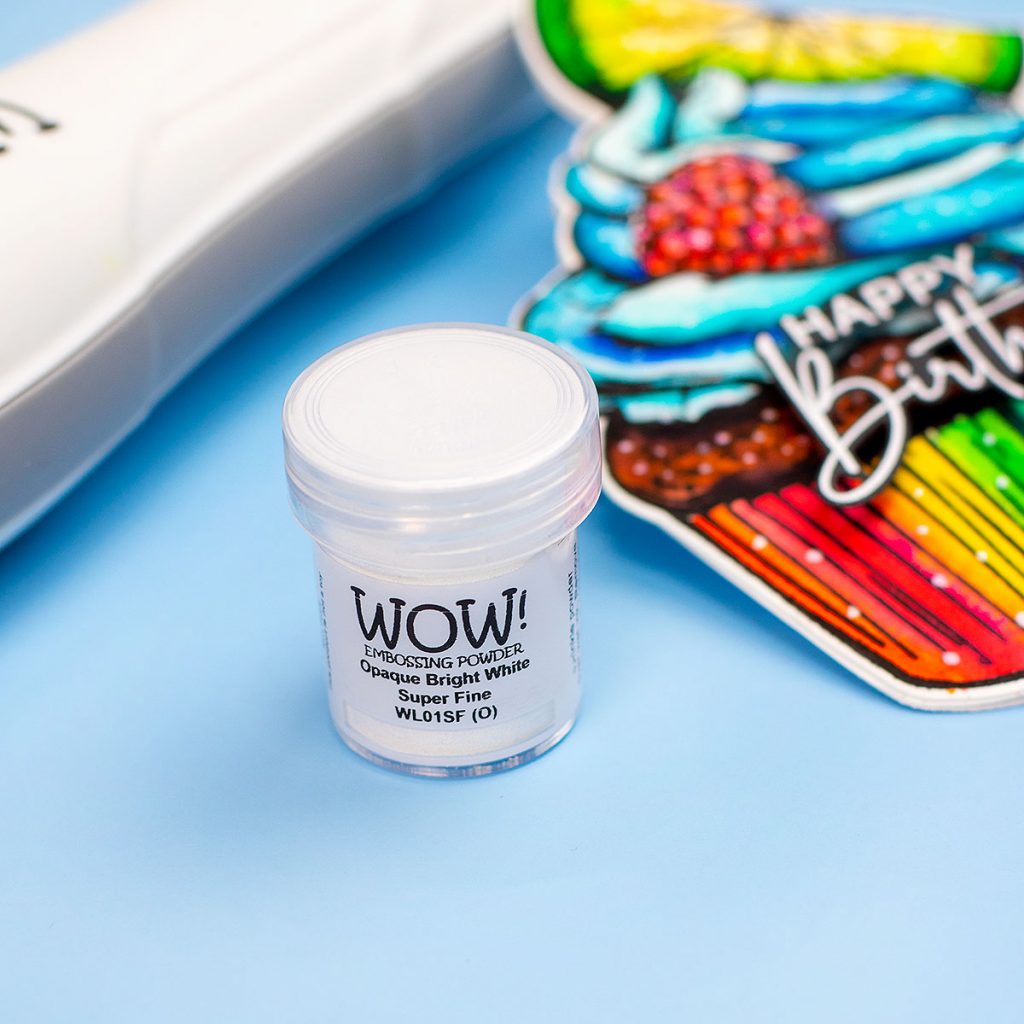
I also want to make a stop here to share new favorites:
This embossing powder is great for sentiments! I was so looking for a substitute to the Nuvo fine detail embossing powders range sadly discontinued. This was beyond expectations.
On the other hand, My “modern” heat tools are all damaged.
I have been using one that might be 15 years old but I also got the chance to get a new WOW heat tool is not just pretty as it is white but it works like a charm. Love it!
SLIMLINE MACAROONS
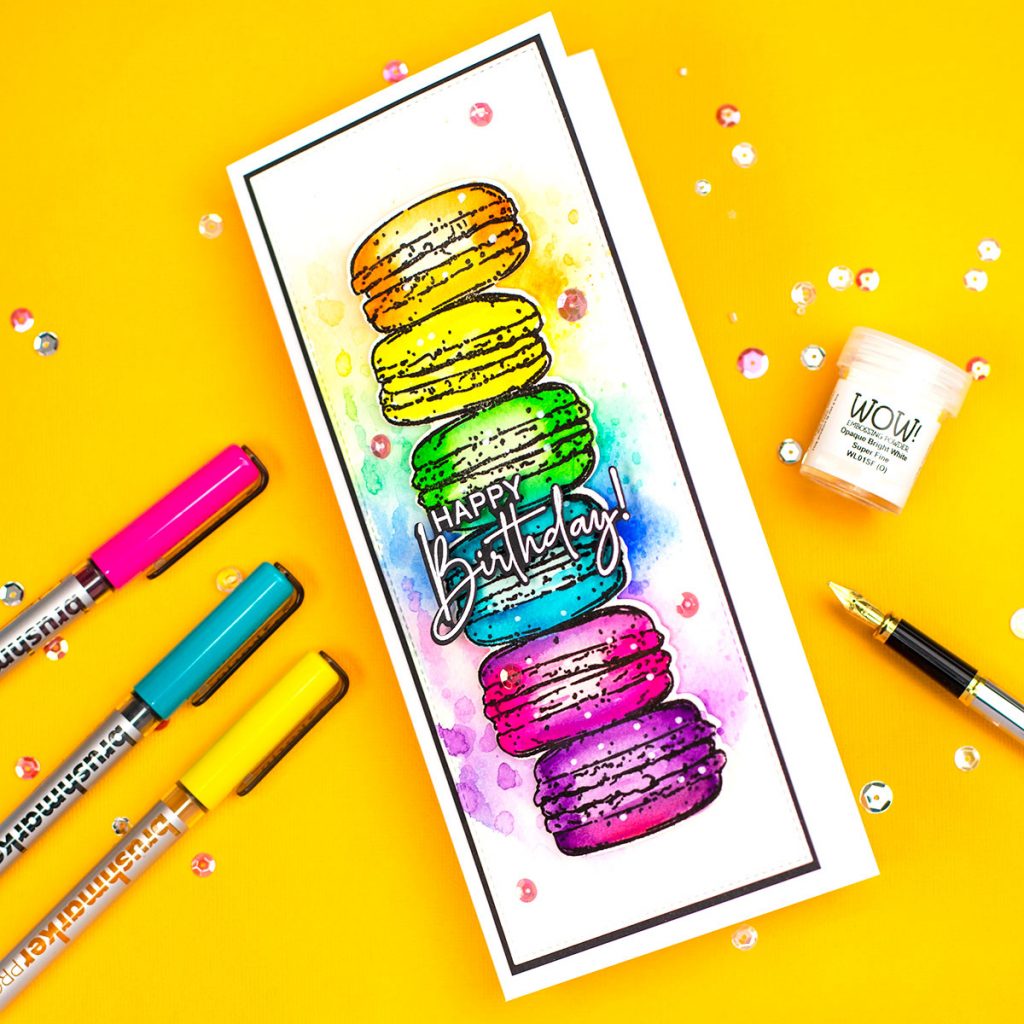
This card measures 9″x4″ inches as well.
- First, I stamped the Macarons using Versafine Onyx Black ink ( waterproof)
- Then, I used Karin Markers, to add colour.
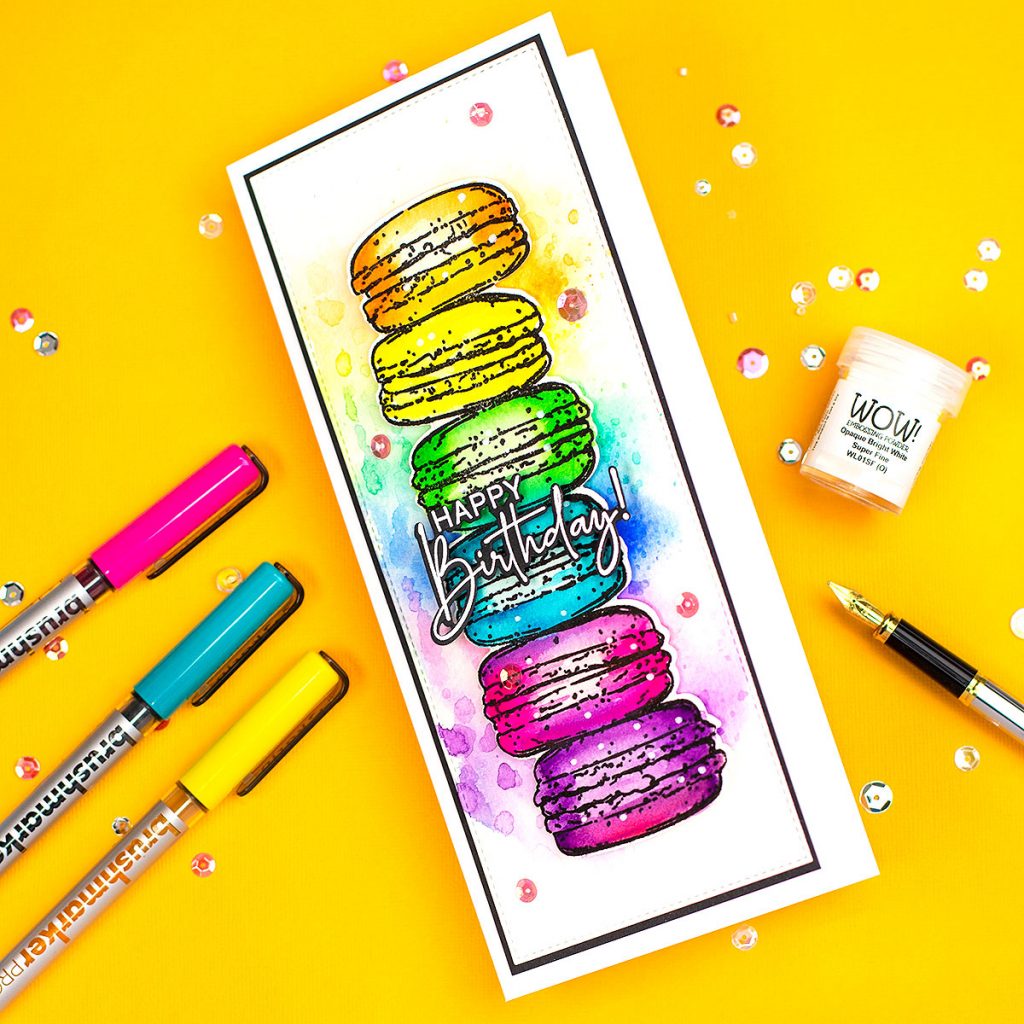
- I applied marker directly on the edges of the images and using a Nuvo Aqua Brush “slightly wet” I blended the colours with clear water towards the center of the images.
- To achieve lighter areas in the center of the images, I kept cleaning any ink excess from the Water Brush.
- Once the image was coloured I die-cut it using Big & Bold Slimline Macarons Dies.

The Background
- For the background, I applied an ink smooching technique.
- I used the Karin markers to trace lines of colour in the rainbow order over a cello bag.
- Then, I spray these with a little bit of water and then I placed the cello bag over the panel of watercolour paper.
- Once I lifted the cello bag from the paper I got some little drops of inky water on it.
- I first dry the paper using the heat tool and then I applied the cello bag again over the panel to transfer those droplets of inky water. This creates a nice texture on the panel.
- To finish, I simply foam mounted the die-cut image on the panel.
- I added a black backing panel and I adhered these to the card base.
Phew!! this is harder to explain than o do.
That’s all for today
Thanks for stopping by.
X
Bibi
THIRSTY FOR MORE?
SUPPLIES
Affiliate Links applies at np extra cost to you. Thanks for your support.



Leave a Reply