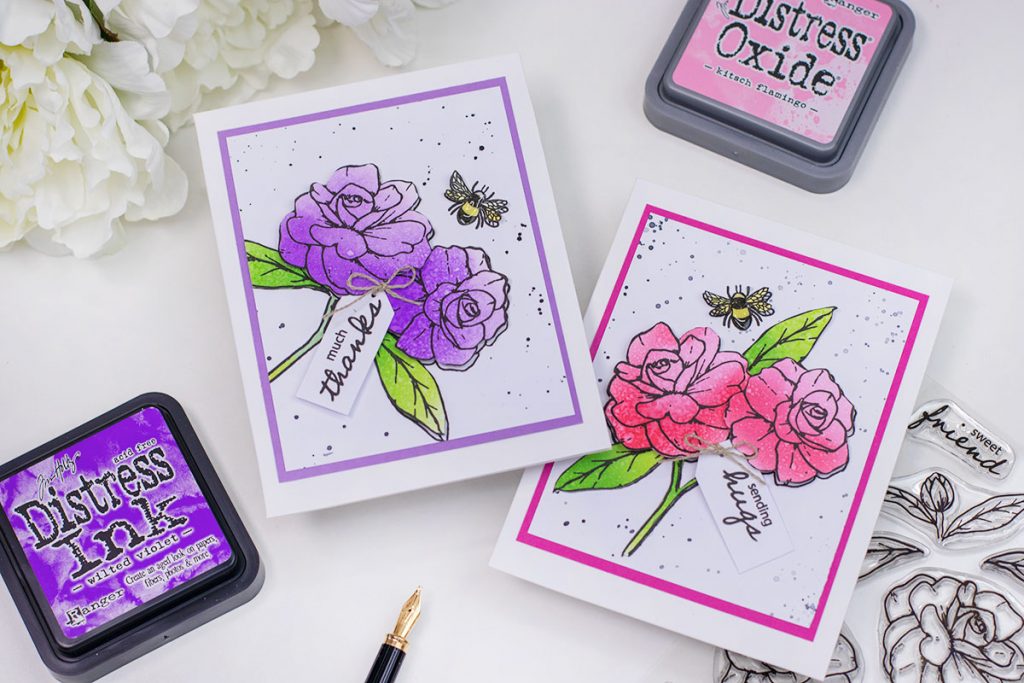
Hi there, I had some fun with the beautiful Sweet Friend stamp set by Simon Says Stamps and I defo liked the results of applying easy Distress Ink coloring + shadow stamping.
Distress Ink colouring is an easy and quick way to add colour to stamped images. However, I actually do not add colour to the images using a sponge inked with Distress Inks.
To achieve crisp dark stamping, I like to do the ink blending first and then I stamp over the inked paper.
When we do ink blending over a stamped image, regarding if we have used waterproof ink, the image tends to get discolored or it gets covered by the ink. So we have to work things around for nicer results.
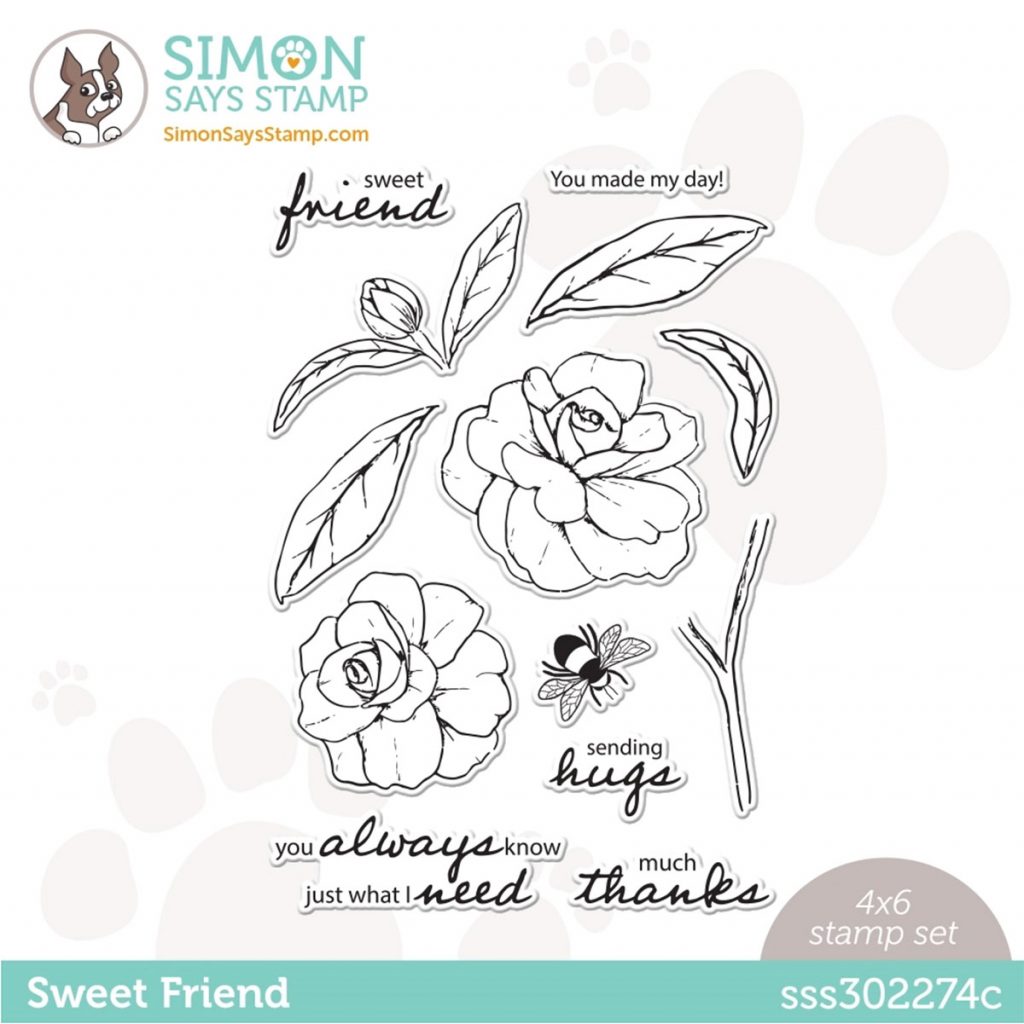
Sweet Friend Stamp Set

- Sweet Friend is a beautiful 6×4 inches stamp set.
- It contains 13 individual stamps.
- The florals can be used in different ways to create different clusters achieving different looks.
- These can be used to stamp tone on tone on boxes or envelopes.
- I think this stamp set is great to make projects of any size.
Distress Ink Colouring CARDS
These are C6 cards (4-1/4 x 5-1/2 inches) with minimal dimention.

Distress Ink colours used :
- Kitsch Flamingo + Candied Apple for the pinky flowers.
- Wilted Violet for the purple flowers.
- Mowed Lawn and Twisted Citron for the leaves.
- Squeezed Lemonade for the bee.

- First, I applied the inks on a piece of smooth cardstock.
- I tried to get a degradation of the ink colors by not reinking the brush so the ink is darker in the area I started blending.
- To add some white speckles, I also sprayed water over the inked paper.
- Once the inked paper was dry, I then stamped the images over it using Versafine Onix Black ink.
- Next, I fussy cut all the images and put them aside.

- For the front panels of these cards, I cut two pieces of white smooth cardstock at 3- 1/2 “x 4- 1/2” inches.
- I affix the stamps on clear blocks and I stamped the floral arrangements on these pieces using Versafine Black Ink.
Note
To stamp on the background panel, I did not do any masking as any overlapping would be covered later when adhering the colored image over.
- To add interest, I splattered black ink diluted with water over the stamped panels and I allowed this to dry.
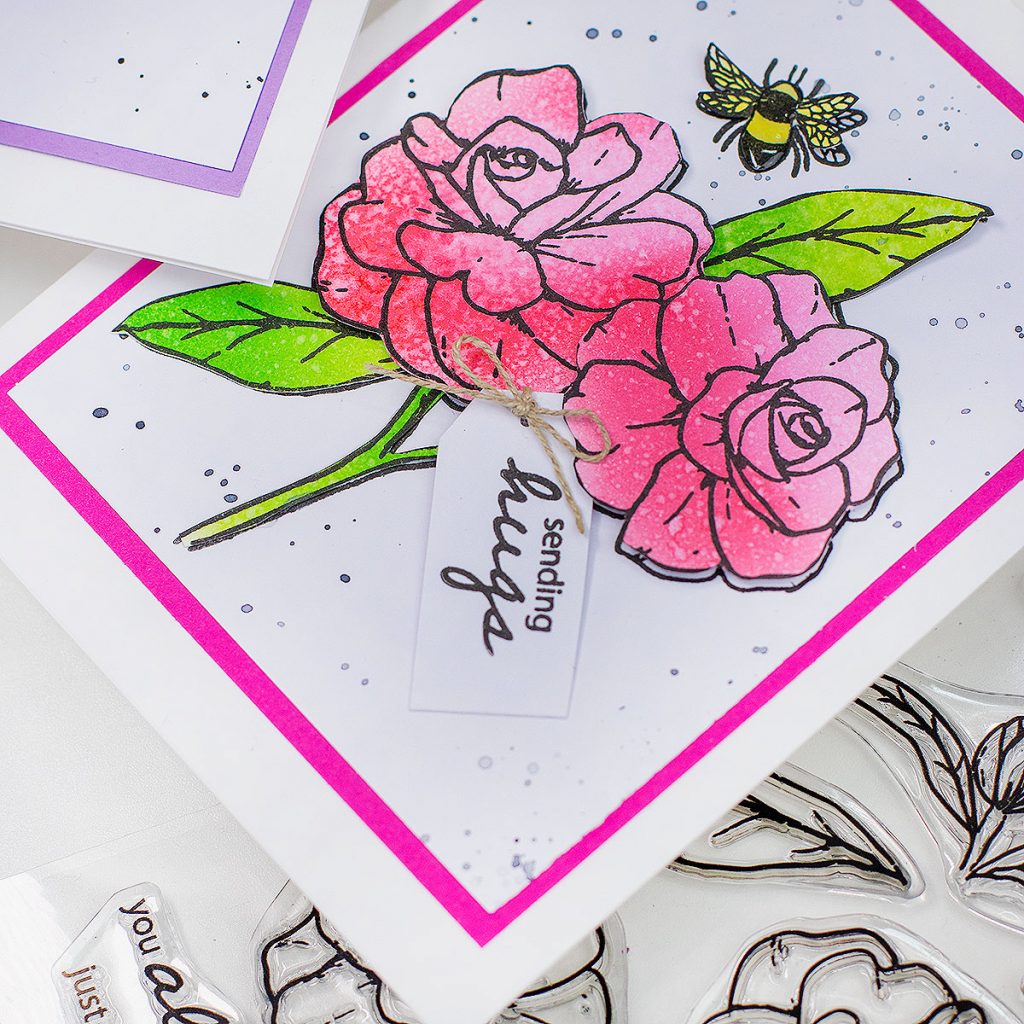
- Then, I glued the colored leaves over the stamped images on the panels, and using dimensional foam pads I adhered the flowers.

- Using dimensional foam pads, I also added a stamped banner that I trimmed using scissors in the shape of a tag.
- To add a hint of colours I also added pink and purple backing panels behind the front panel.
- These panels measure 3-3/4″ x 4-3/4″ inches.
- To finish all I had to do was glueing each panel onto C6 card bases.
- As decorative elements, I added a little bow over the tag banner and Crystal Glaze over the body of the bee.
That’s all for today.
I hope you like this super easy idea to add colour to images.
Happy Crafting.
X Bibi
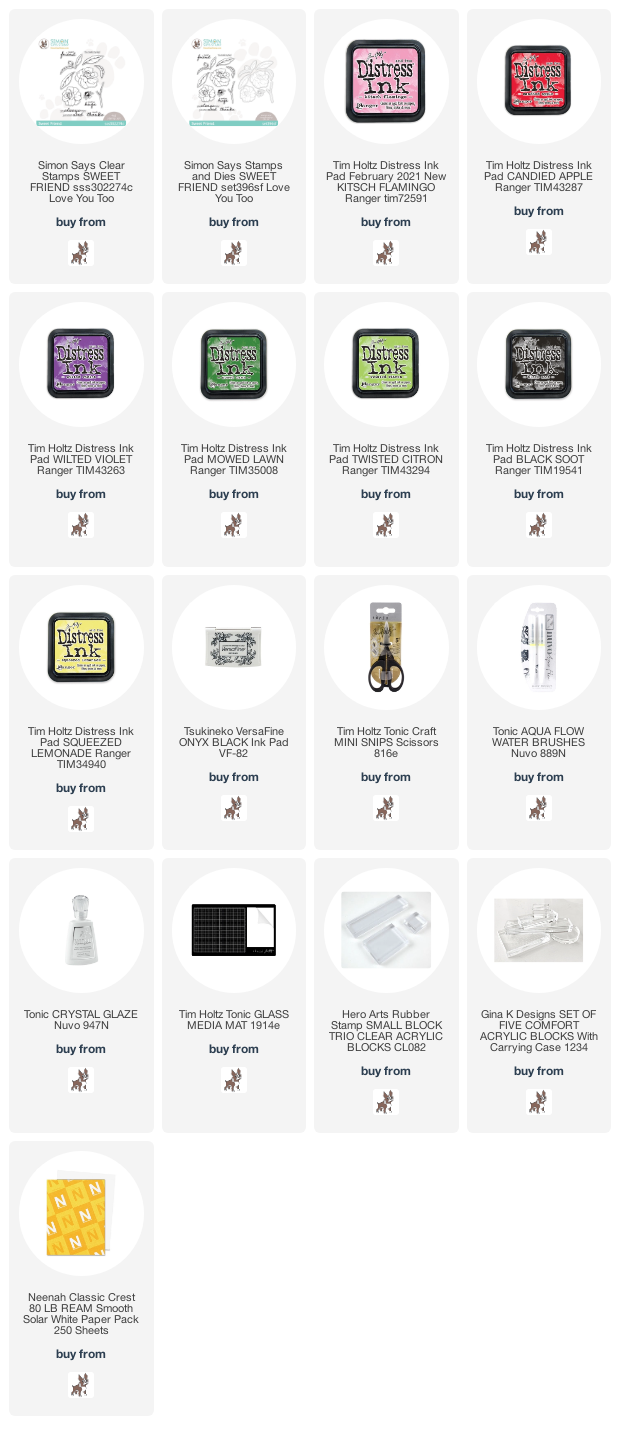
Supplies list
Affiliate links applies at no extra cost to you. Thanks for your support.


Leave a Reply