Hello everyone, I hope you are doing well.
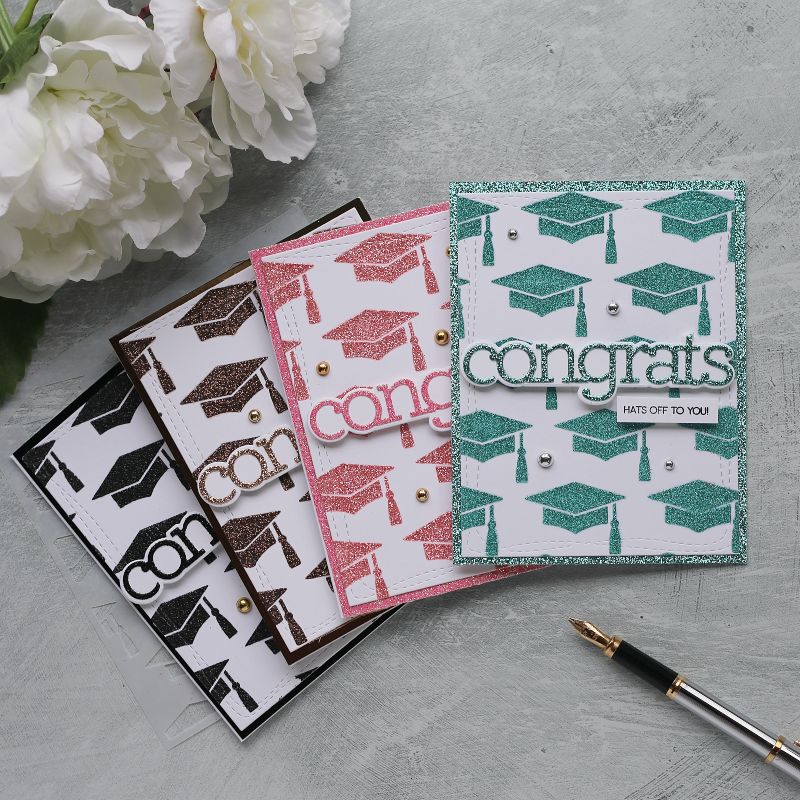
I received some goodies from the latest Simon Says Stamp release called Sunny Days Ahead and today I’m sharing super clean and simple handmade graduation cards using CZ Design Stencil Grad Caps.

This is a super cool 6×6 stencil.
You can use a wide variety of mediums to transfer the image of the graduation caps to any project.
For cardmaking, I thought this was perfect to use with Nuvo Glimmer Pastes as by adding the paste on a blank panel, I could easily achieve texture, dimension and sparkle. All this in one go!
The Nuvo Glimmer Paste are:
- Gelly in texture while in the container.
- Rough and sparkling when dry.
- Waterproof and permanent when dry.
- Flexible on the paper once dry. It doesn’t crack.
- Blendable with other pastes colors.
- Easy to clean with clear water before drying.

The Cardmaking Process
- I cut an A4 sheet of 110 grams Neenah Cardstock in four pieces.
- Then, I placed the stencil over each piece and I applied the glimmer paste using a spatula.
- Every time I changed the glimmer paste color I washed and dried the stencil and the spatula to avoid mixing colors.
- I allowed the artwork to dry overnight.
- The next day, I die cut the panels using the larger die from Wonky Rectangles die set.
- I also used CZ design Congrats wafer die to add the large sentiment.
- The banners were stamped with sentiments from Hats Off Grad Stamp Set.
- To finish I added Gold and Silver fashion embellishments.
For the background panel of these cards, I used glitter or mirror cardstock.
The large “congrats” word, was die cut out of glitter paper as I think the texture of this paper coordinated amazingly well with the texture and the color of the glimmer pastes.
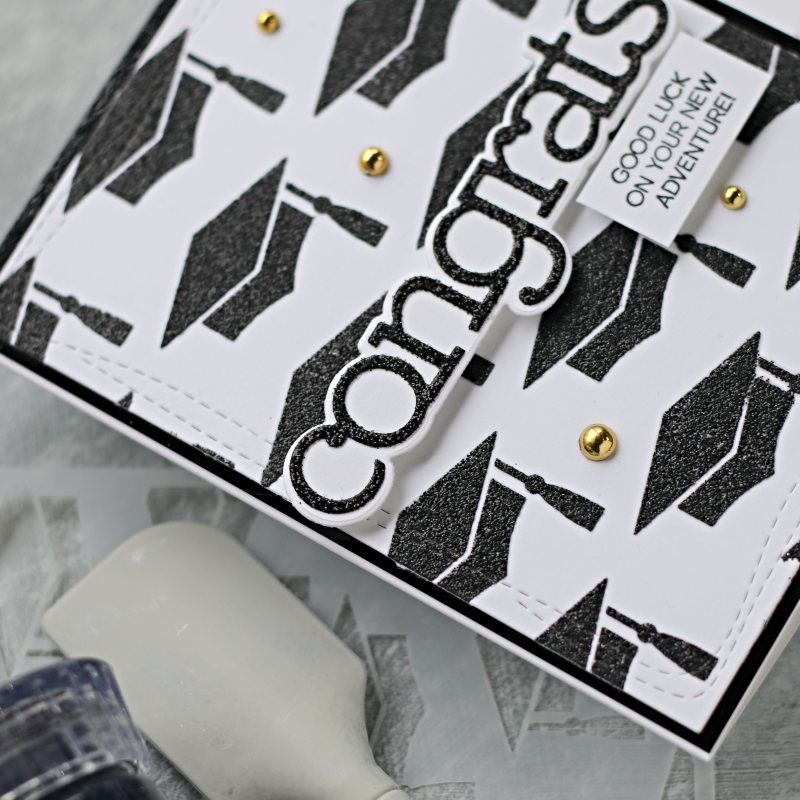
Let’s start with this idea to use Black Diamond Glimmer Paste on a Mirror Black Gloss background panel.
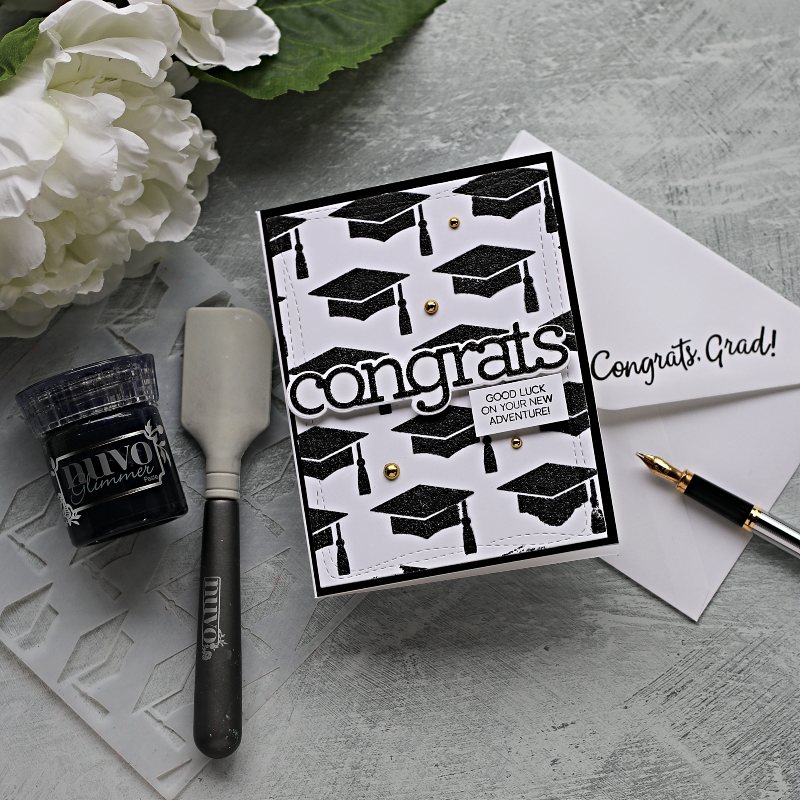
I know that black could be a dull color right? But it was undoubtedly the first color that crossed my mind when I thought about graduation caps.
For Emma, my 6 years old daughter the right color to do this is pink!!

So there you go! You can always use your favorite colours.
For this pinky card, I used Strawberry Glaze Glimmer Paste and Candy Floss Glitter Card.
The color of the paste and the glitter paper are slightly different but they coordinate nicely.

Next, you have the graduation caps on Rich Cocoa Glimmer Paste and a sentiments die cut out of Gold Welsh glitter paper.
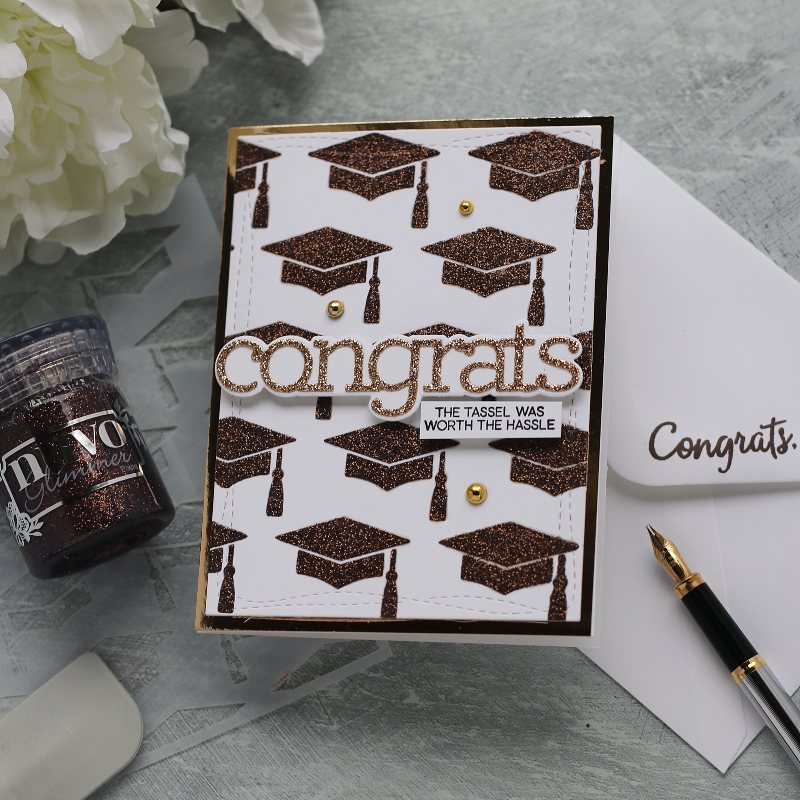
I also added a piece of gold mirror cardstock to the background. Hard to see in pictures but it is there.
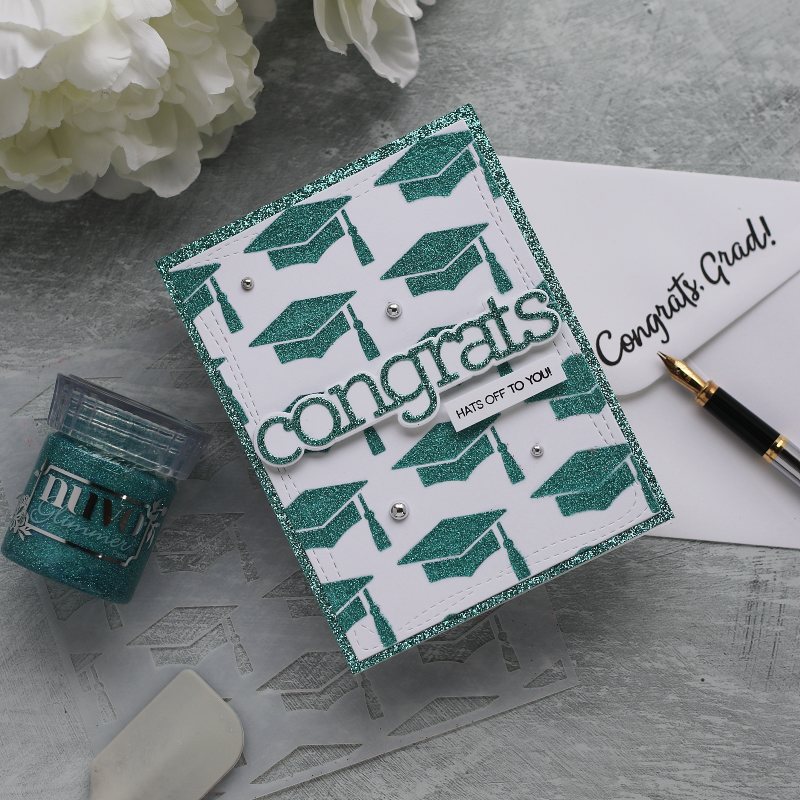
I couldn’t resist making another card using Esmeralda Green Glimmer Paste and Turquoise Lake Glitter paper.
The color of the glitter paper and the paste is a perfect match!
So I defo want to invite you to create simple cards using any paste you might have and this beautiful stencil.
If you are looking for graduation themed supplies for cards have a look here! I’m sure you will find something pretty at the Simon Says Stamp Shop!
Bonus Tips
Glimmer Pastes Application
- Apply the paste from side to side of the stencil without pressing down.
- Try to cover an area in a few steps. Avoid overdoing as the paste can sip underneath the stencil.
- Avoid using temporary adhesive to the stencil to adhere it to the paper. This is because the glitter can get stuck to the adhesive and it will be time-consuming to clean the stencil.
- Use always a piece of Press’s Seal or clean film to seal the glimmer paste containers once you have broken the original seal. This will avoid the product to dry over time.
- It is also important to store the pastes at room temperature.
Adhesives:
- To adhere anything to glitter paper always use a liquid adhesive.
- To adhere smooth paper to another piece of smooth paper use double-sided tape.
- To adhere anything to mirror cardstock use a very strong double-sided tape or liquid glue.
- To add dimension use double-sided foam tape or pads.
That’s all for today. I hope I could inspire you to create using beautiful Simon Says Stamp supplies.
Happy Crafting
Stay Safe!
Bibi
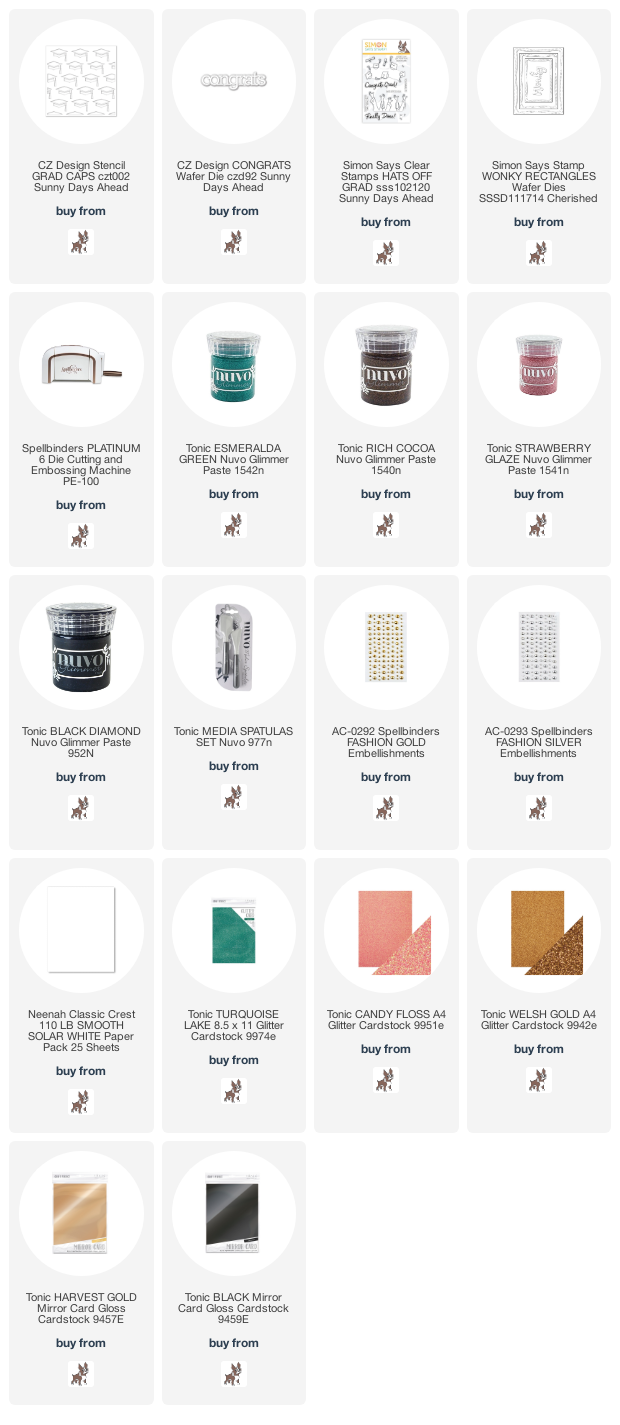
Supplies
Just a note to let you know that when you buy through the links in my blog, I get a small commission at no extra cost to you.
Thanks for your support!


Leave a Reply