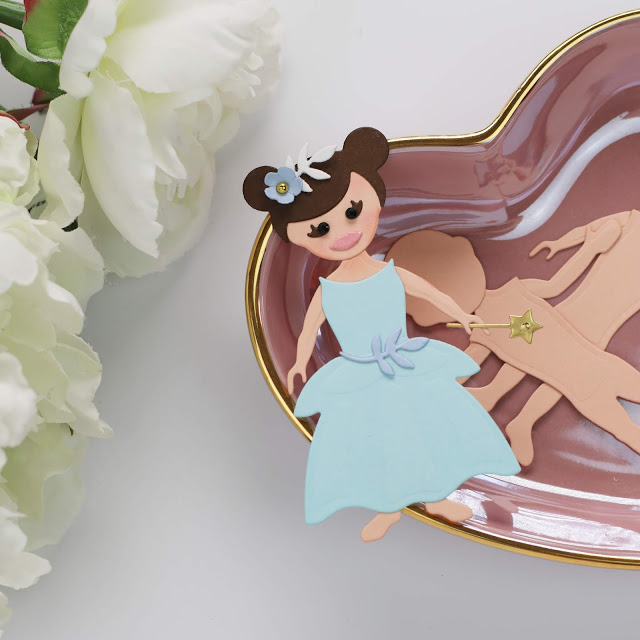
Hi everyone, I hope you are doing well.
Every Sunday, Tonic Studios is having a YouTube special to share information, ideas, and tutorials about products in the offer during the week.
They invited me today to share about the Tonic Family die collection.
In the video below, you will find promos available this week.
I’m in the minute 25:00 with some tips about how to assemble the different characters included in the Tonic Family die collection.
Shop Tonic Family die collection on the Tonic UK shop here| Tonic USA shop here.
What do you need to know
There are two die sets in Tonic Family Die Collection
- Children Die Set ( 38 PCS die set) .
- Adults Die Set (31 PCS die set).
Key Features
- Characters are fully customizable.
- Find slim shapes on each set for feminine compositions.
- Find wider shapes on each set for masculine compositions.
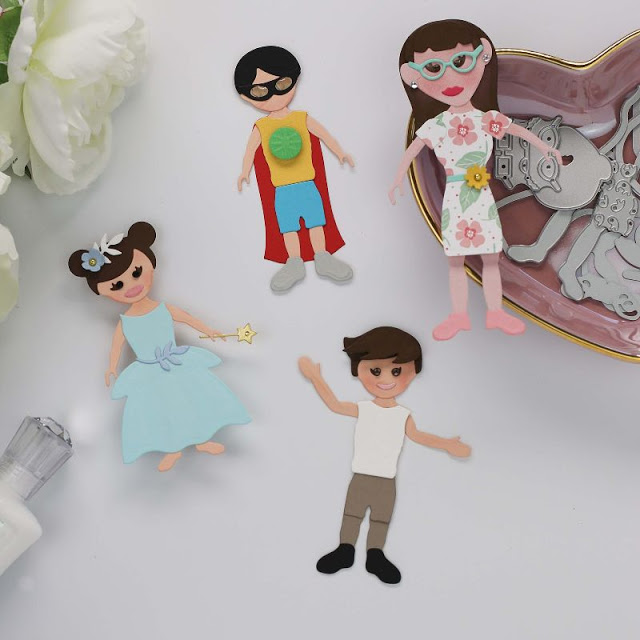
- You will have 2 types of bodies, different arms, shoes, hair, clothes, and accessories.
- Mix and match different die cuts, experiment, and play.
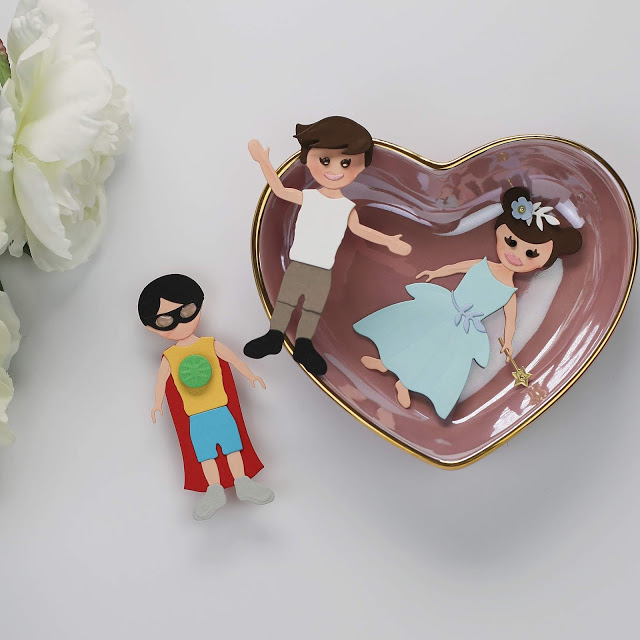
Tonic Family children die set will allow you to create 4″ inches tall characters.
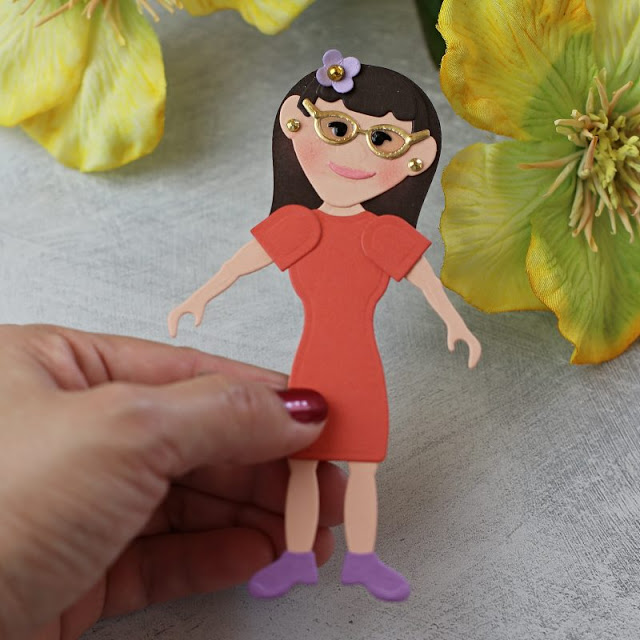 The Tonic Family Adults die set will allow you to create 5″ inches tall characters.
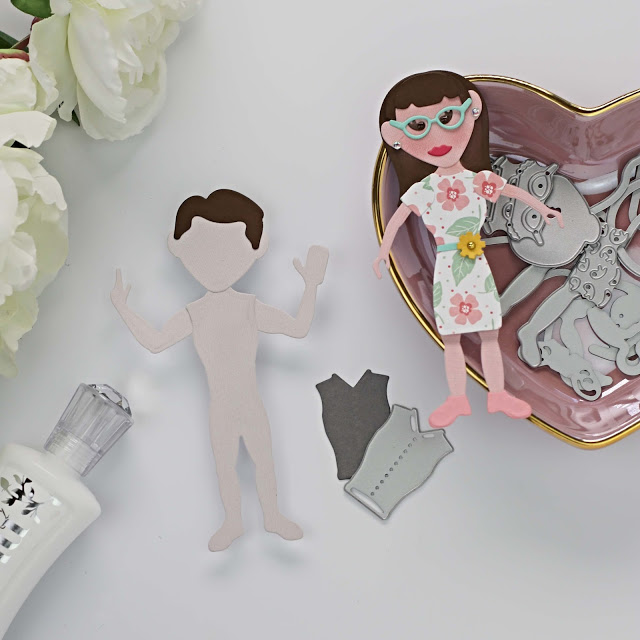
Top Tips
- Die-cut different coloured cardstock or paper to create different parts of the characters.
- If you are struggling to find a cardstock colour for the face arms and body (skin tone) you can use alcohol or water-based markers to add colour to a piece of smooth card and then die cut it.
- Start by assembling the big parts first and then add small die cuts or details.
- You can also die-cut white smooth cardstock and apply colours using Nuvo Alcohol Markers.
- You can also die-cut watercolour paper and use Nuvo Aqua Flow Pens or watercolour Pencils.
- The colours chosen will have a dramatic impact on your composition.
- Mix and match with other dies you have in your stash.
That’s all for today,
Happy Crafting!
Supplies
Just a note to let you know that when you buy through the links in my blog, I get a small commission at no extra cost to you.


Leave a Reply