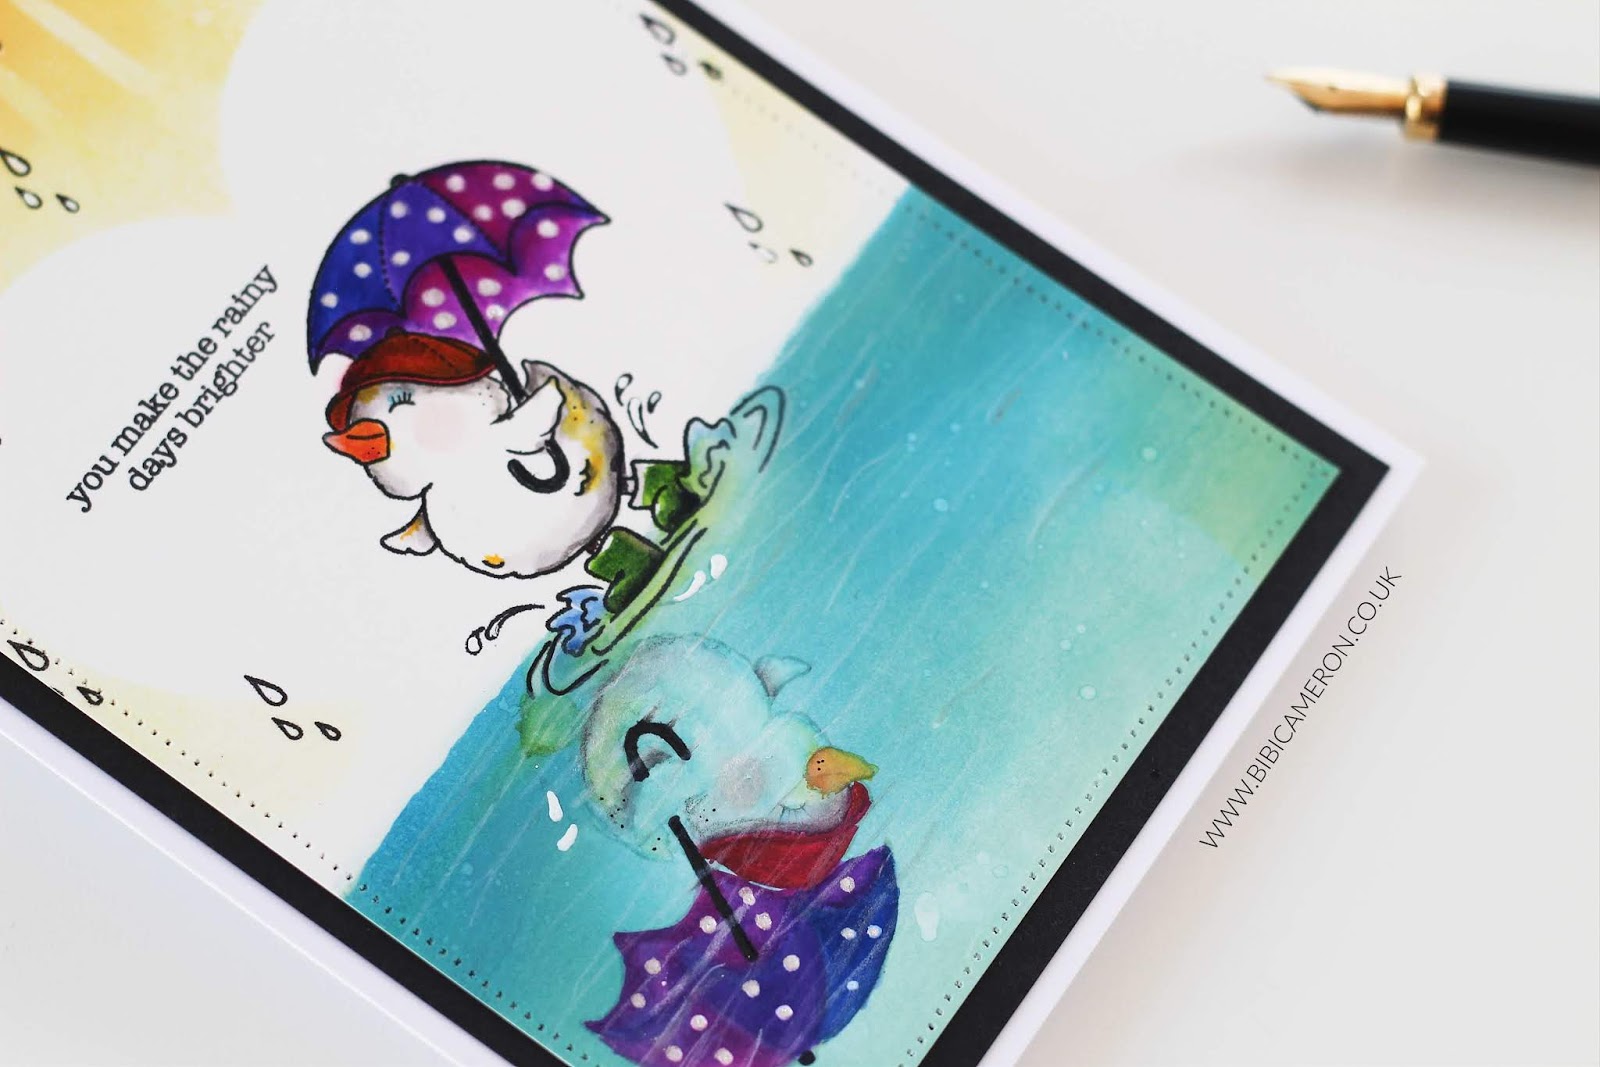
Hello everyone, it has been a while since I make a card with a “mirrored image” or with the image under the water or partially in the water so I thought I could do both things to share a fun and super easy technique with you.
This might be a good exercise to practise no line colouring too.
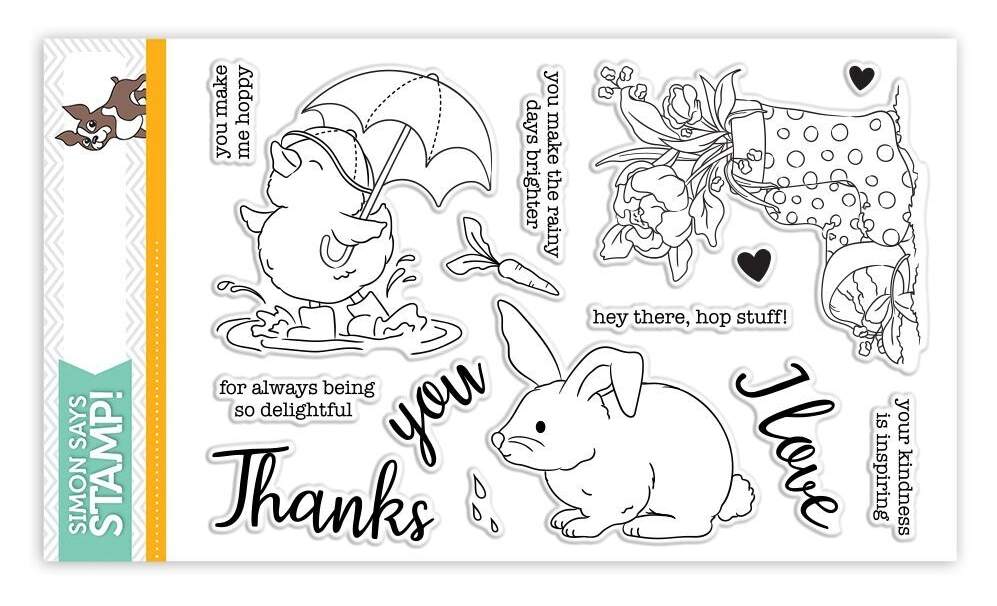
So I used one of the adorable images and one sentiment from a stamp set called: Showers and Flowers by Simon Says Stamps!
 |
|
I love all the images in this stamp set and the chick/ duckling is to die for. I like the positive expression on her little face and body. She is enjoying herself in the rain! and the rain is not always a bad thing as bad things in life might not be as bad in the end. I know there are bad things that happen to us and help us to grow and learn and there are bad things happening that we can’t control such as illness or loss, but we defo can control our attitude in life and how we face difficulty. My aunty used to say: “your problems are a 1% while the 99% is what you are doing to solve them“, I don’t know from which book she stole that quote but I kind of like it and today I also want to share it with you. We all have rainy days but after the rain… |
I added lashes to the original image as lashes make looks everything better!
The card making process
All the images were coloured with Zigs and stamped on Strathmore Bristol Paper with Simon Says Stamp Black ink or a very light Distress ink.
For the background, I used Distress Inks ( Classic and Oxide) . Find colours in the supplies list below.

So this technique is for beginners and it creates the illusion of having an image reflected on water but can be used to create the illusion of having images under the water as well.
I’ll work in a video next week as I’ll be on holidays from my weekend’s job and I’ll have a little bit more of energy for video making.
For now, this is how I do it in 6 simple steps
- Stamp your main images with desired ink colour [I used Black Ink by Simon Says Stamp]
- Stamp the reflected image using a light ink to apply no – line colouring. [ I used Antique Linen Distress Ink and I simply turn the paper around to stamp the same image towards the left]
- Sponge Distress Oxide ink over the whole area in which you want to stamp water. Apply ink over the mirrored image or the image you want to have under as well. ( I used Salty Ocean Distress Oxide Ink and I also place a piece of paper to protect the area on which I was planning to stamp the sky so that create the horizon line)
- Now use a water brush or a slightly wet brush to go over the mirrored image or the image you want underneath the water. try to lift up the colours and use a napkin or kitchen paper to dry the area. The distress oxide ink will activate and it will turn out white or slightly whiter than the area you just cover with colour. **** Wait for the paper to dry
- Apply colours to the images. [I used zigs and coloured pencils. Do not forget to use a grey colour to create shadows as they add interest to the images].
- Draw weaves over the images using a white and a grey pencil [you can stamp bubbles or use stencils as well]

For the sky I made a heart mask out of printing paper and I placed it on the chick. I applied yellow shades of Distress Oxide Ink and classic Distress Inks.
With the mask still on the paper, I placed one stencil from the 4 pack stencils called Ocean Scene Builder Stencils [ which is awesome!!] and I passed over a wet sponge to active the distress ink so that I got the stencilled sun rays on the sky.
This card is fun to do and it is great to practice essential card making colouring techniques.
That’s all for today … Thanks for stopping by and let me know if you have any questions. I always read your comments and I’m happy to answer any question.
If you wish to receive my blog post or videos directly on your email please Subscribe to my blog here! or my Youtube Channel here!
Many hugs and happy crafting
x
Bibi
Supplies
Just a note to let you know that when you buy through the links below I get a small commission at no extra cost to you. Thanks for your support.


This is sooo pretty!