Hola! I hope you are having a great weekend and enjoying the start of the summer. Today I’m celebrating my first blog post as a member of Honey Bee Stamps – Social Media Design Team.
Honey Bee Stamps are quite unique. It is also my first time using their supplies and I’m in love.
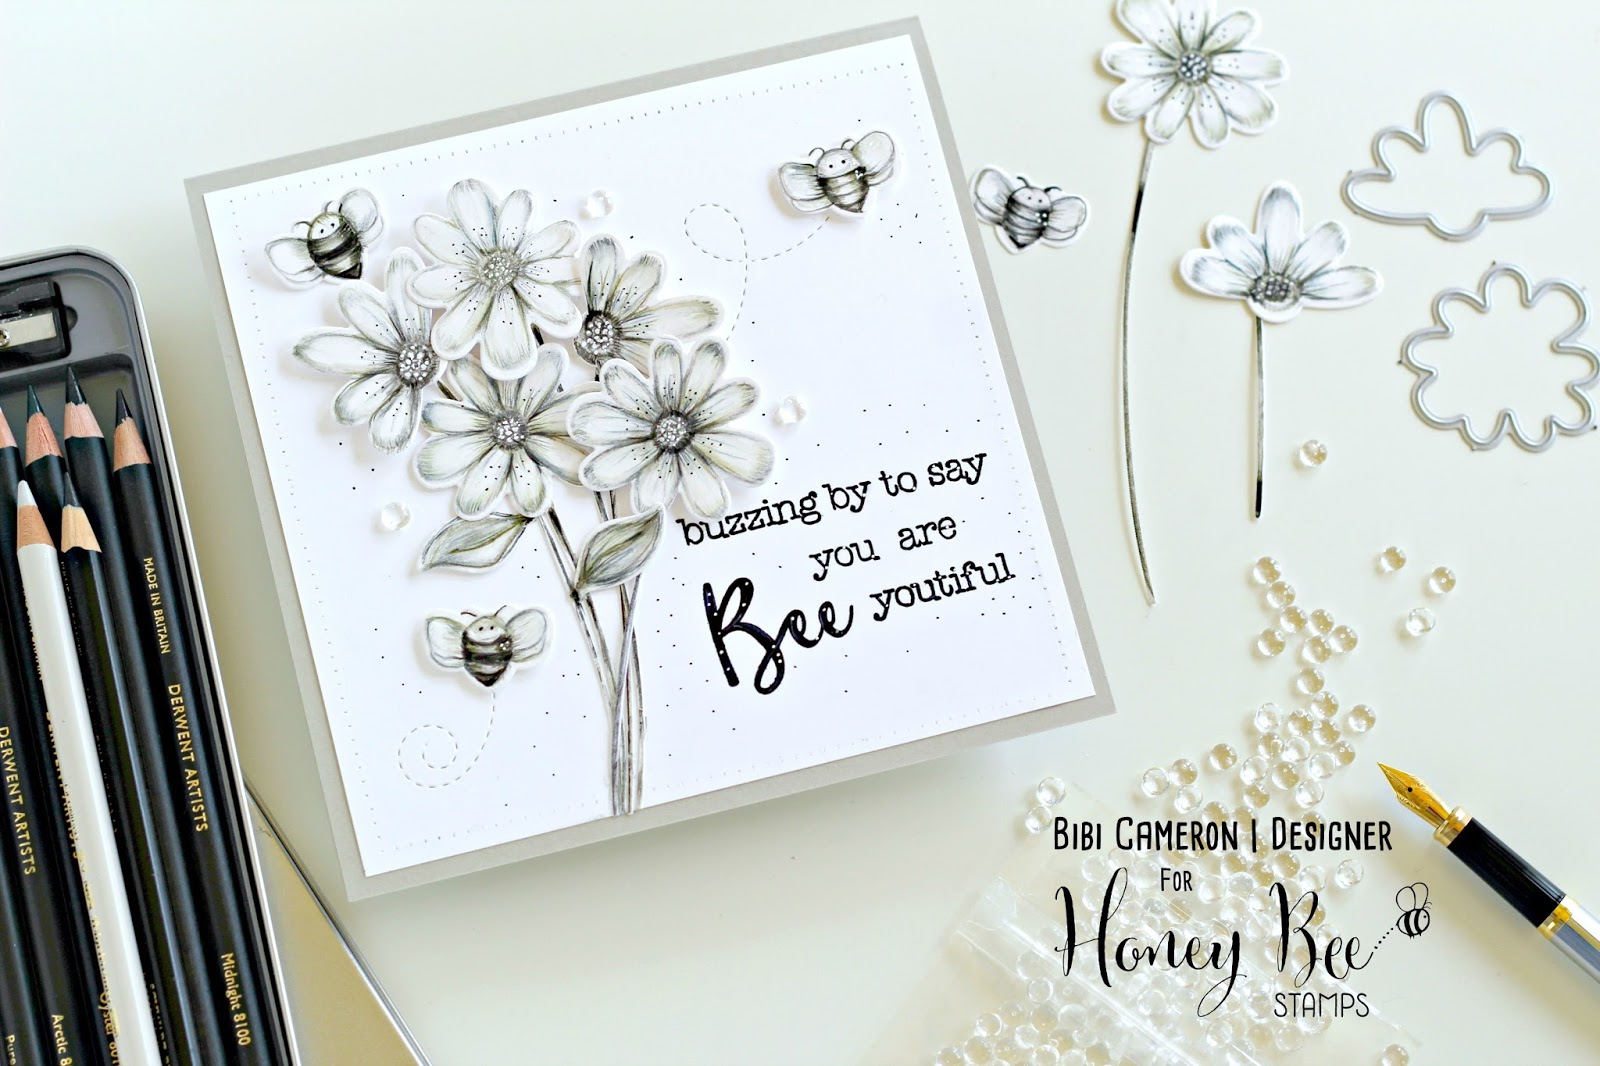
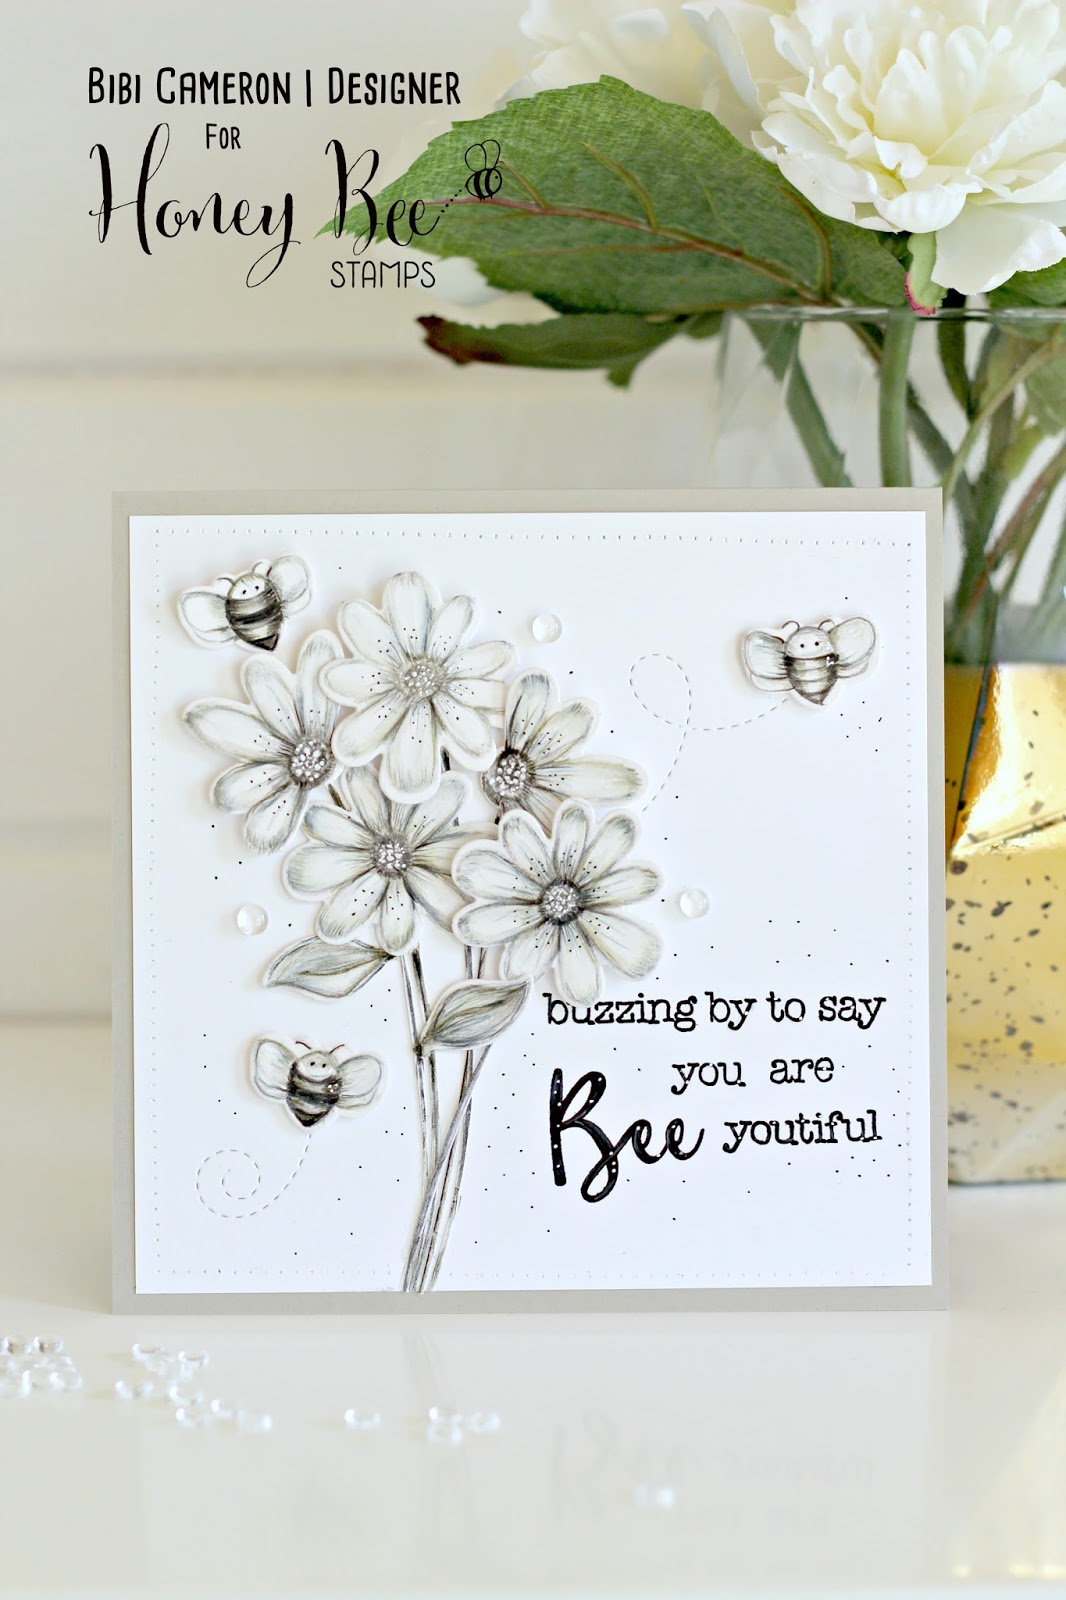
The brand is well known for being colourful and cheerful but the rebellious stamper in me couldn’t think of doing anything other than a black and white card for today… and as the lack of colour tent to be a bit dull I tried several new things to bring the images to life.
I tried different papers , different colouring tools, different lay outs, different Honey Bee Stamp sets.
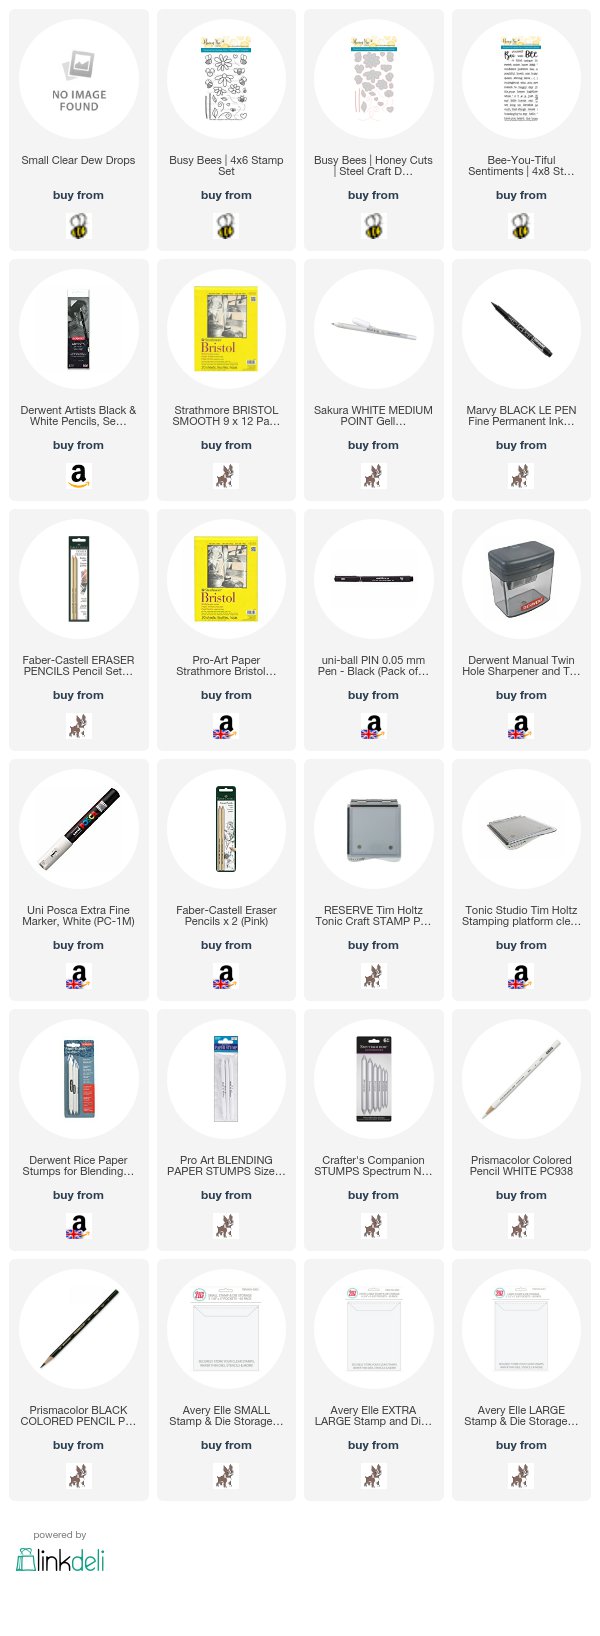
So here my 3 best options for this project ( click on any supply in this post to see more)
- Busy Bee Stamp Set, Busy Bees Dies and Bee-You-TifulStamp Set.
- Bristol Paper HERE! happened to be the best paper to achieve nice results.

Look at this little guy! Awww!!! My toddler Emma was fascinated, me too!
I also wanted to give a sketchy look and feel to the bees and Derwent Artist’s Pencils 6 Black & White Tin Here were my life savoir in this mission.
It was the first time using these pencils. Their are soft , easy to apply and look at the colours in the pictures. They do the job! There are 3 light colours and 3 dark colours ( I’ll talk more about the pencils in my video). When I was making the supply list for this post I found them in Amazon UK for less than the price I paid for them in my local craft shop. You can get themfrom £3.99 Here.Incredible!
For shadowing and lights I used 3 Faber Castell Pencils colours: White, Warm Grey and Black. These pencil are a joy, creamy, soft and provide intense colours.

Oh ! And I also have a new favourite: the Small Clear Dew Drops by Honey Bee Stamps– simply stunning. They look like real water drops. If you like Nuvo drops or Glossy Accents you will love this embellishments too.
I stamped the sentiment with Simon Says Stamp Black Ink whilst also using the Tim Holtz Stamping Platform. I have a mini Misti Stamping Tool and for the size of this card I found easier to work with the Tim Holtz.
I added dots and lines with white and black Uniball pens.

This card measures 6″x 6″ inches (15 x 15cm). It is a bit bigger than my favourite card size ( C6) and it is the first card I made in this size that I really like….. So many “first times” for me with this project! Awesome.
WATCH VIDEO TUTORIAL
Make sure to subscribe to my Channel Here ! to be amongst the first to watch new videos!
Thanks for visiting me today and do not forget to ask any questions or leave a comment. I would love to hear from you.
X
Bibi Cameron


Hi Bibi
Stunning card… love the black and White…,I bought some stamps and Dies from Hochanda from Honey Bee stamps… is it Amanda who owns the company .. she seems a lovely lady…
I don't do FB.. how can I see your craftroom
Hugs Sylvie xx
Aw thank you Sylvie, you will love the stamps. Everybody at Honey Bee are lovely. I know Melissa as the owner 🙂 I'll blog about my craft room when I finish organizing everything. it seems to be taking like forever. and Harris sticks to my leg the whole day. I hope to be able to the post office at the end of the week to send you what we agreed. x Bibi
What a fabulous card Bibiana, I love how you've done the card in a monochrome style… Looking forward to watching your video on Tuesday.. hugs Cal xx
Stunning!
Oh so pretty! Thank you so much for the detailed video, you make it look so simple and easy, the result is amazing!