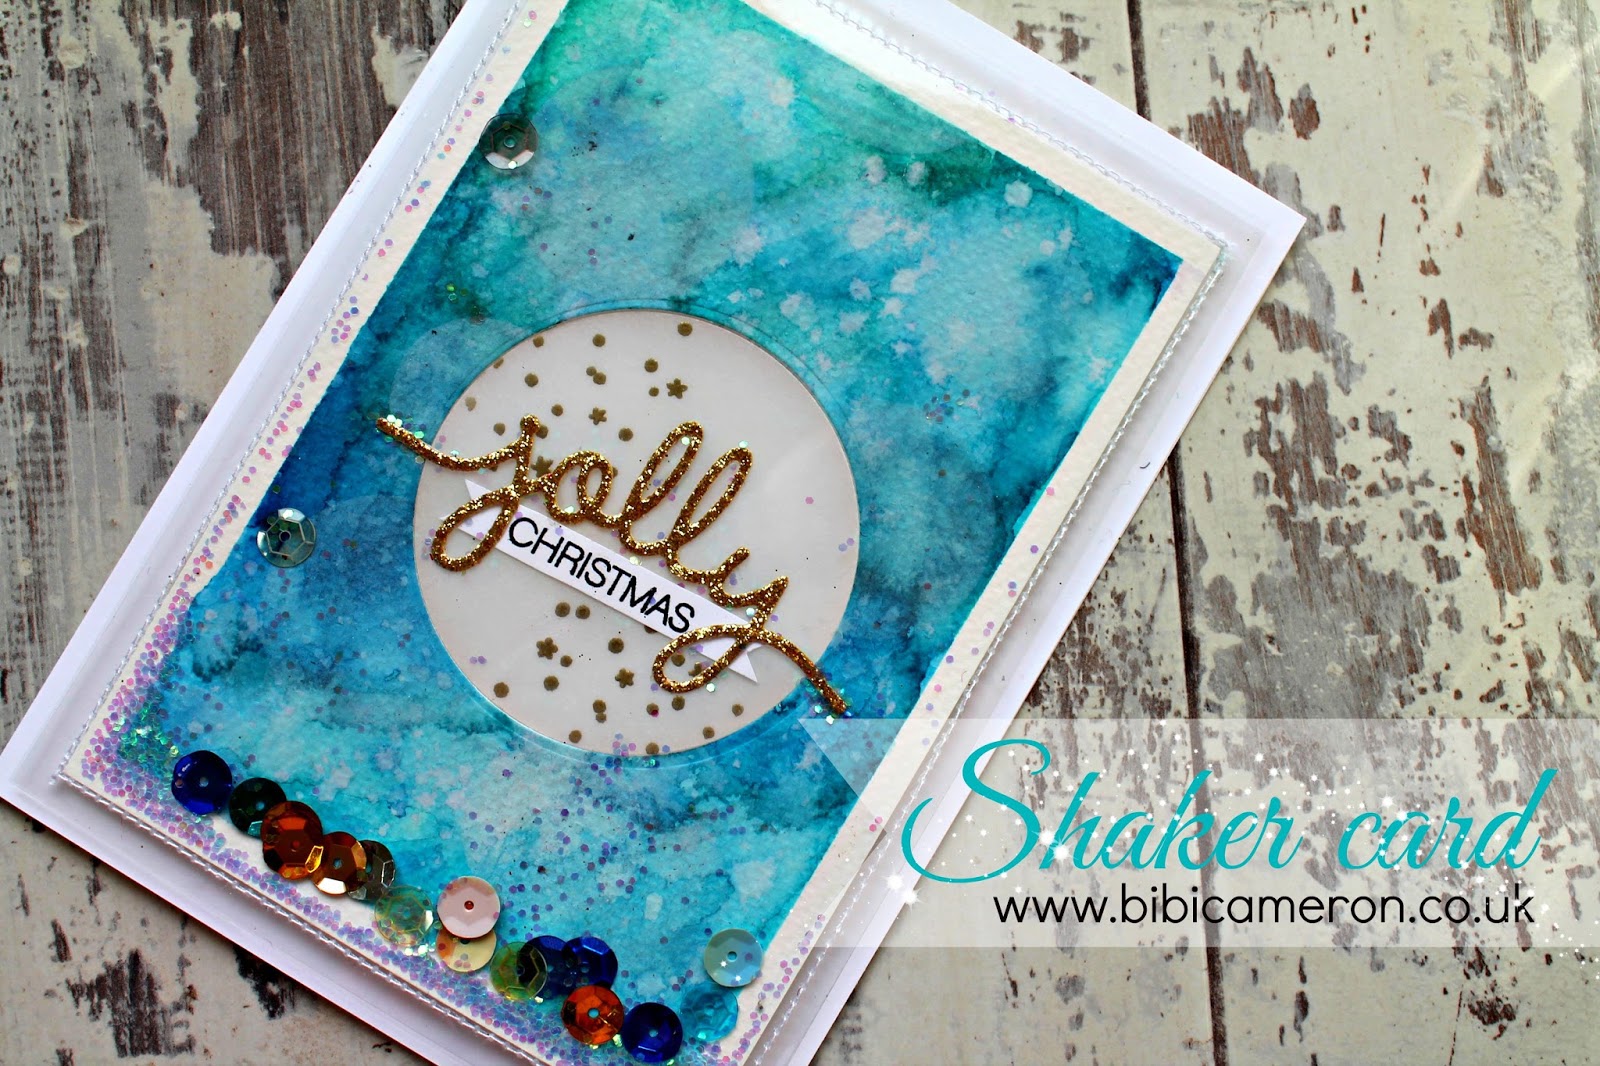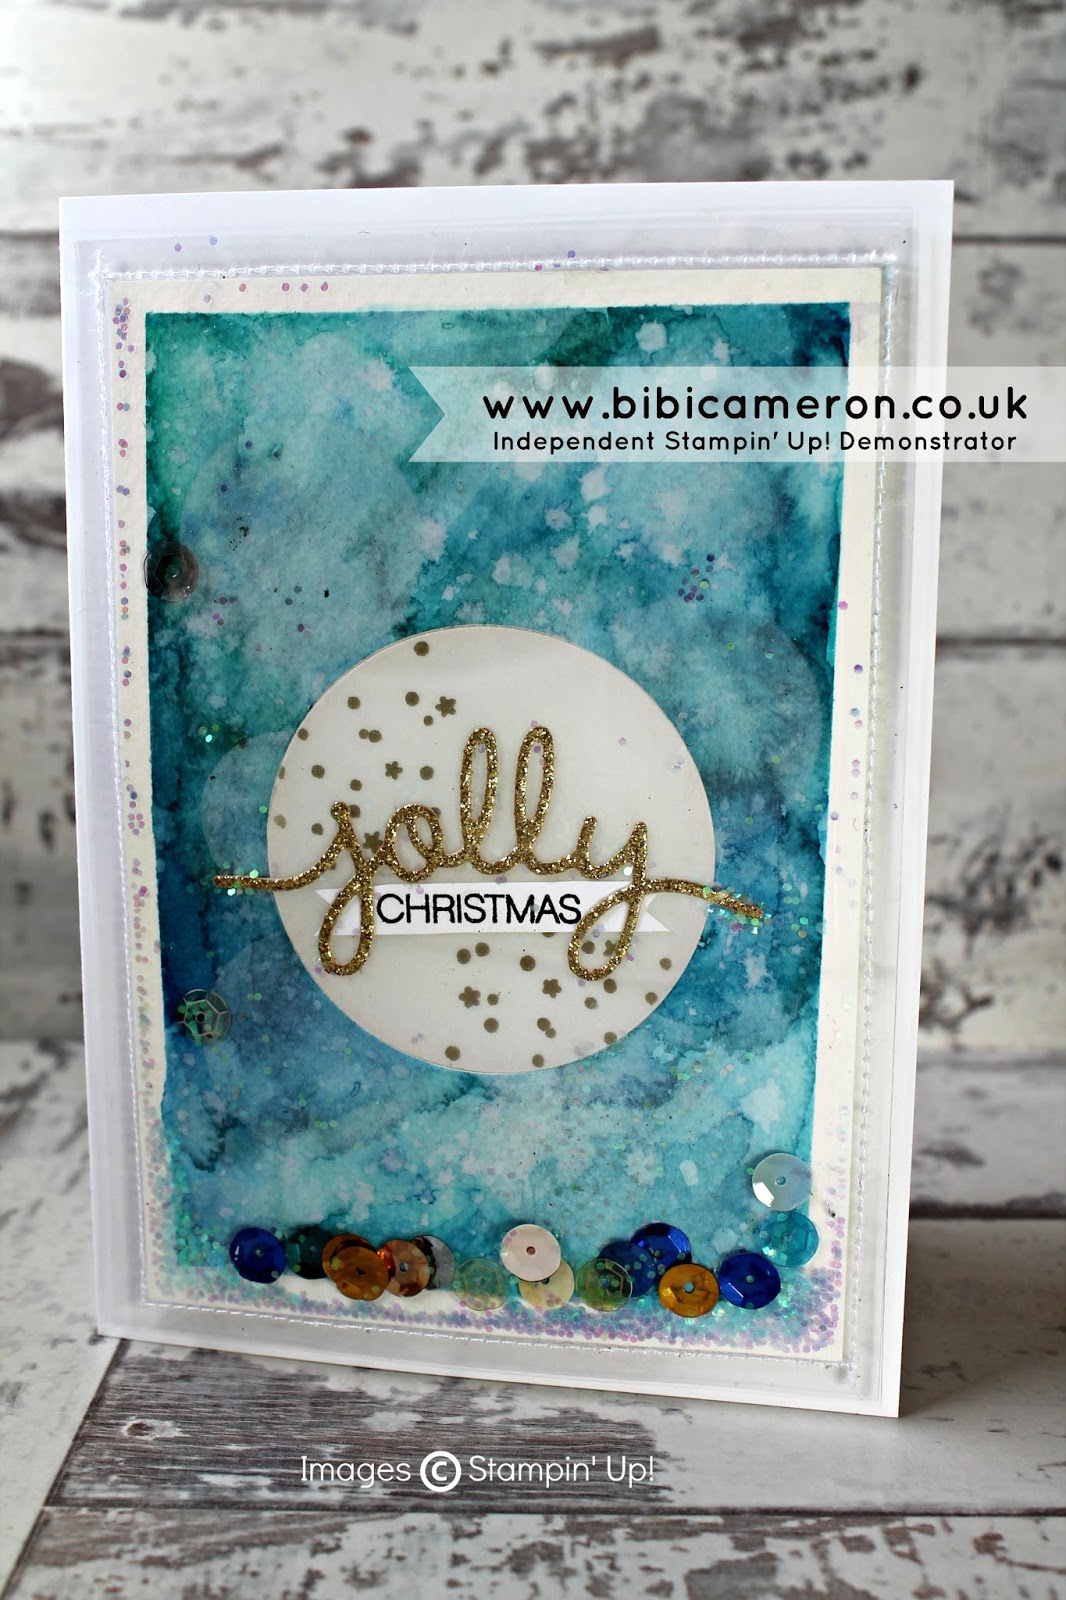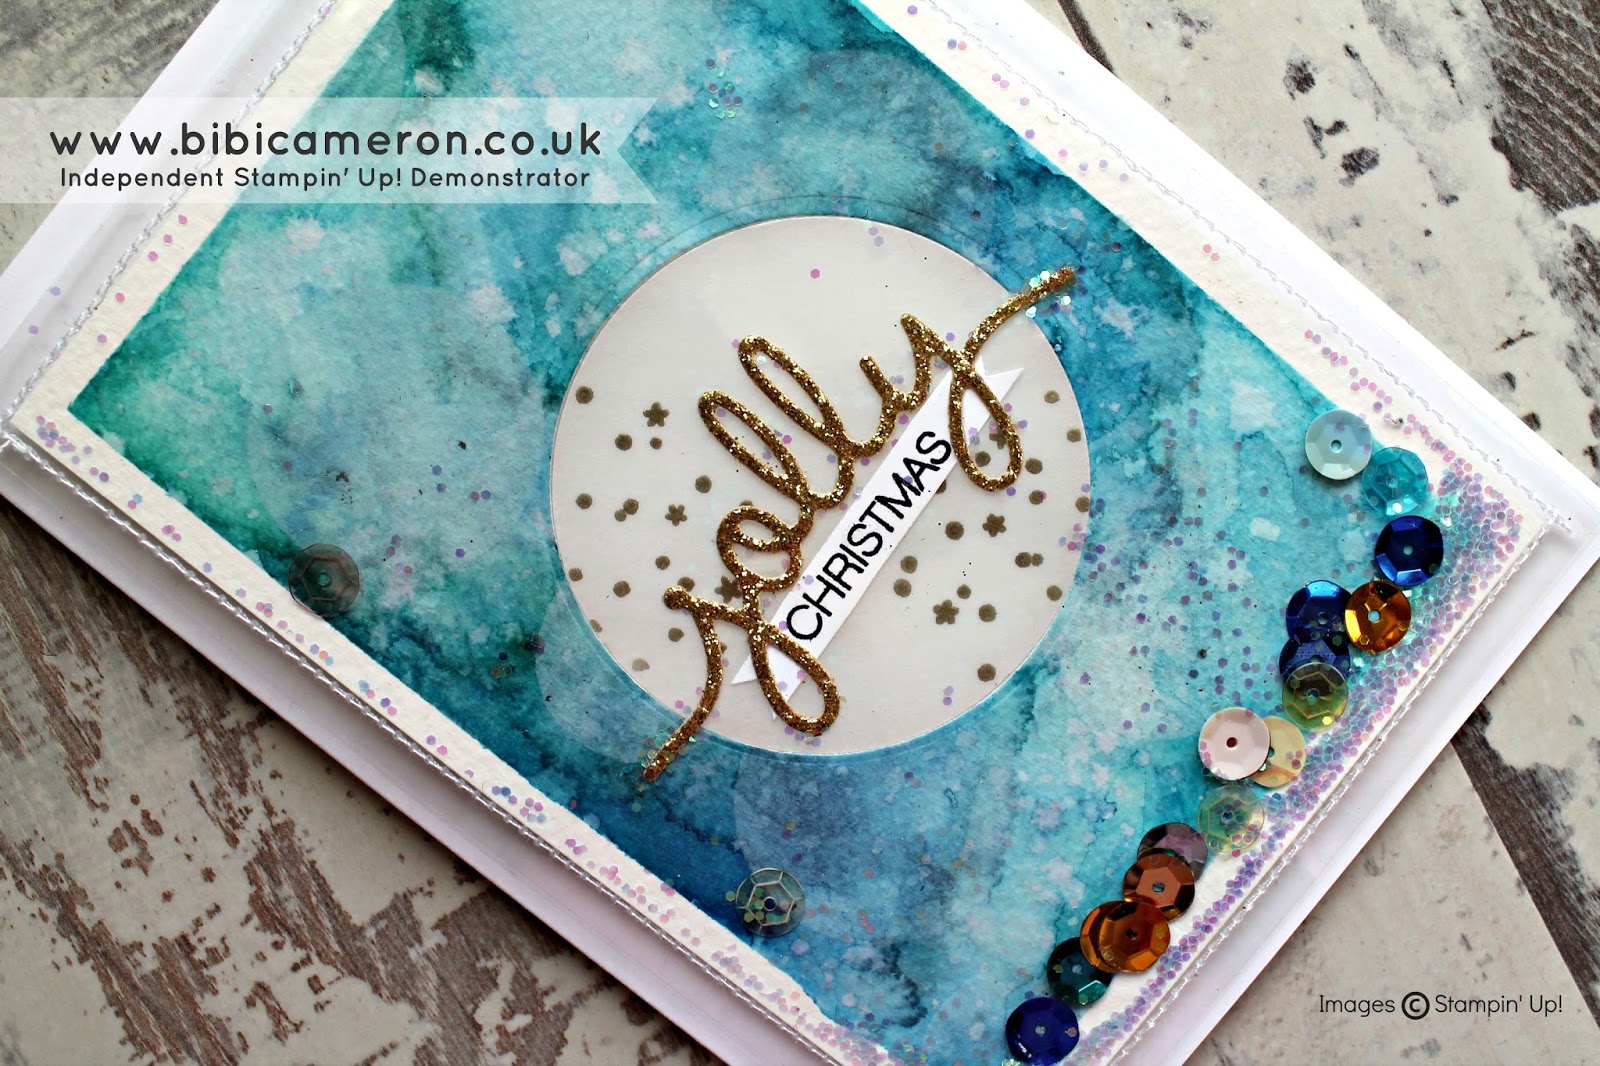
Happy Sunday lovely crafters, I’m saying godbye to the week with a Christmas card because Xmas is NOW! I guess we all of us are getting ready for the season frenzy. Today I have used “Holly Jolly Greetings Clear-Mount Bundle” from Stampin’ Up! The bundle contains 1 stamp set with 22 cling stamps: “Holly Jolly Greetings” and coordinating dies: “Christmas Greetings Thinlits Dies”, You can buy them together and save 15% of your purchase or individually. I’m loving the dies as they are just stunning and add great interest to craft projects (cards, boxes, candles, cupcakes tags… etc). I hope you like them to!

This card may seem a bit complex but is really easy to make indeed once we have all the elements ready to put them together. It is also a quite of enjoyable project as water-colouring is so sooo relaxing! You can seat with a cuppa and make a pile of backgrounds and put some cards together the next day. That what I did in this opportunity.

For the watercolour background I used Stampin Up blue
inks : Nigh of Navy, Bermuda Bay
and pool party. I create the distressing effect by Appling the watery ink colour
randomly on watercolour paper and when they dried I splash water drop on top
with a brooch to create those little white spots and destress even more. I also used Stazon white ink to create some rough
white patches on top as well.

Window sheet pocket measures: 4 -1/42 x 6-1/4″ or 11×16 cm
Card measures: 4 3/4 x 6 3/4 or 12×17 cm
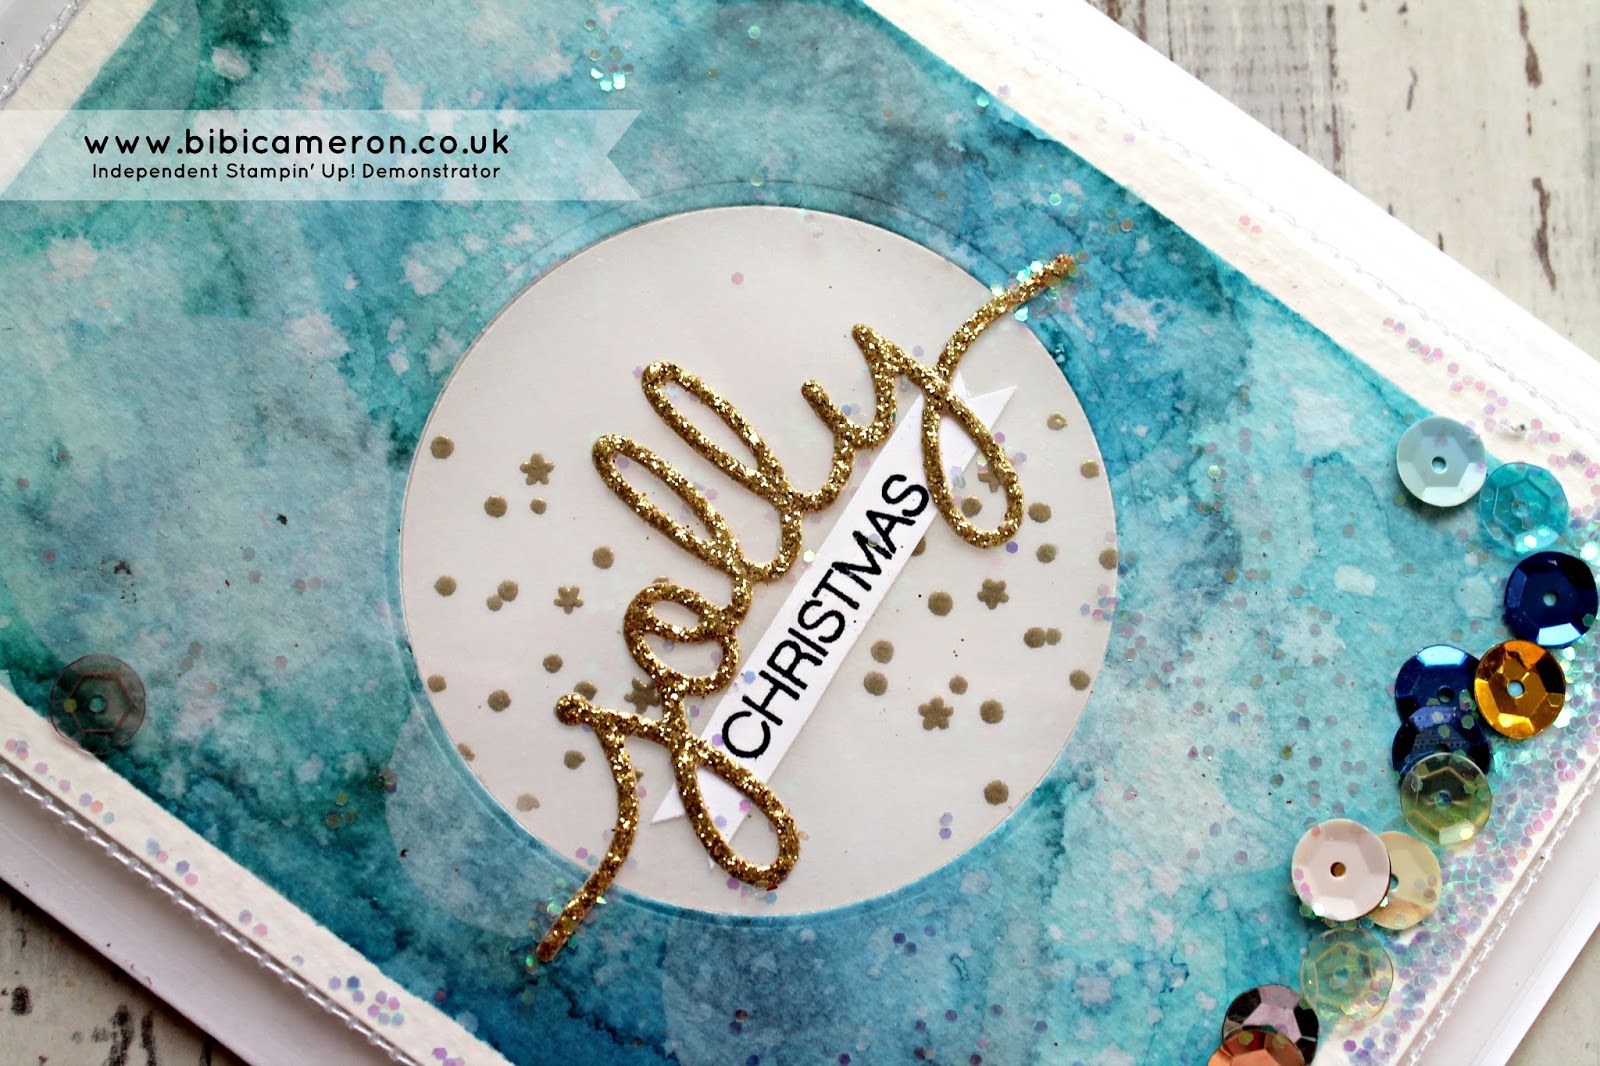
I die cut a circle of about 2-1/2″ (6.5cm)
in vellum and I stamped the little stars and dots from “Holly Jolly
Stamp set” using clear Versamark ink and gold embossing powder.
I cut the word: “Jolly”
using the “Christmas Greeting dies” and apart I stamped the word:
“Christmas” with black Stazon ink and I trimmed the little banner by
hand. I used the same 2 -1/2 circle die to cut a circle in the middle of the blue
background and then I placed and paste everything together on a layer of
whisper white card stock using multipurpose liquid glue ( the best glue ever).
I sandwiched this between 2 layers of window sheets ( 4 -1/42 x 6-1/4″ or
11x16cm) and I sewed around 3 of the 4 edges. I didn’t sew all around to
leave an overture to add sequins and glitter and once I finish inserting these elements
I sew the other edge. I pasted the whole window – shaker panel on top a thick
whisper white card stock base and voila! I was done.
Please find supply materias I used to create this card or click here to order online stampin up suplies anytime and support my carfting activity!
Built for Free Using: My Stampin Blog


Leave a Reply