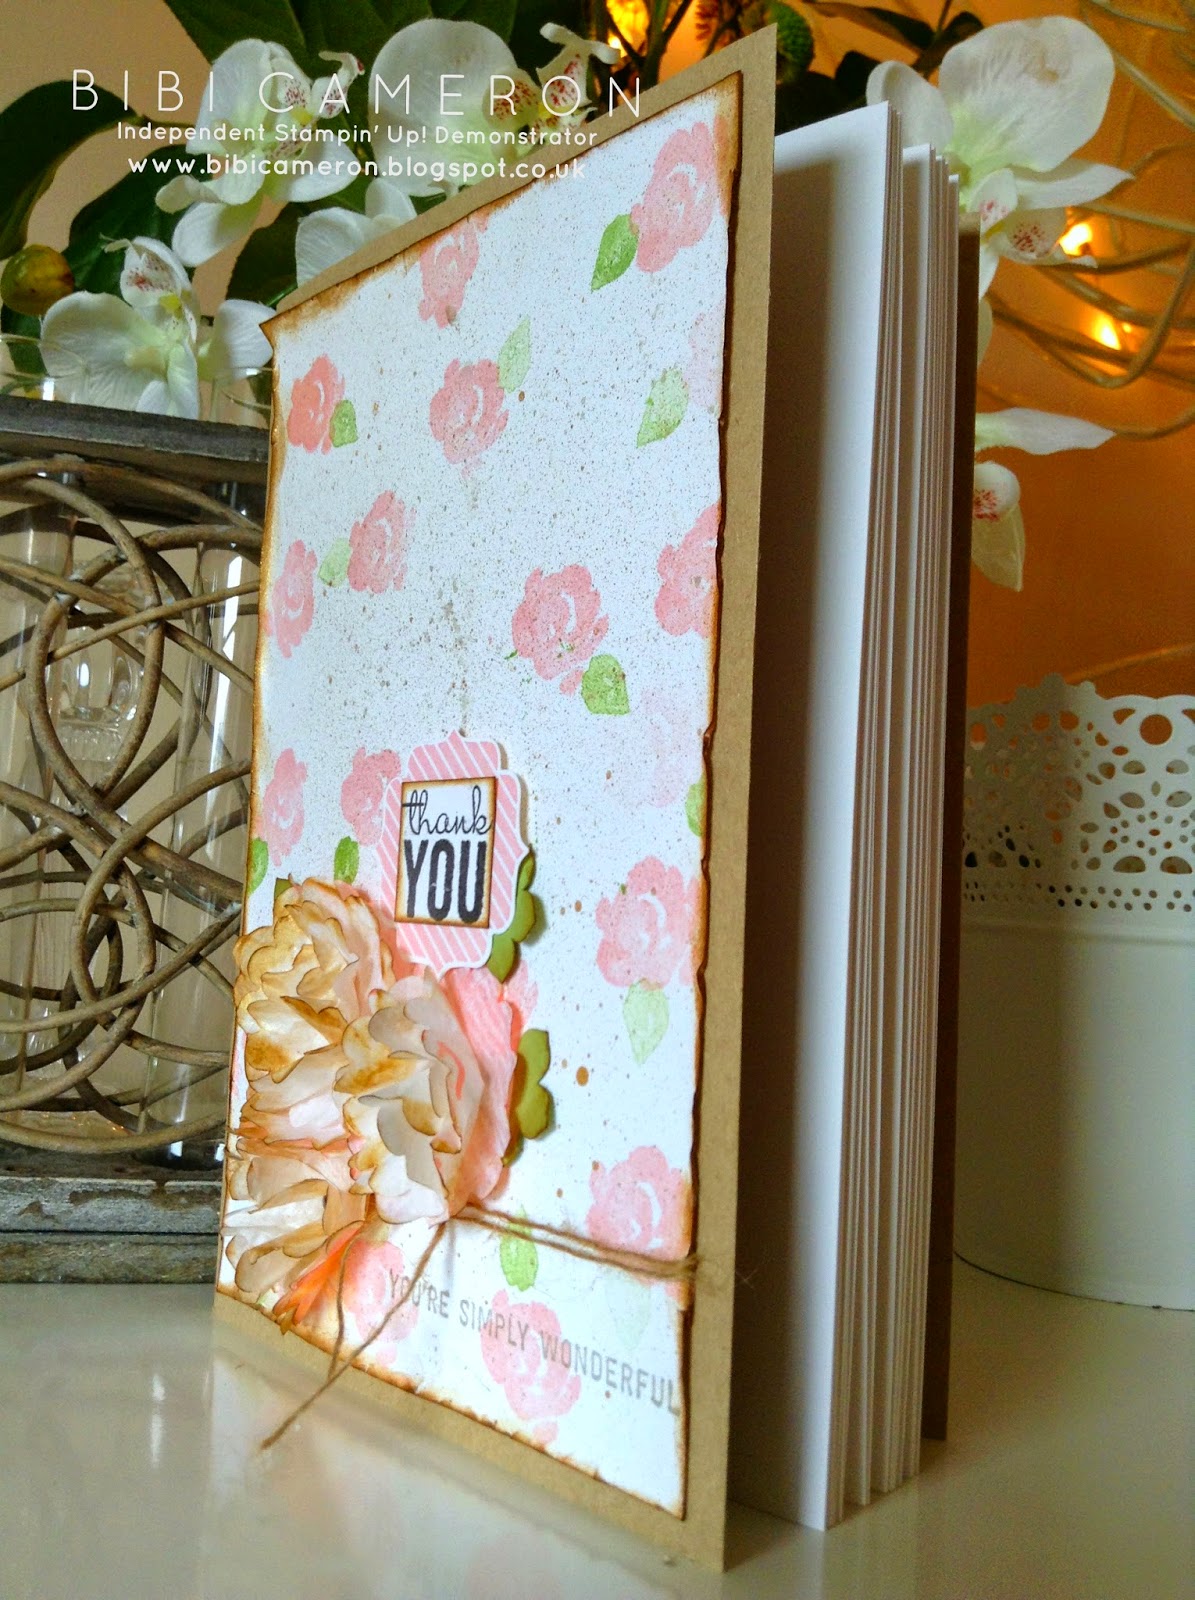
Hello, a lovely friend and customer has joined the Stampin’ Up! family after buying her starter kit with me and I wanted to make something special to welcome her and to show her my gratitude for choosing me to be her upline. As part of a small thank you/welcome kit I have made a vintage notebook cover using Painted Petals Stamp set and Circle Scallop punches from Stampin’ Up!

I couldn’t resist and I have CASE one of the card designs of
my mum, the talented Stampin’ Up! Demonstrator Michelle Last (Mum is an affectionate term I use to call Michelle because she is my upline). I have adapted her card idea to be a notebook cover and I also added my personal touch to this project… It was very easy and enjoyable…. Thanks Michelle for being my source of inspiration today!

I have used a regular notebook with paper kraft cover and Whisper White card stock for the front panel and Painted Petals Stamp Set to stamp the flowers and the leaves.
I used Brushing Bride ink to stamp the flowers and Wild Wasbi Ink to stamp the leaves.
I made the paper flowers using Circle Scallop Punches and creped paper . I cut out the scallop circles die cuts and using a water spray bottle I applied water on them and crused them with my hands. Then lined up 4 or 3 die cuts one in top of each other. I punched a little hole in the centre of all the layers and using a mettalic brad I kept all the layers together. I applied chocolate chip ink to the edges and a sepia ink to add contrast.
To make the leaves in the bouquet, I punched a scrap of wild wasabi card stock with petite petals punch and I cut the die cuts in half to make them look like foliage.


To stamp the sentiment “You are simply wonderful” I have used Crumb Cake ink and the stamp set Simply Wonderful from the last Sale-A-Bration.
With my fingers I crushed the edges of the paper and using a damp sponge I applied Chocolate Chip ink to the edge of the paper and the flowers to give them a vintage look.
I used linen thread to embellish and tie a little knot just below the flowers as shown in the pictures and that was all….
Thanks for stopping by!
Built for Free Using: My Stampin Blog


Leave a Reply