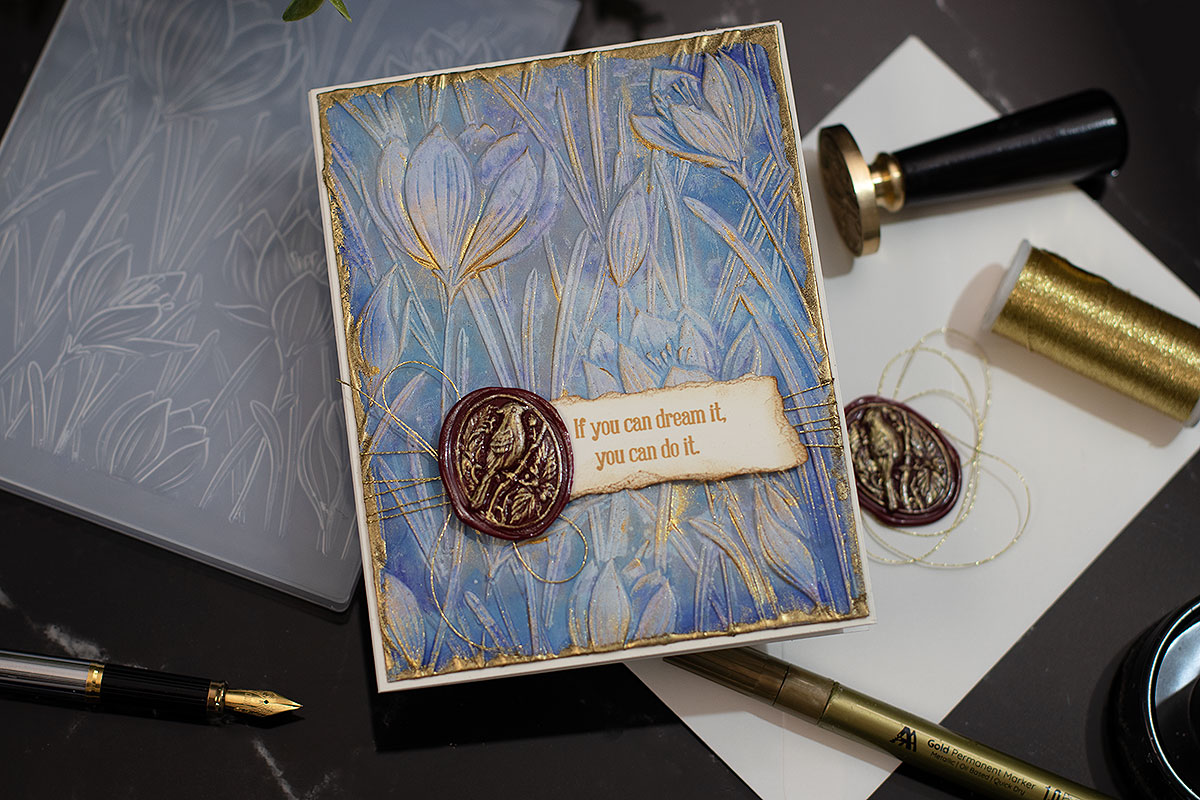
Hello, crafty friends! Today I’m sharing a project that started with nothing more than the Simon Says Stamp Crocus Field Embossing Folder and the Inspirational Quotes Stamp Set… and absolutely no plan!
I wanted to have a messy play session, push an embossing folder beyond its usual purpose, and see if I could create an interesting textured background.
I was inspired by the rich atmosphere of fantasy tales filled with dragons, queens, castles and forgotten kingdoms, and I challenged myself to recreate some of that feeling using paper, ink and texture.
The funny thing is, I genuinely had no idea where this project was going. At one point, the cardstock became so wet that some little parts of the surface started to peel away, but instead of throwing it in the bin, I decided to embrace it and keep going.
Sometimes those “mistakes” become the most interesting part of a project!
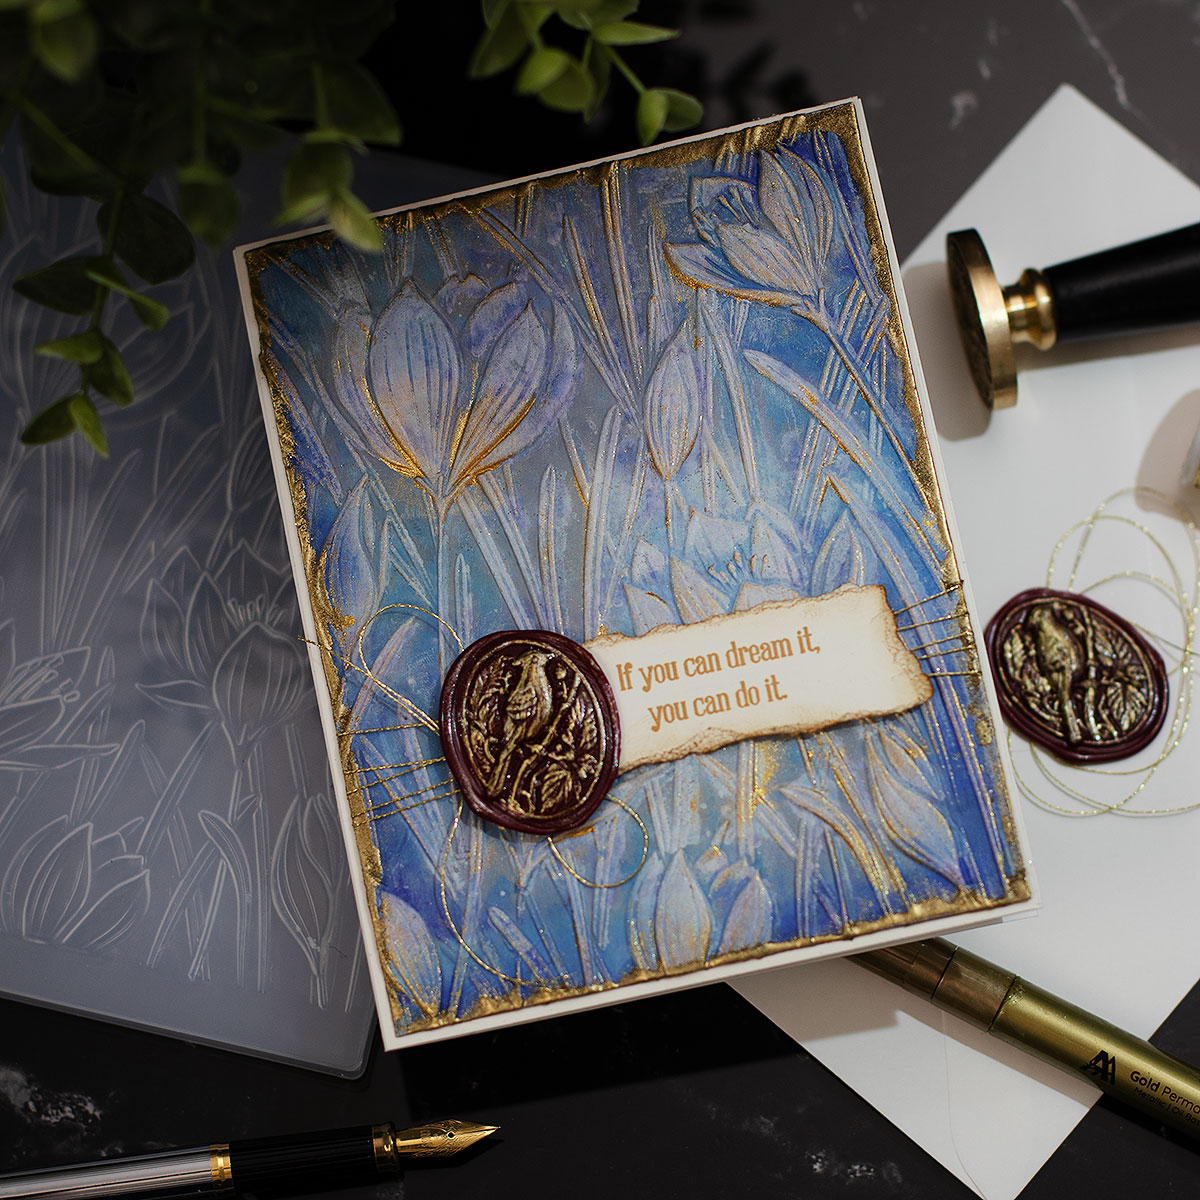
Layer by layer, the panel slowly transformed into something that reminded me of aged stone, weathered porcelain, or perhaps a page from an ancient fantasy manuscript. I hope today’s tutorial inspires you to experiment, trust the process, and see where your creativity takes you
Video
The Textured Background
Step 1
Start with a panel of Neenah Ultra Thick Cardstock. Apply Royal and Galaxy Pawsitively Saturated inks directly from the ink pads onto the cardstock, creating random streaks of colour. Don’t worry about creating a perfectly smooth blend. The visible brush strokes and uneven coverage will become part of the finished effect.
Step 2
Emboss the panel using the Crocus Field Embossing Folder.
Step 3
Using a small brayer, roll the white acrylic paint from the Silent Night Acrylic Paint Set over the raised areas of the embossed panel.
Mist generously with water using the Mist Spray Bottle while the paint is still wet to soften the white paint and blend it into the background.
Step 4
Lightly dry the panel with a Heat Tool.
Spray Hickory Smoke Distress Oxide Spray, followed by Broken China Distress Spray Stain. Apply both sparingly rather than covering the entire panel.
Mist again with the Mist Spray Bottle to encourage the colours to flow and blend naturally over the embossed texture.
Step 5
Partially dry the panel with a Heat Tool, then emboss it a second time using the Crocus Field Embossing Folder to restore the crisp details that may have softened during the wet techniques.
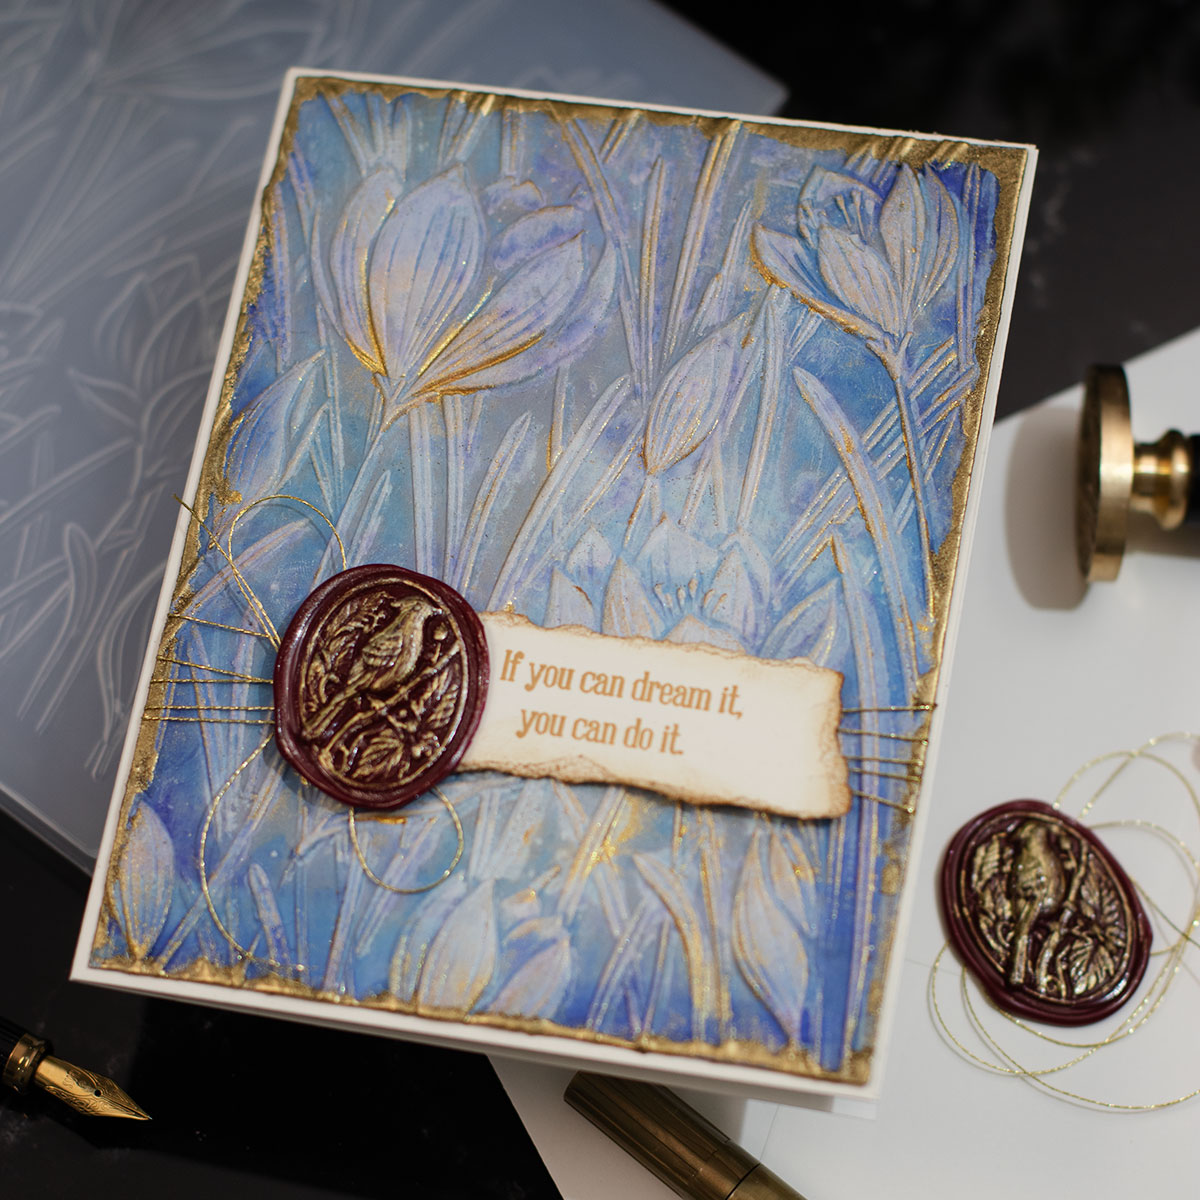
Dry the panel completely.
Step 6
Apply Simon Says Stamp White Pigment Ink over the raised areas to create an aged stone or porcelain effect.
Step 7
Blend a little Galaxy Ink around the edges of the panel to add depth and frame the design.
Step 8
Using a dry brush, lightly apply Mayan Gold Shimmer Relief Paste over selected raised areas. Keep the application light so the metallic highlights catch only the highest points of the embossing.
Step 9
Apply Watermark Ink around the edges of the panel, cover with Polished Gold Embossing Powder, and heat emboss with a Heat Tool to create a distressed metallic border.
Done!
Wax Seal
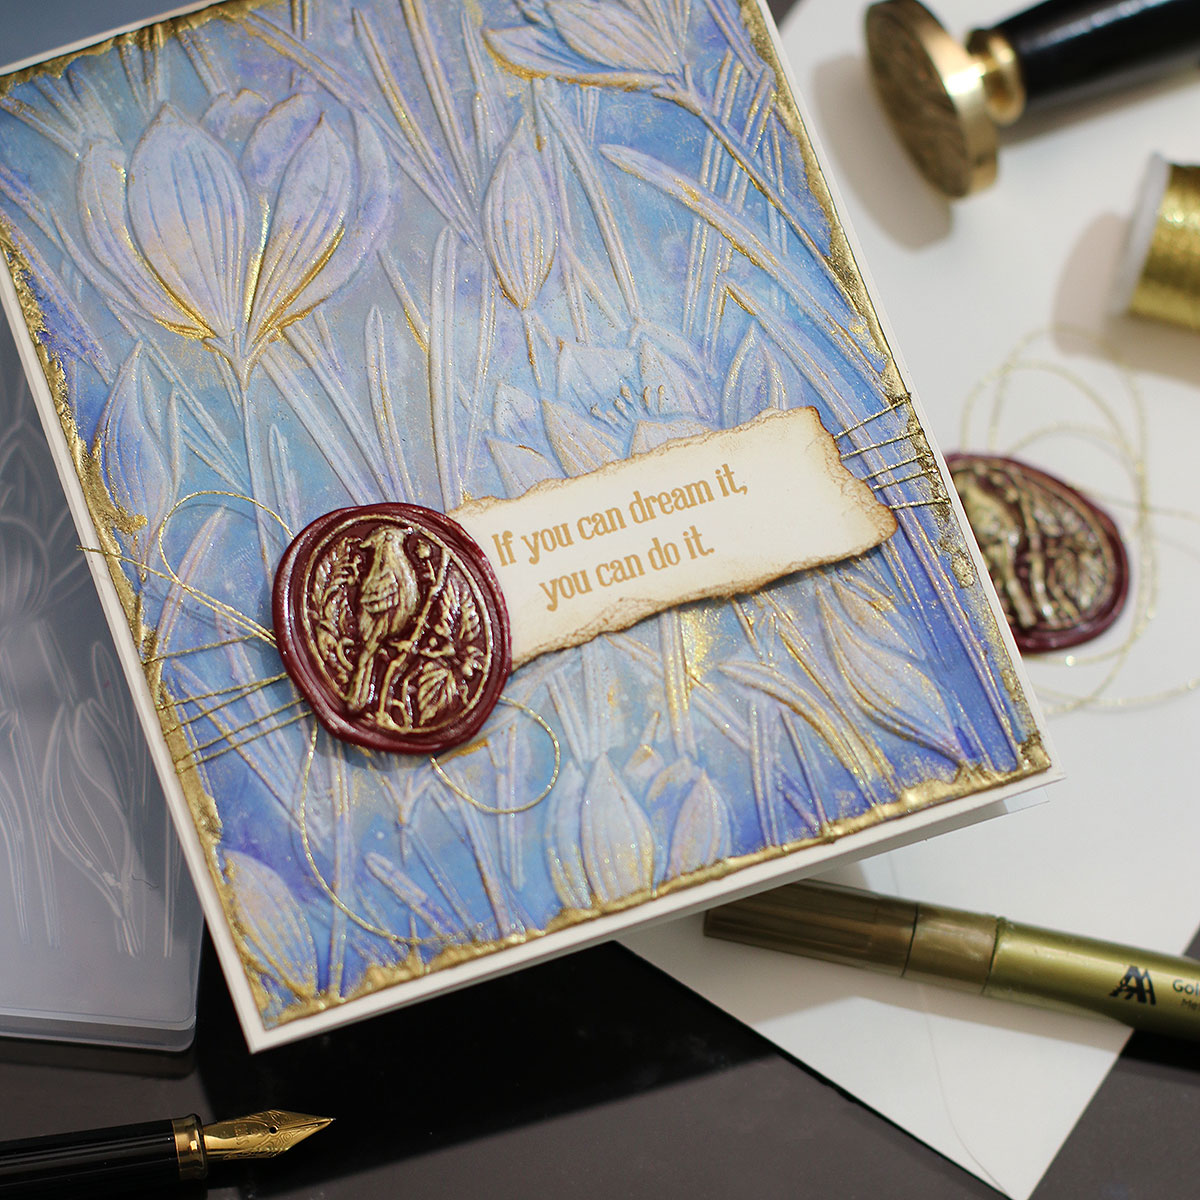
To finish the card, stamp one of the sentiments from the Inspirational Quotes Stamp Set and trim it into a narrow strip. I popped mine up with foam tape and positioned it just below the wax seal.
Create the wax seal using the Berrywood Bird Wax Seal Stamp, Red Wax Beads, and a heat tool. As a little tip, I found that using the heat tool to melt the wax takes about one minute, making it a quick and easy alternative to using a wax melting spoon.
Once the wax has cooled completely, use the gold marker from the Essential Permanent Markers Set and Spellbinders Silver Bullion Wax Seal Powder to highlight the raised details of the bird, bringing out all the beautiful texture.
Finally, adhere the wax seal to the card using Wax Seal Adhesive Circles.
That’s all for today.
Thanks for stopping by.
X Bibi
Thirsty for More?
Supplies
Affiliate links apply at no extra cost to you. Thanks for your support.



Leave a Reply