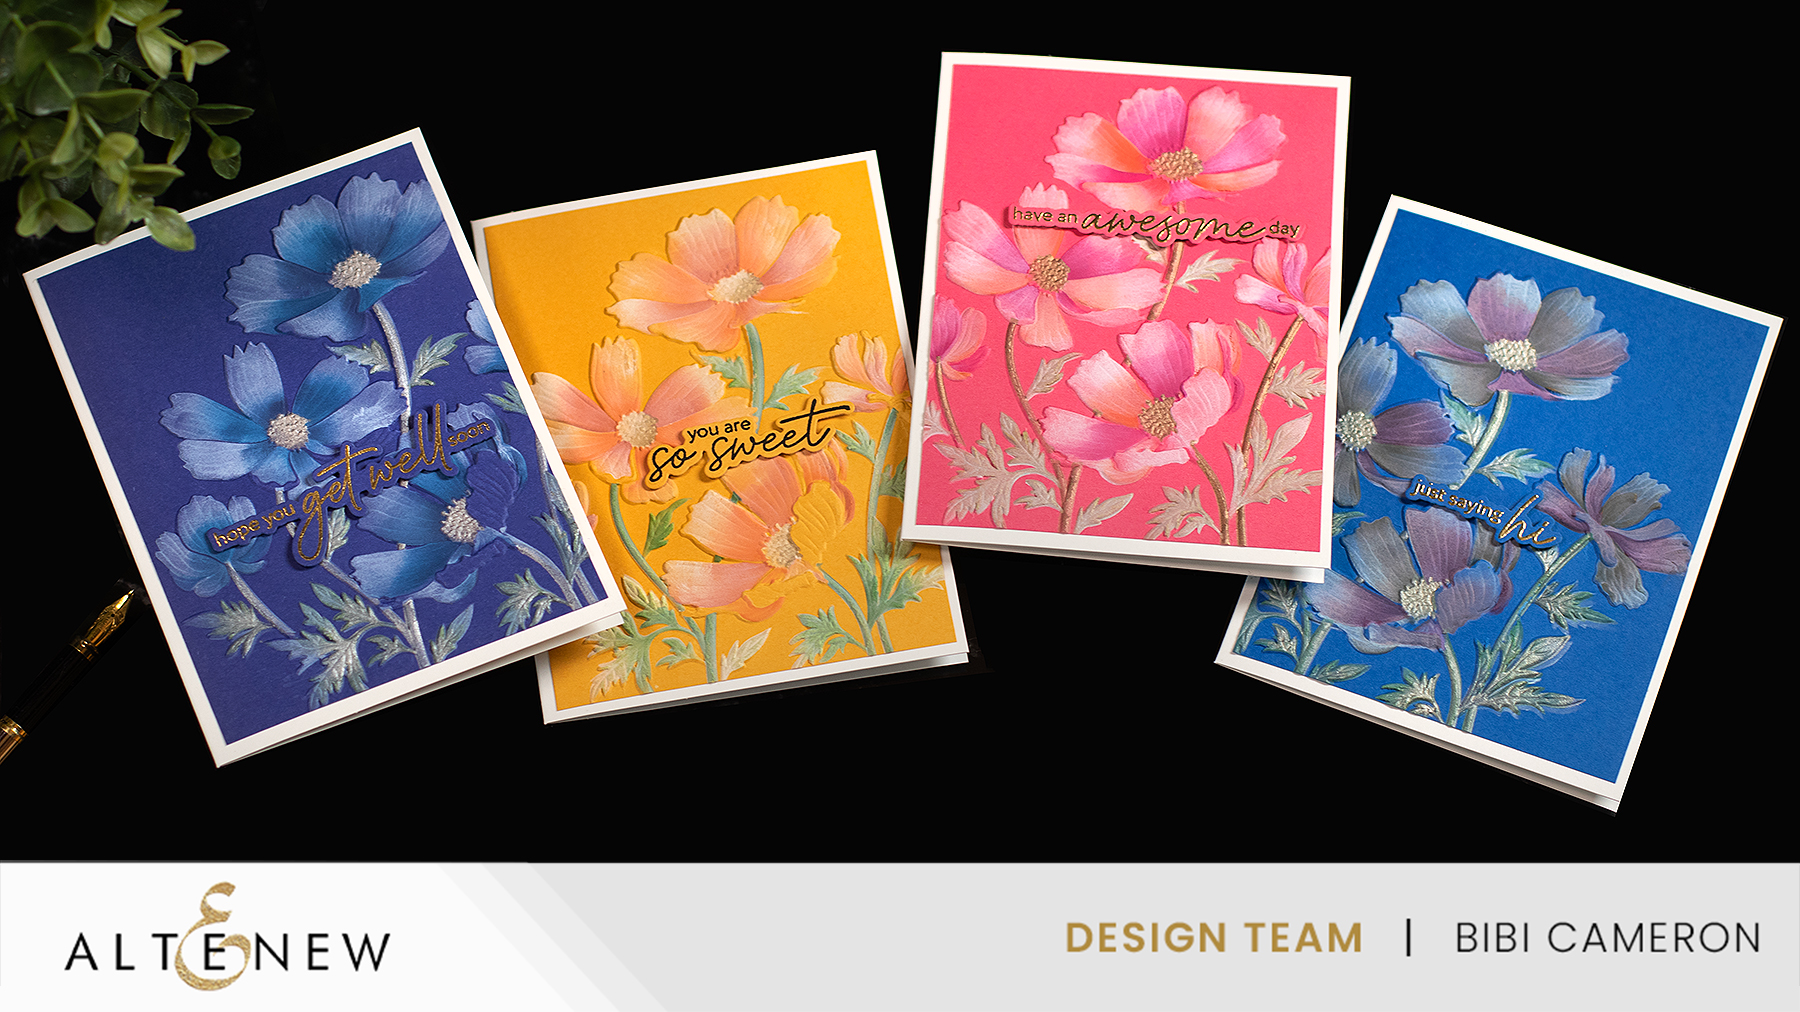
Hi crafty friends, I’m excited to share a set of vibrant cards created with the Altenew Dancing Cosmos Embossing Folder + Layering Stencil Set.
Altenew Dancing Cosmos Set
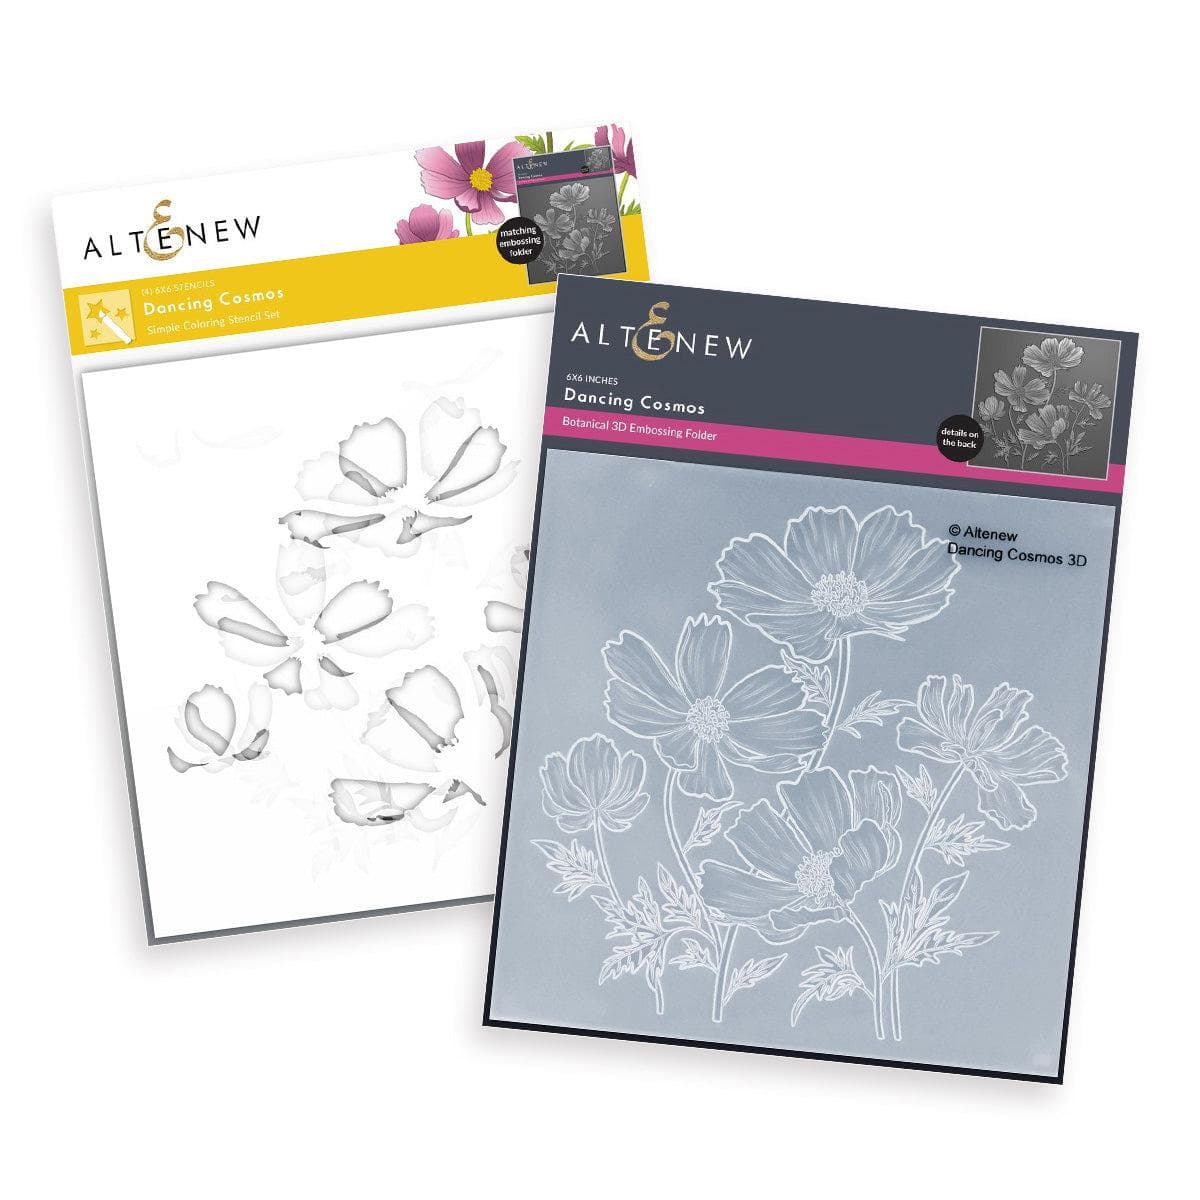
This beautiful duo of embossing folder and coordinating layered stencils ( x 4) makes it incredibly easy to add colour to the raised areas of the embossed image, achieving an artistic, hand-painted look.
You can use any colour, but for today I chose bold coloured cardstock, and I gave the inks a subtle opaque look and feel… Of course, I had to add metallic inks too.
Card Recipe
- Dancing Cosmos- Embossing Folder and Layered Stencils
- Honeycomb Haven- Stamp set and Add-On Die Set.
- Neenah Classic Crest Ultra Thick 110 LB
- Starlight Altenew Crafty Necessities Cardstock
- Chamomile Altenew Crafty Necessities Cardstock
- Coral Berry Altenew Crafty Necessities Cardstock
- Sapphire Altenew Crafty Necessities Cardstock
- Simon Says Stamp White A2 Side-Fold Scored Cards .
INKS USED:
- Cloud White — Altenew Pigment Ink
- Firebrick — Altenew Fresh Dye Ink
- Autumn Blaze — Altenew Fresh Dye Ink
- Lime — Altenew Fresh Dye Ink
- Mountain Pine — Altenew Fresh Dye Ink
- Lemonade Stand — Altenew Fresh Dye Ink
- Magenta — Altenew Fresh Dye Ink
- Desert Night — Altenew Fresh Dye Ink
- Navy — Altenew Fresh Dye Ink
- Bronze — Altenew Pigment Ink
- Silver — Altenew Pigment Ink
- Platinum — Altenew Pigment Ink
- Obsidian — Altenew Pigment Ink
The Cardmaking Process
The process for each card is the same, making this a perfect project for batching!
1. Emboss the Panel
- Cut an A2 panel of colored cardstock.
- Run it through your die-cutting machine with the Dancing Cosmos 3D Embossing Folder.
2. Add Colour with the Layering Stencils
- Secure the embossed panel on a sticky mat or a gel plate
- Align each stencil layer and apply Altenew White Cloud ink throughout all the layers of the stencil.
- Allow to dry, then apply the desired ink colours over the white ink.
I love adding metallic accents using Bronze, Platinum, and Silver — Altenew Pigment Inks.
Use lighter pressure for a soft painterly effect or build up saturation for bolder results.
3. Finish with Sentiments
I added sentiments from the Honeycomb Haven Stamp set, die cut with the Add-On Die Set.
1. silver accents
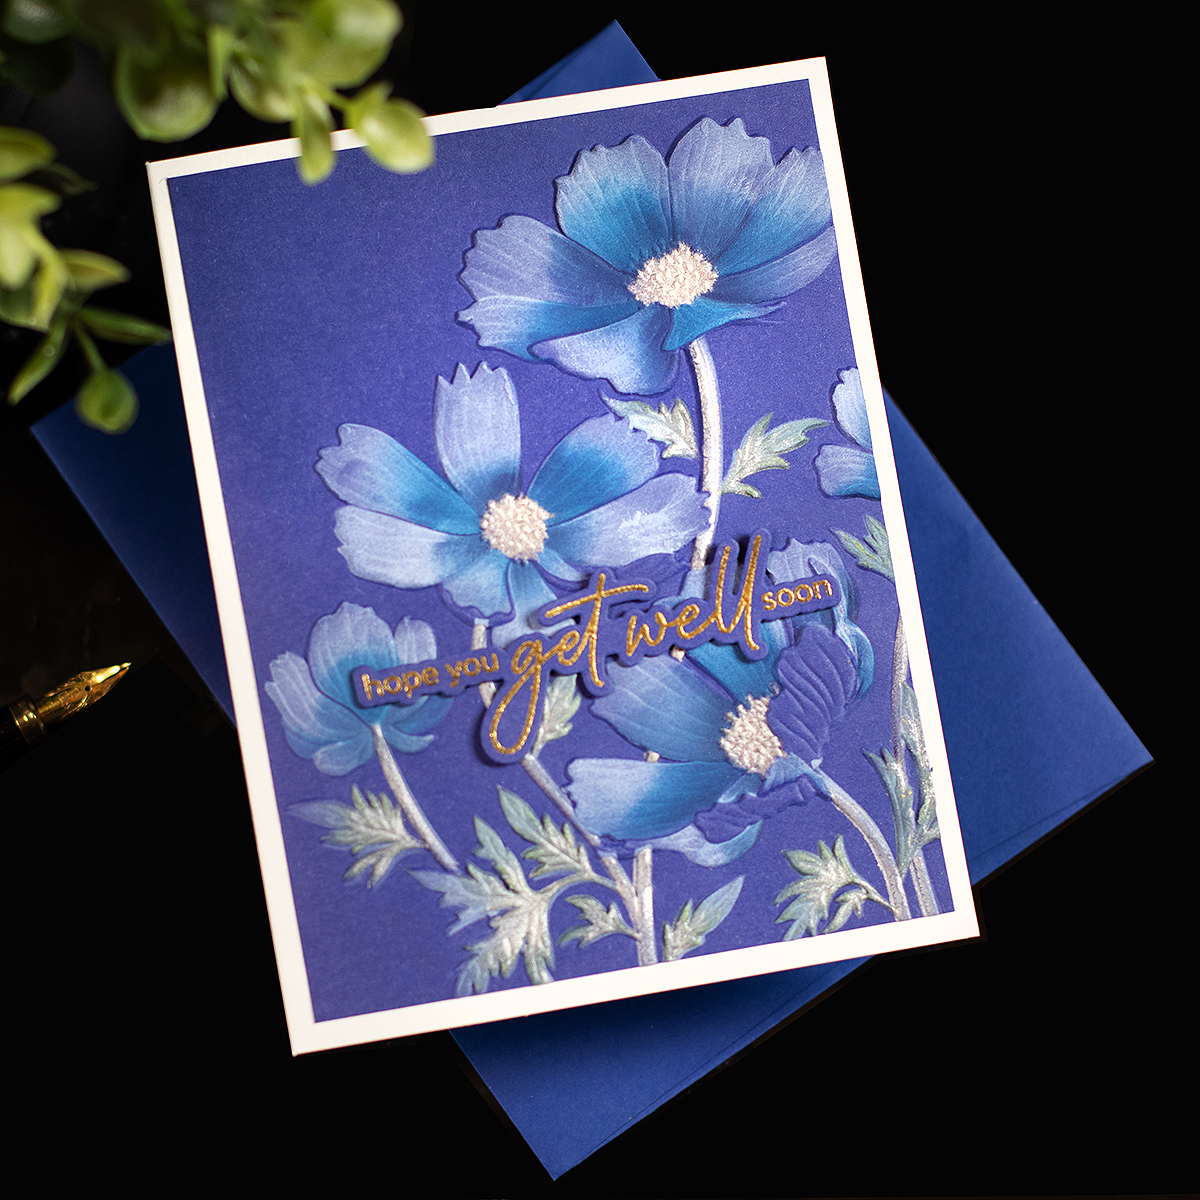
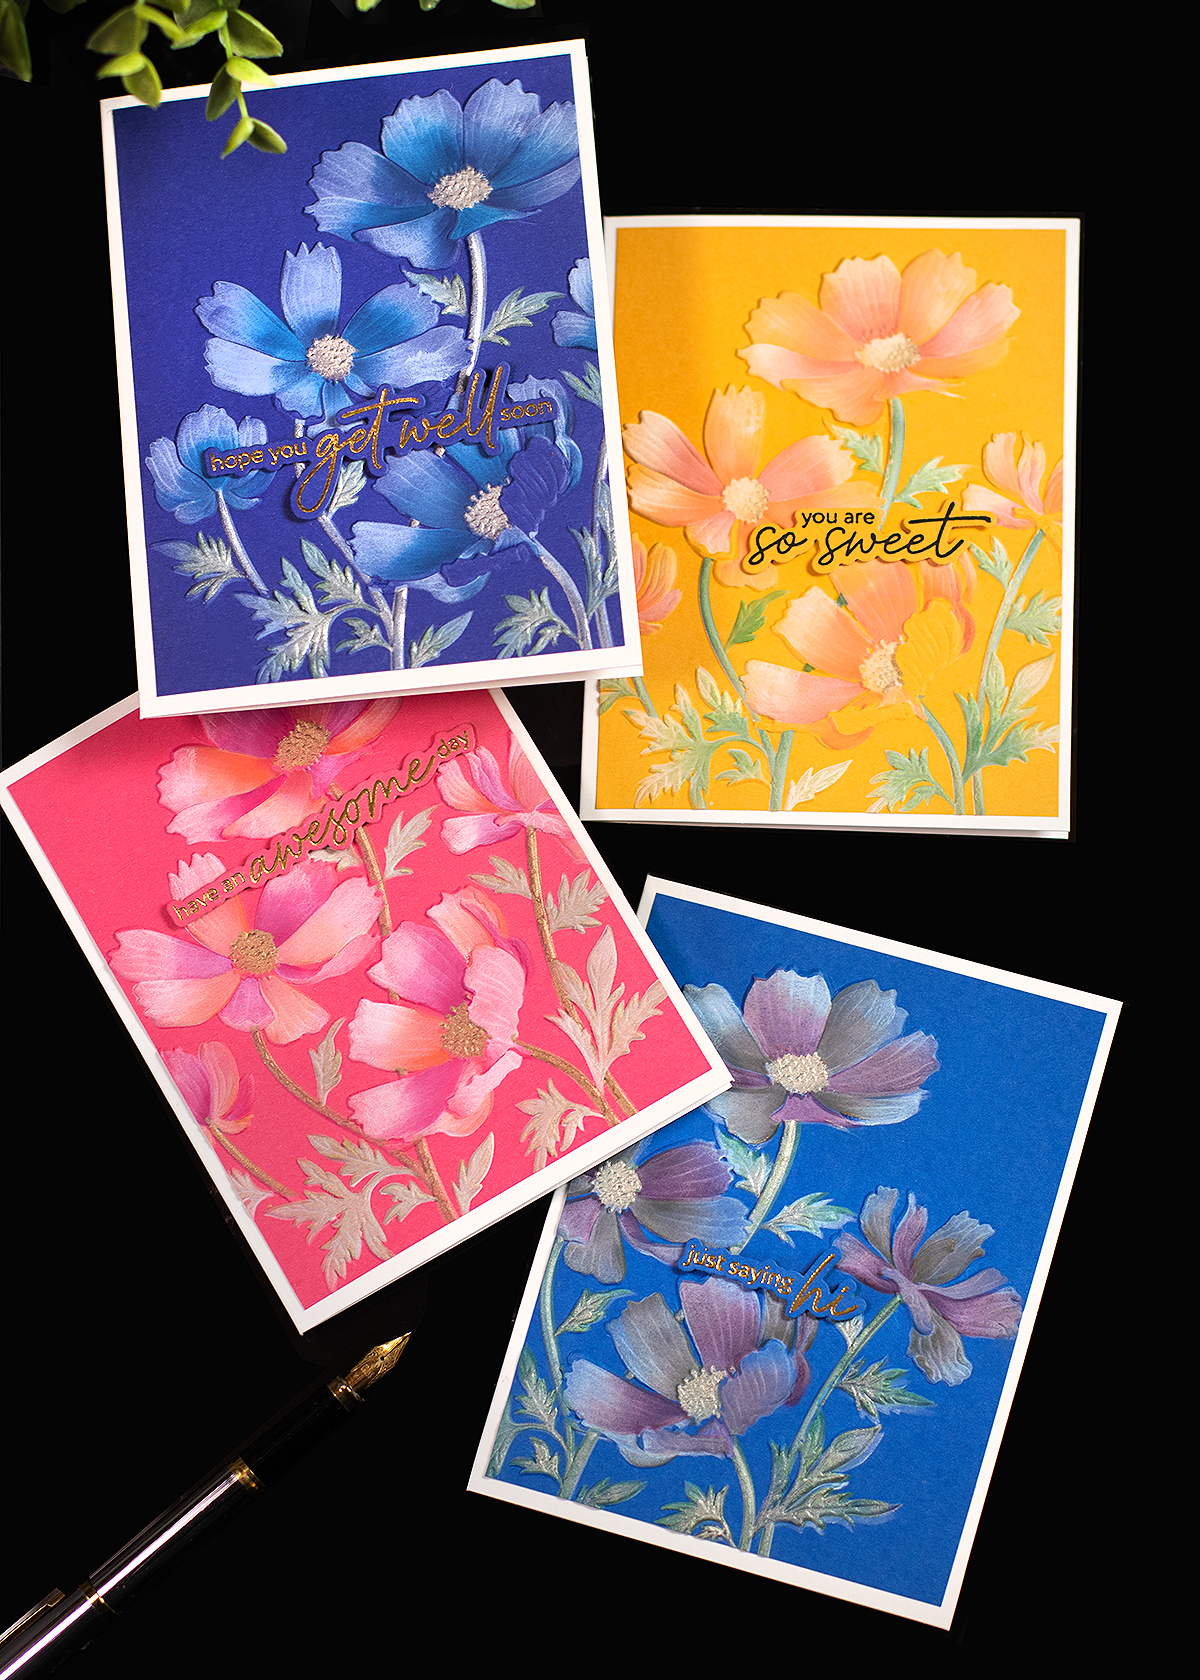
For this card, I opted for a striking monochromatic look by applying a base layer of white ink and then blending Desert Night and Navy inks over the flowers, with a touch of Lime and Silver ink added to the leaves and stems.
The embossed cosmos catch the light beautifully, and the silver-sparkled centres add a touch of luxury. A gold-heat embossed sentiment completes the elegant feel.
2. Platinum accents
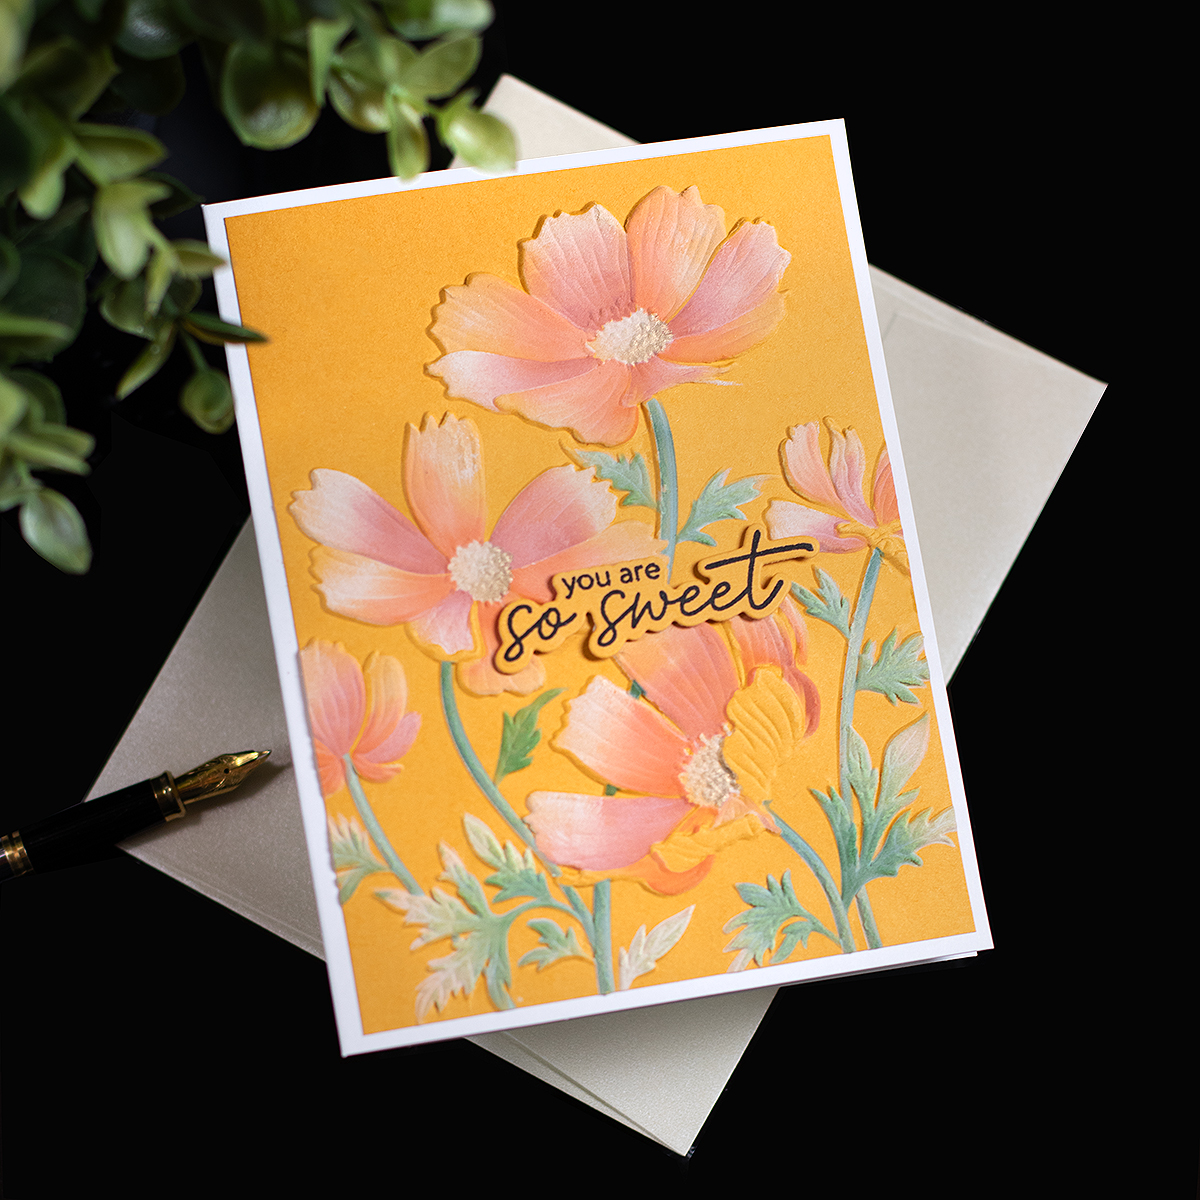
Next up is a radiant yellow panel filled with citrusy, warm cosmos.
The stencils make it effortless to blend Firebrick and Autumn Blaze inks into the petals, while Lime and Mountain Pine add depth to the stems, with a hint of Platinum on the flower centers.
This card feels cheerful, friendly, and perfect for a “You Are So Sweet” message.
3. bronze accents
4. platinum accents

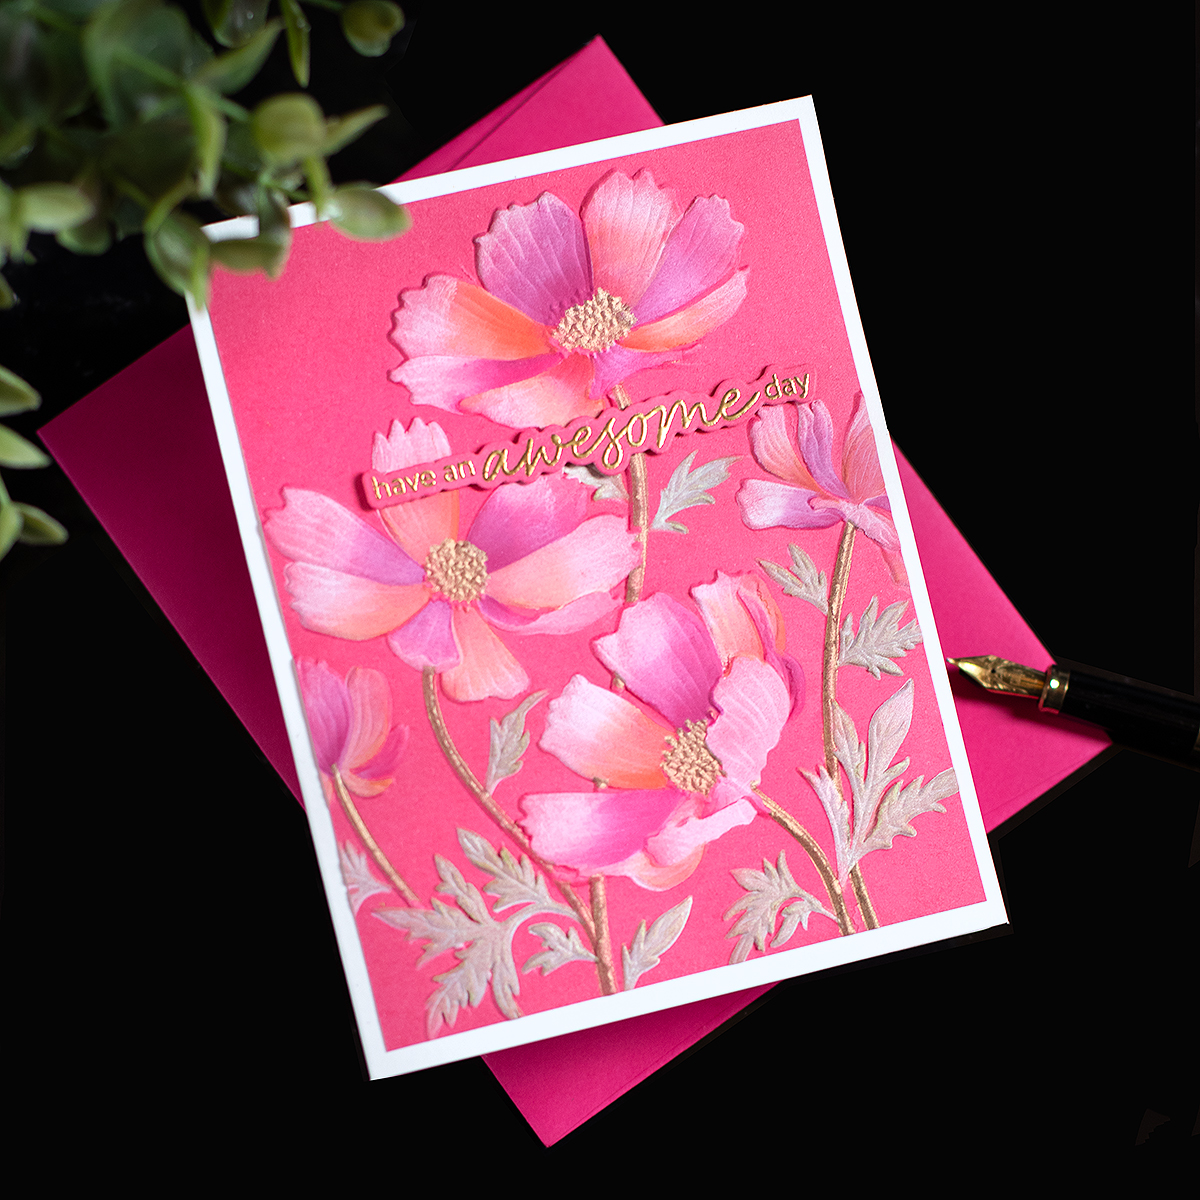
The last card features the same ink colours used on the yellow card (Card 2), but the inks take on a completely different look depending on the cardstock colour beneath them.
Firebrick and Autumn Blaze blend beautifully on the petals, while Lime with a touch of Platinum adds shine to the leaves and the flower centres.
These undertones create a magical, luminous feel and pair perfectly with simple metallic sentiments.
That’s all for today
I hope you’ve enjoyed this post.
Happy Crafting.
X Bibi
Thirsty for More?
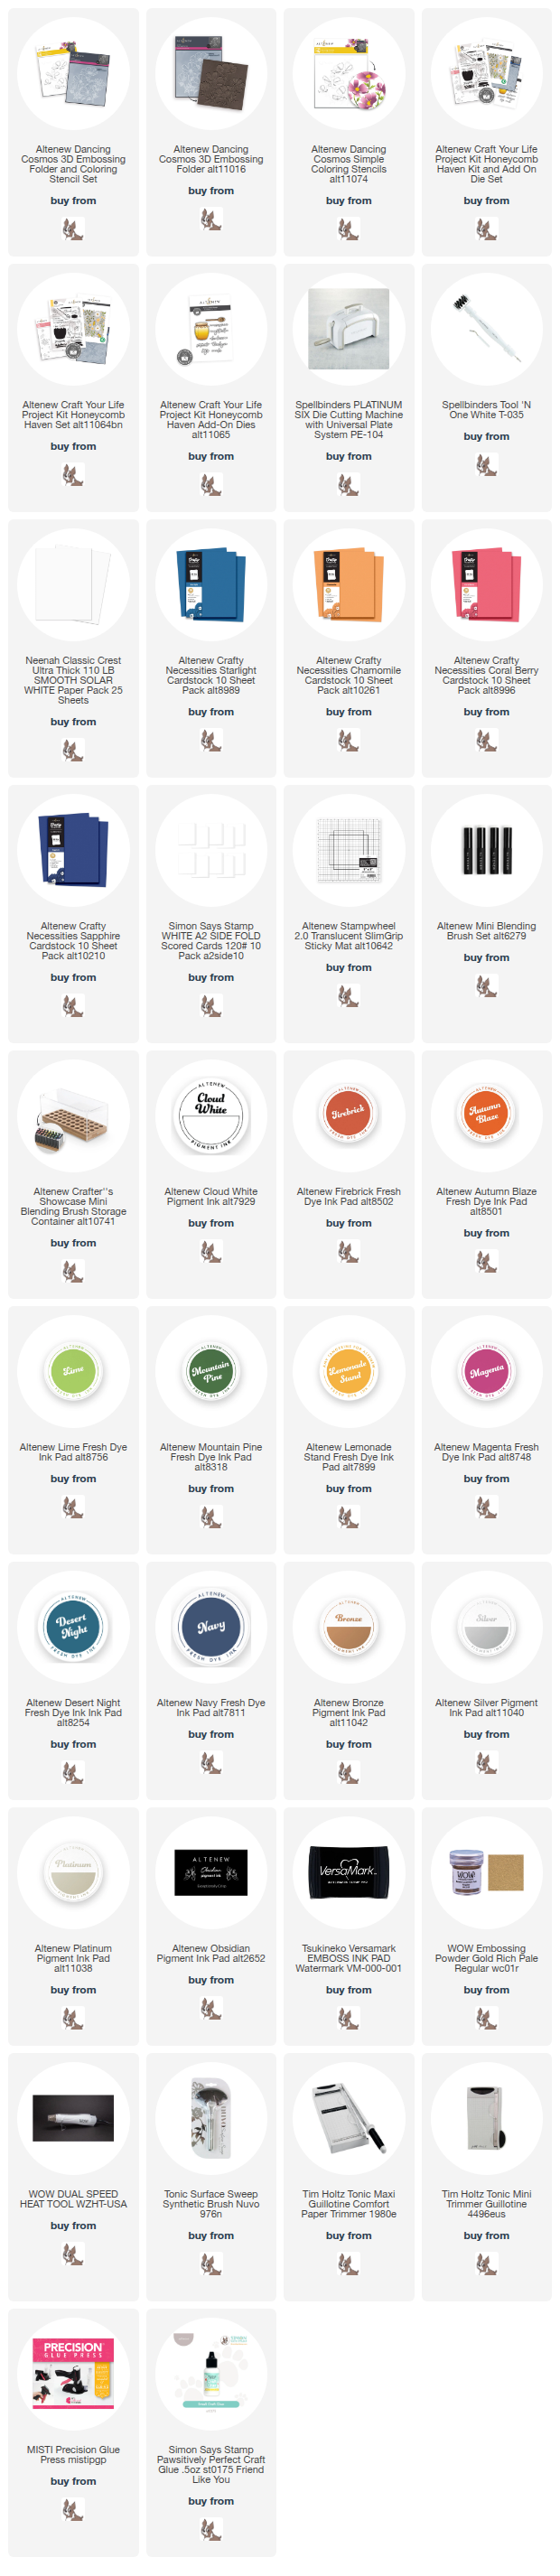
Supplies
Affiliate links apply at no extra cost to you. Thanks for your support.

![Hello crafty friends! I’m passing by to share a card featuring products from the new Simon @simonsaysstamp Always There release.
I combined Luna Flower, Willowweave, and the new Pink Fairies inks to create this layered floral design.
MORE DETAILS ➡️ in my blog [Link in bio]
You can also type on my blog search box : « luna flower » to find the post at any time.
Happy crafting.
Bibi
#simonsaysstamp #cardmaking #diecutting #papercraft #ink](https://bibicameron.co.uk/wp-content/plugins/instagram-feed/img/placeholder.png)
These cards are gorgeous. Your skill is great – thank you for sharing!