Hello Crafty friends, I’m passing by to share 3 easy cardmaking ideas using the new Altenew Translucent Foliage Project Kit.
I’m also using some of the latest Altenew Fresh Ink colors: Delectable Delights and Tranquility. Deep blue tones and sandy shades also remind me of the beach’ colours.
So I used the new ink tones to add color to the card samples in this post.
Video
Translucent Foliage Simple Stamping
CardS Recipe
- Craft Your Life Project Kit: Translucent Foliage
- Stampwheel 2.0
- Obsidian Pigment Ink
- Mini Blending Brushes
- Delectable Delights Fresh Dye Ink
- Tranquility Fresh Dye Ink
- Sicilian Amber Cardstock
- Nimbus Cardstock
- Ultra Sticky Double Sided Tape
The Cardmaking Process
So these cards are C6 – A2 standard American Size ( 5-1/2″ x 4-1/4″)
- First, I stamped the images using the Stampwheel and Obsidian Pigment Ink.
- Then, I used the coloring stencils, Altenew mini blending brushes, and inks to add color.
- I die-cut the images and I arranged the different floral clusters.
- Once I was happy with the arrangement, I used press and seal to keep everything in place and to be able to add foam tape at the back.
- To finish, I adhered the floral to the front panel of the cards, added a sentiment, and embellished with some small pearls I have in my stash.
Translucent Foliage Embossing
Card Recipe
- Embossing folder from the Craft Your Life Project Kit: Translucent Foliage
- Butterfly from the Flutter & Bloom Project Kit
- Cloud White Pigment Ink
- Enchanted Gold Pigment Ink
The Cardmaking Process
This is also a C6 – A2 standard American Size ( 5-1/2″ x 4-1/4″) .
I wanted to explore textures.
- First, I embossed the panel.
- Then, I covered it completely using Altenew Dark Night Ink. Yes! You can apply ink first and then emboss the paper.
- Next, I passed the Cloud White Atenew ink pad over the raised areas of the image.
- I also rubbed the Enchanted Gold Ink pad over.
- It is important to allow each layer of the ink to dry before applying the other one.
- For the butterfly, I die-cut a solid piece of white cardstock. Then embossed the die-cut, and applied ink as I did for the background panel.
- I gold heat embossed the sentiment over a piece of navy cardstock.
- When exploring possibilities, I also stamped and die-cut the butterfly on a piece of vellum using gold ink, and I decided to add that extra layer behind the embossed butterfly to add a little bit of dimension.
Translucent Foliage Embossing and Stenciling
This C6 – A2 standard American Size (5 1/2″ x 4 1/4″) and it is rather easy to make.
It features a white embossed panel that was colored using stencils.
Card Recipe
- Craft Your Life Project Kit: Translucent Foliage
- Timeless Sentiments Die Set
- Mini Blending Brushes
- Vanilla Cream, Almond Butter, and Milk Chocolate from Delectable Delights Fresh Dye Ink set
- Enchanted Gold Pigment Ink
That’s all for today.
thanks for stopping by.
X Bibi
Thirsty for More?
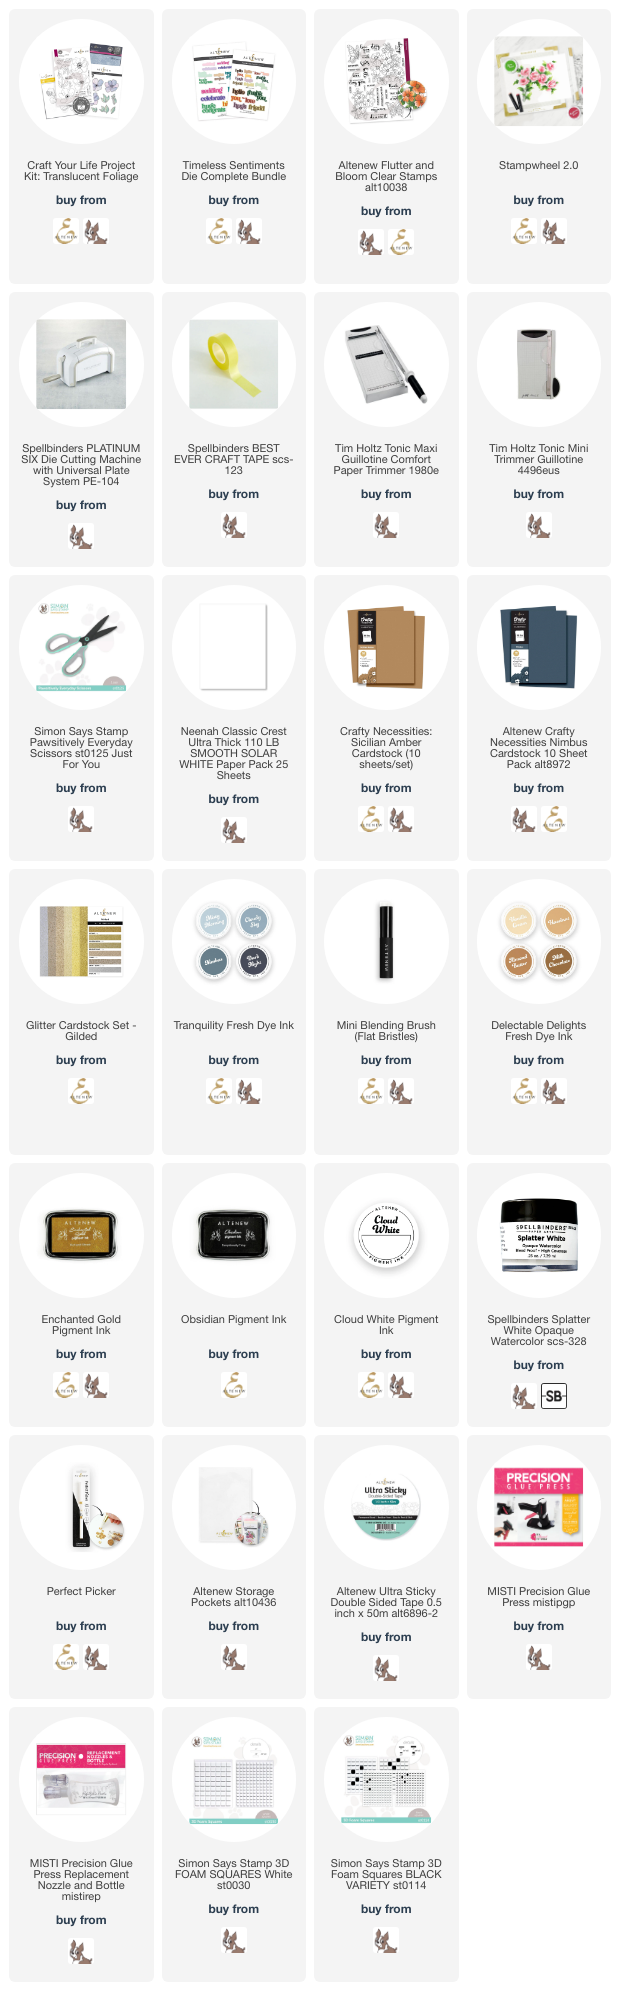
Supplies
Affiliate links apply at no extra cost to you. Thanks for your support.

![Hello crafty friends! I’m passing by to share a card featuring products from the new Simon @simonsaysstamp Always There release.
I combined Luna Flower, Willowweave, and the new Pink Fairies inks to create this layered floral design.
MORE DETAILS ➡️ in my blog [Link in bio]
You can also type on my blog search box : « luna flower » to find the post at any time.
Happy crafting.
Bibi
#simonsaysstamp #cardmaking #diecutting #papercraft #ink](https://bibicameron.co.uk/wp-content/plugins/instagram-feed/img/placeholder.png)
Leave a Reply