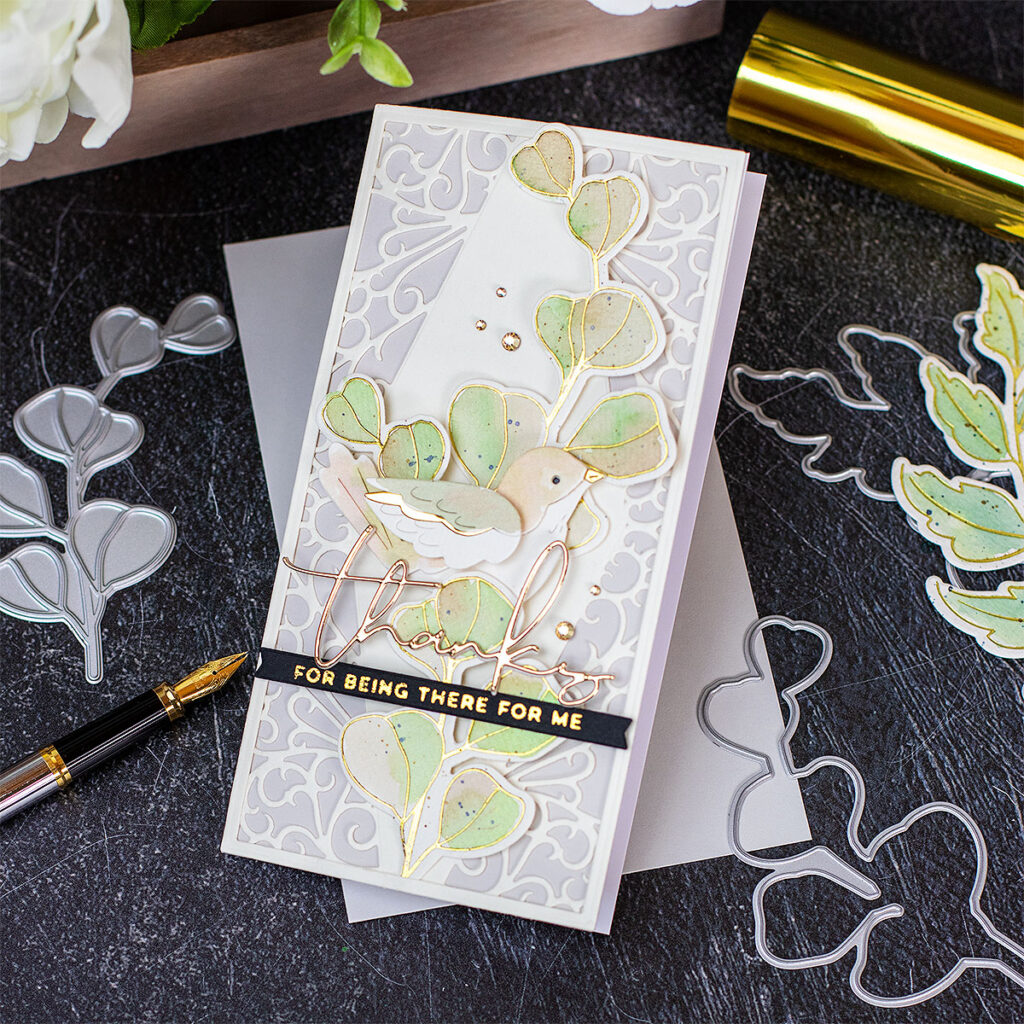
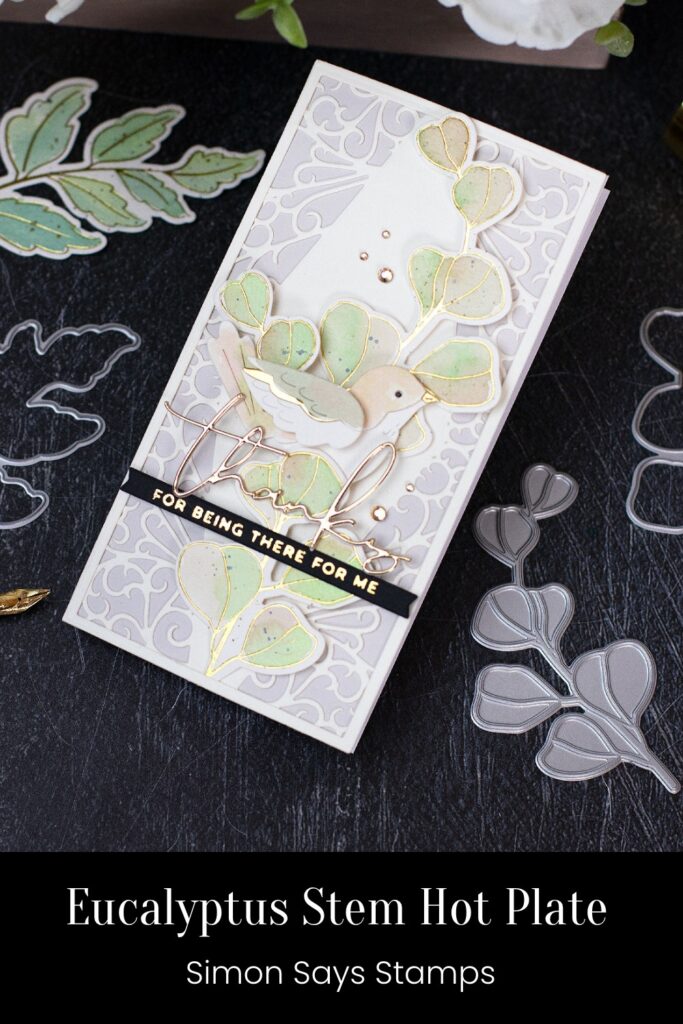
Hello crafty friends, the new Eucalyptus Stem hot plate by Simon Says Stamp is gorgeous.
This plate is part of the latest SSS release called Happy and Joyful and something that called my attention is the fine and delicate gold hot foiled lines created by this hot plate.
Eucalyptus Stem hot plate by Simon Says Stamp
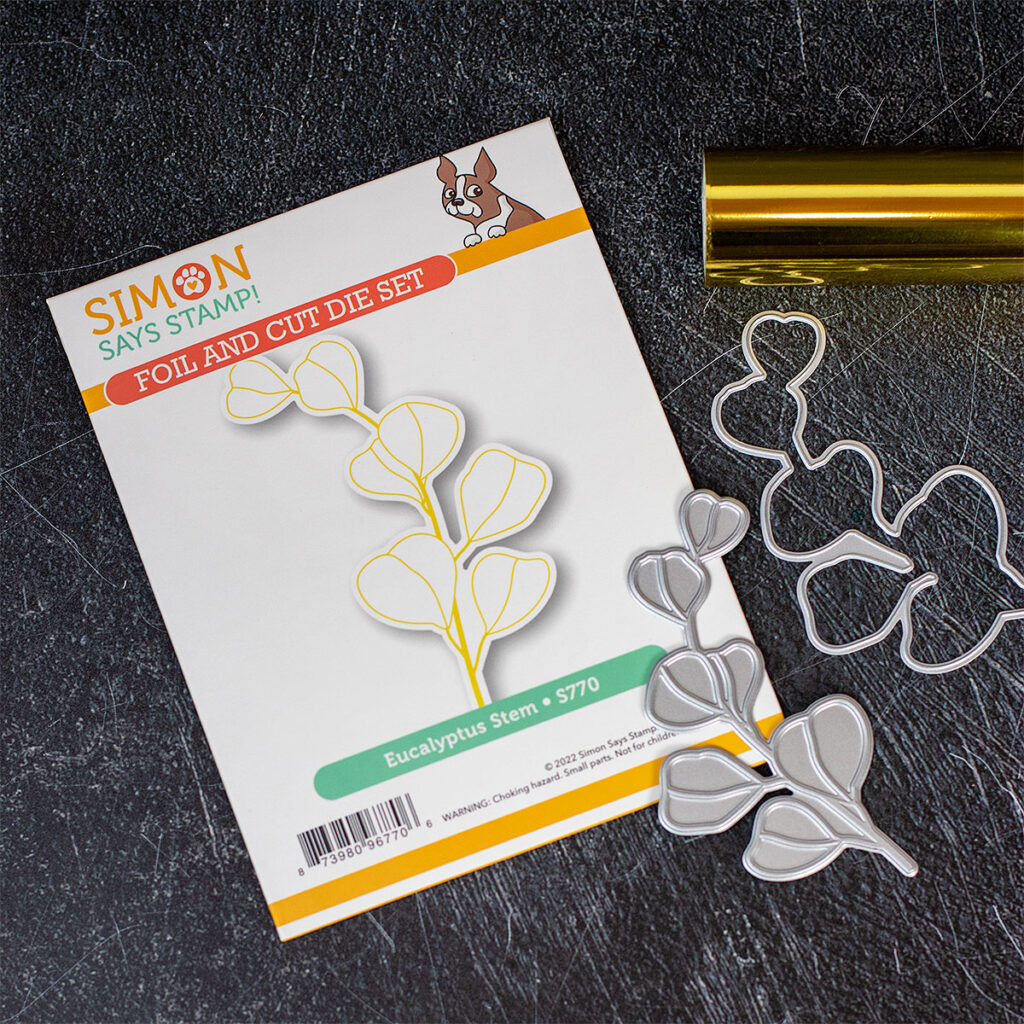
Here is a visual of the new Eucalyptus Stem Hot plate by Simon Says Stamp…
- The pack includes a hot plate and coordinating die.
- The stem measures about 2″x 4″ inches.
The Cardmaking Process
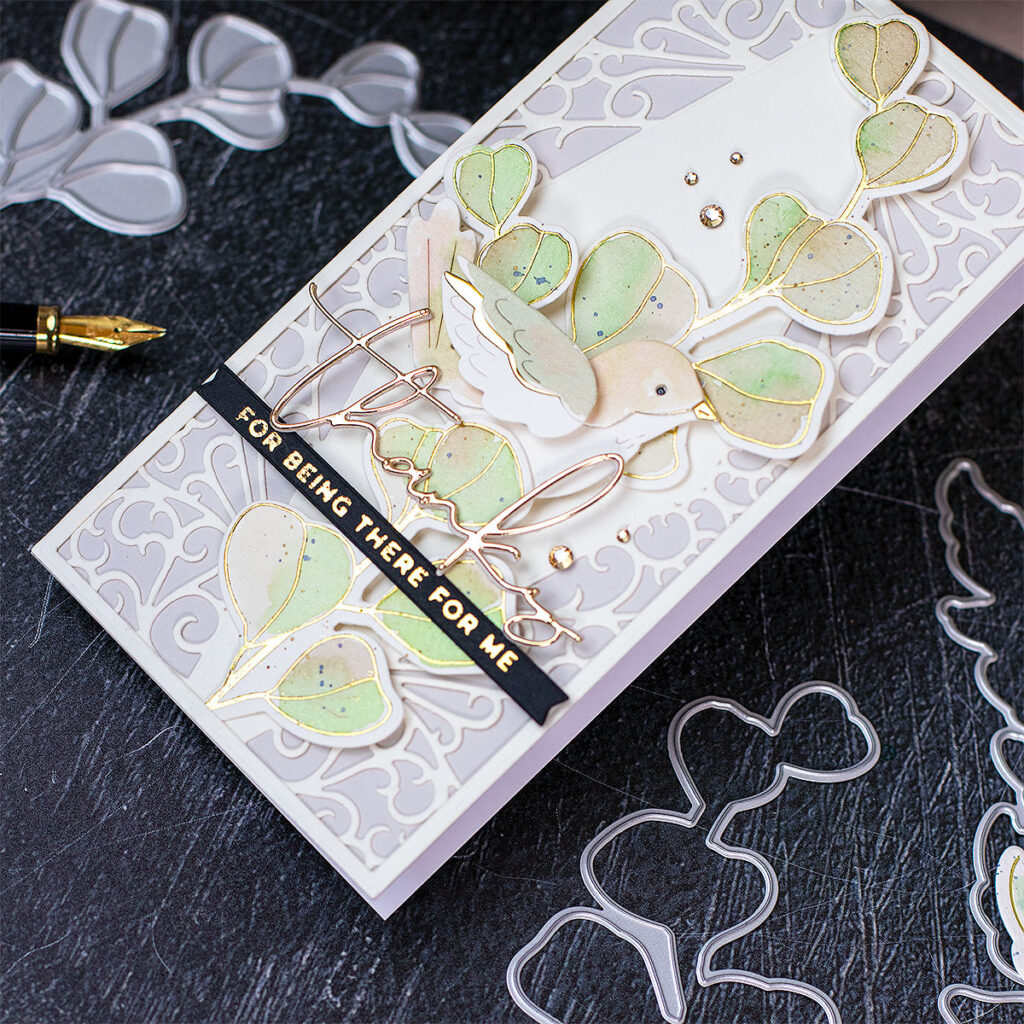
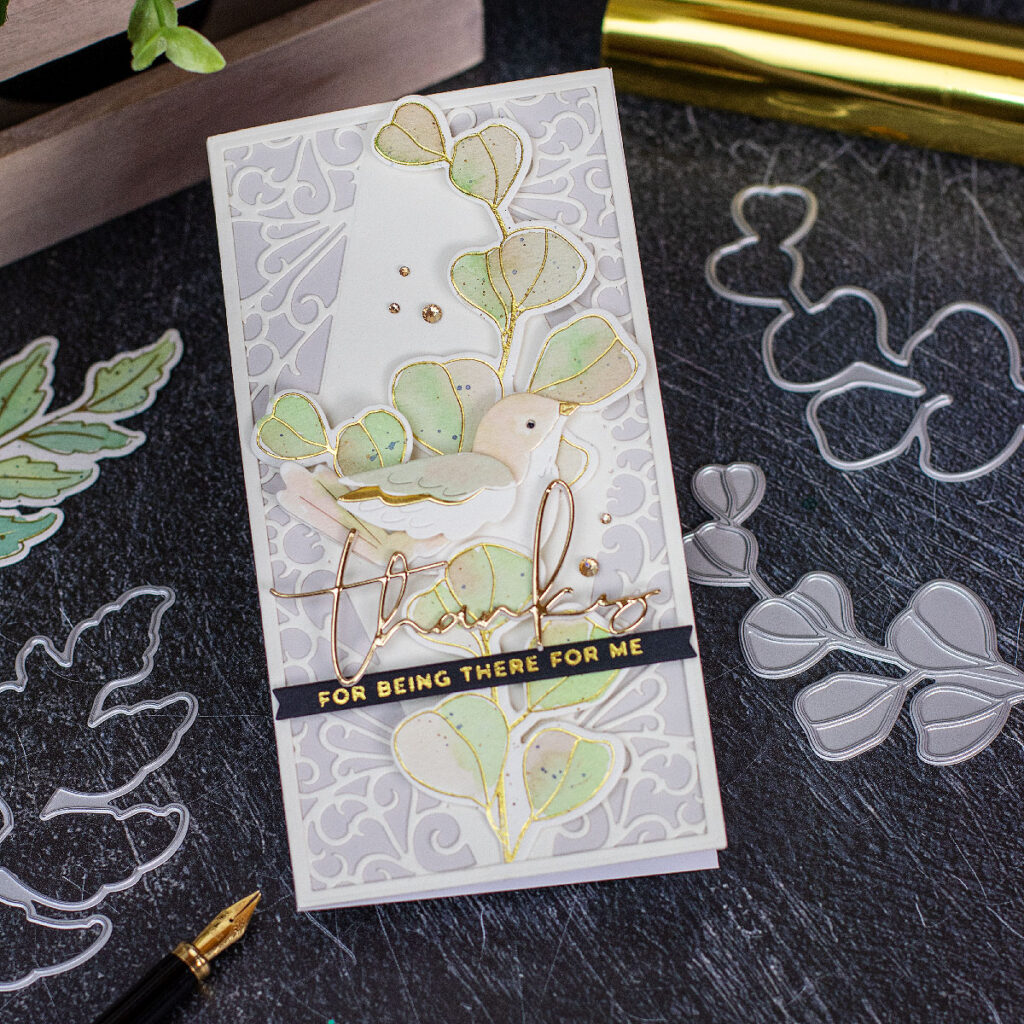
This card measures 3-1/4 x 6-1/4 inches.
- First, I hot foiled the Eucalyptus Stem hot plate image on Strathmore watercolour paper (300 grams) with no issues whatsoever.
- Strathmore watercolour paper (300 grams) is INCREDIBLE to do hot foiling as it got little texture.
- Then, I die-cut a little bird out of watercolour paper and SSS Matte Gold mirror cardstock using the Layered Birdie wafer die.
- To add colour to the foiled image and the die-cut bird, I used a mix of green, yellow, red and black Nuvo Shimmer Powders diluted with water.
- Nuvo Shimmer Powders used: Jade Fountain, Falling Leaves, Solar Flare, Storm Cloud, Catherine Wheel.
- BTW! I use a very tiny amount of the Nuvo Shimmer Powders and loads of water.
- For the sentiment, I used the die “Thanks” from Yana Layered Script Sentiments to die cut gold mirror cardstock.
- To complete the sentiment, I gold hot foiled on black one sentiment from the Yana’s Special Sentiments Glimmer Hot Foil Plates and Dies and I used Polished Brass hot foil.
- For the background, I used the Half Slimline Diamond die set to die cut a slimline panel, but I decided to shorten the panel so I die cut it using the larger die from the Precision Layering Mini Slimline A die set.
- Using the 2 largest dies in the Precision Layering Mini Slimline A die set, I die cut a frame to cover the raw edges of the background panel.
- Behind the intricate die-cut panel I added a piece of coloured cardstock.
- To finish, I foam mounted the leaves and the bird on the panel, I glue the sentiments over and I glued the panel onto a card base.
- I embellished using Gold Mix Gems.
How to Use Hot Plates?
To do hot foiling, I use the Spellbinders Glimmer Hot Foil System and the Spellbinders PLATINUM 6 Die Cutting and Embossing Machine.
- First, I turn on the Hot Foil System and I wait for it to heat up ( This takes about 5 min)
- While the system is heating up, I prepare the pieces I want to foil.
- So, I trim a piece of hot foil to the size of the hot plate I’ll be using and I place it on the paper with the shiny side up.
- I use low tack tape to keep the foil in place over the cardstock.
- Then, I place the hot plates over the foil and I secure the hot plate ( raised area facing down) over the foil also using low tack tape.
- Once the Glimmer Hot Foil System is ready, I place the hot plate on the platform with the paper on top and I add the 2 Resistant Acrylic Spacer Shims over.
- Next, I click on the timer button
- When the timer light stops flashing out, I remove the platform from the Hot Foil System and I run it through the Spellbinders PLATINUM 6 Die Cutting and Embossing Machine.
- Once this is done, I place the platform back in the Hot Foil System.
- To finish, I removed the paper and with the hot plates temporary adhered to it.
- I allow this to cold down and remove the plates.
- Voila!
This is a lot more difficult and long to explain than to do! Phew
KEY Foiling TIPS
- To keep the hot foil plates and the foil in place over the paper, I use the Best Ever Craft Tape by Spellbinders, low tack tape by Crafter’s Companion ( pack of 3 under $7, ) or Scotch 3M low tack tape.
- Use from “ultra-smooth” cardstock 250 to 300 grams.
- Spellbinders Glimmer Specialty Cardstock is the very best for hot foiled sentiments, frames or solid shapes. You can apply random colours but this cardstock won’t allow perfect alcohol ink blending using markers for example.
- 300 grams cardstock works the best ( if you use thicker cardstock than 300 grams – 100 lb you could increase the chance to get over foiling)
- Do not add any extra shim of paper to the hot foiling sandwich this will generate over foiling.
- The best watercolour paper I have found to do foiling and at the same time colouring is Strathmore watercolour paper ( 300 grams).
- Using textured cardstock is not ideal as the foil might not reach the debossed areas of the paper.
- To remove over foiling you can start by gently using a swipe brush. Sometimes this is enough.
- If the brush is not enough to remove overfilling, then use a kneaded eraser ( it will gently lift the over foiling from the paper). Finally use a glue eraser to remove stubborn foiling use a clean sand eraser.
That’s all for today.
Thanks for stopping by.
x
Bibi
Thirsty for more?
Supplies List
Affiliate links apply at no extra cost to you. Thanks for your support.


Leave a Reply