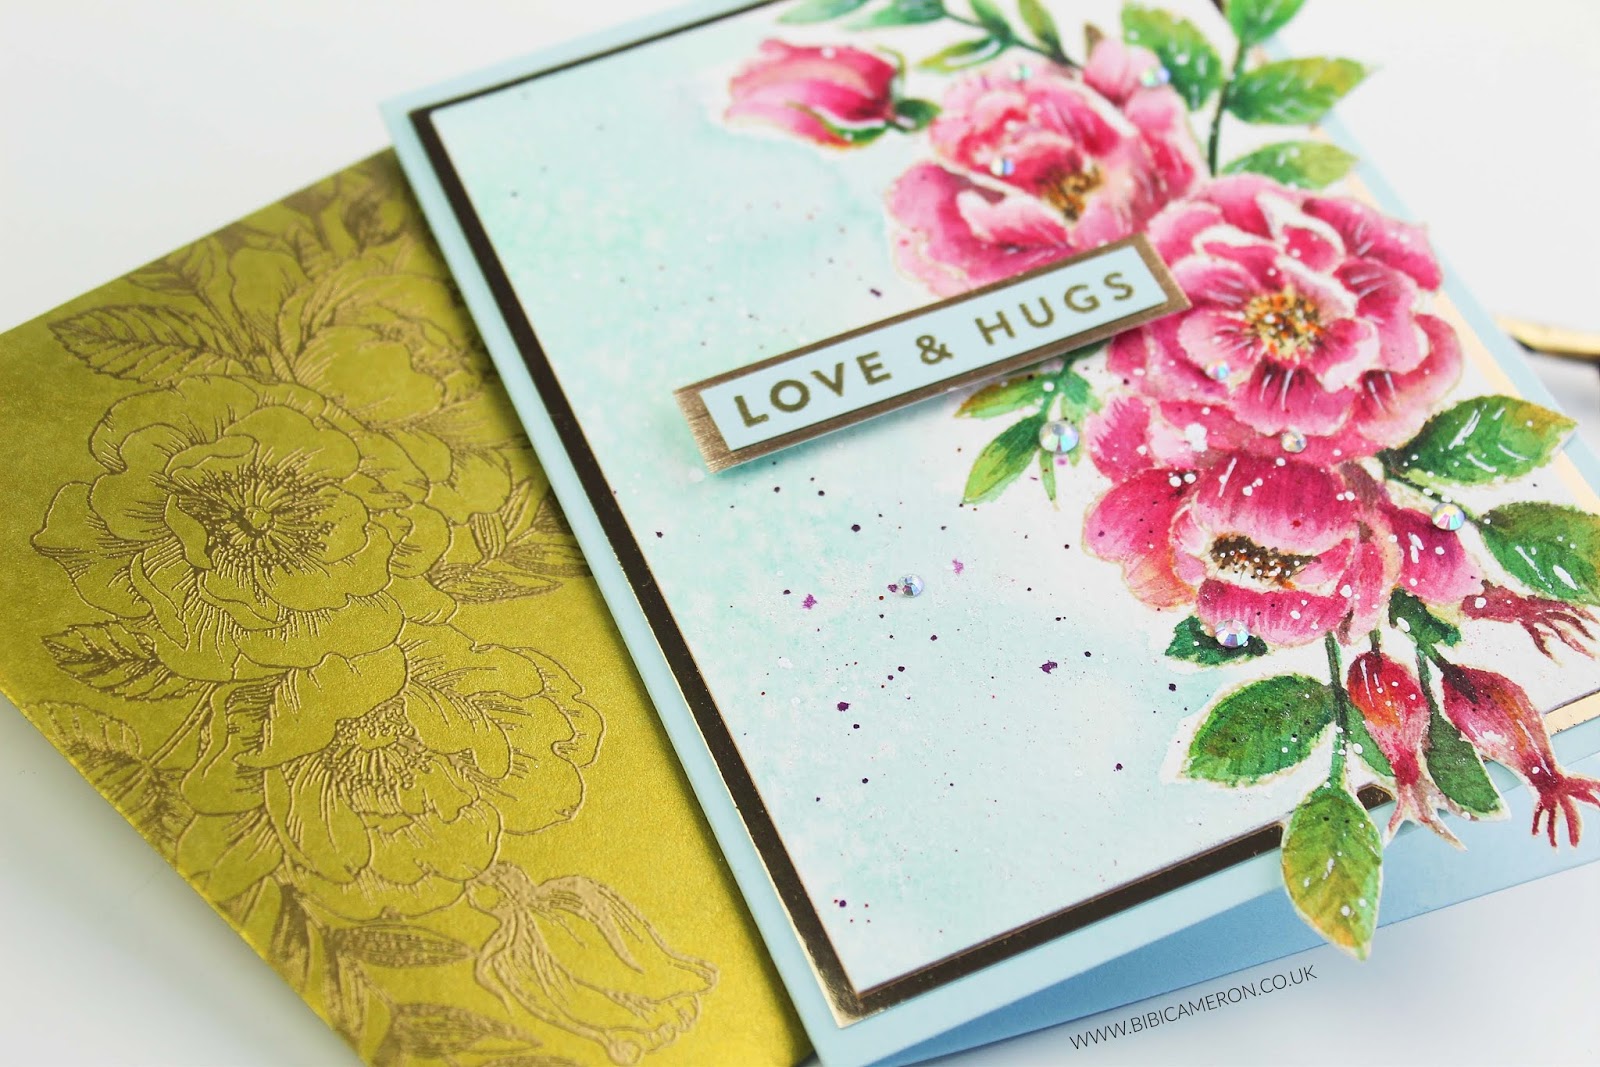
Hello everyone, I hope you had a great weekend! I had the honour to be invited as guest designer over the Simon Says Stamp Blog here! and I did a bit of what I love the most: watercolour!
It is not the first time I used “Beautiful Flowers Stamp Set”. You can see the previous Blog post here also featuring that stunning oversized floral cluster that is perfect to stamp the whole front panel of a card, a box, a tag or an envelope and it is wonderful to enjoy colouring.

To add colour to this card. I used Kuretake Gansai Tambi watercolours paints, these are beautiful, easy to use, great quality at amazing value and you will get all the colours you will ever need including gold, silver and pearl in the 36 colour set.
You can spray water on the paint and mix different paint colours on a pallet to create thousands of new colour shades… the sky’s the limit.
To apply paints to your artwork, you can use a water brush or watercolour brushes. For the card today I only used a round tip Silver Black Velvet brush #4.

I started by stamping the image on the left side of a 6″x8″ inches piece of Arches watercolour paperusing Antique Linen Distress Oxide Ink.
I used red shades mixed with white to add colours to the flowers. To add lights I used yellow, orange and white. To add dark areas I used brown and black and to add colours to the leaves I used different shades of green.
I then applied a wash of aqua and green watercolour paints on the background and around the floral image. I mixed the paint with loads of water to get a very soft look.

When the paint was dry, I splattered the panel using a purple Nuvo Aqua Flow Pen, a Nuvo Shimmer Pen and then ink of a white Posca Marker to add texture.
I then used a pencil and a C6 rectangular die as a guide to trace a rectangle around the stamped panel, keeping the large image in the left of the panel. Some parts of the image were outside the rectangular shape and that was ok. As I wanted to keep them I simply cut the panel with a craft knife and I used scissors to cut around the images in those areas they were outside the line.
To keep this card as small as possible I trimmed the watercolour panel a little bit more so the final rectangular watercolour panel measures 4″ x 5 -3/8″ inches. I then glued it on a 4-1/4″ x 5-5/8″ inches piece of gold mirror cardstock and then onto a 4-1/2″x 6″ inches card base.
You can see that there are areas of the images completely outside the card so I had to make a larger envelope for it and I used the Envelope Punch Board to easily make a 5″x 7″ inches matching golden envelope. Voila!

I couldn’t resist and I heat embossed the large floral image on the back of the envelope using Versamark and Gold Nuvo Fine Detail Embossing Powder.
I also heat embossed the sentiment using Gold Embossing Powder and I made a little banner layered on gold cardstock.
To finish I embellished the card with crystals.
PIN ME

That’s all for today … I hope you like these ideas!
Thanks for stopping by and for your kind comments. I’m always happy to read to answer any question.
If you wish to receive my blog post or videos directly on your inbox please Subscribe to my blog here! or my Youtube Channel here!
Many hugs and happy crafting
x
Bibi
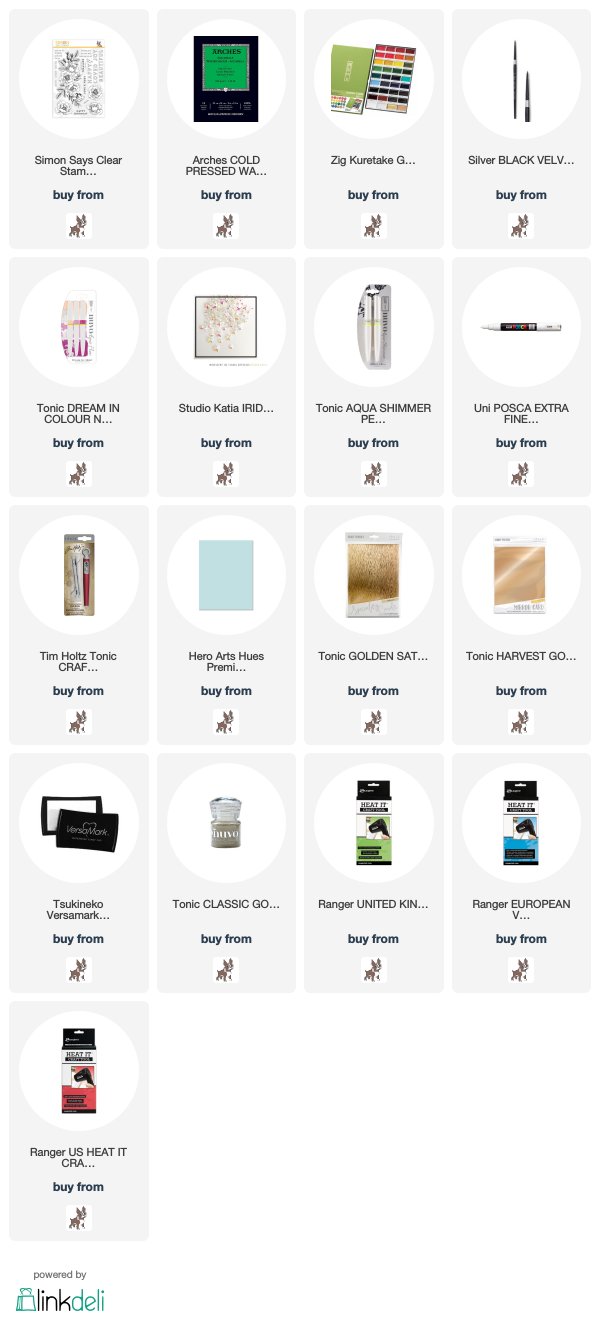
Supplies
Just a note to let you know that when you buy through the links below I get a small commission at no extra cost to you. Thanks for your support


![A little #watercolor joy,
bold #stamping,
a touch of metallic ✨
and a handmade card 💛
Easy #cardmaking ideas using @altenewllc artists watercolour tubes and a gorgeous bold image from the Craft Your Life Project Kit: Whispers in the Canopy.
All products are available at @simonsaysstamp
More info and supplies list on my blog [link in bio]
Or visit: Bibicameron.co.uk
Type “bold stamping” in the blog search to find the post anytime.
Happy Crafting.
Bibi
#altenew #cardmakingideas](https://bibicameron.co.uk/wp-content/plugins/instagram-feed/img/placeholder.png)
Fabulous card Bibi, I wish I could colour like you, this is stunningly beautiful <3
Thank you very much. Many Hugs. x
This is so beautiful Bibi! You are a master at watercoloring!
Maria
This is absolutely STUNNING! Love!