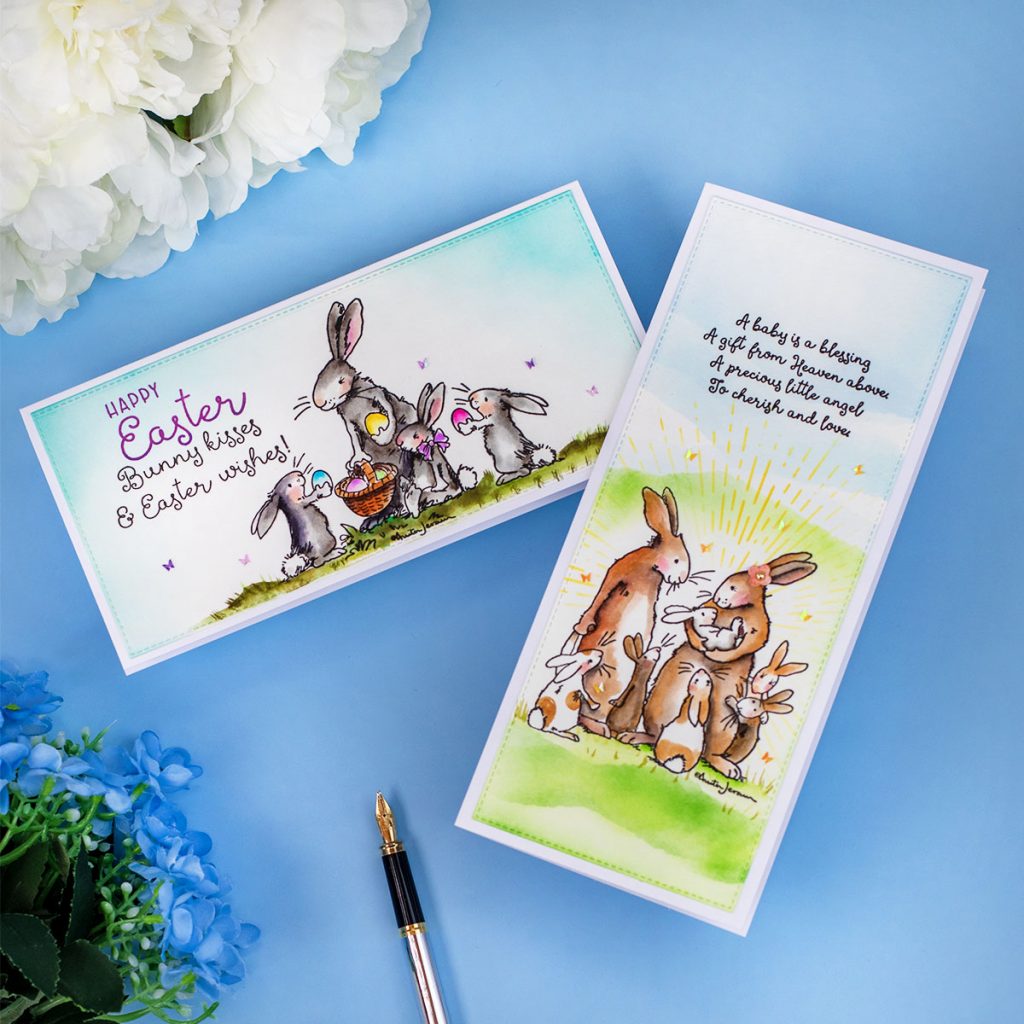
Hi everyone, Today I’m sharing 8 Watercolour Brush Pen Tips and gorgeous stamps designed by Anita Jeram for Colorado Crafts.
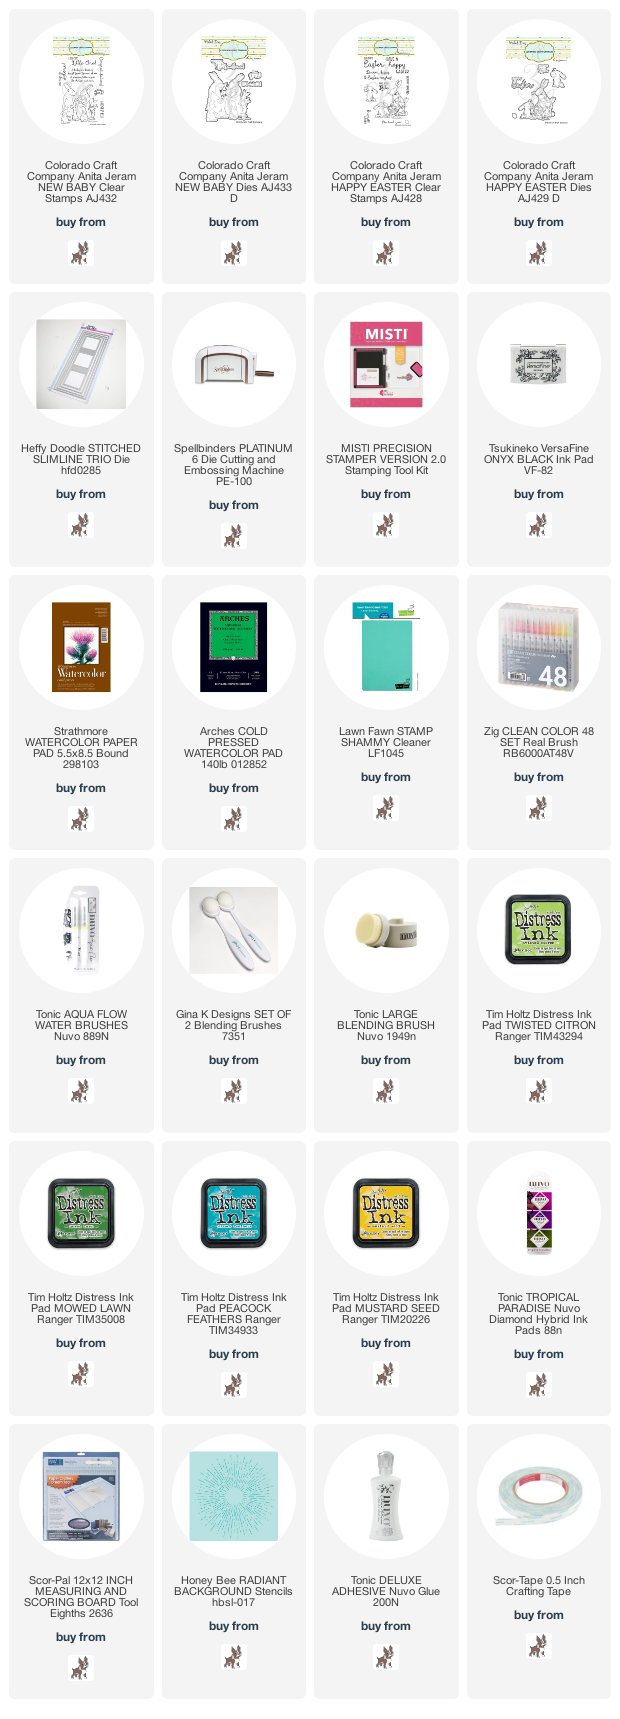
For this post I used :
Watch The Colouring Process
Watch short video only music on my instagram here!
8 watercolour BRUSH pen tips
- Get the right watercolor paper ( I recommend Arches or Strathmore 300 grams cold press).
- For easy coloring and stamping, stamp the images using waterproof ink. I used Versafine Onyx Black ink. Love it!
- Allow the ink to dry well or heat set it. (This is because if you pass your hand over the stamped image and the ink is still wet it will smear over the paper).
- Use “very little ink or paint”
- Blend with “very little water“.
- Keep cleaning the excess ink or paint from the brush so that you can achieve lighter areas as you spread the inks over the images.
- Apply as many layers of colors as you want and allow to dry each wash between applications.
- Use a brush designed to do watercolor or a water brush. Avoid using hard bristle brushes to do this.
BTW, I used the fine tip brush from the pack of 2 Nuvo Water Brushes. I have tried so many brushes and that one that is still my favourite is the one I’m using in my video.
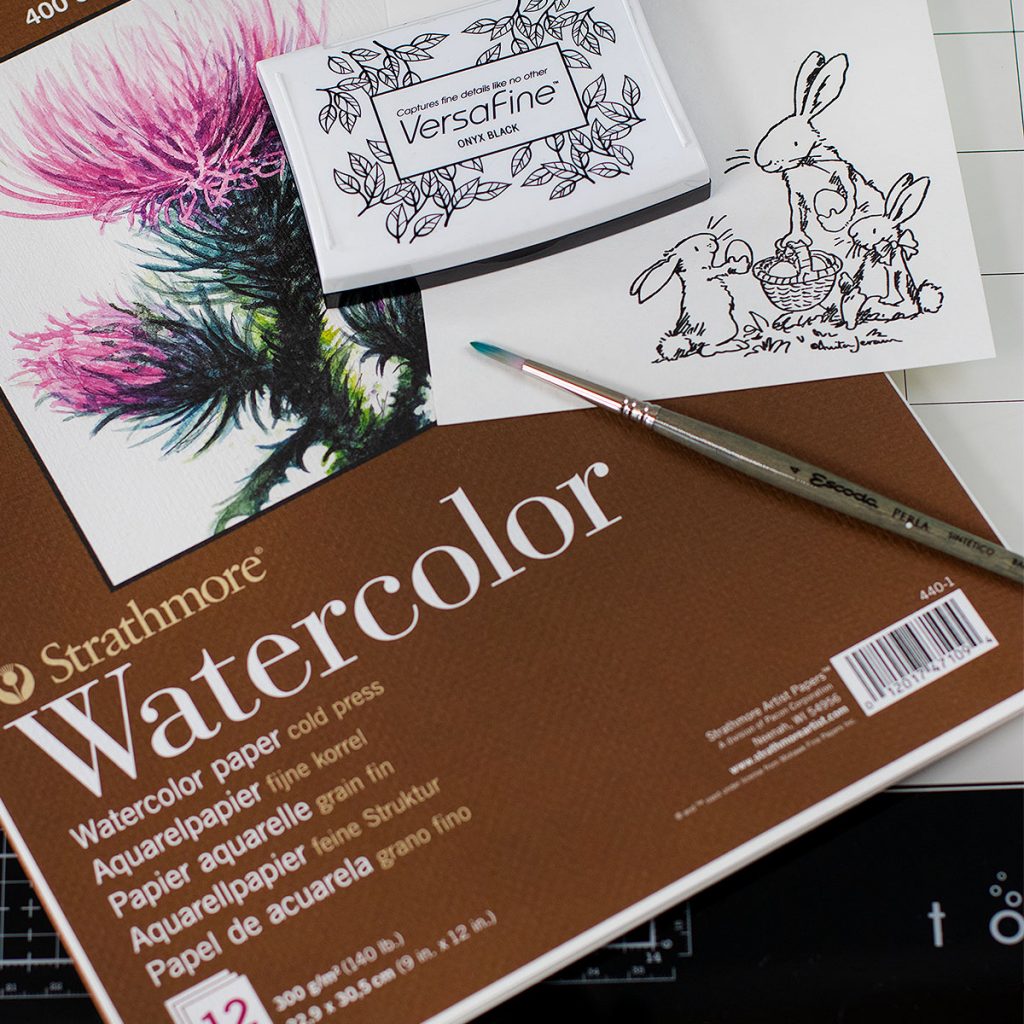
Colour Application Option 1
- First, I apply one single dark colour directly from the pen to the watercolor paper and over the edges of the images.
- Then, I use a “slightly wet” water brush to spread the pen inks towards other areas.
- Next, I apply as many layers of colors as I want ( I applied usually 3 washes ) until achieving the desired look.
- I allow drying each wash between applications.
- To finish, I use a black or very dark brown pen to add tiny shadows in certain areas of the images.
Colour Application Option 2
Instead of using one ink colour to start, I apply up to 4 ink colours and then I blend them all together in one go.
To finish, I used a dark marker to add shadows or contrast. As I did in the video above.
Zigs or Kuretake Clean Color Real Brush allow to do this with no problem.
NEW BABY SLIMLINE CARD
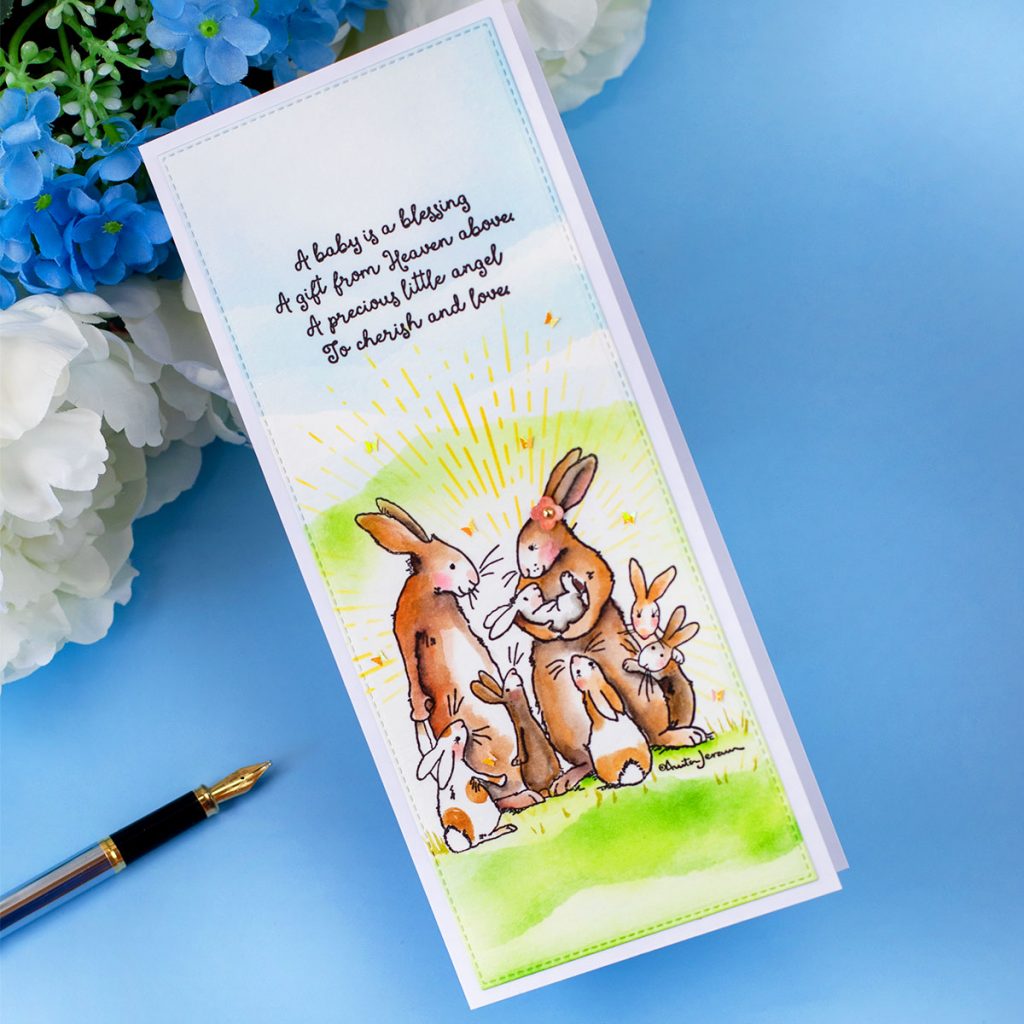
To make this card, I used New baby Stamp Set and I chose brownish Zigs brush pen colours in the fallowing shades:
Brown ( this is a reddish-brown), Beige, Mustard, and Oatmeal. For shadows and darker areas, I used Mid grey and dark Brown.
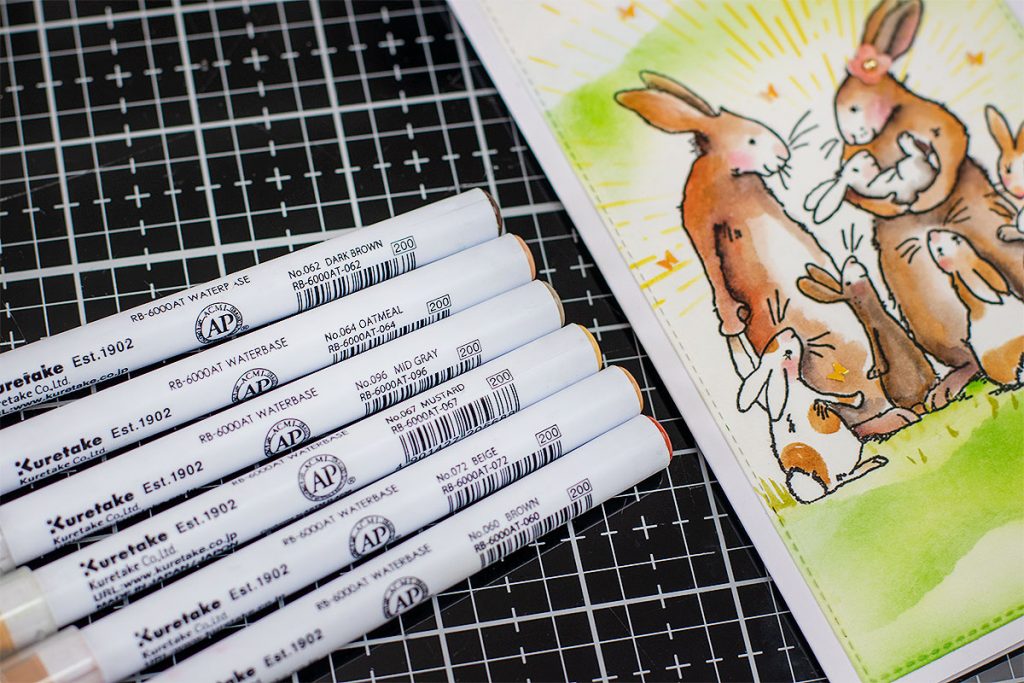
The background was made using Twisted Citron and Mowed Lawn Distress Inks and I torn a piece of paper to create a mask to add textures using a blending brush.
I also used Honey Bee radiant stencils and Mustard Seed Distress Ink to add a stencilled accent to this card.
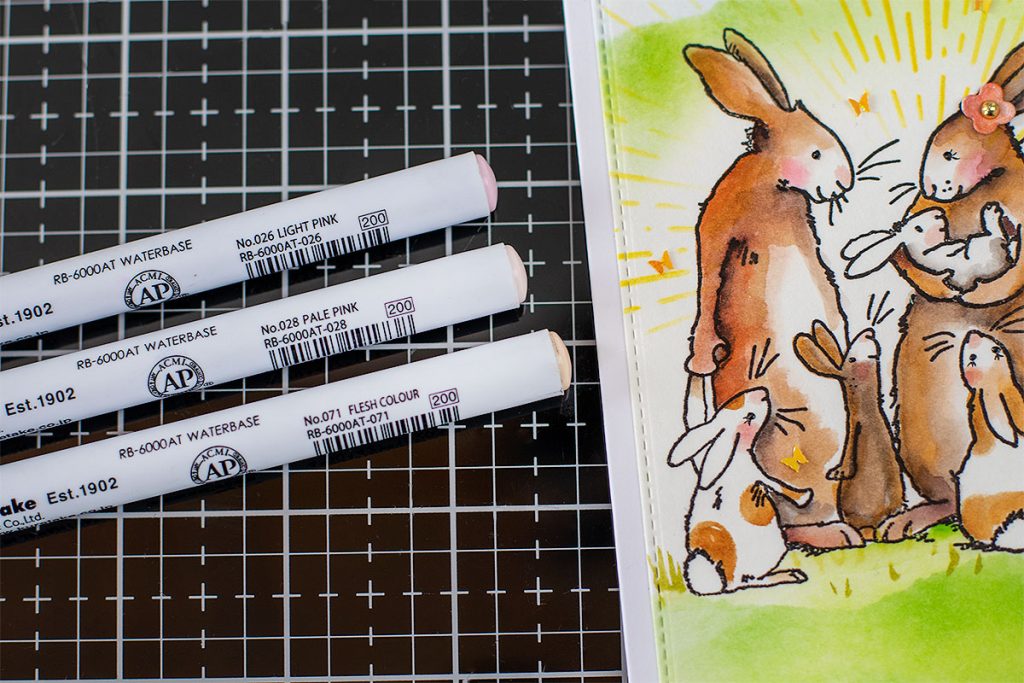
I also added colour to the chick and bunny ears using Flesh Colour , Pale Pink and a hint of light pink diluted with water.
HAPPY EASTER CARD
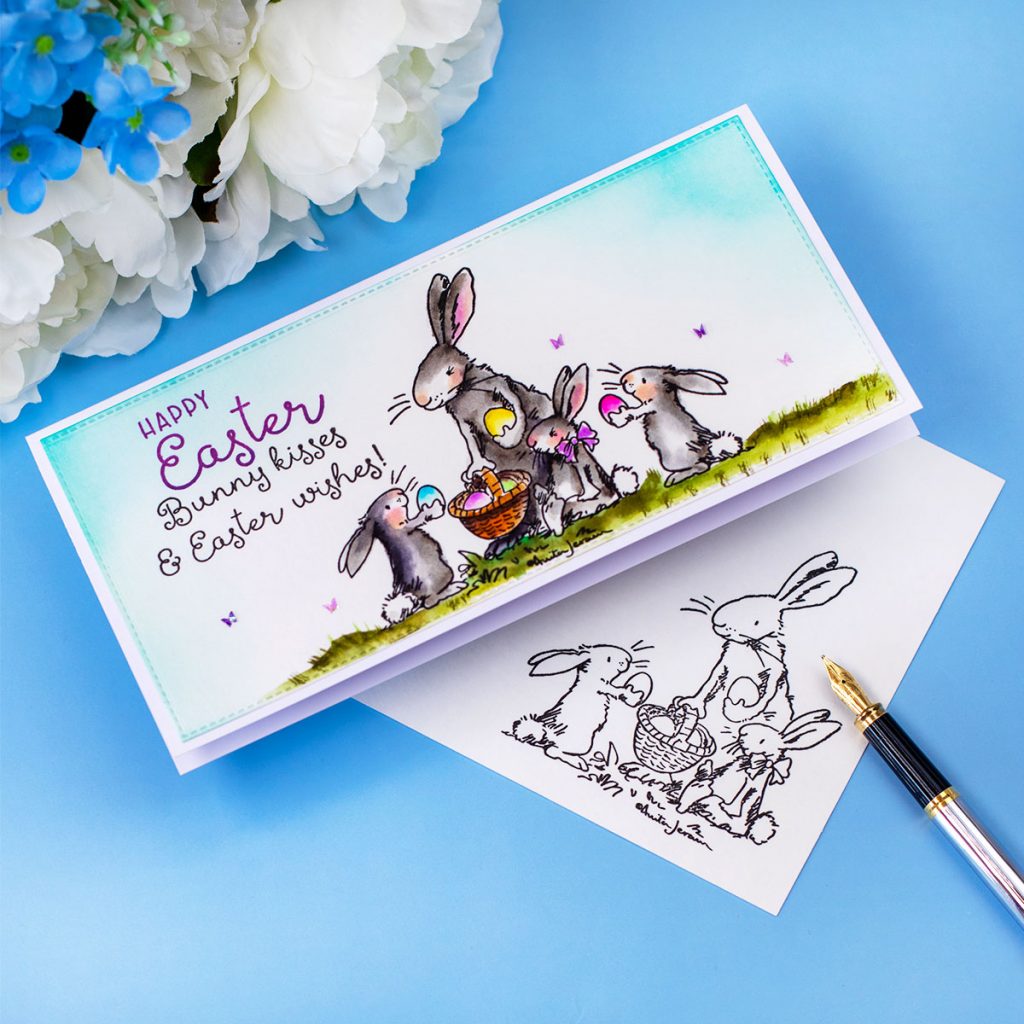
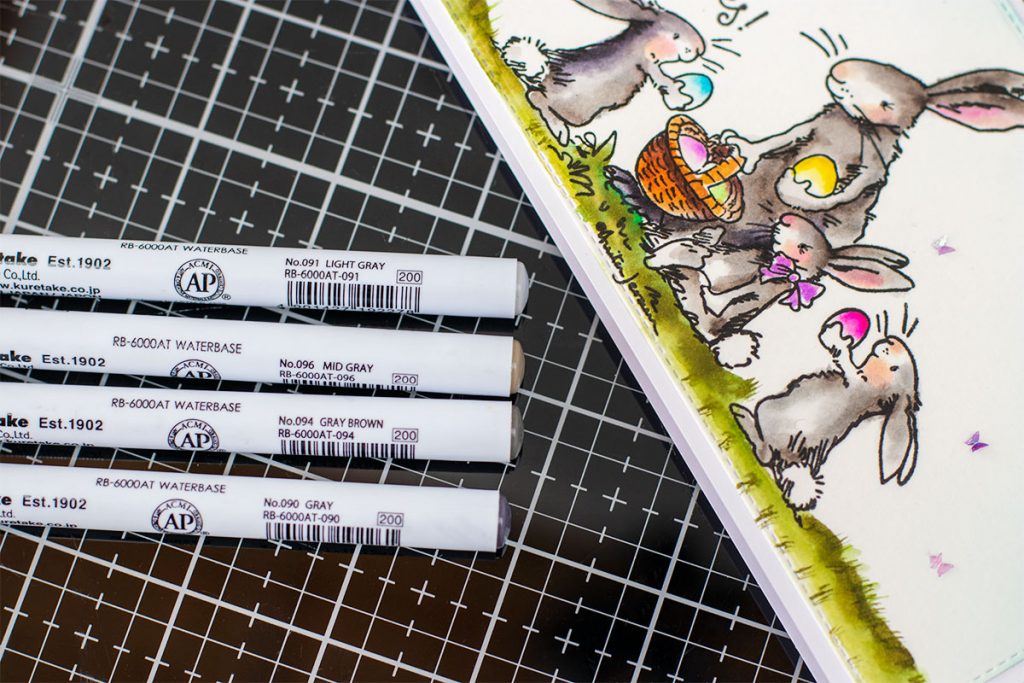
For this card I used Happy Easter Stamp Set and grey brush pen markers listed below:
Grey, Mid Grey and light grey and to warm up the tone, I added Grey Brown.
Fixing Mistakes
If you fallow the tips above, and you are good using tiny little bit of ink and water when working with water brush pens you will get light washes of colour easy to control.
The most common mistake I found is that while applying inky washes a dark ink colour could leak into an unwanted area or outside de edges of our images.
Some time you can take advantage of this and use the stain as a shadow. Sometimes you defo need to get rid of it.
Depending on the colour intensity, the pen you are using (non-staining or semi staining) you can get this fixed with easy.
- Option 1. while the paper is still wet, quickly grab a paper towel and lift up the colour from the area. allow to dry and keep colouring.
- Option 2. Using a slightly wet brush sweep the colour out the area once, then clean the brush and apply it up to 3 times until the stain vanishes.
****Avoid at all costs over-saturate the paper with water. This can melt the paper even when is designed to hold water.
Check My Latest Blog Post
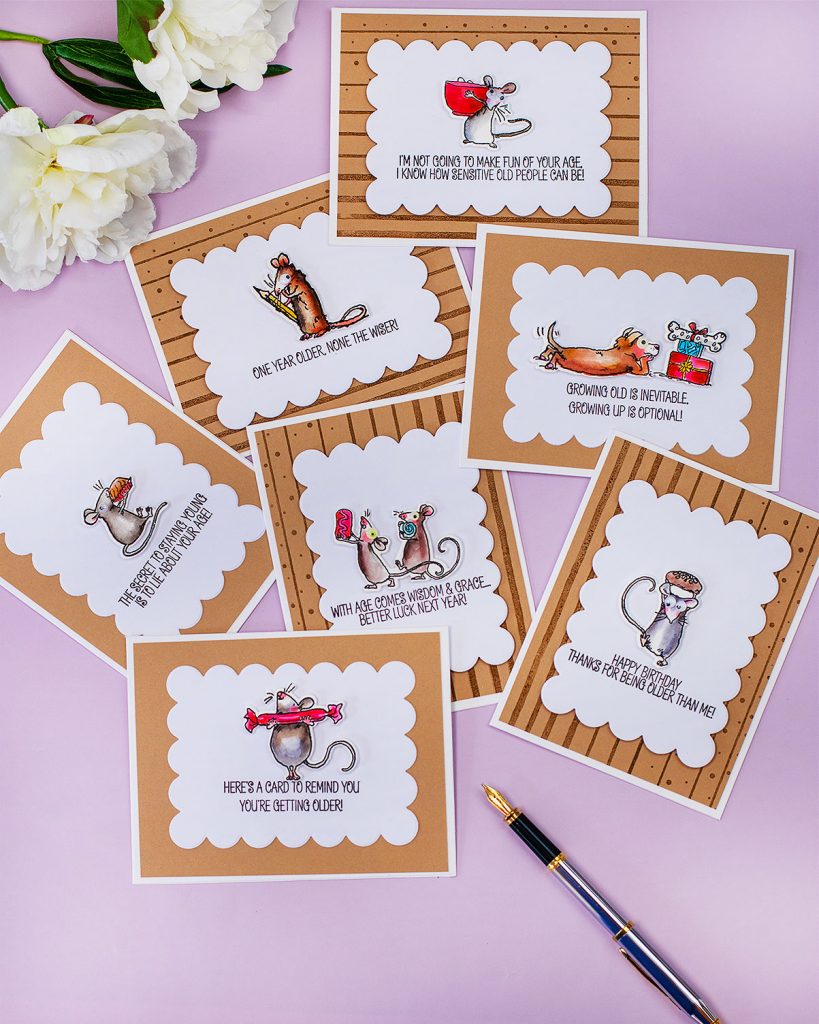
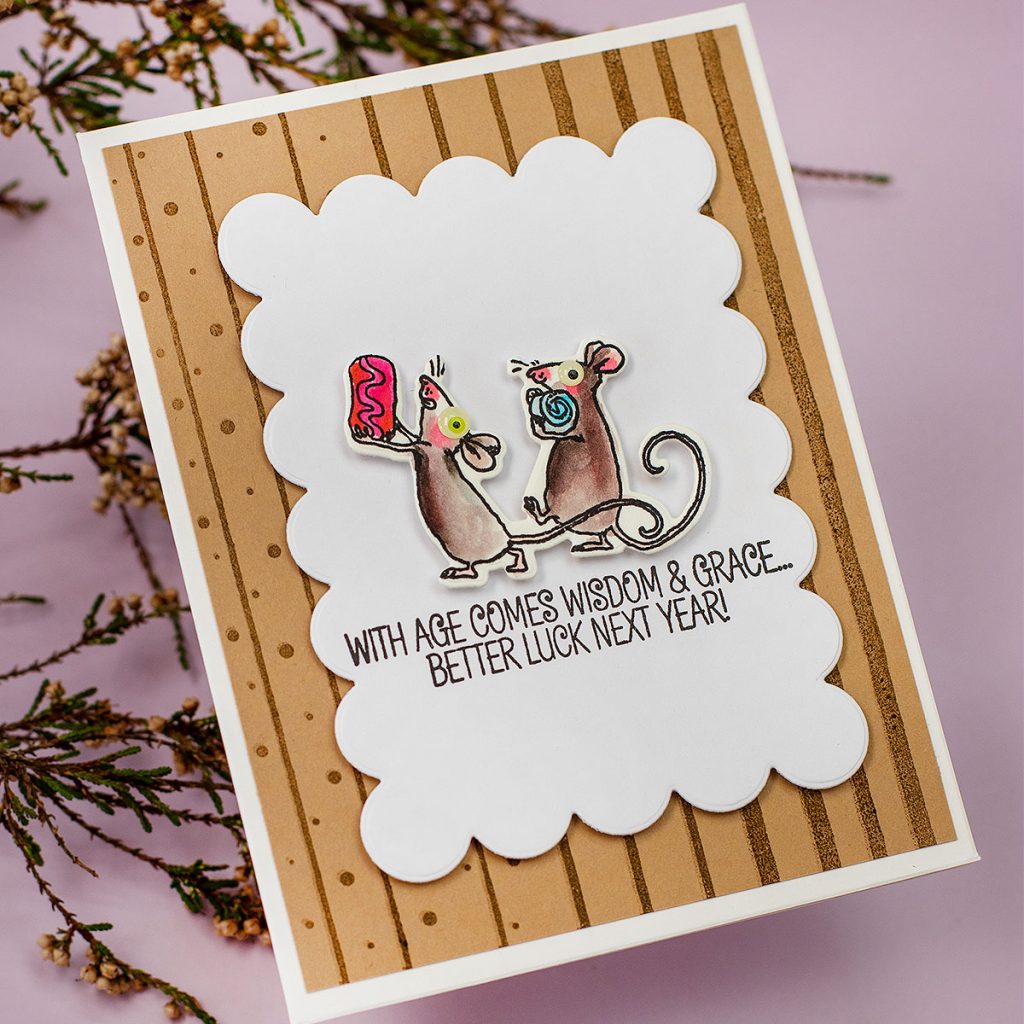
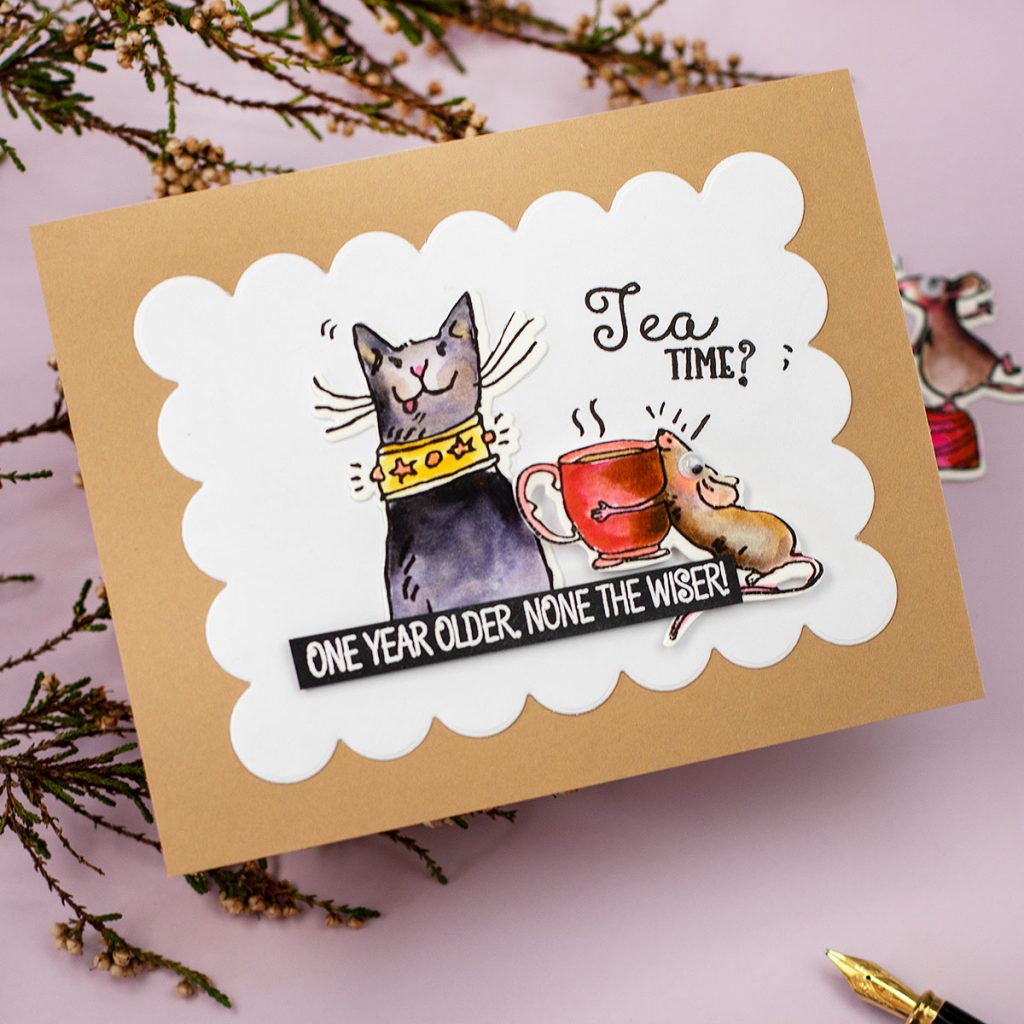
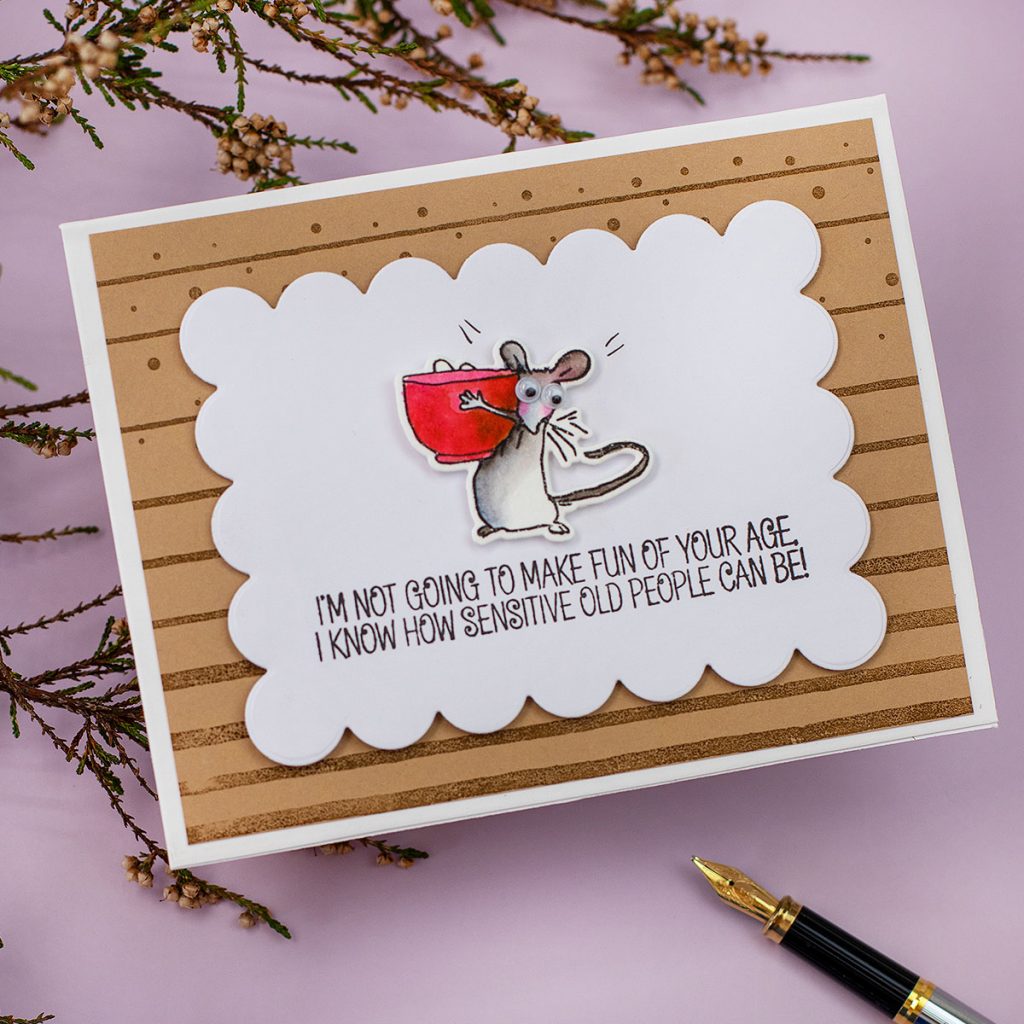
8 Funny Birthday Cards with the latest Anita Jeram’s stamps and Laugh Out Loud by Clearly Besotted.
That’s all for today.
Thanks for stopping by.
X Bibi
supplies
Affiliate links applies at no extra cost to you. Thanks for your support.


Leave a Reply