
Hello, Crafty friends! Today, I’m joining the Altenew Release June 2025 with an easy idea to get crafty with the new Craft-A-Flower: Prairie Roses Layering Die Set and Blooming Doily Charm 3D Embossing Folder.
video
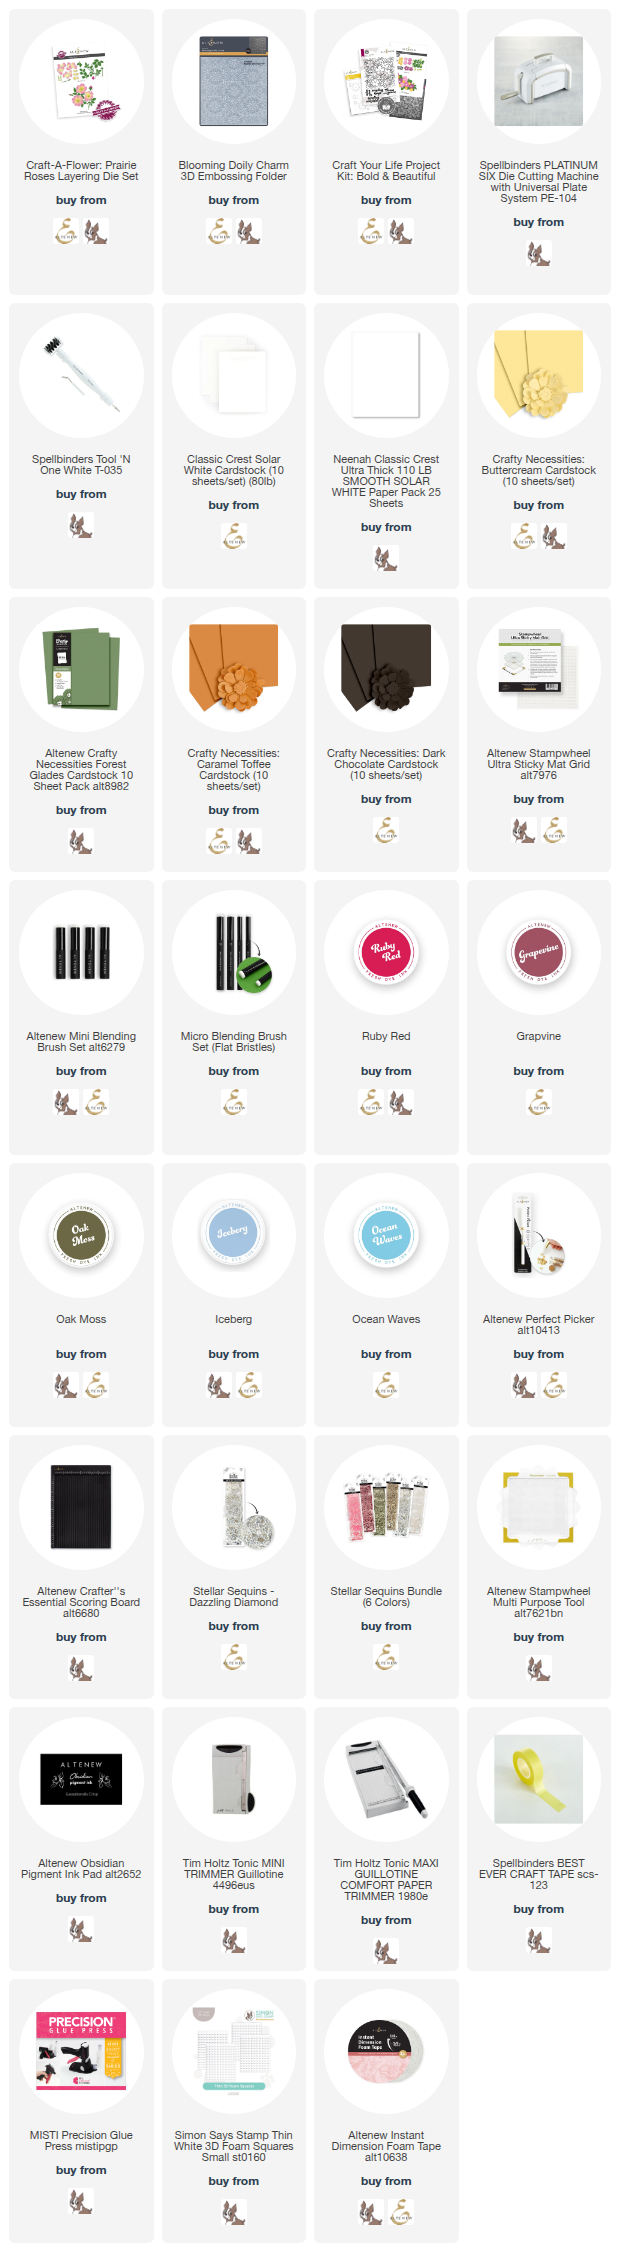
Card Recipe
- Classic Crest Solar White Cardstock (80lb) – For the embossed background
- Neenah Classic Crest Ultra Thick (110 lb) – For the card base
- Craft-A-Flower: Prairie Roses Layering Die Set – Die-cut flowers and leaves
- Blooming Doily Charm 3D Embossing Folder
- Craft Your Life Project Kit: Bold & Beautiful – The stamped sentiment
- Crafty Necessities: Buttercream Cardstock
- Crafty Necessities Forest Glades Cardstock
- Crafty Necessities: Caramel Toffee Cardstock
Inks Used:
- Flowers: Ruby Red and Grapevine over Crafty Necessities: Buttercream Cardstock
- Leaves: Oak Moss Crafty Necessities Forest Glades Cardstock
- Background: Iceberg and Ocean Waves over Neenah 80lb cardstock
- Sentiment: Obsidian – Black Ink
Altenew Prairie Roses Textured Card

The process
First, I die-cut all the pieces.
Then, I added Ruby Red and Grapevine over the edges of the flowers. These were die-cut out of Crafty Necessities: Buttercream Cardstock ( note: I did not apply ink at the centre of the pieces)
The leaves were die-cut out of Crafty Necessities Forest Glades Cardstock – I just added a hint of Oak Moss ink.
I die-cut the flower centres out of Crafty Necessities: Caramel Toffee Cardstock and Crafty Necessities: Dark Chocolate Cardstock.
Next, I glued the flower pieces together. This process is easy due to the key-hole system of Altenew dies, which allows you to identify and layer them up.

After this, I worked on the background.
I started by applying Iceberg and Ocean Waves inks directly from the ink pads over a piece of Neenah 80lb cardstock (dragging the pads from side to side and from the top to the bottom, alternating the colours) to achieve texture.
Then, I embossed the paper, and after this, passed the Iceberg ink pad over the raised areas to highlight them.

Finally, I glue the background piece over a C6/A2 card base. I like to make card bases using thick cardstock such as Neenah Classic Crest Ultra Thick (110 lb).
Once the embossed panel was flat/ properly glued over the card base, I adhered the leaves and flowers using glue for the leaves and dimensional foam pads for the flowers.
I also added dimensional foam pads under some leaves that were layering over other pieces.
Tip: Use dimensional foam pads or glue only at the centre of the die cut’s backing so you can slide things underneath if needed.
..Get Inspired
Supplies
Affiliate links apply at no extra cost to you. Thanks for your support.

![I’m in love ❤️❤️❤️❤️
I belong to a generation that grew up watching #MickeyMouse, and having these classic characters on my craft table definitely puts a big smile on my face!
These are the very first projects I’ve ever made using Disney-inspired characters . Copyright is sacred to me.
Since the copyright on the Steamboat Willie version of Mickey Mouse (the black-and-white version with simple features—no gloves, simpler eyes, etc.) expired on January 1st, 2024, this design has now entered the public domain—meaning it’s free to use.
That said, it’s important to approach this respectfully and with gratitude to the creators and clarify that this is not an official Disney product. All the later versions of Mickey and Minnie Mouse, remain the property of The Walt Disney Company and are still copyrighted.
So I’m very excited to show you how to create a super sweet papercraft compositions using the new “Steamboat Willie Minnie & Mickey Mouse Duo” die set by @teamspellbinders, also available at @simonsaysstamp.
This set user-friendly. Just grab gorgeous #Spellbinders cardstock and the amazing new “Pawsitively Glue” by @simonsaysstamp for a seamless bond between the layers.
As always, I love mixing and matching supplies to create my own compositions.
The sky’s the limit!
📝 More info + full supplies list on my blog 👉 [link in bio]
Or visit BibiCameron.co.uk and search “Mickey Mouse”
#spellbinders #papercraft #cardmaking #diecutting #mickeymouse #steamboatwillie #crafts #handmadecard #craftyfun #minniemouse #disneyinspired #layereddiecuts #diycard #simonsaysstamp #papercraftlove #craftblogger #handmadecards #cardmakersofinstagram #diy #crafts #scrapbooking #hobby #creative #paperart #scrapbooking #tarjetas #handmade #](https://bibicameron.co.uk/wp-content/plugins/instagram-feed/img/placeholder.png)
Such beautiful colors! They are my favorites. You shaded them so well…