
Hello there, I’m passing by to share fun techniques and tips to get creative with Altenew Relief Paste.
In this post, I’m featuring the first seven Relief Paste colours: Pearl, Antique Silver, Brushed Pyrite, Enchanted Gold, Burnished Platinum, Rose Gold, and Smoky Quartz.
These pastes are water-based, semi-translucent, and have a creamy consistency, so they lean on the watery side, which means they dry slowly.
If you apply a thin layer, the paste adds a translucent shimmer to any surface, allowing the background colour to show through beautifully.
On the other hand, a thicker layer will completely cover porous surfaces, giving you a bold, metallic finish.
Relief Paste Ideas and Techniques VIDEO
You can apply these pastes on a variety of materials like paper, canvas, fabric, wood, felt, and even ceramic.
The application tools you choose can make a big difference. I love using the Altenew Palette Knives to achieve a smooth, professional finish, which is what I’ve used in today’s examples.
Relief Paste metallic die-cuts

Apply Altenew Shimmer Paste on paper, allow it to dry, then die-cut it to create gorgeous metallic components for your cards.
The sky’s the limit, but here you have some florals made using the Plum Blossoms Layering Die Set.
Relief Paste Peel Off
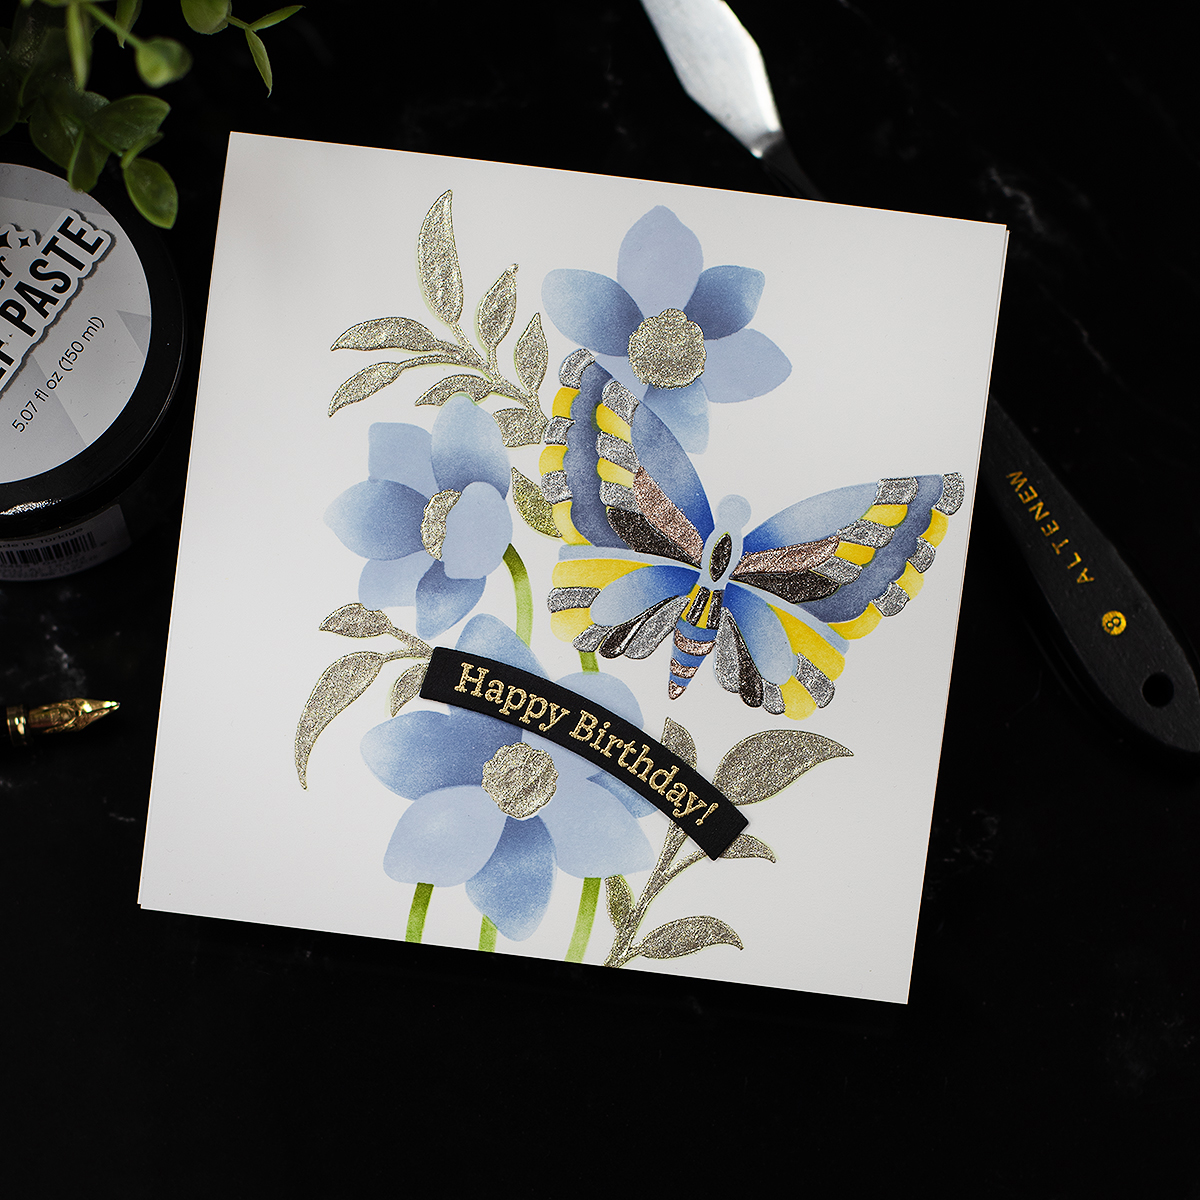
You can see the effect created by the Altenew Relief Paste on the samples above ( butterfly accents, flower centre and leaves) and also in the sample below( The image outlines)
For the sample above, I used the stunning Serene Garden stencil and die set, giving this image a no-line colouring and subtle look and feel.

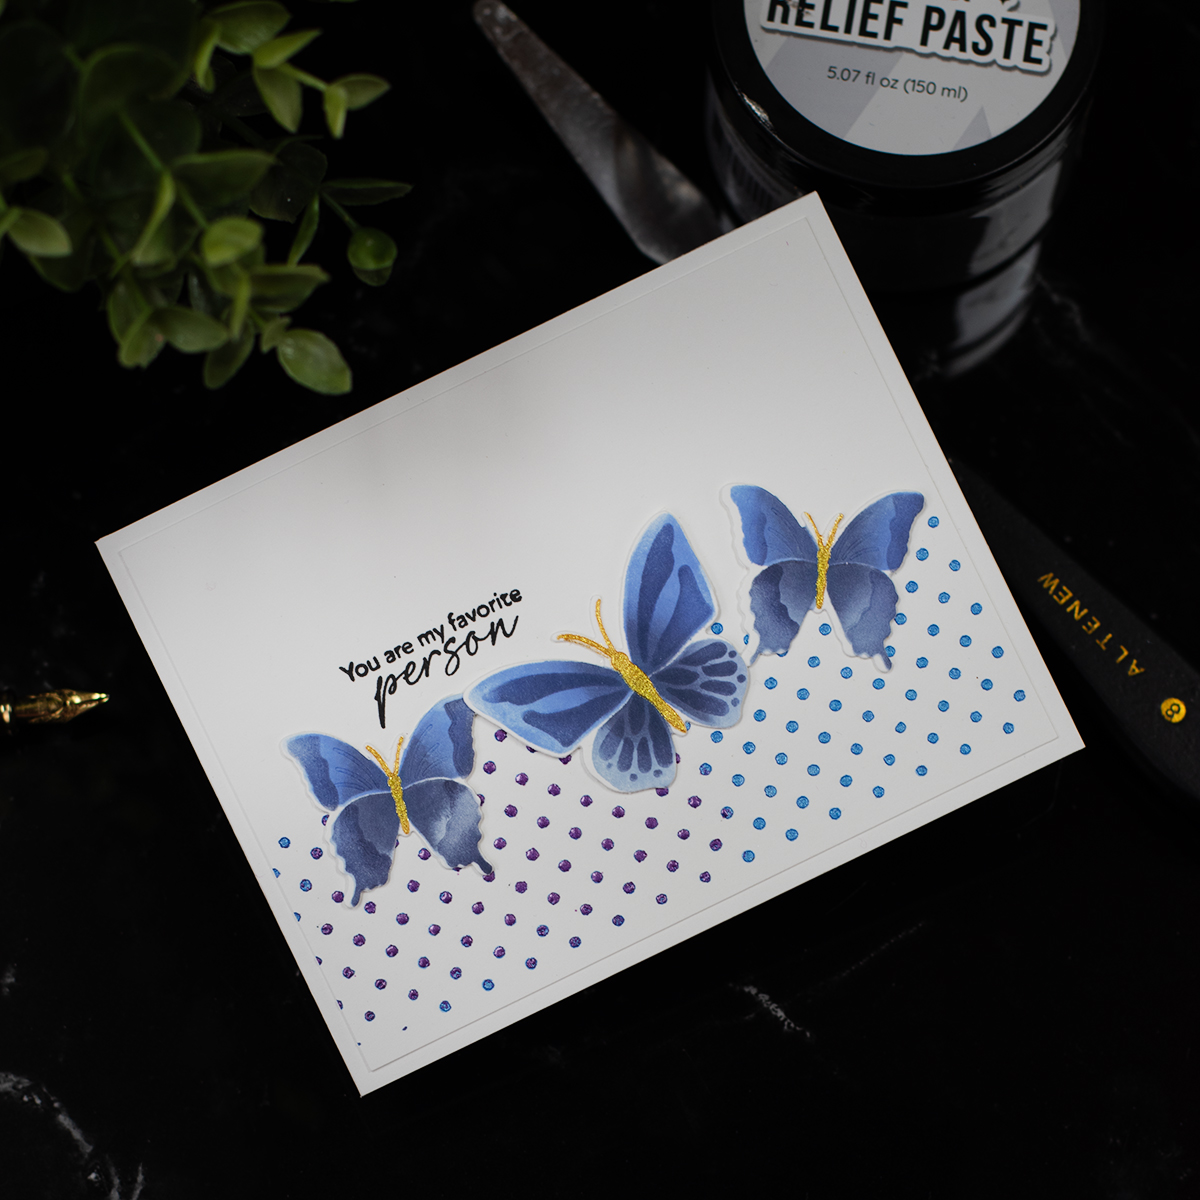
For this sample, I used Folk Art Flowers stencil and die set , and the dotty background was made using a stencil from the Build-A-Garden: Blossoming Freesia kit.
If you apply Altenew relief Paste on cello bags and let it dry overnight, it can be peeled off to create metallic accents.
These are perfect for building multicoloured compositions or to add outlines.
To do this, it is ideal to use layering stencils.
Relief Paste and Embossing Powders

Want to add some extra texture? Try to apply embossing powders over freshly stencilled images, allow it to dry and heat set.
In the sample above, I used the Patterned Petals Stencil, a set of 4 stencils and you can see how embossing powder looks when applied over the paste.
I used Petalicious , Oceanside, and Grape Fizz embossing powders.
Keep in mind that embossing powders can be translucent, opaque, or even add texture. I used translucent colored powders to share a few extra ideas—but remember, the sky’s the limit!
You can also try heat-setting the paste! It expands as it dries, creating unique, unpredictable textures.
Change the Colour of the Relief Paste
My top pick for versatility is the Pearl Relief Paste Colour. It can be mixed with other mediums to alter its colour, giving you endless shade possibilities.
For this card, I mixed it with blue dry watercolour paint, as you see in the video, and after applying the paste I also added Grape Fizz embossing powder over the wet paste, then I allowed to dry, and later on I heat set it.
The butterflies were made using stencils and zero-waste dies from the Craft Your Life Project Kit: Butterfly Garden
Project Gallery
Here is the picture gallery for easy identification of the techniques used


Thirsty for more?
That is all for today.
Thanks for stopping by.
X Bibi
Supplies List
Affiliate links apply at no extra cost to you. Thanks for your support.


Leave a Reply