Hello Crafty Friends! I’m passing by to share ink blending ideas using the new Altenew Bearded Iris Layered Die Set.
This flower is truly one of a kind, with its distinctive shape, large ruffled petals, and delicate frilled edges that create a striking, dynamic look…
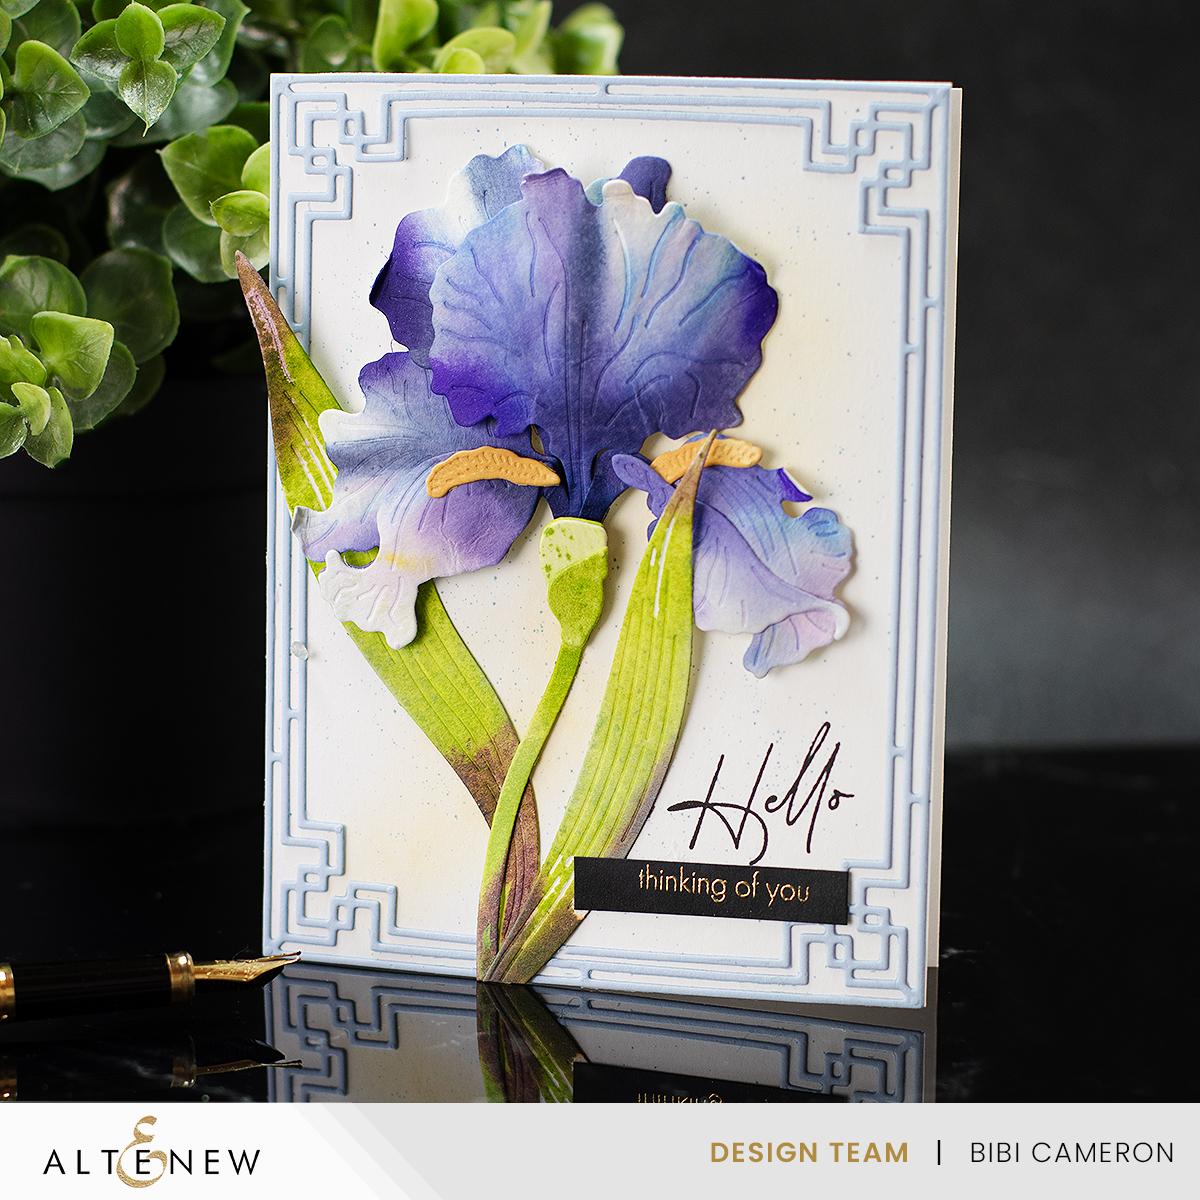
Recreating its beauty on paper is no easy task, but Altenew has done an amazing job with this die set. The flowers are large and perfectly sized to fit the front panel of an A2 card, allowing you to create simple yet striking compositions.
Game Changer Ink Blending – Bearded Iris
As you can see in the video, to do this flower justice, I decided to use Altenew Fresh Inks—perfect for creating smooth blends and subtle gradients on each petal.
Steps to Create the Bearded Layered Flower
- Cutting the Pieces:
I started by cutting out all the pieces of the Bearded Layered flower from white cardstock. The die set has several layers, but the keyhole system allows you to identify them with ease. - Applying Ink with Mini Blending Brushes:
Next, I used Altenew’s mini blending brushes to apply ink to each piece.
Starting from the keyhole area, I worked my way towards the other end of each piece.
Make sure to create strokes of colour.
This technique helps to build that soft gradient effect that’s essential for the flower’s look. - Achieving Color Degradation:
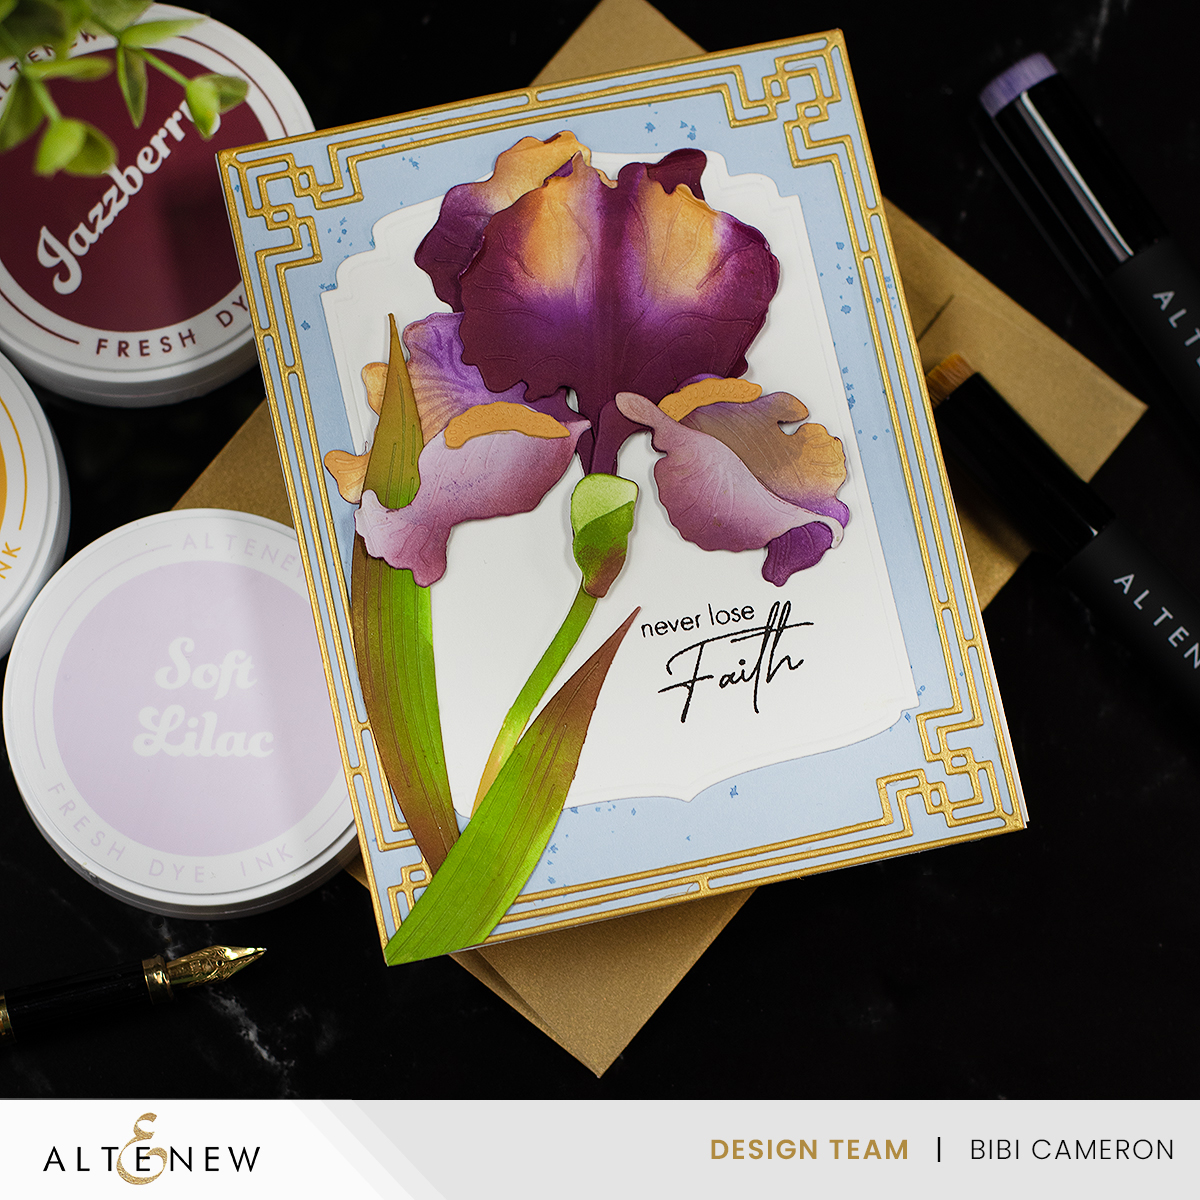
For a beautiful color degradation effect, I mixed three different ink colors for each petal : light, medium, and dark and applied them to the petals in that order.
It’s important to leave some blank spaces while blending the ink. This allows the color to transition more naturally from light to dark. The blank spaces also give the flower more depth and dimension.
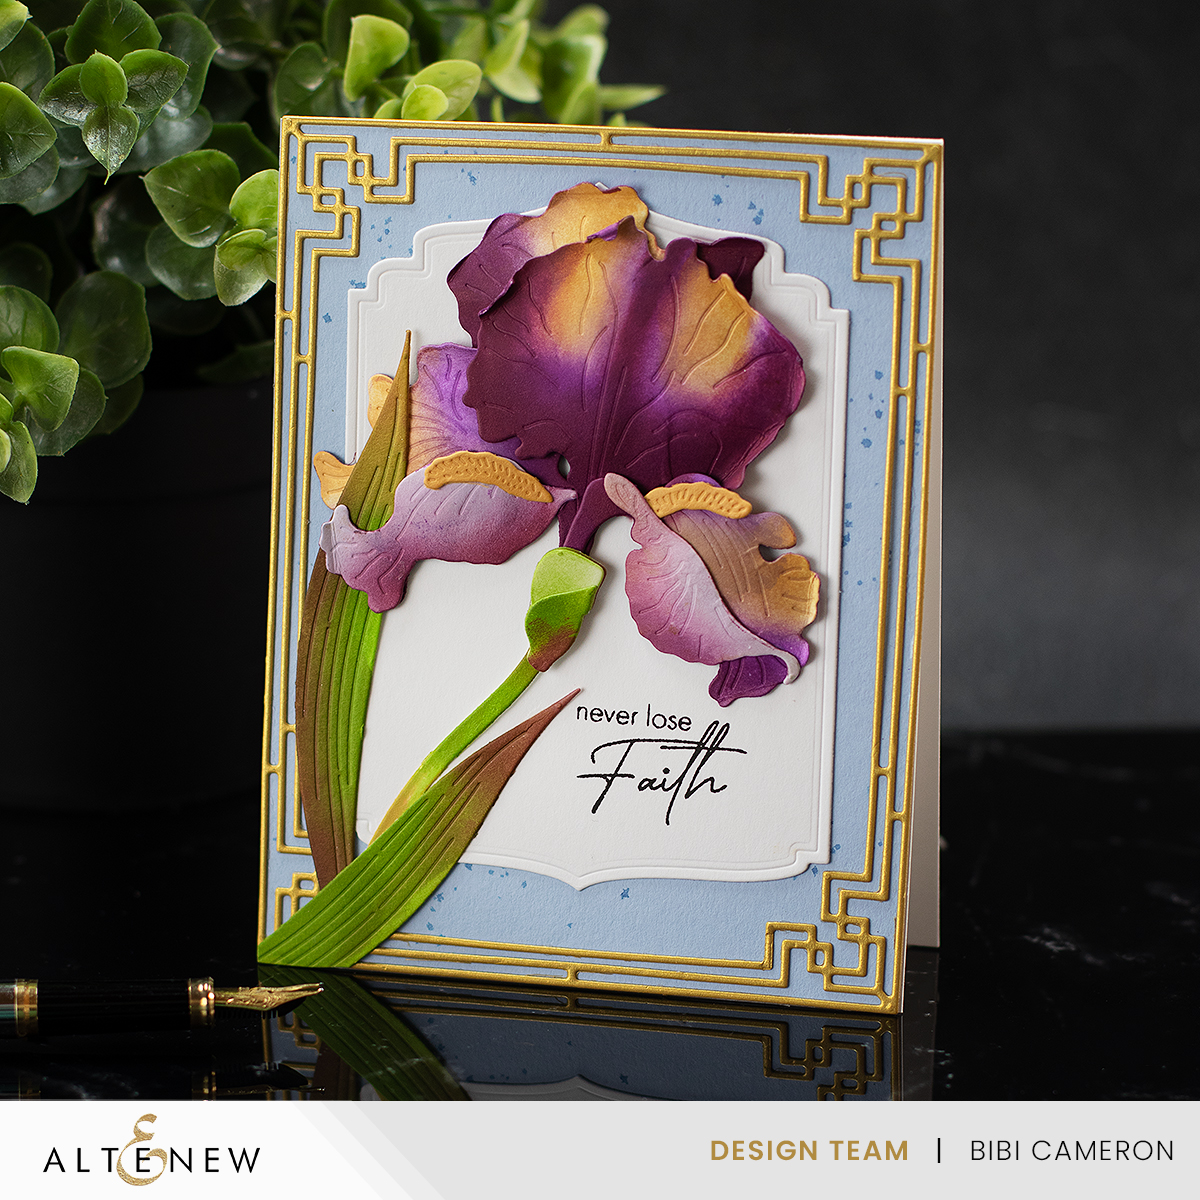
- Shaping the Petals:
A little bit of curve and curl goes a long way in making the flower look more realistic. So I used a ball stylus to shape the petals and the Altenew’s tweezers to gently curl the edges of some petals. This little touch helped bring the flower to life. - Adding a Simple Splattered Background:
I didn’t want the background to overpower the flower, so I kept it simple. A subtle splattered background adds texture and interest without drawing attention away from the beautiful bloom itself. - Finishing Touches:
Finally, I added a decorative frame and a backing piece on which I could stamp a sentiment. This frame really helped to highlight the beauty of the Bearded Layered flower, giving it a clean, finished look.
This is an A2 Top fold card, It measures 5-1/2″x 4- 1/4″.
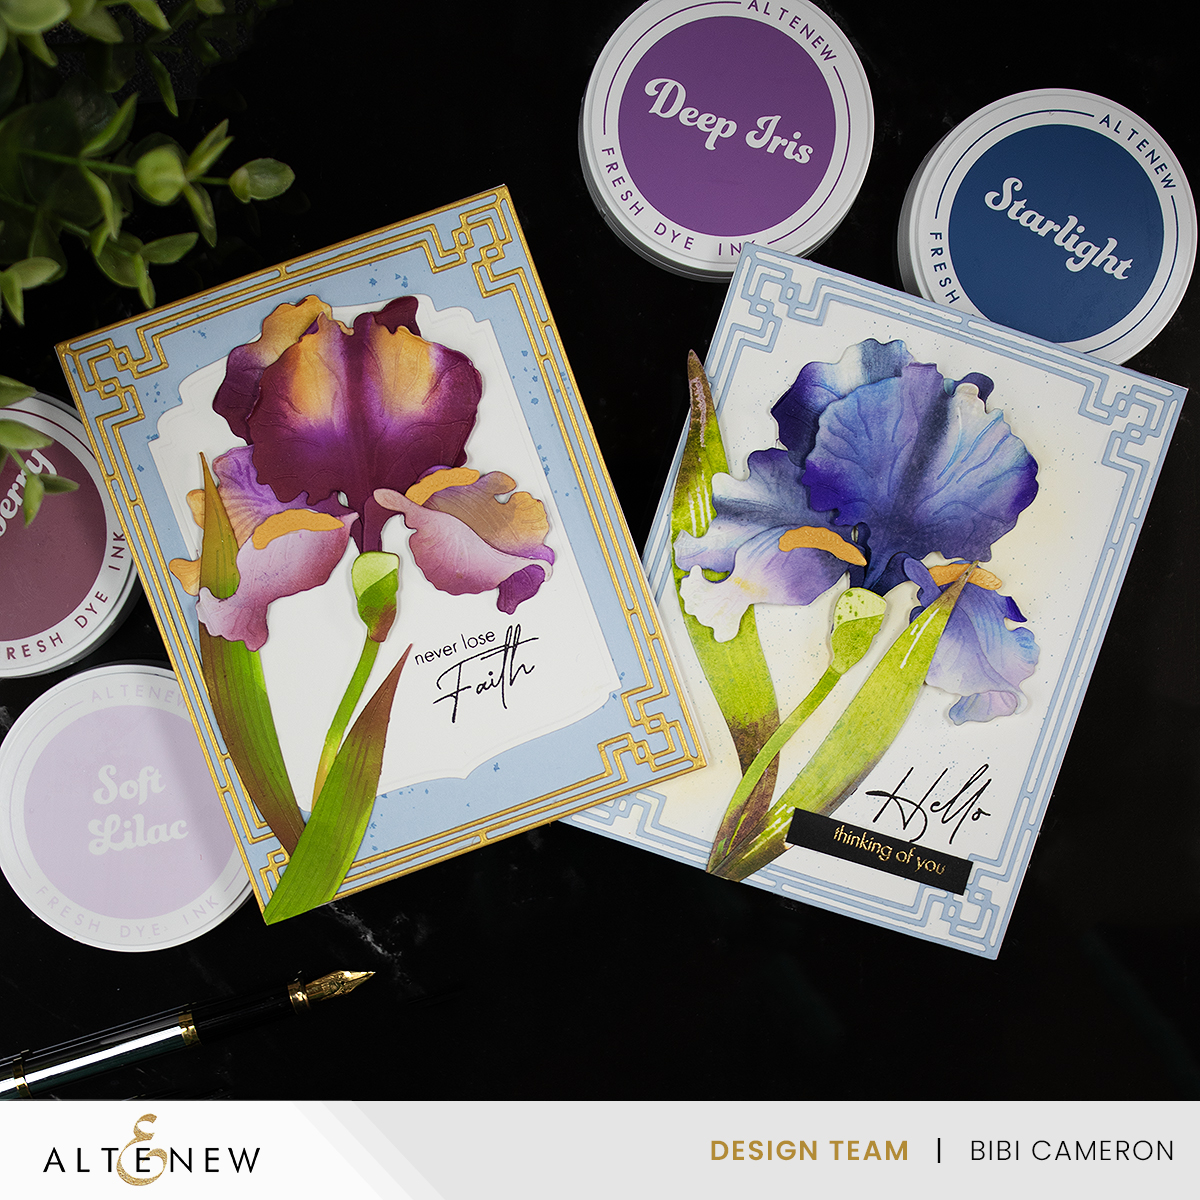
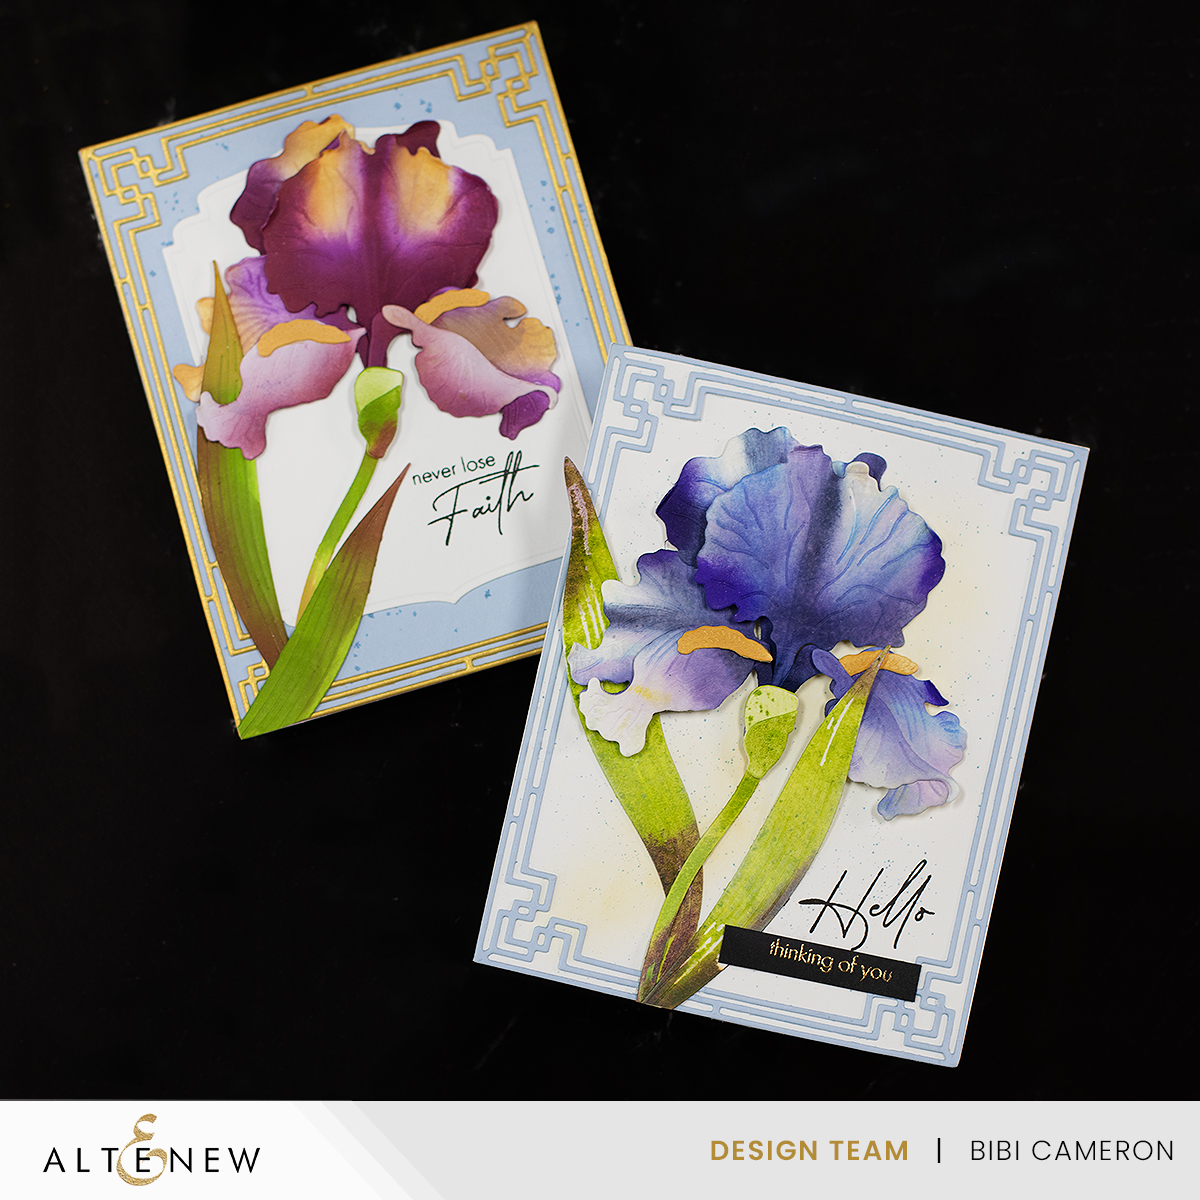
Altenew is releasing new ink colors and this card features the following new tones:
- Soft Lilac
- Deep Iris
- Midnight Violet
- Jazzberry
For this, I also filled the blank spaces with a bit of Pumpkin Pie ( yellow ink). The yellow complements the purple, creating a gorgeous contrast and balancing out the flower’s colors.
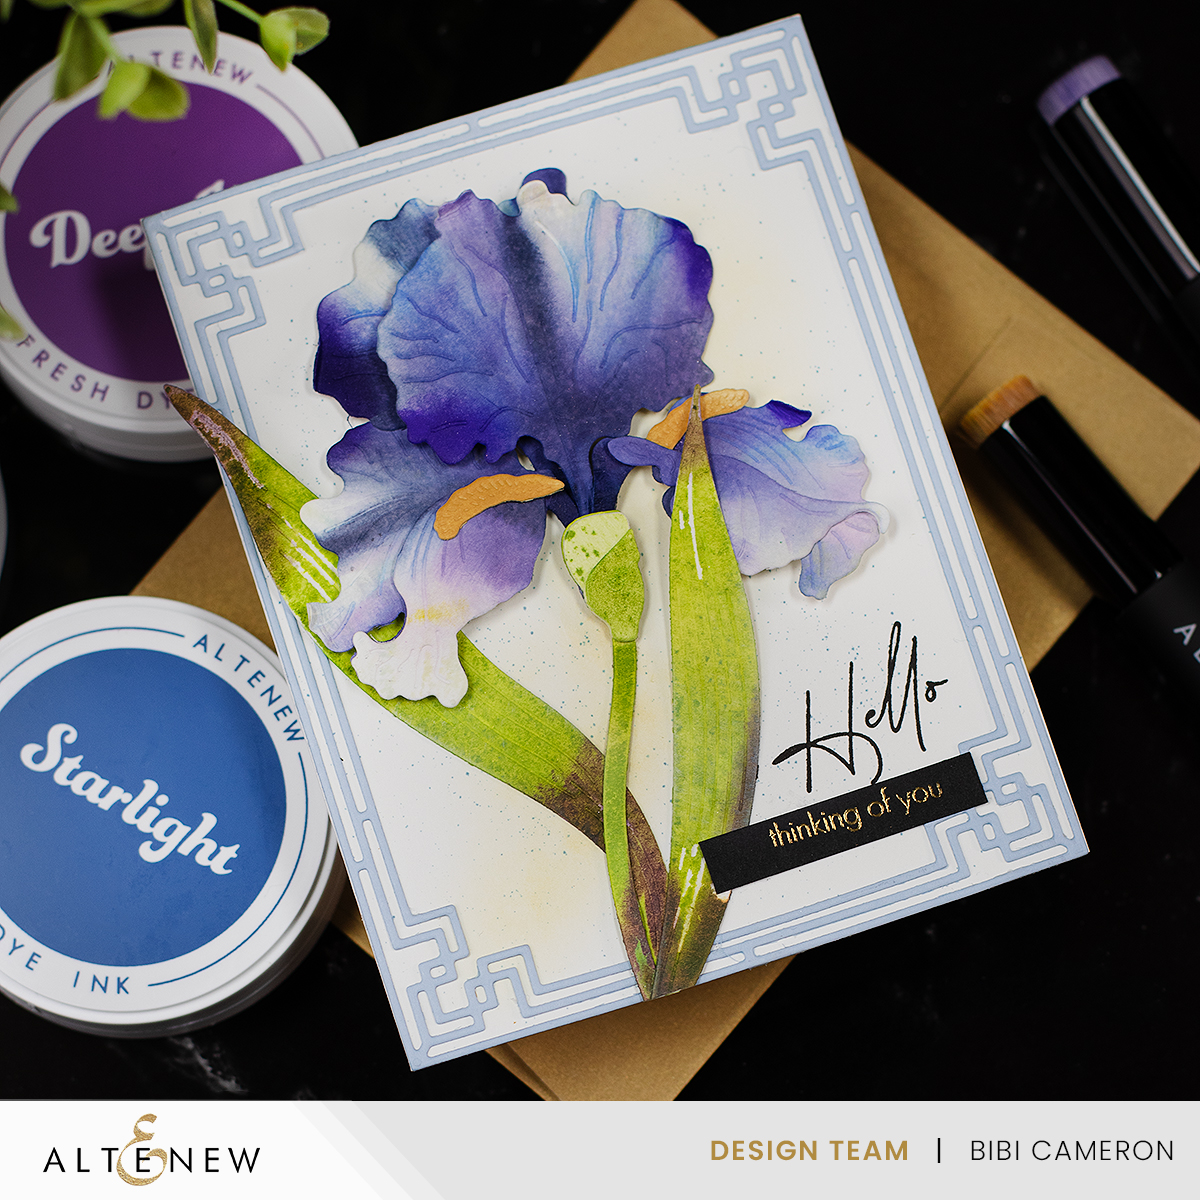
Hello – Blue Flower
I also wanted to make a blue version of the flower and for this I used the following ink colours:
- Soft Purple.
- Iceberg
- Ultramarine
- Andromeda
- Dark Night
The sentiments are also from the sentiment from the Elegant Sayings stamp set.
It’s definitely not easy replicating the delicate and intricate beauty of the Bearded Layered Die Set, but with some patience and the right techniques, you can create something just as beautiful. The key is in the blending—don’t be afraid to mix colors and leave blank spaces for that realistic, gradual transition from light to dark.
I hope you enjoyed this tutorial and that it inspires you to try out the Bearded Layered Die Set by Altenew yourself!
Happy Crafting!
Trisrty for more?
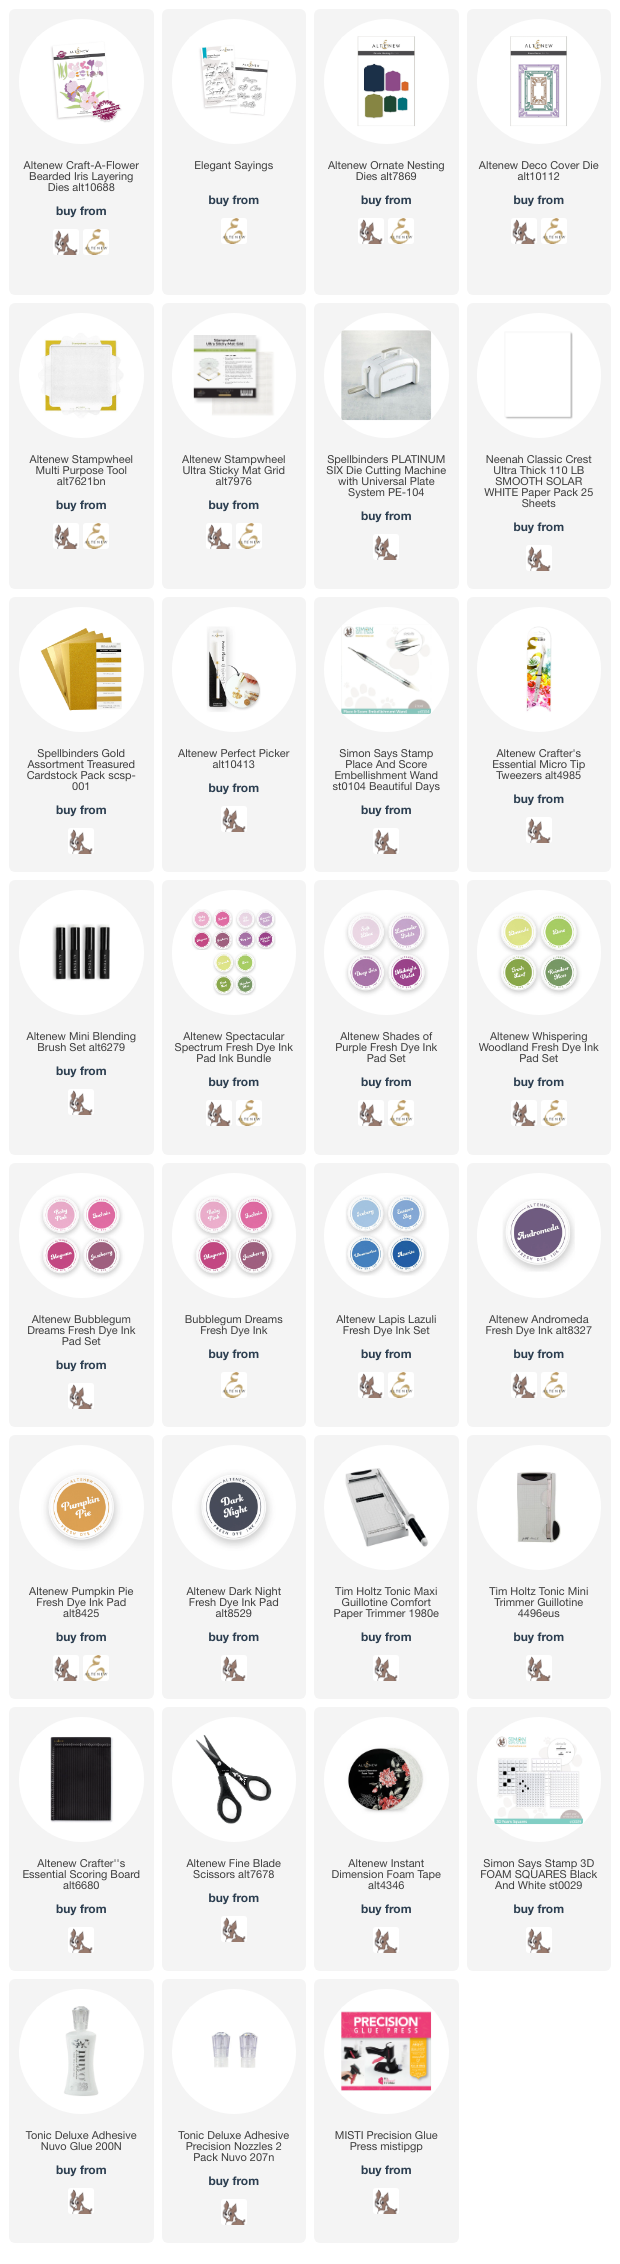
Supplies
Affiliate links apply at no extra cost to you. Thanks for your support.


Leave a Reply