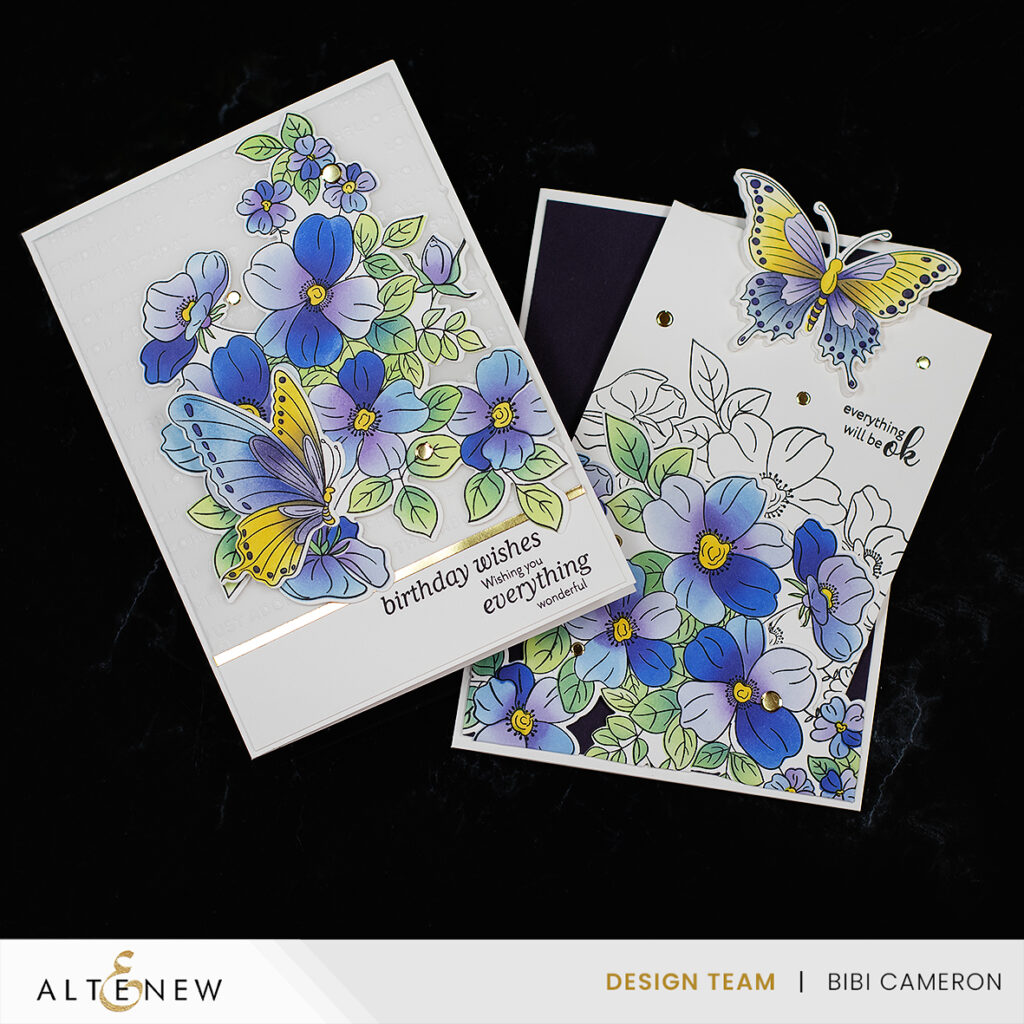
Hello crafty friends, I’m passing by to share ideas and inspiration using the new Flutter and Bloom bundle included in this month’s release here.
Flutter and Bloom
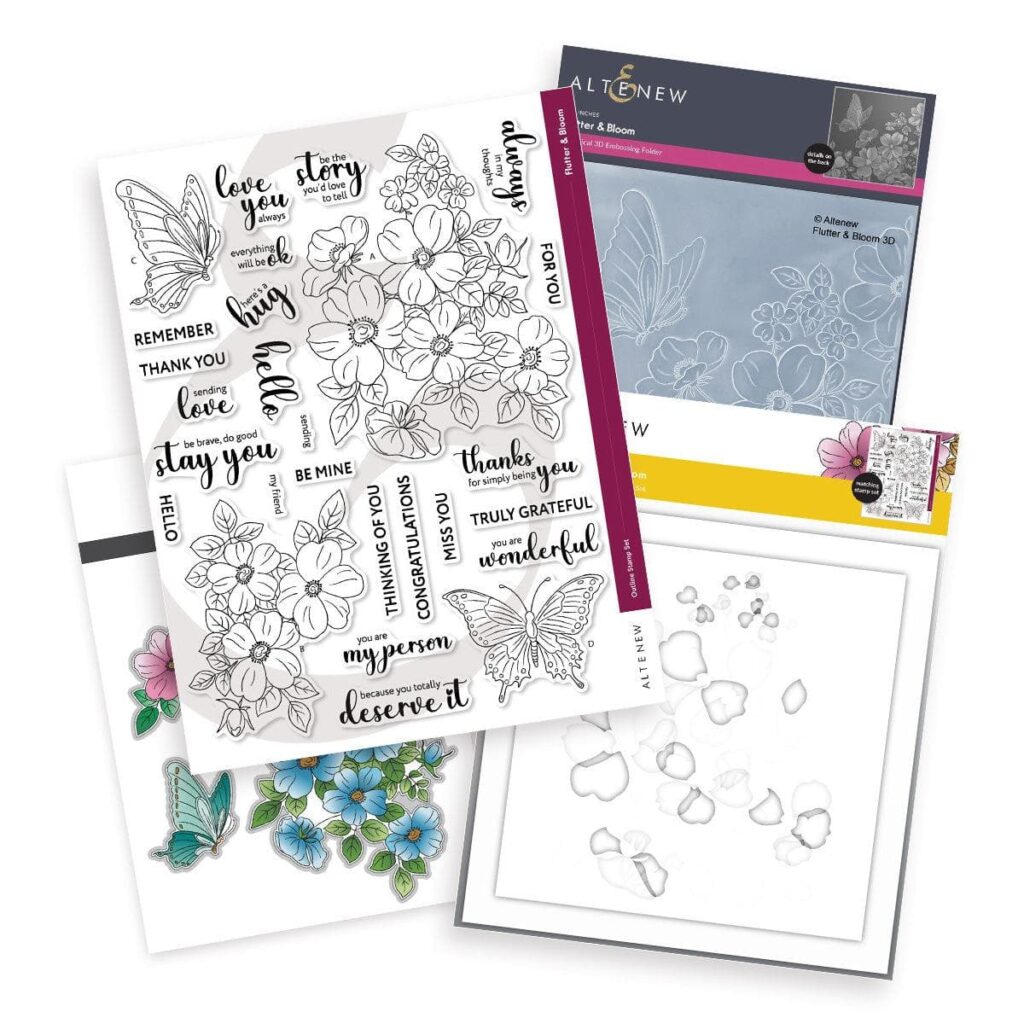
- This bundle includes an A4 stamp set ( 8-1/2″ x 11″ ). It is huge!
- The set has 4 large images and 23 sentiments.
- It also includes coordinating colouring stencils that will allow you to easily add colour to the 4 images in the stamp set.
- The coordinating die set will cut the 4 image outlines.
- The embossing folder coordinates with one of the floral images and a butterfly in the stamp set and their coordinating colouring dies.
There are so many possibilities to create with these crafty goodies, depending on the ink colours we choose and how to lay the images any project will look completely different.
Watch the Cardmaking Process
I also made 2 different card designs. I hope you like them!
Both cards measure 5×7 inches
I used purple, green and yellow shades of Altenew Fresh Inks listed below :
- FLOWERS: Artic, Caribbean Sky, Persian Blue, Sapphire, Andromeda (to add shadows), warm Sunshine (for the centre of the flowers)
- LEAVES: Firefly, Aloe Vera, and Saphire to add contrast.
- BUTTERFLIES: Warm Sunshine, Persian Blue, Andromeda
Top Tip:
Stamp the images first then die-cut them and stick them on a sticky mat. This makes stencilling easier as there is more space around the die-cuts to affix the stencils to the mat.
Card in a Card
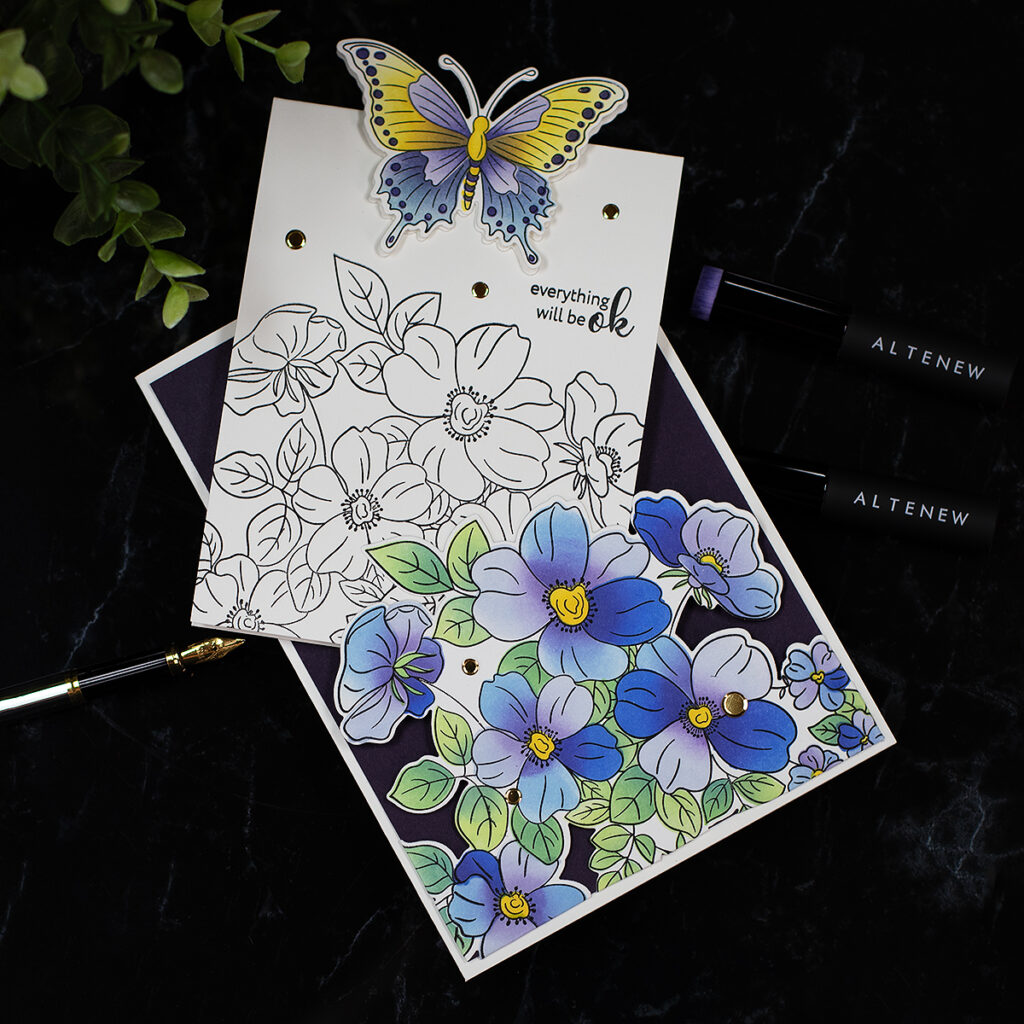
This card measures 5×7 inches.
As shown in the video, this card has a floral pocket on the front panel.
Inside the pocket, there is a card insert that measures 5-1/2″ x 4- 3/4″
You can use the insert to add a gift card, a small gift, or money.
You still have plenty of room to add a message inside the 5×7 card.
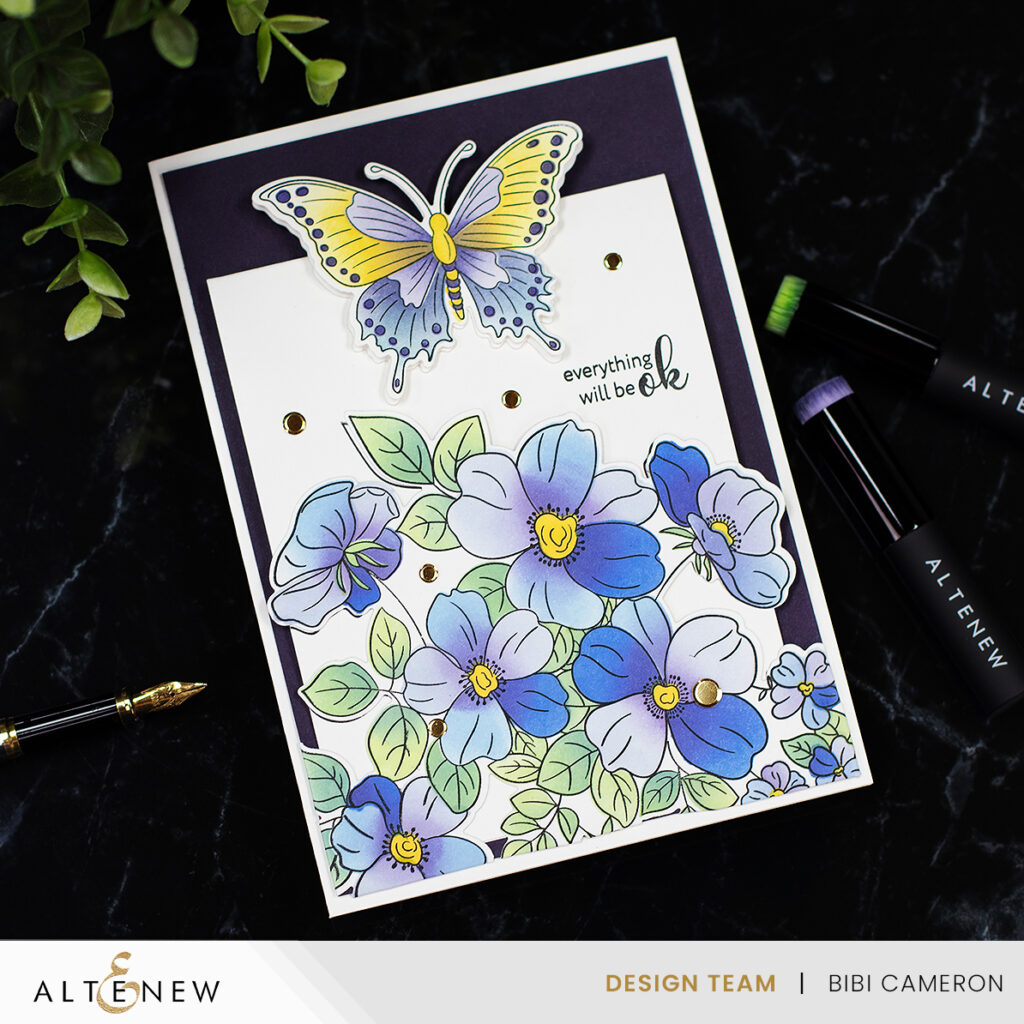
Bonus Card – Elegant Vellum Background
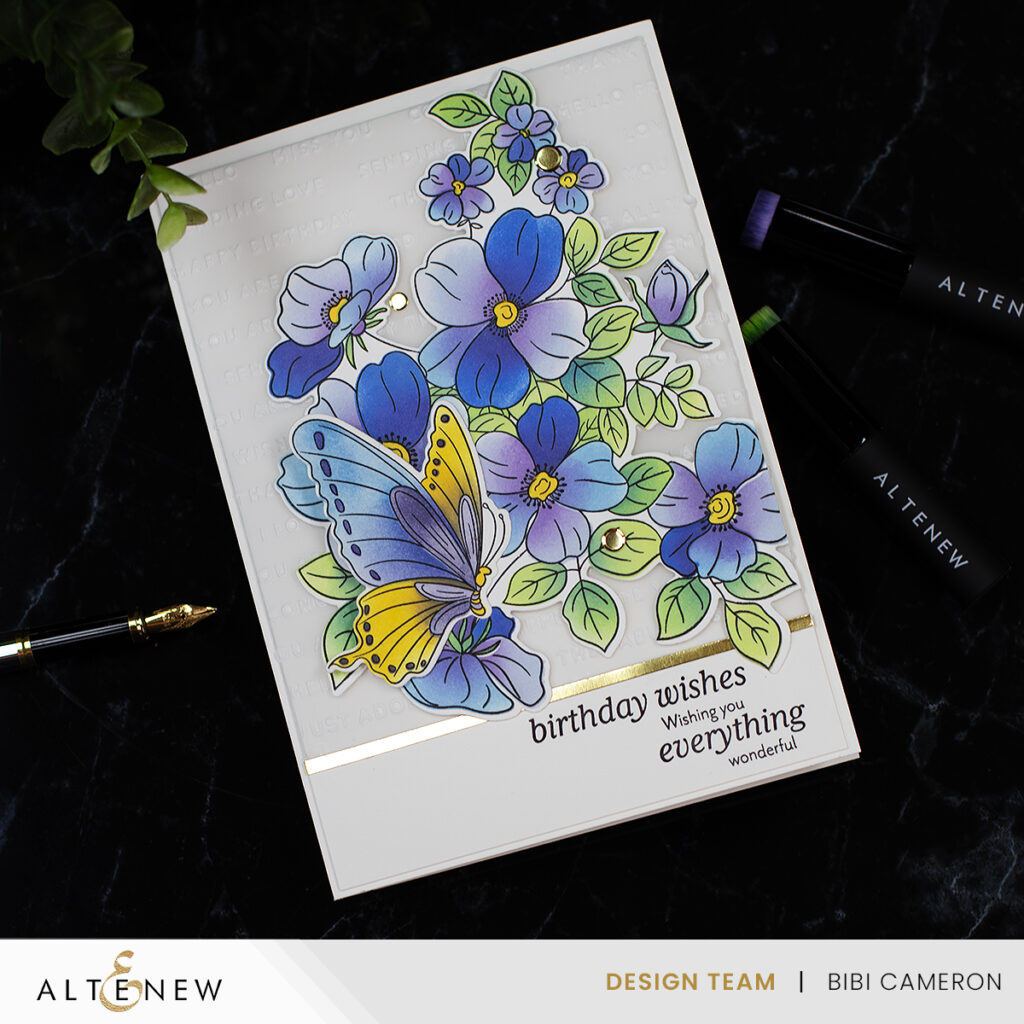
I decided to make a bonus card. This includes an embossed background made out of vellum.
For this, I used the new Raised Sentiments Embossing Folder. It is absolutely beautiful! Perfect to give this idea a go.
It is hard to see in the pictures but the embossed sentiments add a beautiful touch to the card.
We all know that adding vellum to projects can be tricky because the glue can be seen behind it.
So I wrapped the vellum edges around the front panel and stuck them behind it using tape ( tape runner).
To cover the raw bottom edge of the vellum, I added a stripe of Gold Cardstock.
As I wanted to make a birthday card, I used sentiments from the new Tangerine Grove stamp set.
Thirsty for more?
That’s all for today!
I hope you like these ideas
Happy Crafting
Bibi
Supplies


Leave a Reply