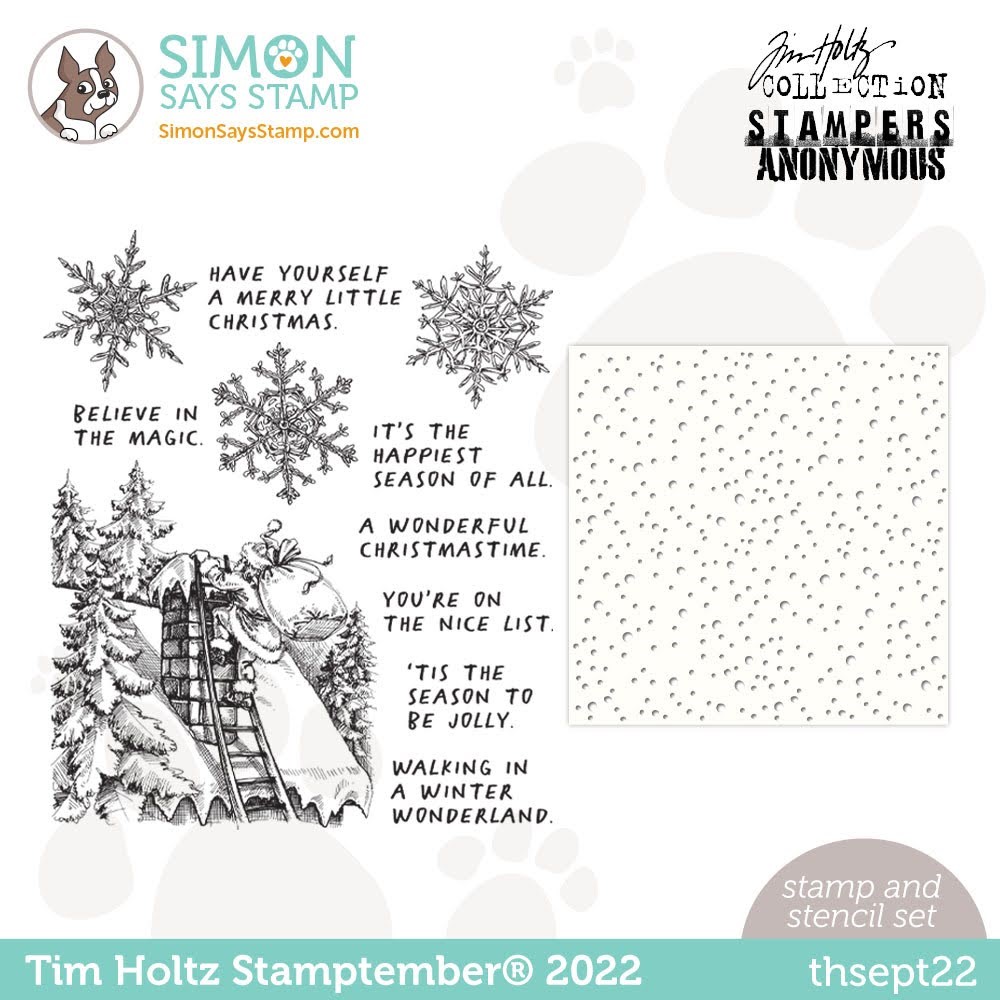
Hello crafty friends, I’m passing by to share a couple of ideas using the Tim Holtz STAMPtember 2022 exclusive launched today!
Tim Holtz Stamptember 2022

This is an absolutely gorgeous rubber stamp set and it also includes a coordinating stencil.
The main image will fill completely a C6 card panel so I decided to create a slimline card to have more room to add more elements.
This card measures 4 x 8 inches

To make it :
- First, I stamped the image using Simon Says Stamp Intense black Ink and the Misti.
- Then I apply Broken China, Picket Fence, and Walnut Stain Distress Oxide Spray around the image.
- Once the ink was dry, I applied Chipped Saphire and Black Soot inks around the edges to darken the colours.
- Next, I applied colour to the images using Distress inks ( listed at the bottom of this post).
To do this, I applied the inks on the craft mat and I applied them to the images using a water brush. - Once the panel was dry, I applied Gold Wow fab foil over the stars ( please read below about how to add Wow Fab Foils )
- Using the stencil, I applied Distress Texture paste and I allowed it to dry.
- To add sparkle, I used Nuvo Crystal Glaze to stick glitter over certain areas of the image
- For more texture and interest, I also splattered the panel with white acrylic paint.
- I added a gold heat embossed banner made using one of the sentiments in the stamp set and I stick the banner in place using black Simon Says Stamps dimensional pads.
Foiling with WOW Fab Foils ( no laminator, no glimmer machine needed)
The snowflakes are so pretty that I wanted to make them pop a little bit more and to do this I used clear ink, bonding powder, and Gold Wow Fab Foil.
Wow Fab Foils comes in a wide variety of colours and they are super easy to use.
All you have to do is to stamp the images using clear ink, sprinkle the bonding powder, remove the excess powder and heat it.
While the bonding powder is still hot you need to place the fun foil over pressing down and making sure the image is fully covered.
Once the powder is cold., peel off the foil from the cardstock and you will see the glimmering images.
Easy peasy!! but it is important to do it once at a time as the powder really needs to be hot to be able to get adhered to the foil.

I know, while Santa is the main attraction, I tend to direct my attention to other details so I thought about sharing an idea to use only the glimmer foiled snowflakes for a very easy background.
To finish this C6 card, I also used die cuts made using the Darling Deer die set by Tim Holtz and I added a pre-printed banner from Sentiments Strips Christmas.
I’ll be sharing a video of the cardmaking process ASAP on my Instagram here… so stay tune
Tim Holtz Live
I hope y like these ideas and make sure to pass by Tim Holz’s Youtube channel here, he will be sharing loads of inspiration…

Supplies
Affiliate links apply at no extra cost to you. Thanks for your support


Wow!!!!! Stunning cards!!!!
These are both exceptional! Really gorgeous!
Lori S in PA
I loved it when you made videos and I could SEE how you did things, the no machiner required foiling! Lovely cards but I wish we could watch you make them….