Hello papercrafters, happy new year!
We are just surviving Christmas and the card making frenzy of the winter season but hey! we have no time to lose and now is time to start thinking about love and friendship cards! Yay, Valentine’s Days is around the corner!
I received a happy mail from Spellbinders with “You Are My Type” the craft kit of the month and I ended up making loads of easy and quick cards to share ideas with you.
I also made avideo to show you the contents of the kit and how I put the cards together. Have a look…
So the kit includes loads of products toenjoy papercraft.
It is ideal to make love- friendship themed cards but you can use the die set, the paper, some of the stickers and die cuts to make cards for any occasion.
 |
| Spellbinders craft kit of the month
£27.48 – $35 USD |
The kit includes
- 11 pieces die set.
- 12 pieces stamp set.
- 58 pre-printed die cuts ( 2 each design)
- 2 large 3D stickers
- 10 scored card bases and 10 envelopes
- 6×6 inches paper pack with 12 designs ( 36 sheets)
- Sequins
- 9 x A4 sheets of cardstock
- Foam squares
- Adhesive tape
So I first made three traditional easy cards in the pictures below.
I was crafting with my toddler Emma. She is 5 years old and she loves die cutting. In the video, you can see her in action using the “Prizm”- mini die cutting machine by Spellbinders.
You don’t need any special skill to use a die cutting machine. Emma is also able to use large format die cutting/embossing machines since she was 3 years old, she might need a bit of help when the dies are intricate and the paper is thick as you need a little bit of strength to make the things run but apart from that die cutting is very easy.
To do a little bit of stamping I would alwasy advise using a stamping platform as this tool make things a lot easier and also reduce waste due to mistakes when stamping.

So we die cut some of the typewriter machines with the die you see in the picture above and as this is pretty much an extinct object, I had to explain Emma what a typewriter machine is.
I said a typewriter is not only what we used before computers. Nowadays they are an icon that evokes old times prior to the internet and the digital age. When we used to make contact with others in different ways. When we used to write letters and the landline phone to keep in touch with friends and family.
Today we used chats and the social network to communicate with others and we are able to talk with people from all over the world but the one to one relationships are getting weaker and weaker. We even get annoyed when the landline phone rings. 🙁
Arg! I remember when I used to sit next to the phone waiting for that important phone call. We have changed so much.
See!!!! this kind of images and supplies for card making are used to remind us of the good stuff. We love the image of a typewriter machine because of that.

So I would rather prefer to create very simple and minimalist cards using this large die cut as a focal point.
The typewriter machine dies cut measures 3″ inches width x 2 -1/4″ inches tall ( 7.8 x 5.5cm) and it is good enough to fill the front panel of a standard C6 card. It looks super cool and very beautiful regardless the paper colour used or the number of embellishments added.
What is awesome about this typewriter die, is that it creates a slit so you can slide a piece of paper with any message in that aperture. You can even explore making some animated cards taking adavantage of this characteristic.

There is a rectangular die in the die set to cut a piece of paper that fits perfectly in the typewriter slit or in that aperture.
The kit includes additional dies that can be used to die cut a message in that little piece of paper.
You can also use the sentiments in the stamp set included in the kit to stamp a message or to complete a die cut/stamped message…

Once my daughter was in bed. I could come back to my craft room to put in use as many products in the kit as possible.
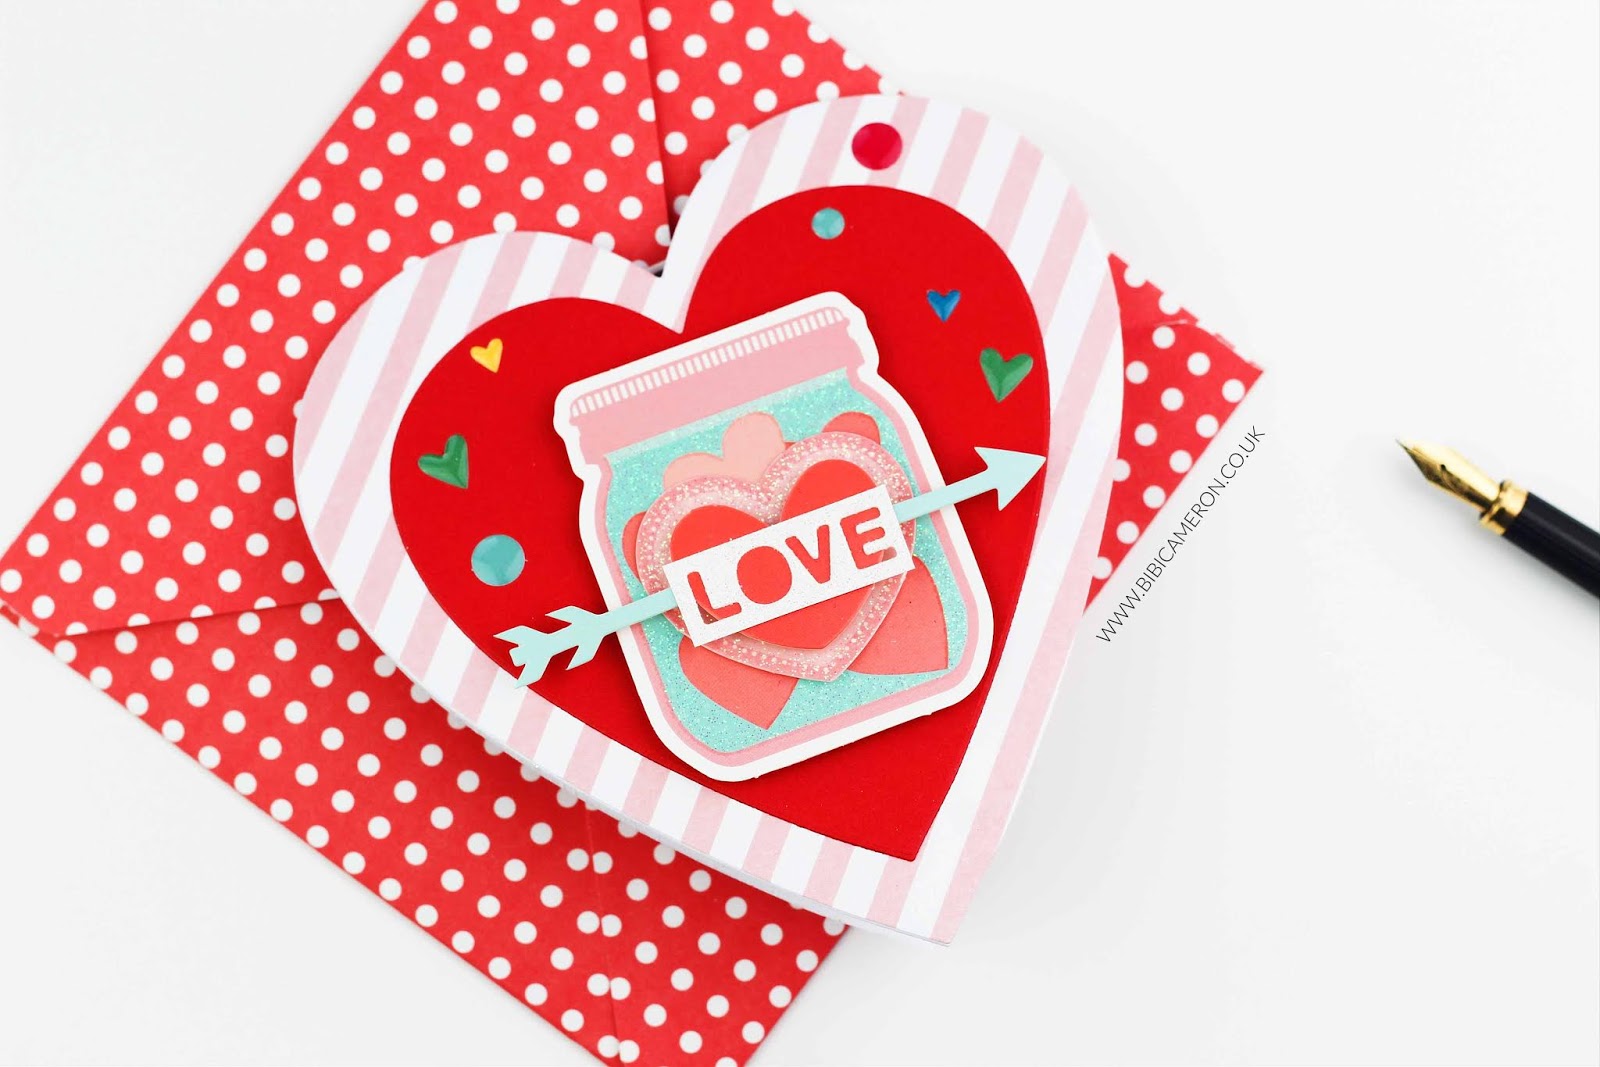
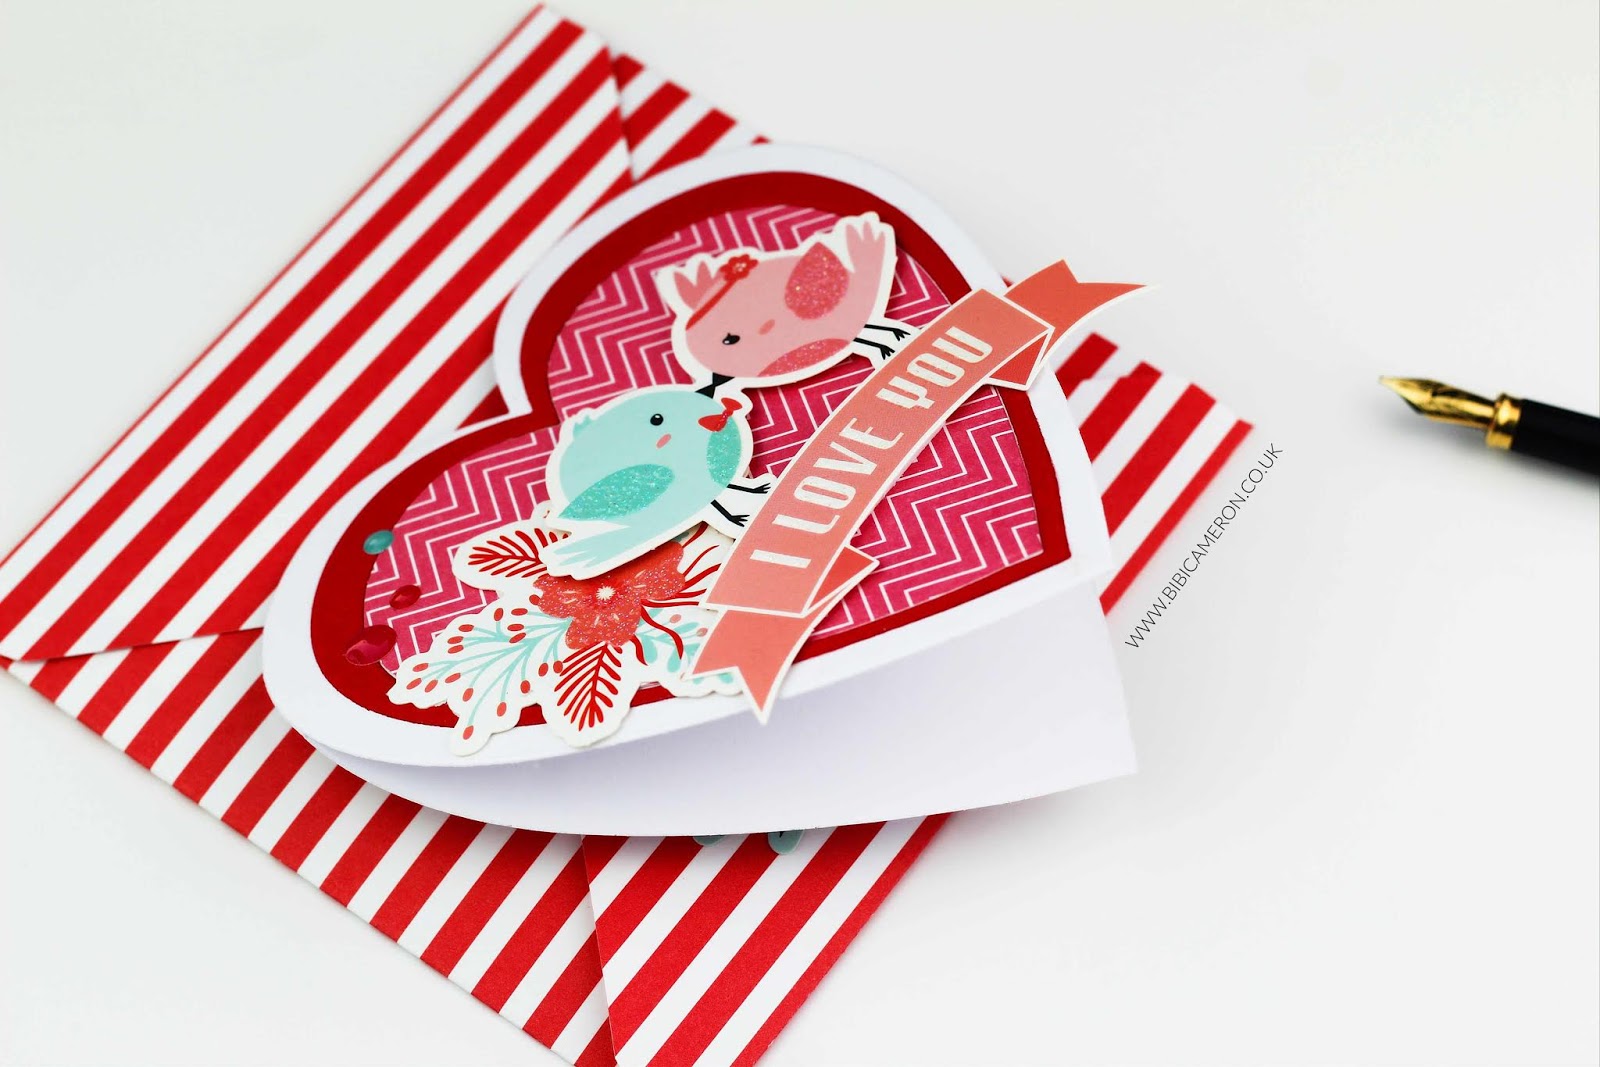
I had the idea to make heart-shaped cards and this design allowed me to put many cards together in record time using the pre-printed die cuts and 3D stickers in the kit.

I used a heart layered die set to cut the heart-shaped card bases and panels for these cards and I used the envelope punch board to make 5″x 51/2″ inches envelopes.
I added to the envelopes a stamped sentiment and pre-printed die cuts to make them extra special.

So I die cut over 50 hearts out of red, pink, fuchsia and white cardstock ( not included in the kit) and I also die cut some hearts out of the paper in the 6×6 inches paper pack included in the kit.
I used 4 different heart dies sizes. The larger one measures 5″ x 5-1/2″ so that the size of the cards.

I also used the dies in the kit together with the stickers and pre-printed die cuts.
I also used white glitter cardstock to die cut the sentiment: “Love” in the card below…

And for the next card, I also used white glitter paper to make the card base as its colour coordinate perfectly with the sparkle in the pre-printed die cut I used as card topper.

I also die cut the red glossy card base included in the kit using heart dies to use in the two cards above.
For the following cards, I used smooth cardstock which is more opaque. Those are differences in the paper you might be able to see in the video and of course when having the products in flesh.


I also used the alphabet stickers in the kit to add a silly sentiment to the card above “Selfies time”, we can’t deny that selfies are part of our culture nowadays. This will make a fun birthday card.
Below another supper simple card idea, using just one of the larger pre-printed die cuts included in the kit .. super cool CAS card.

I was thirsty for more papercraft ideas so I also made a quick mini box.
I stamped tone on tone the red cardstock with some of the stamps included in the kit and I embellished using the pre-printed die cuts.
Not bad for a crafty evening. What do you think?

That’s all for today … Thanks for stopping by and let me know if you have any questions. I always read your comments and I’m happy to answer if needed.
If you wish to receive my blog post or videos directly on your email please Subscribe to my blog here! or my Youtube Channel here!
Many hugs and happy crafting
x
Bibi
Supplies
Just a note to let you know that when you buy through the links below I get a small commission at no extra cost to you. Thanks for your support.


This looks a great kit from spellbinder! Fabulous cards and box, I love them all, little Emma is great at die cutting, lovely that you had quality mummy and daughter time. I can see you were really inspired with this kit. Wow that’s a lot of cards in one night wish I could do that!! Happy New Year Bibi and to your lovely family xx
Happy New Year ! Thanks Bibi & Emma for a great video. Super kit, so much in it. Is international shipping on top of that price do you know ? You got so many gorgeous cards out of it, must be the expert die cutter ! Can you answer a quick question please, how much wiggle room do you get with Nuvo glue ? Is it immediate stick or do you get a bit of time to straighten things up ? Thank you both x
Wow! These are all FABULOUS!