Hello everyone! today I’m sharing a video about the Tonic Studios Craft Kit #10, available for pre-order at : www.tonicstudioscraftkit.com or until supplies last.
In the video, you will see 3 project ideas using the alphabets and banners dies included in the kit and I also made tags using the waste or the negative die cuts produced after using the alphabet die.
I also used one of the large frames dies to create the card above andSparkle stamp setby Tonic.
So while I tried the products in the Tonic Studios Craft Kit #10, I made projects in completely different styles to share some ideas :
1st idea
Create decorative stitched banners and custom messages for your projects using the alphabet dies and any of the three layering banners in the set.
2nd idea
Mix and match kut supplies with other supplies in your stash.
 |
|
The banner dies produce a beautiful decorative stitched pattern around the edge of the banner. There are 3 banners in the kit and they measure 1/2″ inch, 3/4” and 1″ width. They are about 4-1/2″ long. The small alphabet die includes 2 different fonts. The smaller letters measure 1/2″ inches tall and the larger 3/4″ inches. The fonts coordinate perfectly with the layering banners in the kit. |
3rd idea
Use the papers in the kit and the alphabet die to make simple and fun alternative projects.
 |
|
This is the last project in the video and it might look very simple but I really really love it… I think it is a good card to make and sell together with a matching blue, yellow or golden envelope. This card measures 6″x6″ inches and I used all the papers in the kit #10 and a 1″ punch circle to create the balloons. |

4th idea
Use the waste or negative die cuts and banners in alternative ways.
 |
| Use negative die cuts or waste on the front of a projector behind a window.
The banners can be created in ant length .. you can hang them from a piece of twine or just glue it flat along the front panel of your projects. |
 |
|
My little daughter Emma and I put these tags together using the waste we got on the table after trying the products in the kit .. in the video, they are the second project but in real life, they were the last.
These are extra ideas to use banners and to create personalized messages ( as in the 1st card in the video)
|
 |
| I used the banners at the top of the tags and at the centre of the tags.
The banners on the centre of the tag were die cut twice to get the fishtail shape on both ends. |
 |
|
Use negative die cuts or waste on the front of a projector behind a window. The banners can be created in ant length .. you can hang them from a piece of twine or just glue it flat along the front panel of your projects |
That’s all for today! Thanks for stopping by.
supplies are listed below.
If you wish to receive my blog post or videos directly on your email please Subscribe to my blog here! or my Youtube Channel here!
Many hugs for you and happy crafting
x
Bibi
Supplies
 |
| Tonic Craft kit Official website Here!! |
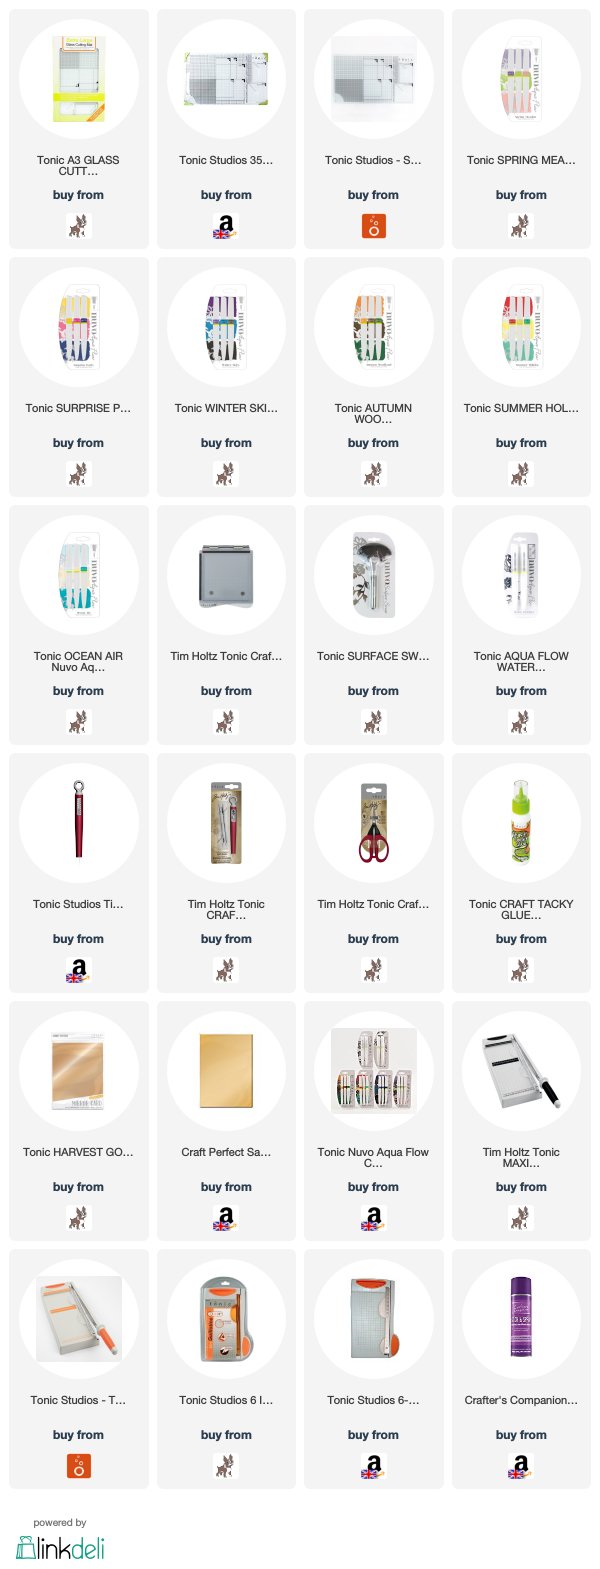
I also have listed products you can see in the video not included in the kit . They are available in different shops in the links below


Oh my goodness Bibi, these are all so amazing, I cannot wait to try them. Thanks for the awesome ideas. (I have pinned them all! LOL)
Oooh, these are all beautiful!