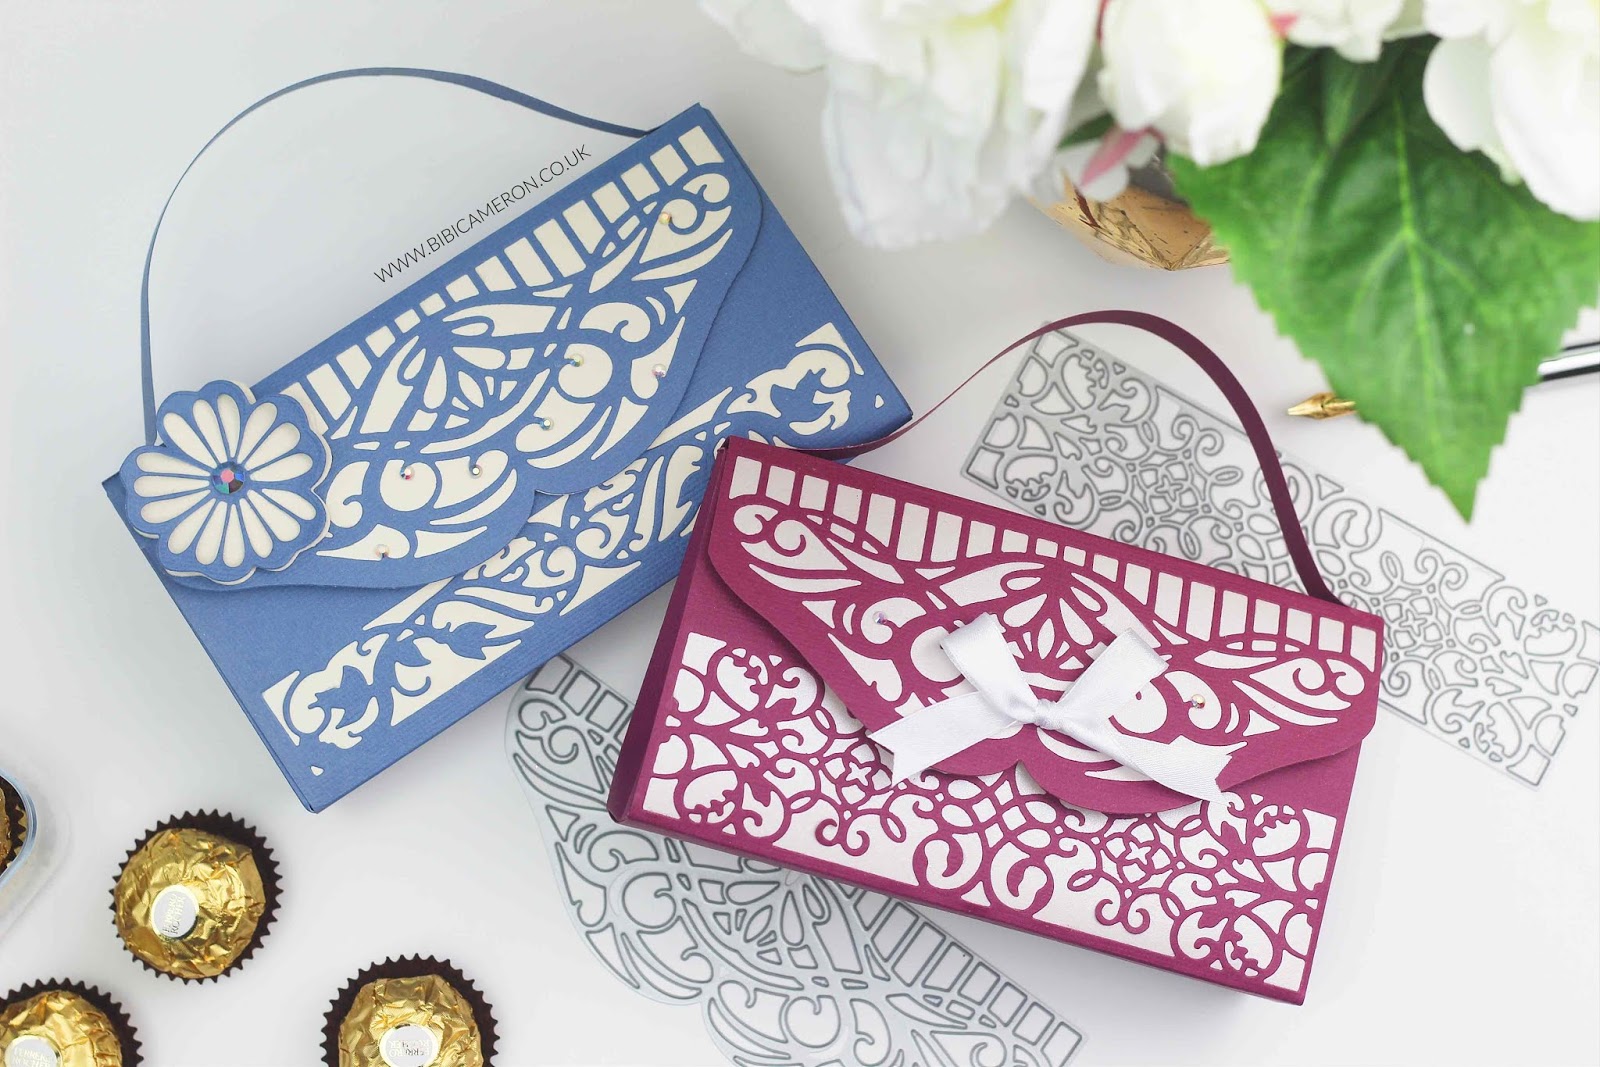
Hello everyone, today I’m sharing my monthlyVideo -Post to show you the contents of the Tonic Studios Craft Kit #18 and to share ideas and inspiration with you.
I made five main projects but in the video, I show you a few different options to use the decorative dies included in this edition of the kit and from there the sky is the limit.
For today, I also used floral dies from the Craft kit # 5 and if you haven’t got the kit #5 or any other previous craft kits, now is your chance to get them.
Tonic has opened the Kit Vault a new section on their website that will allow subscribers to order any previous kits. this offer is until supplies last.
Where to buy the Tonic Craft Kit:
- To get previous kits in the USA click here!
- To get kits from any other country in the world click here!
- Visit www.toniccraftkit.com to order the edition 18 of the kit.
Ok. So I couldn’t resist and I recycled one of my old box designs to use the decorative dies in the kit.
To make the projects in this post I used Craft Perfect Cardstock in: Blue Denim, Aubergine Purple and Cream colours.
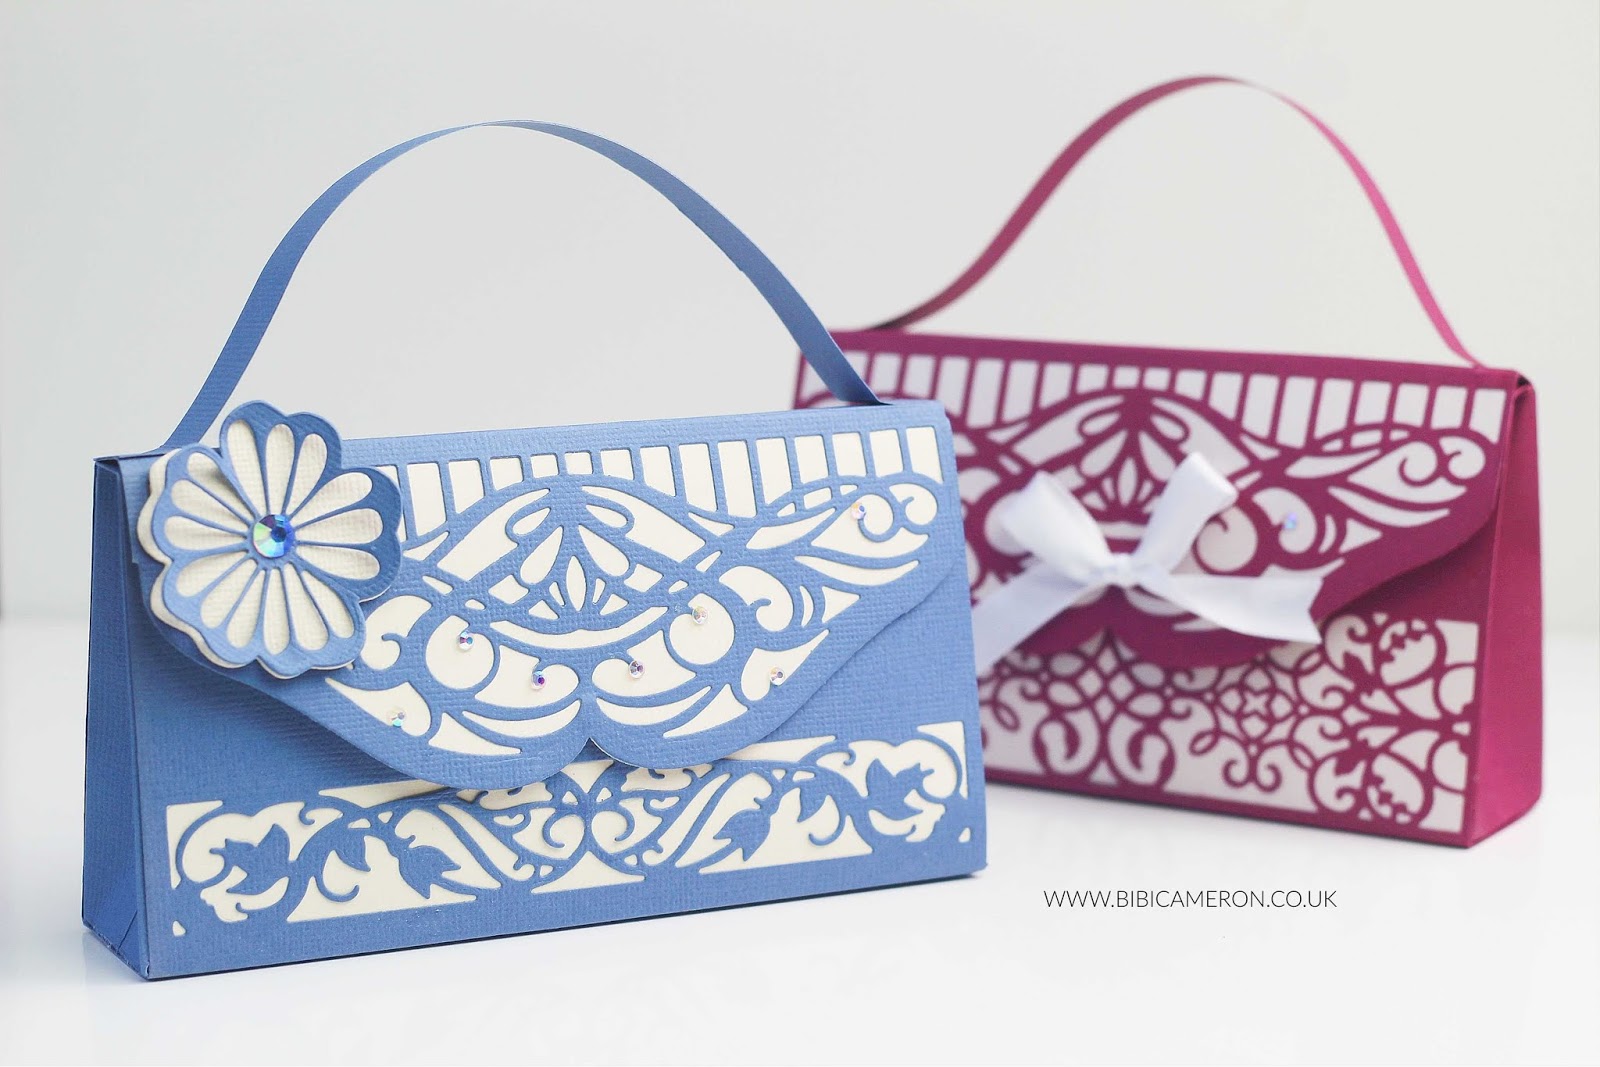
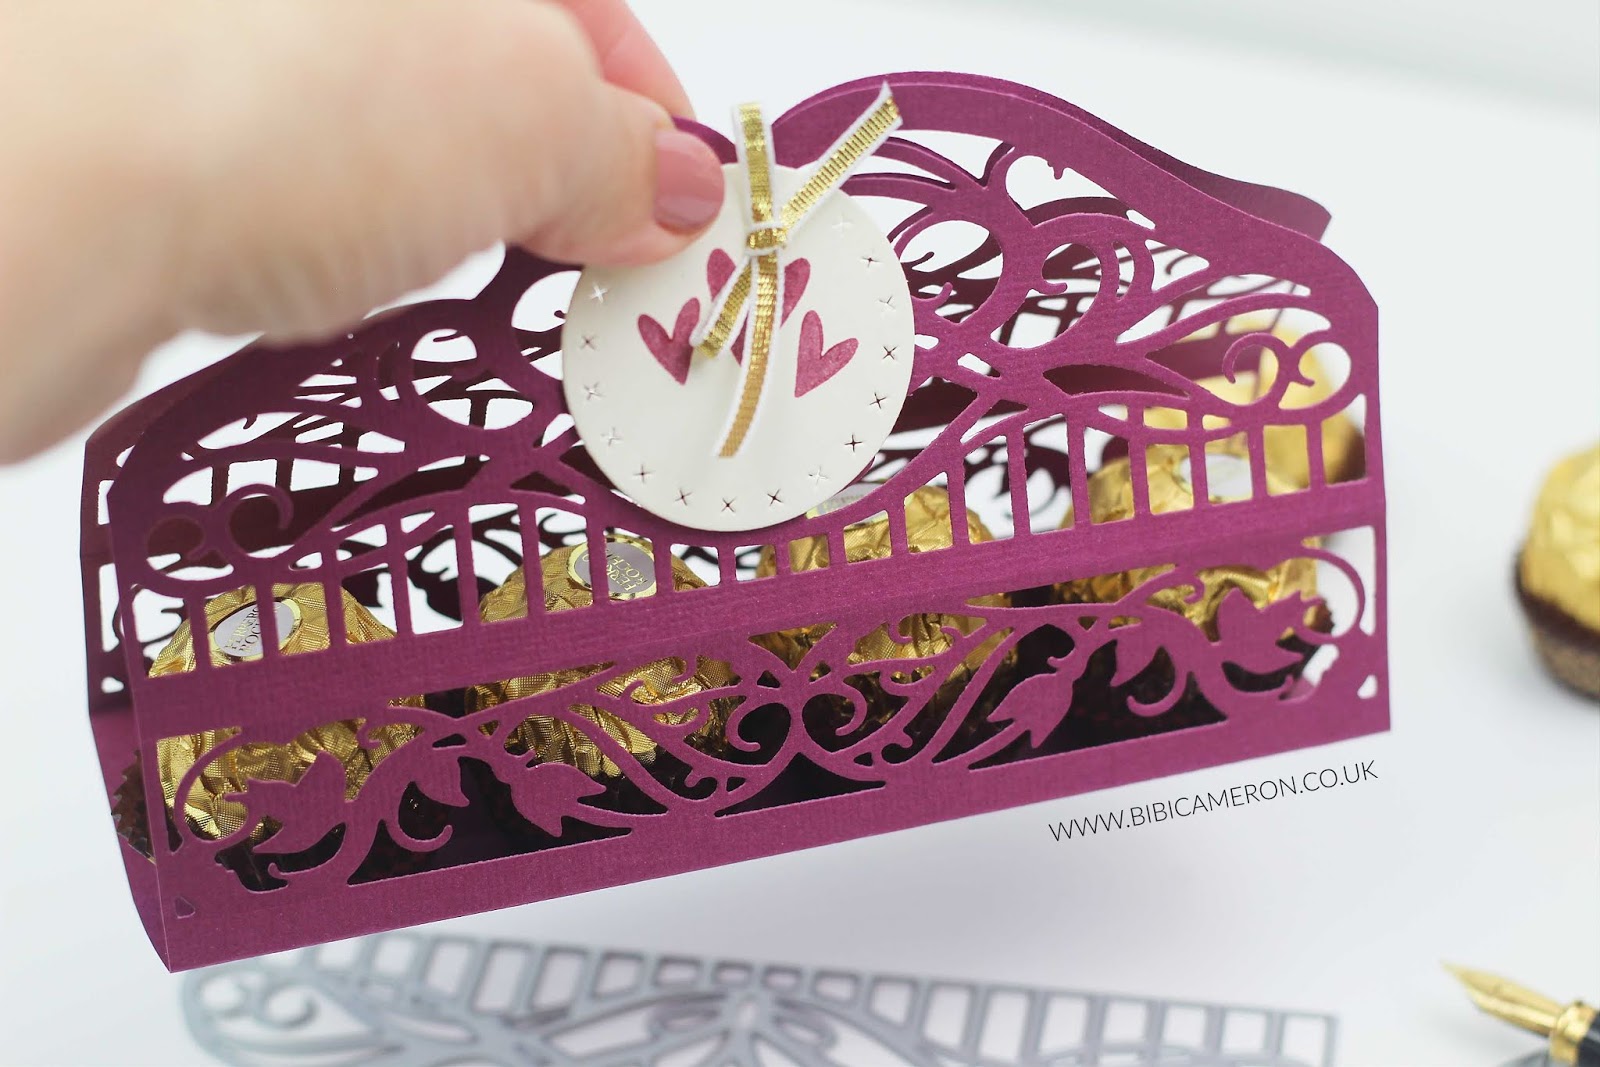
This box, shaped like a purse or a handbag will be great packaging for small items. It is also fun to make and you need very little supplies.
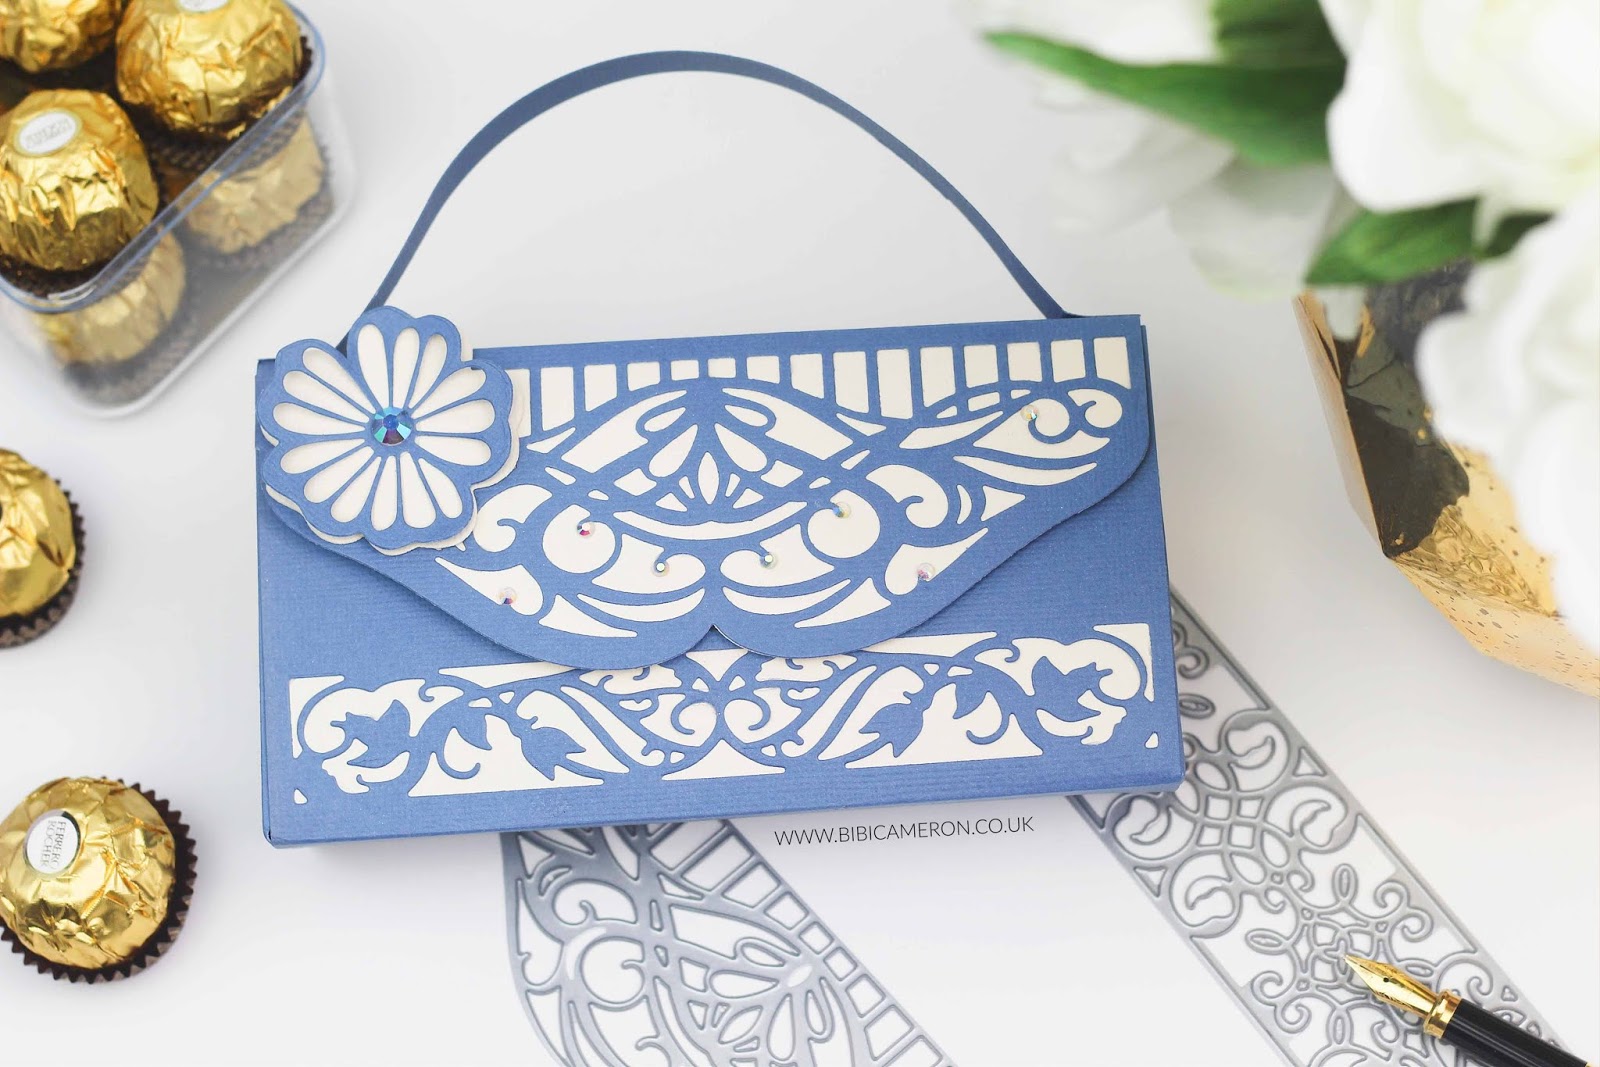
You can make this project in different colours and use a wide variety of embellishments.
I kept it simple to show you the beauty of the die cuts produced by the dies in the kit.
The box assembled measures :
- Width: 6 ” inches
- Height: 3-1/4 Inches
- Dept: 2″
List of paper pieces required to make the purse ( blue cardstock in the picture)
- Cut 1 piece to the purse body:: 6″x12″ inches
- Cut 2 pieces for the side panels:: 6″ x 2 -1/2″
- Purse handle: 1/2 ” x desired length
- Cut a piece for the purse bottom reinforcement 6″ x 2″
Backing panels ( Cream cardstock colour in the picture)
- 2 pieces : 6″ x 3-1/4″
- 1 piece purse flap: 6″ x 2-1/2″
Scoring lines to give shape to the purse body
Along the larger side of the paper score at : 1/2″, 1″, 4-1/8 “, 5 -3/4″, 9″, 9 1/2”
Scoring Lines to make the purse side panels
Along the shorter side of the paper score at: 1/2″, 1- 1/4″, 2″
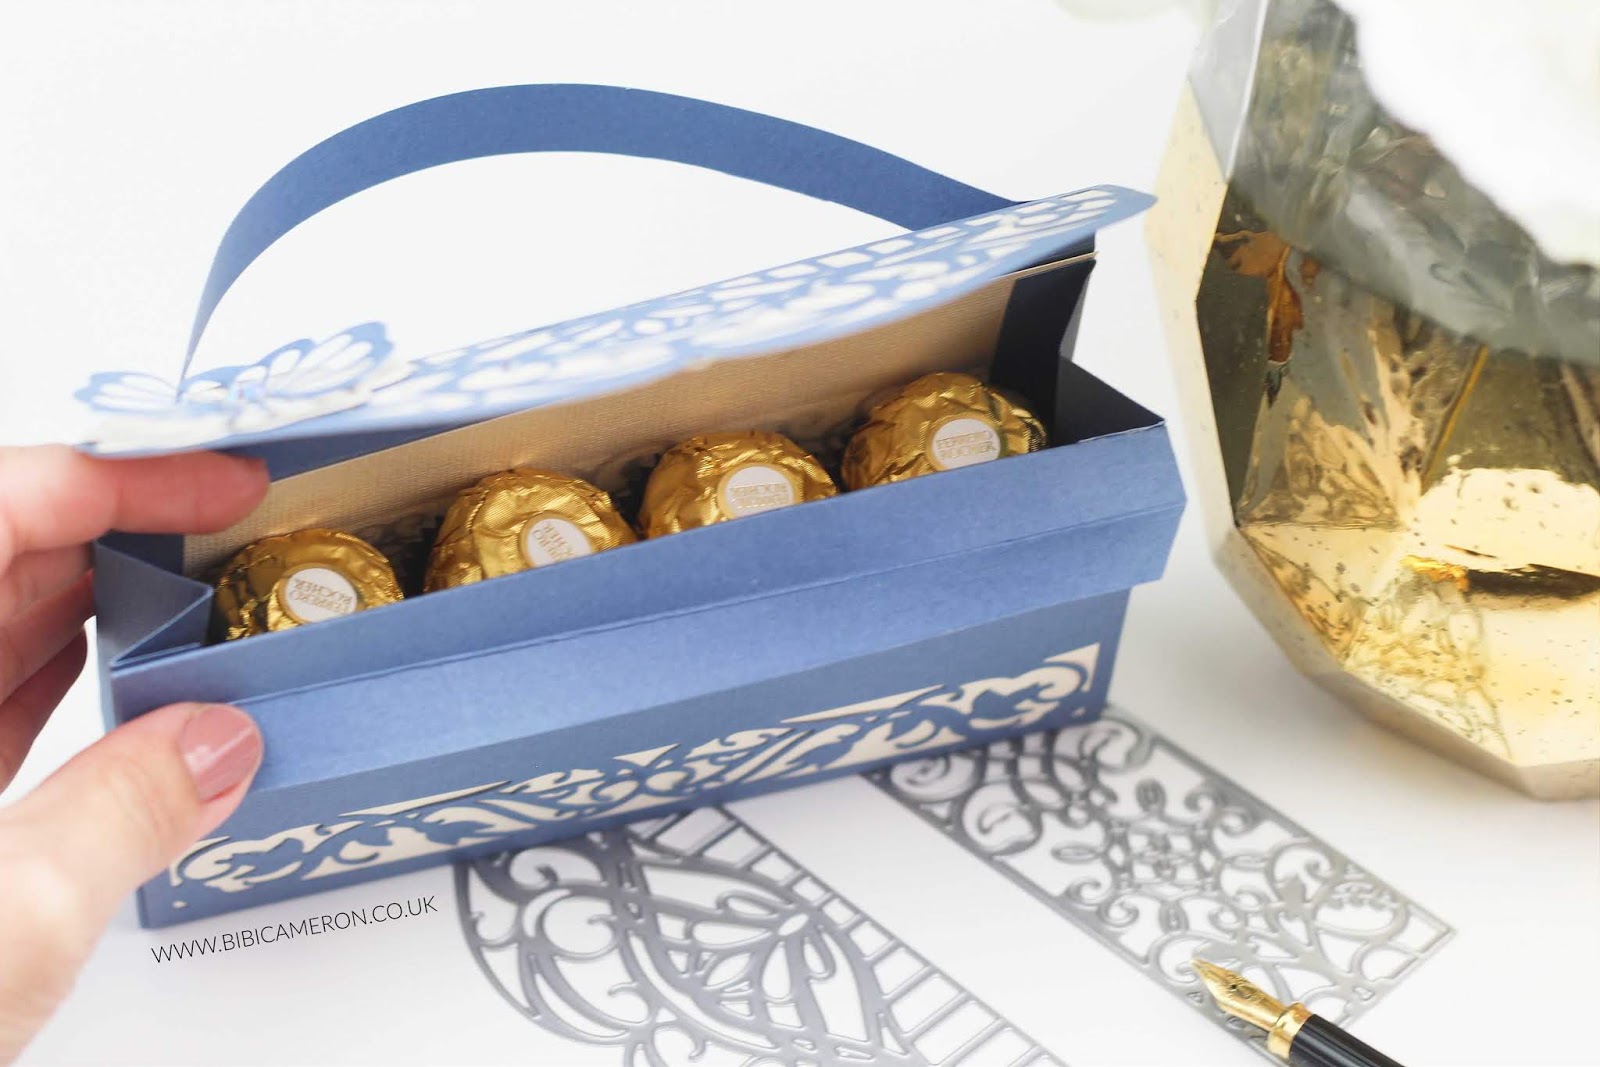
You can also make a similar box design as the one in the picture below.
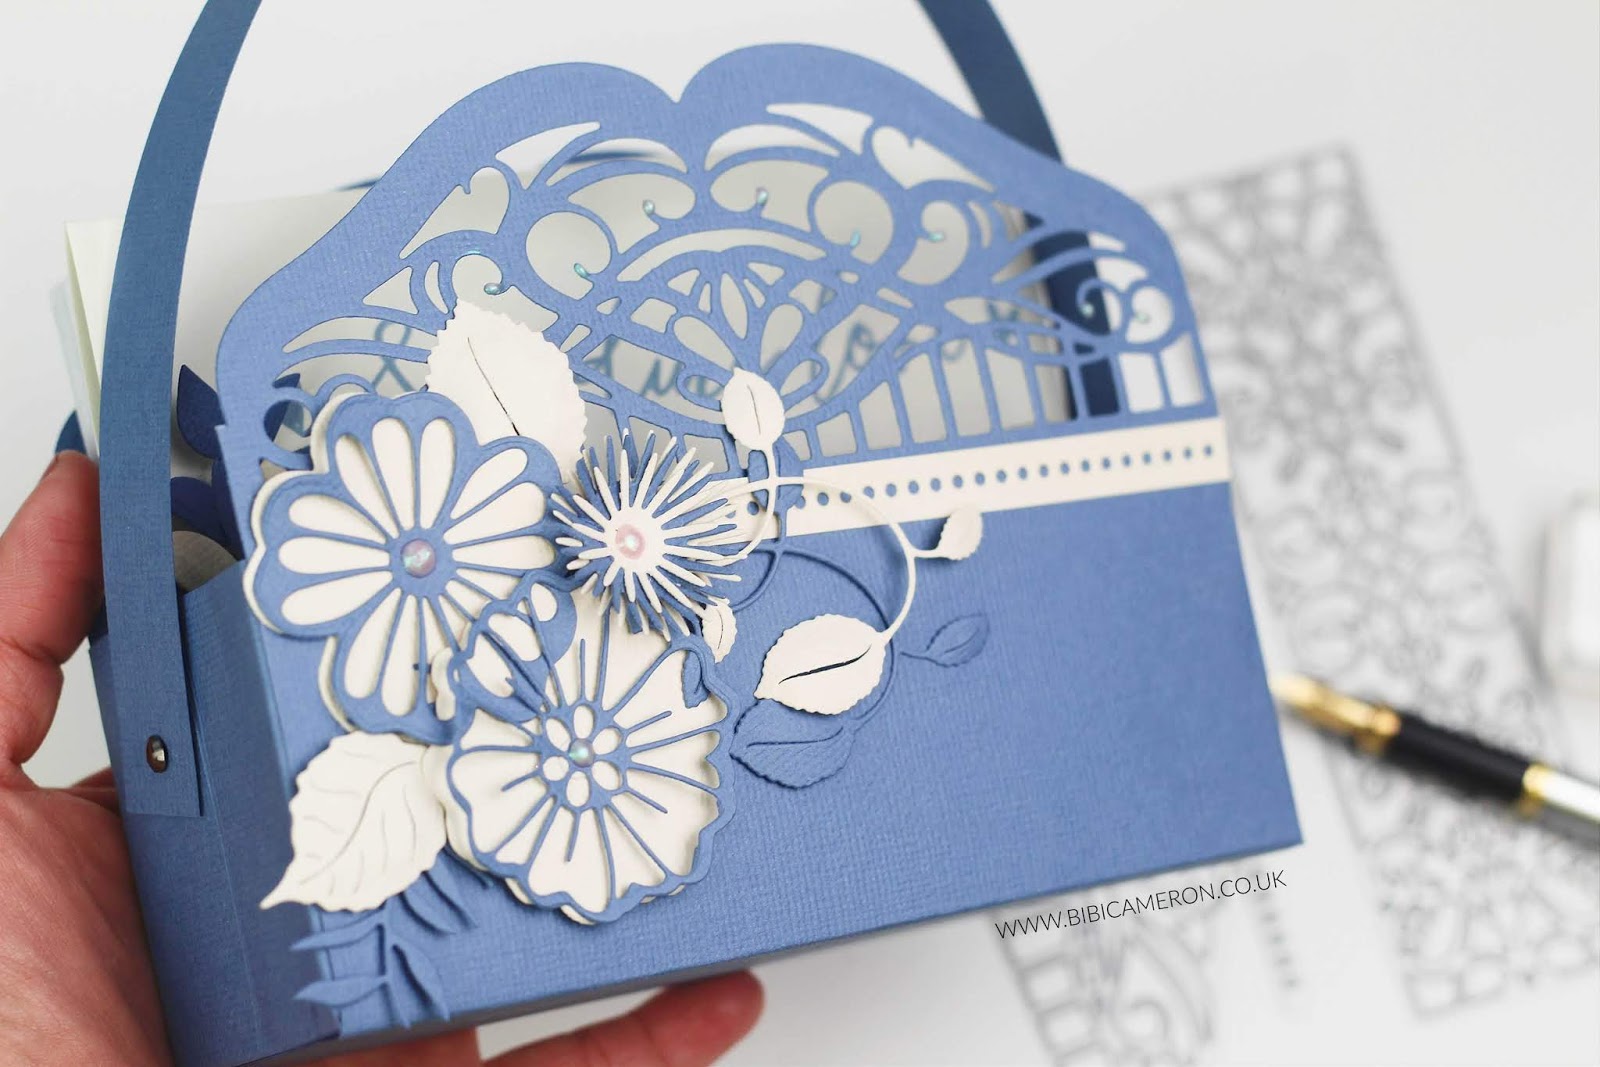
This Box/ Bag measures
- Width: 6″ inches
- Height: 5″ Inches
- Dept: 2 ” inches
Paper pieces required
Bag Body :6″x12″ inches
Score at 5″ and 7″ inches
Die cut both ends of the bag body using decorative dies.
Cut the bag handle can be done in any size.
Embellish
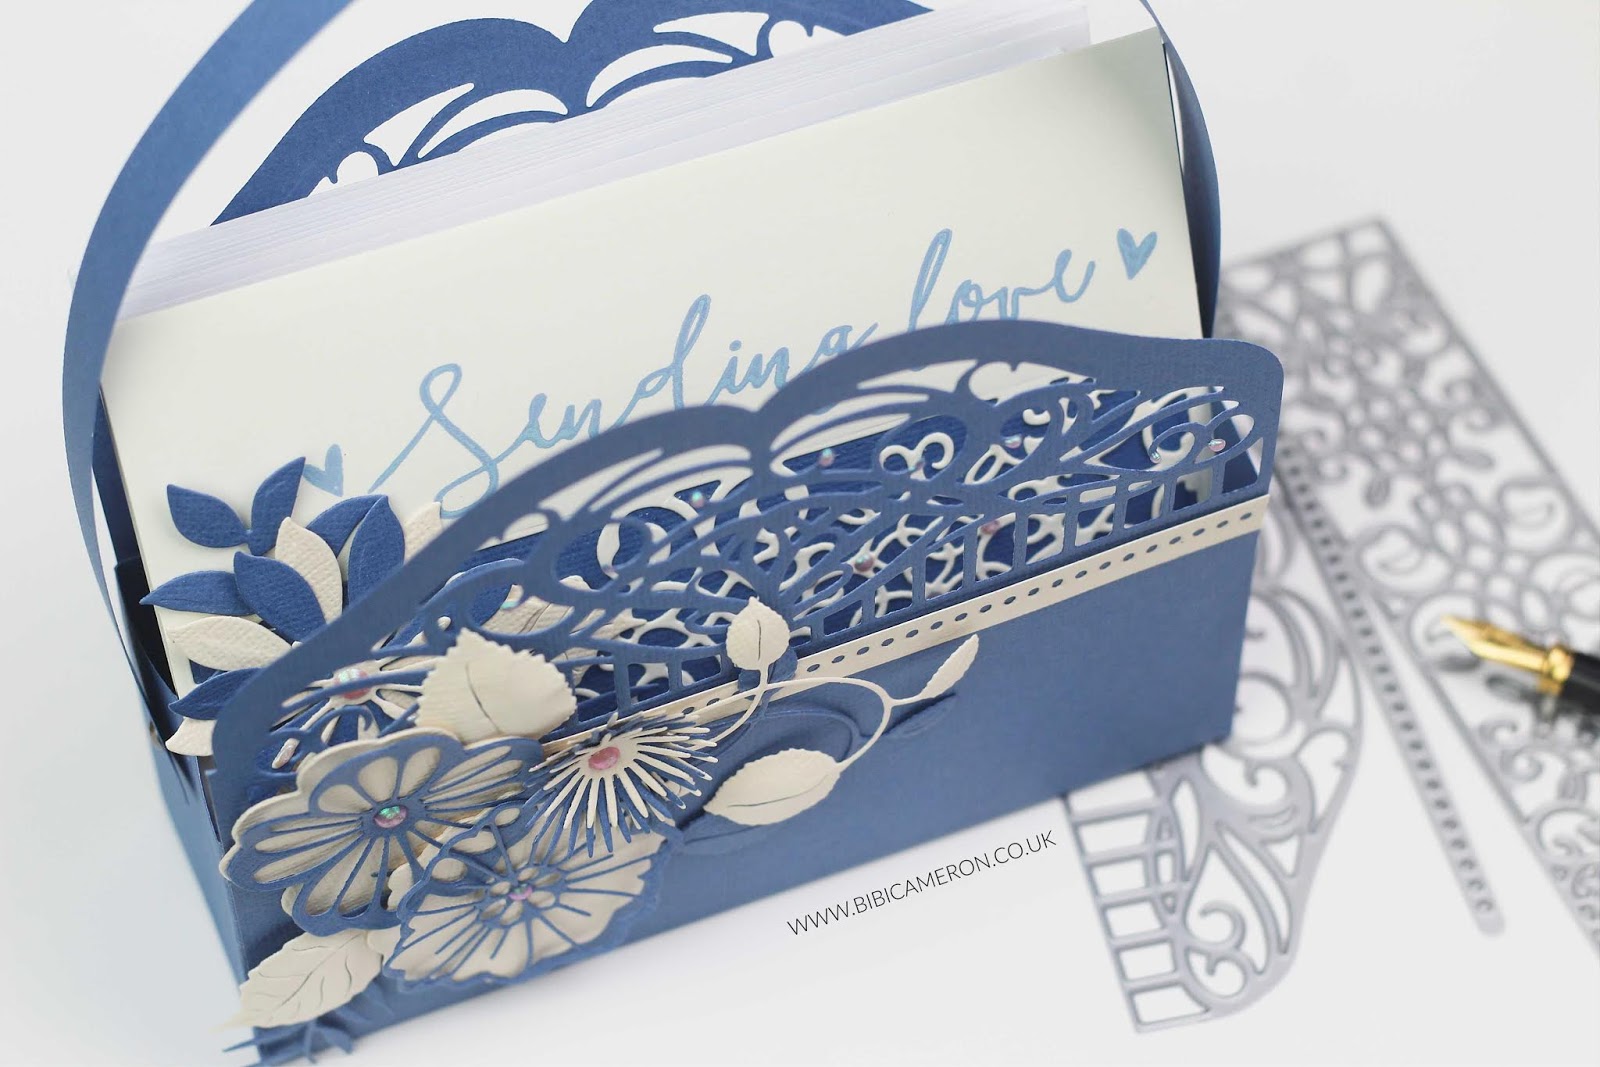
This project is quite spacious so it will fit up to 20 C6 American standard cards and envelopes inside.
You can make it slightly wider to fit A6 British standard size and envelopes and narrower to transform it into an envelope or similar project. The sky is the limit!
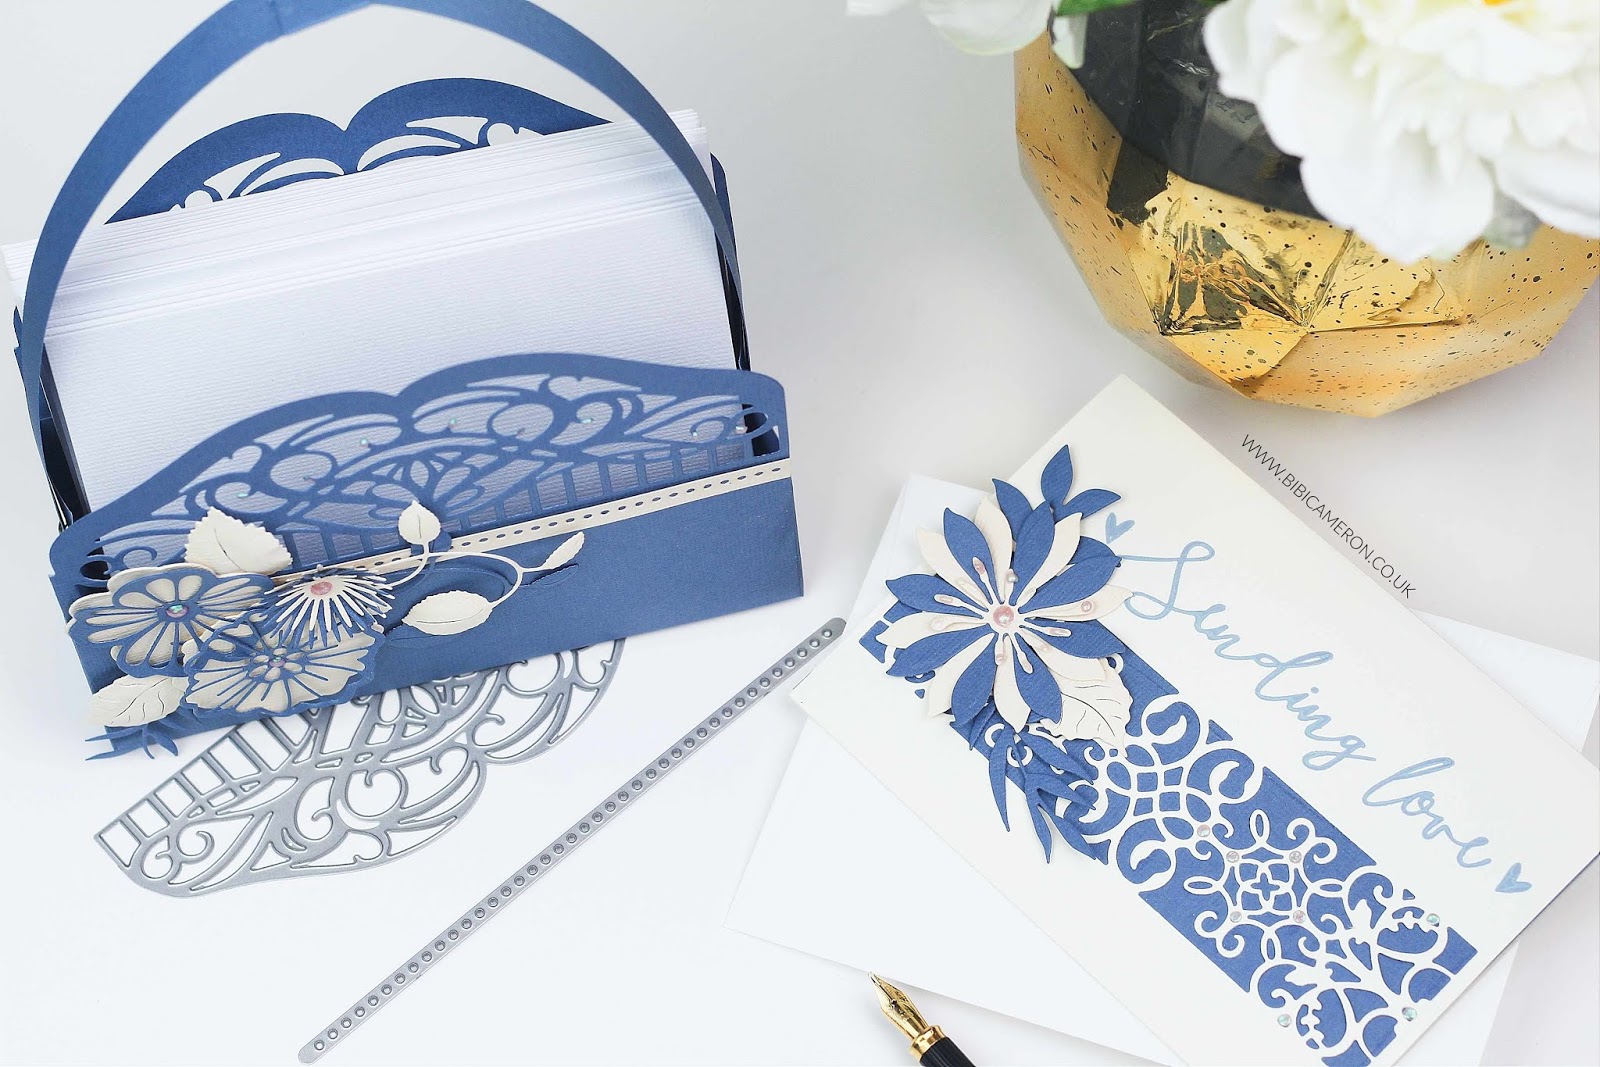
I also made easy and quick cards using the dies and stamps in the kit stamps together with other supplies listed below.
The card above is a C6 standard British size ( 6″x 4-1/8″ inches).
The card below measure 6″x6″ inches. It is a hybrid of an easel and a gatefold card.
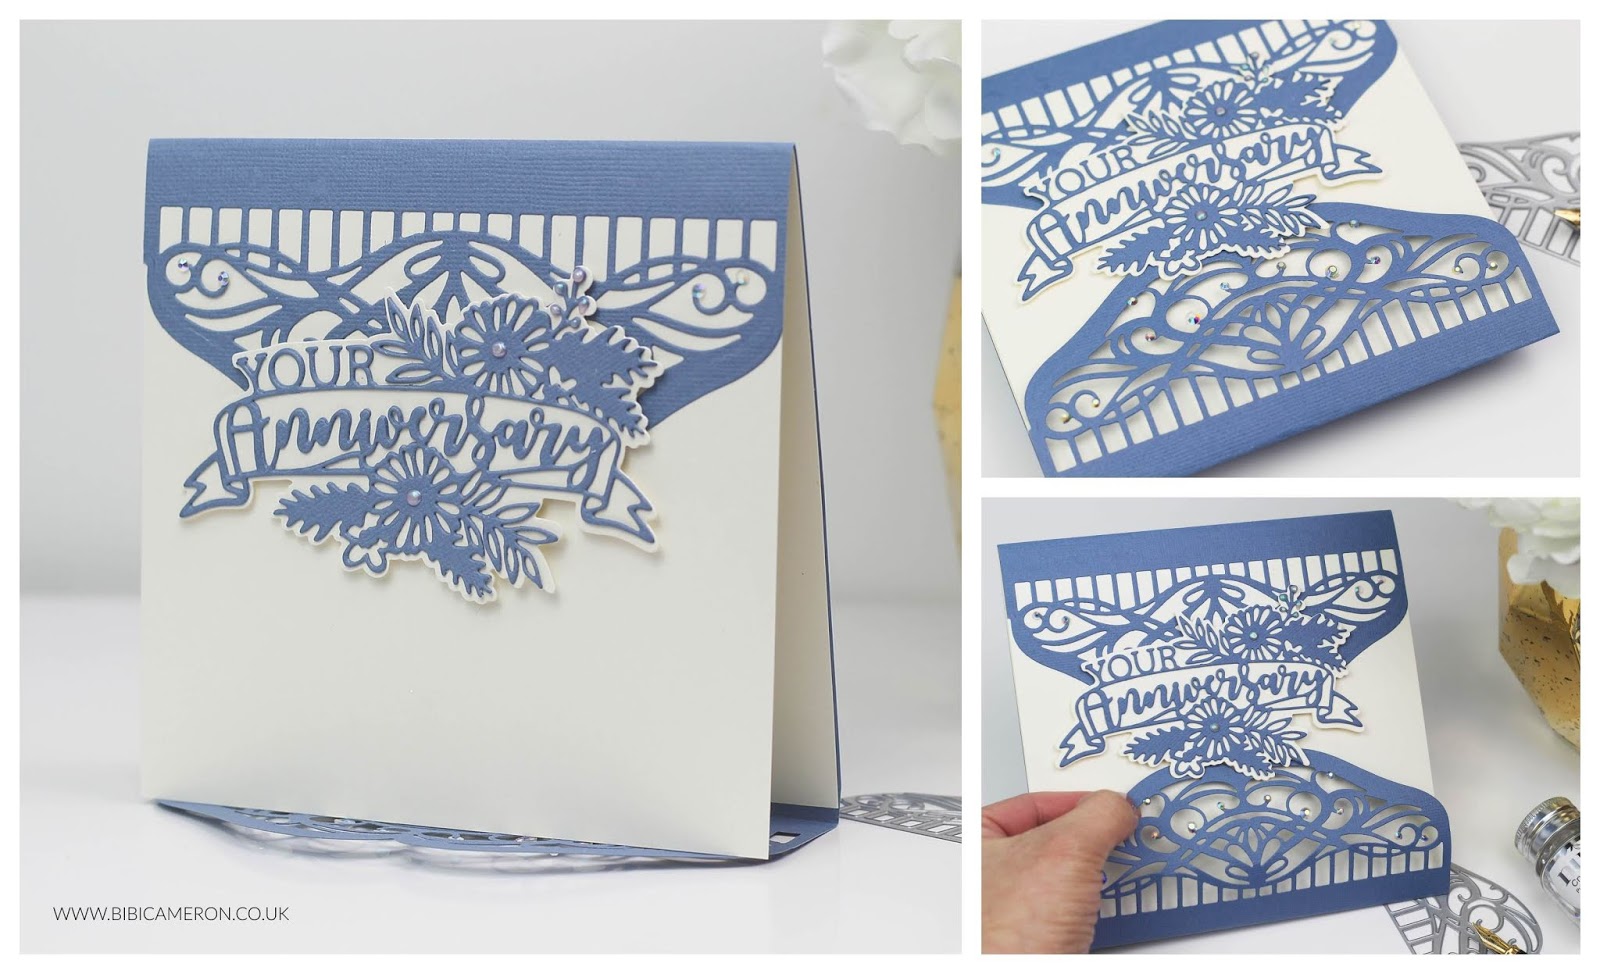 |
| For this card, I also used: Tonic Studios – Essentials – Your Anniversary Sentiment Die Set – 2422E, it is a beautiful sentiment and behind it, I added dimensional so you can slide in the bottom flap which will keep the card closed.
I used a 6 “x 12” inches pieces of Denim Blue Card and a 6×6 Cream Card Base insert. In the video, I explain how I easily put this card together and I show you a couple of options to make similar cards in a smaller size.
I also die cut a smaller intricate basket. You can make this project as tall as you wish and you can add backing panels behind the die-cut panels as well. |
The minimum width of the paper would be 6″ as this is the size of all the dies in the kit.
You can choose the deep of the boxes, anything from 1/2 inch to 6 ” inches will look fab.
You can also use the rectangular intricate dies in the kit to die cut background panels for your cards, the side panels of boxes, tags .etc.
That’s all for today … I hope you like the projects and ideas.
Thanks for stopping by and for your kind comments. I always read them and I’m happy to answer any questions.
If you wish to receive my blog post or videos directly on your email please Subscribe to my blog here! or my Youtube Channel here!
Many hugs and happy crafting
x
Bibi
Supplies
Just a note to let you know that when you buy through the links below I get a small commission at no extra cost to you. Thanks for your support.

![A little #watercolor joy,
bold #stamping,
a touch of metallic ✨
and a handmade card 💛
Easy #cardmaking ideas using @altenewllc artists watercolour tubes and a gorgeous bold image from the Craft Your Life Project Kit: Whispers in the Canopy.
All products are available at @simonsaysstamp
More info and supplies list on my blog [link in bio]
Or visit: Bibicameron.co.uk
Type “bold stamping” in the blog search to find the post anytime.
Happy Crafting.
Bibi
#altenew #cardmakingideas](https://bibicameron.co.uk/wp-content/plugins/instagram-feed/img/placeholder.png)
These are all so pretty and sweet!
Thank you Shelly. You are so kind.
I found your blog now and I will follow it 😁 Thanks for all the work and effort you've put in here 😍
Aww Sabine. Thank you for your kindness. x